- Best for
- textiles + countertop styling
- Cost
- $292 total (under $300)
- Difficulty
- Easy (no tools, no drilling)
- Time
- About 1–2 hours
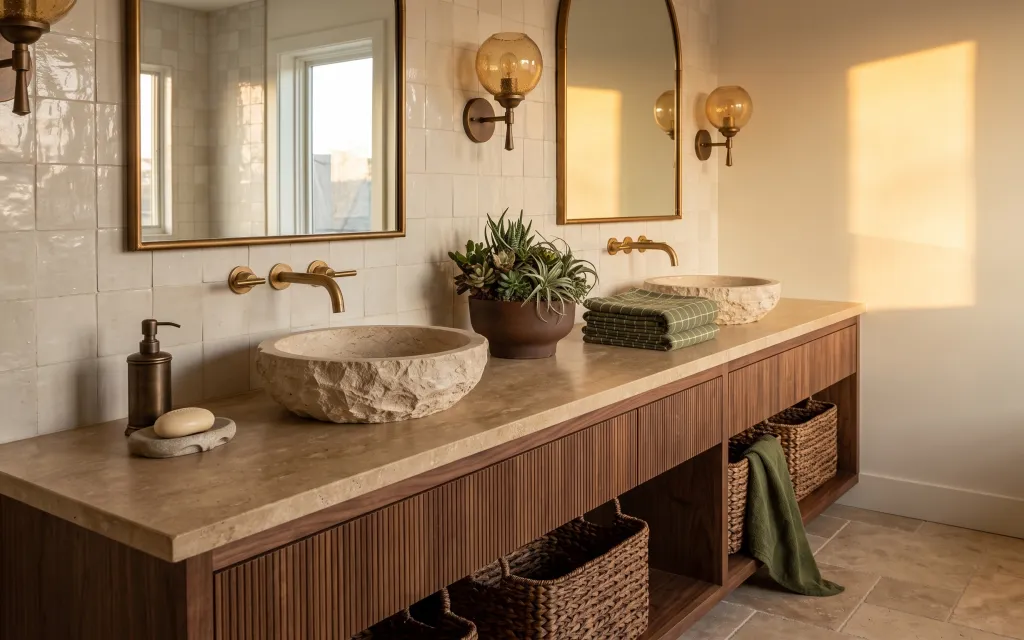
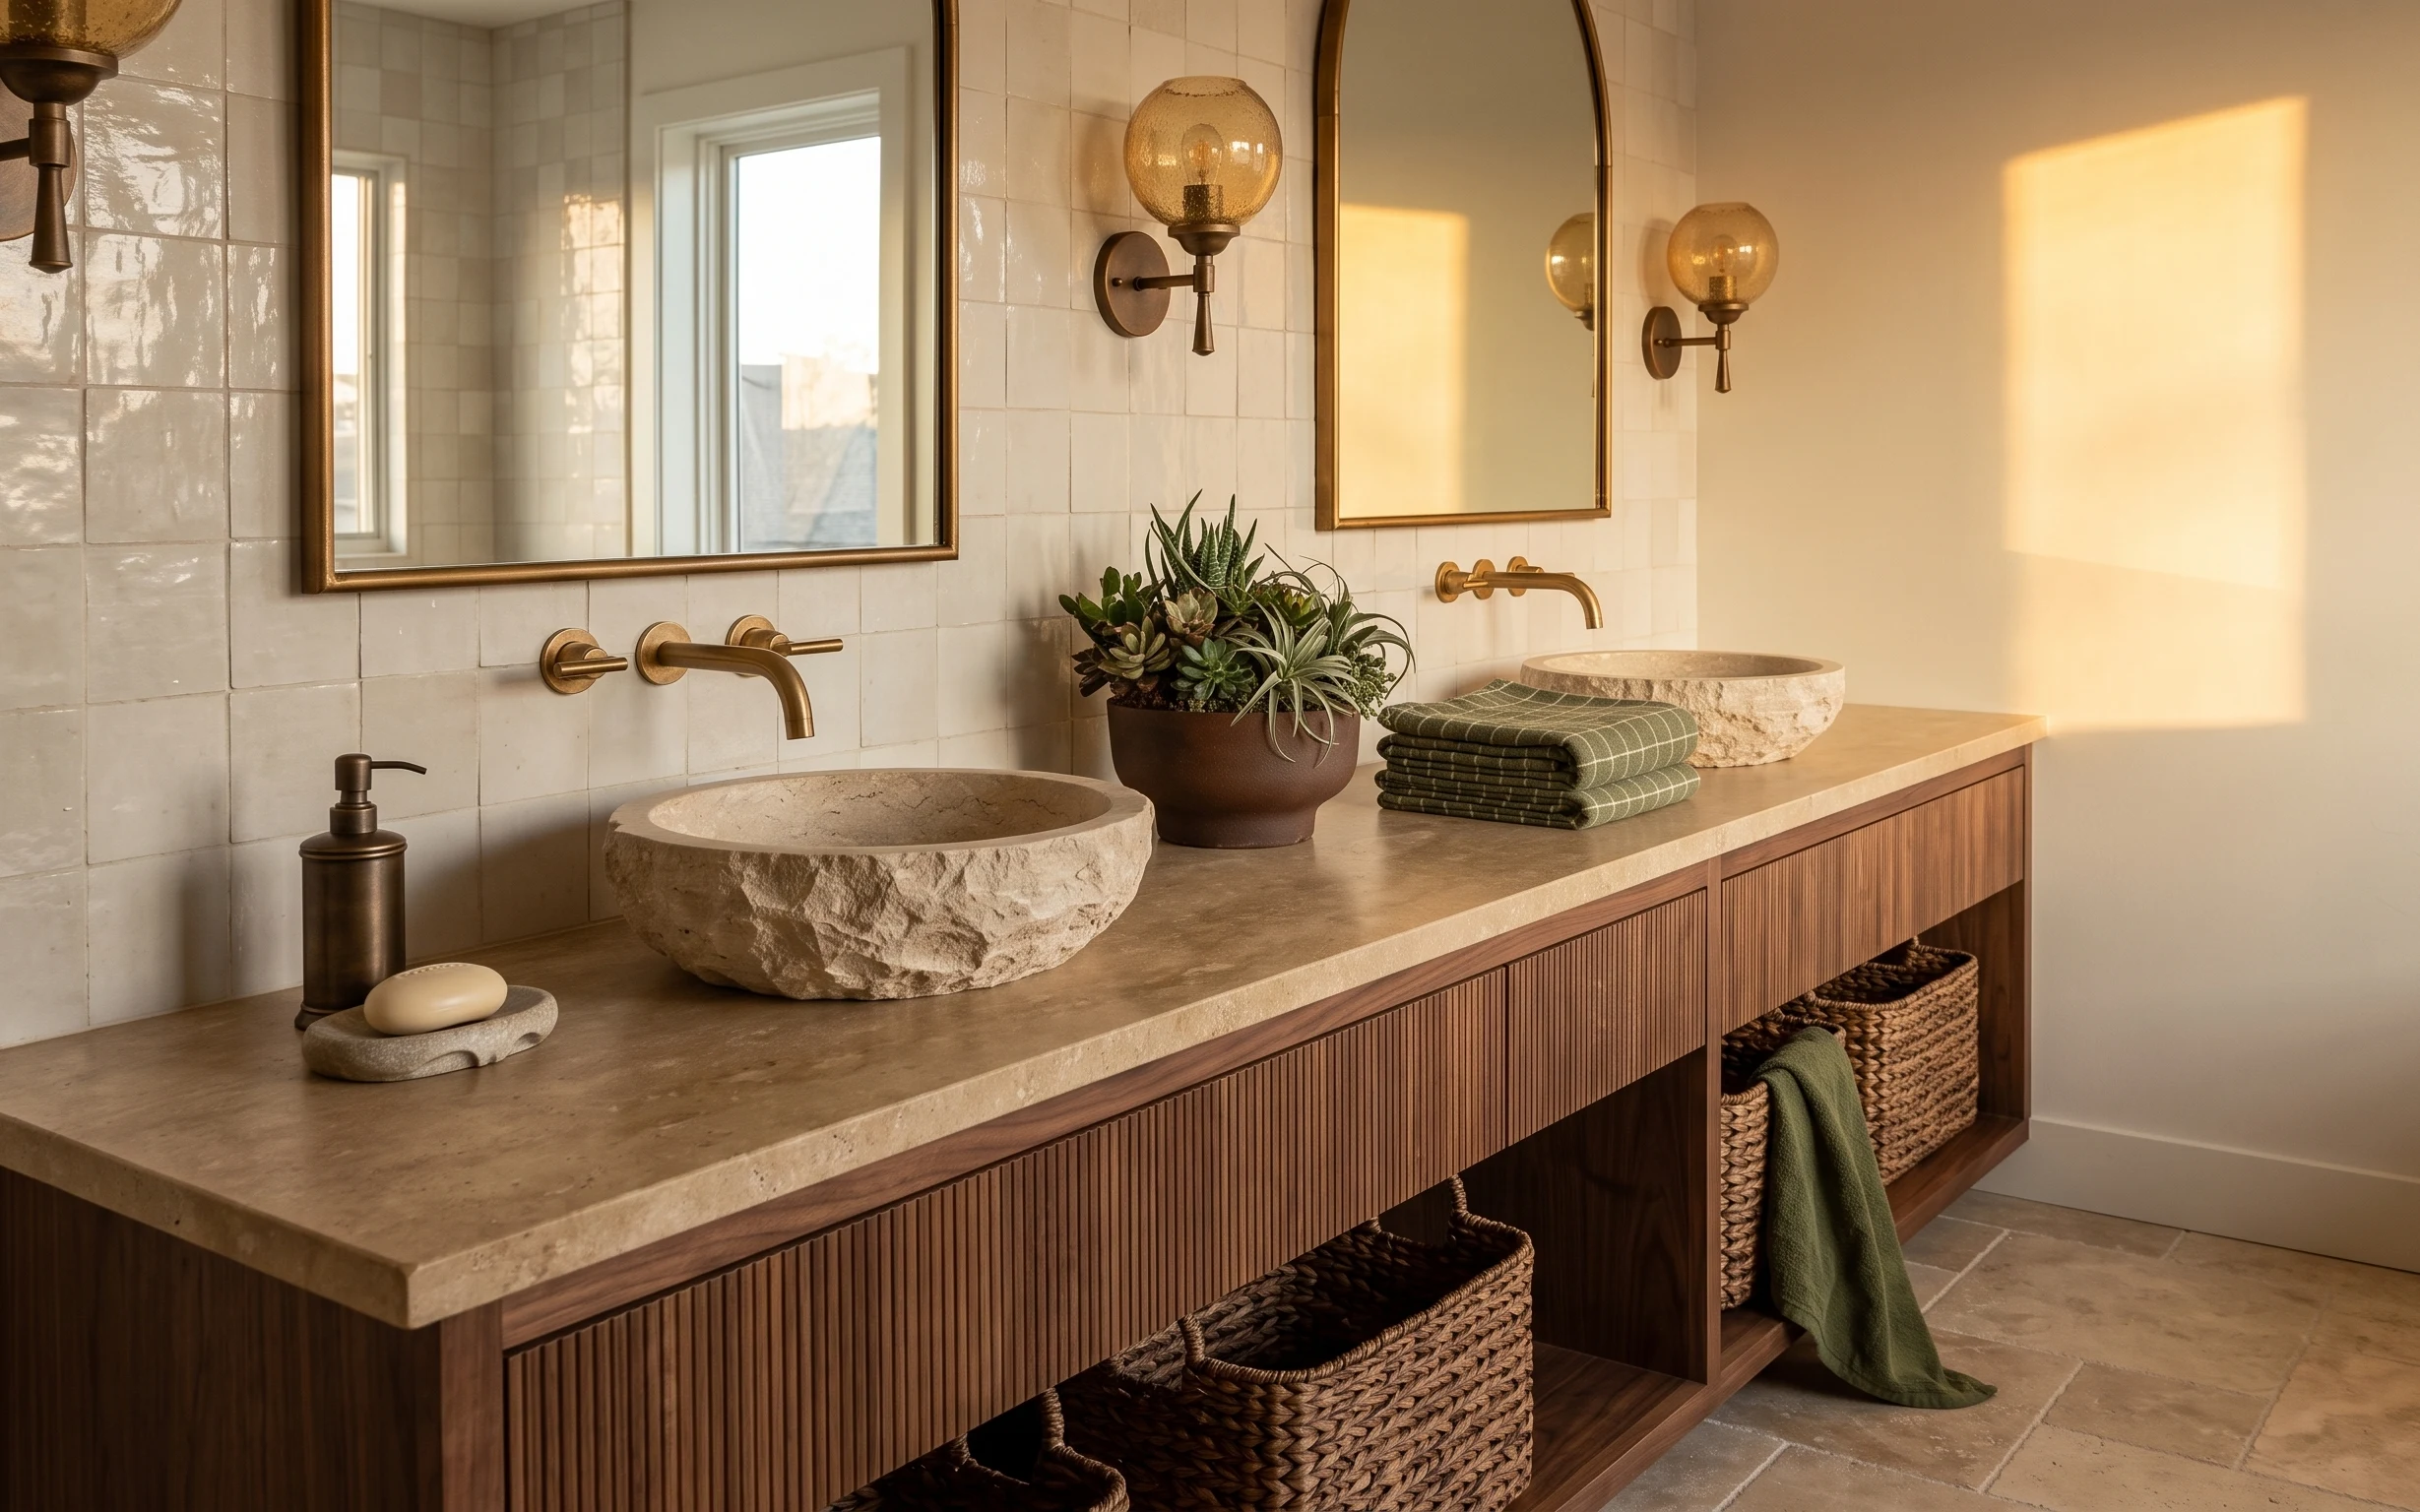
Why warm brass-and-stone bathroom setup is the vanity nook of 2026
That brass-framed mirror and stone counter are doing most of the “spa” work here, and you can build the rest with renter-safe styling. The warm beige tile wall gives a quiet backdrop, while the olive towel stack adds contrast without needing any paint. On the surface, you’ve got grounded textures—ceramic, stone, and woven storage—so the whole corner reads intentional instead of cluttered. This is achievable for US renters because every swap is either a textile, a plant, or a removable styling piece.
I once tried to make a rental bathroom feel “designed” by rearranging everything at once, and it ended up looking like I dropped my laundry hamper on the counter. This time, I went slower: towel first, then plant, then the small stone dish details. The biggest change was treating the countertop like a vignette instead of a catch-all, and sticking to warm metals plus one deep color so the brass doesn’t fight the beige tile.
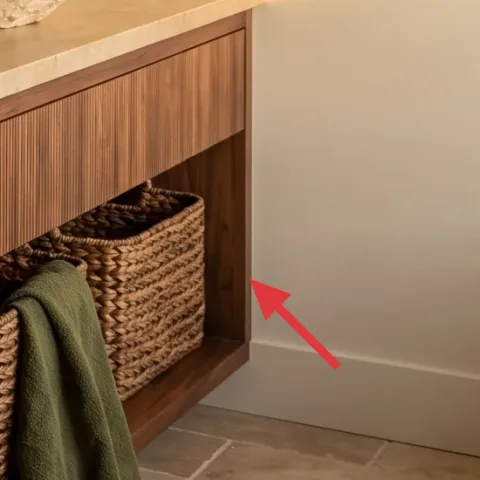
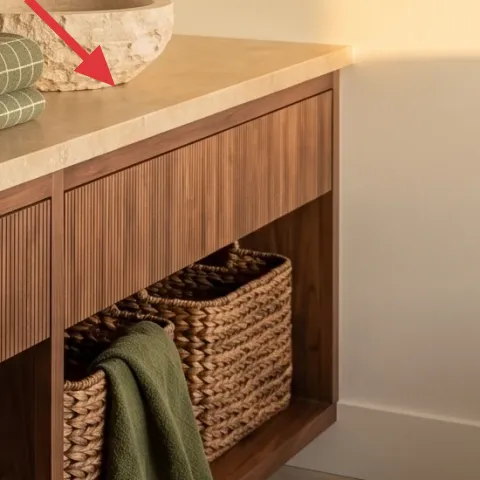
Layer 1 — Woven storage basket ($40) Corrals the floor clutter at eye level
Use a woven storage basket on the floor in the same spot your green towel currently lives—front and center below the countertop. The material is why this works: woven texture softens hard surfaces like tile and stone, and it also gives you a place to tuck “in-between” items (extra towels, bath accessories, or a spare washcloth) without visual spillover. The obvious alternative is leaving the towel loose, but then the corner looks busy instead of curated. A basket is also renter-friendly because it’s freestanding and doesn’t require any hardware.
Layer texture, not just color
Woven beats plastic bins in a warm bathroom because it echoes the stone-and-ceramic palette.
Layer 2 — Stack of folded green towels ($25) Adds olive depth in a single color family
Replicate the folded towel stack on the countertop using olive-toned towels that match the drape color family. You’re aiming for folded height—enough to read from across the room—without taking up so much space that it becomes a “pile.” This towel stack creates a focal point near the mirror, so your eye lands there instead of drifting across empty counter. The trade-off with buying more towels is that it can look overstuffed, so buy fewer and fold them consistently. Stick with one deep color (like this olive) so it stays calm against the warm beige tile.
Keep folds crisp, not fluffy
A tight fold reads more styled and helps the stack look intentional beside the stone dish and plant pot.
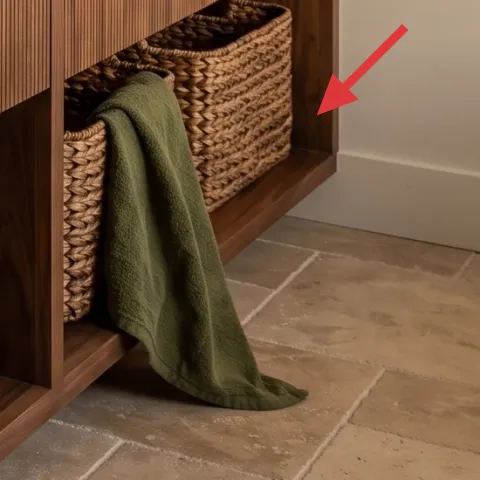
Layer 3 — Draped green towel over a basket ($12) Makes the corner feel lived-in
Drape one towel over the basket edge like the one already in the hero—long enough to show color, but not so long it spills down the side like a forgotten throw. This adds movement and “bathroom reality” because towel-draping is common, but it usually looks messy when there’s no structure underneath. By using a basket as the base, the towel becomes part of the design instead of random laundry. The obvious alternative is a second full stack on the counter, but repetition can feel heavier than the casual drape. Keep the fabric tone consistent with the folded towels.
Match the drape to the fold color
Even if the pattern is different, keep to the same olive family so the brass mirror looks cohesive.
Layer 4 — Succulents in a terracotta-colored ceramic planter pot ($45) Brings organic shape to the stone-and-brass mix
Add (or swap in) a small succulent arrangement in a terracotta-colored ceramic planter pot to mirror the hero’s round, matte texture. Succulents are a great rental plant because they tolerate irregular watering and still look “styled” even when you’re busy. Visually, the pot’s warm earth tone ties into the brass accents and keeps the beige tile from feeling flat. The trade-off is that real plants take a little maintenance, but compared to flowers, succulents stay pretty longer with less effort. Place the planter where it’s clearly visible in the mirror line of sight, not pushed to the back of the counter.
Use the mirror as your placement guide
If the plant shows in the mirror, it reads deliberate; if it disappears, move it forward.
Layer 5 — Large wall mirror with brass frame ($120) Doubles light and makes the nook feel bigger
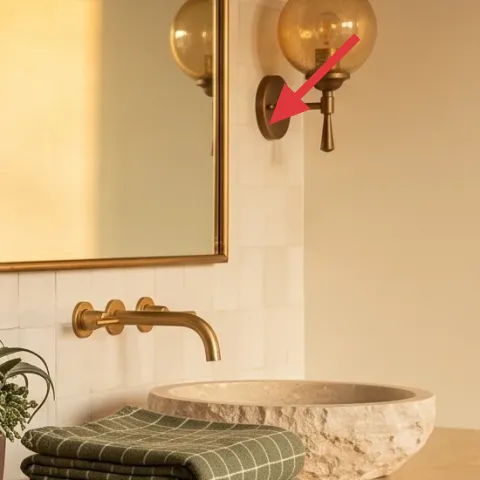
Keep the mirror as your anchor and style around it with symmetrical balance: small dish details on the left and greenery toward the right, so the reflection looks edited. A brass-framed mirror works especially well with warm beige tile because the metal pick-up repeats visually in the fixtures and your countertop objects. The obvious alternative is adding more wall art, but with tile and sconces already in play, extra pieces can clutter the visual field. Instead, let the mirror do the heavy lifting—reflecting light and making the vanity nook feel more intentional. If your rental mirror must stay, you can still refresh the look by changing what sits beneath it.
Don’t fight the warm metal
If you add cool-toned decor (gray steel, icy white), the mirror’s brass can look off instead of cohesive.
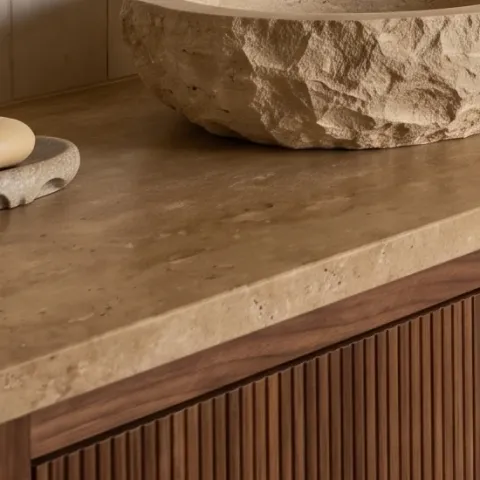
Layer 6 — Soap bar on a stone dish ($20) Makes the countertop look styled, not functional
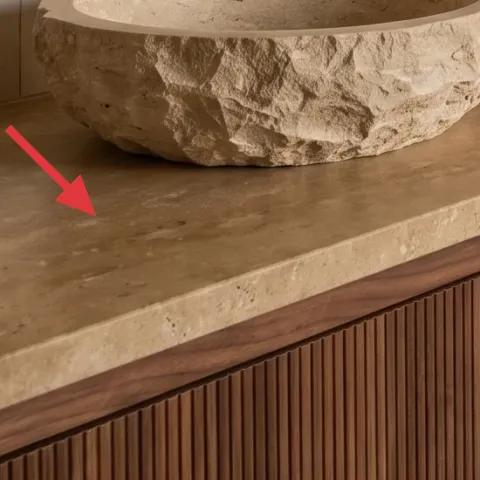
That stone dish under the soap bar is doing more than holding soap—it’s creating a “mini surface” that makes the whole counter feel designed. Choose a small tray or dish with a similar mottled look (stone, resin with stone texture, or ceramic with a speckle finish) and keep only one soap item on that spot. This is the renter-friendly way to create a high-end moment without replacing any fixtures. The alternative is leaving the soap directly on the counter, but then you get messy rings and a cluttered look against the smooth stone surface. Add the dish and you instantly get polish with minimal effort.
One hero object per zone
Let the dish and soap be the “left-side moment,” then keep everything else slightly cleaner by comparison.
Layer 7 — Decorative soap dispenser pump ($30) Keeps the right side cohesive with labels
Swap the look of your soap dispenser pump by dressing the bottle with a label that matches the countertop vibe—warm, minimal, and readable. The dispenser already has the right role in the scene: it adds vertical shape on the left side so the countertop doesn’t feel flat. The trade-off is that plain bottles can look utilitarian, so this layer focuses on what you can control: the surface styling on the bottle itself. Keep the label simple with one product name and a small “from the apothecary” feel—nothing graphic-heavy. That way, the bottle looks like part of the decor instead of a leftover cleaning tool.
Make it instead of buying it
DIY simple apothecary-style labels for your soap dispenser so the bottle reads like decor instead of a generic refill.
Materials
- Printable label sheets (letter size, enough for 4–6 labels) — store: craft aisle — $6
- Scissor or label trimmer — store: craft aisle — $5
- Clear packing tape (for a quick seal) — store: hardware aisle — $4
- Ruler and pencil — store: office supply — $3
- Optional: adhesive-backed label paper corners or edge reinforcement — store: craft aisle — $4
Steps
- Measure the flat visible area of the bottle and decide label width with a ruler.
- Print apothecary-style text onto the label sheet using a small, readable font.
- Cut the label with clean edges so it sits centered and doesn’t curl at the corners.
- Seal the printed label with a thin layer of clear tape on top for water resistance.
- Press the label onto a dry bottle surface, smoothing from center outward.
- Let the tape fully adhere for a few minutes before touching up any edges.
Total DIY cost: $22 — saves about $8 over buying.
The cost, layer by layer
| Layer | Item | Cost |
|---|---|---|
| 1 | Woven storage basket | $40 |
| 2 | Folded olive hand towels stack | $25 |
| 3 | Draped olive towel (single piece) | $12 |
| 4 | Succulent planter in terracotta-colored ceramic pot | $45 |
| 5 | Mirror (24–36") with brass frame look | $120 |
| 6 | Stone dish for soap bar | $20 |
| 7 | Decorative soap dispenser pump (label refresh) | $30 |
| Total | $292 | |
If you want a cheaper version, prioritize the woven basket and towel colors first, then swap the ceramic planter for a simpler plastic or ceramic pot with one fuller succulent. Keep the mirror shape and do one countertop dish instead of multiple small items.
What worked, what didn't (across the whole room)
This nook succeeds because the palette is restrained: warm beige tile, brass reflections, and one deep olive color repeat across textures. The countertop reads styled because the small objects are grouped and given “zones,” rather than spread out. The woven basket adds softness where the floor and tile would otherwise feel hard.
What worked
- The brass-and-stone background stays calm, so olive towels become an intentional accent color.
- Woven storage breaks up tile and stone with texture you can see at walking height.
- Succulents add organic shape without high maintenance compared to cut flowers.
- The soap dish makes everyday items look curated instead of random supplies.
- Placing styled pieces under the mirror reflection keeps the whole area edited.
What didn't
- Overstuffing the counter with too many small objects made the scene feel busy against bright tile.
- Using mixed metal tones (cool silver accessories) pulled focus away from the brass mirror.
- Skipping a basket on the floor made the green towel look like laundry instead of decor.
- Leaving the soap and dispenser directly on the stone counter created visible mess faster.
What we'd skip if we did it again
Skip adding a bunch of extra bathroom wall decor when the tile, mirror, and sconces already create strong structure. In this kind of space, a single countertop vignette and one mirror area is enough—more pieces compete with the warm beige wall grid.
Skip buying matching “set” storage that looks too uniform. In a tile-and-brass bathroom, variation in texture (woven plus ceramic plus stone) reads more expensive than three identical bins.
Skip cluttering the counter with multiple soap-adjacent items. One dish moment plus one dispenser is the sweet spot, because it keeps the corner edited and makes the mirror reflection look intentional.
Frequently asked
How long does this bathroom vanity nook refresh take?
Plan for about 1–2 hours total. The fastest part is setting up the woven basket and stacking the towels. The countertop “edit” takes a bit longer because you’ll want to place the plant and soap items so they read well in the mirror reflection. If you DIY the soap dispenser label, add another 20–30 minutes for printing and cutting.
Will this work for a renter who can’t replace fixtures?
Yes. This look depends on renter swaps: freestanding woven storage, textiles in one olive tone, a small succulent planter, and small styling objects on the countertop. The mirror is treated as an anchor you can style around, and the soap dispenser only gets a label refresh—no drilling or fixture replacement.
My bathroom counter is smaller—what should I scale down?
Reduce the number of visible “zones” instead of skipping the styling entirely. Keep the soap dish and one dispenser, then place the plant only if there’s room to see it in the mirror. If space is tight, choose either the towel stack or the draped towel—use one deep olive element so the corner still feels intentional.
What if my bathroom has a cooler color temperature light?
Cooler lighting can make brass look harsher and beige tile feel gray. Use warmer materials to compensate: choose terracotta or matte ceramics for the plant pot, and keep towels in a rich olive rather than a pale green. Even if the fixtures stay, these small material picks make the whole nook feel warmer.
Where should I shop for the woven basket and towels?
Start with home goods and craft stores for woven baskets and towel colors, since you can compare texture in person. For the planter, garden centers or plant shops often have small succulents that look fuller than big-box single plants. If you’re label DIY-ing, office supply or craft aisles are easiest for printable label sheets.
More in Bathroom
Under $300: brass-and-olive bathroom vanity nook refresh
A brass-and-olive bathroom vanity nook refresh you can do as a renter, using 7 visible swaps around the countertop and floor. The look lean…
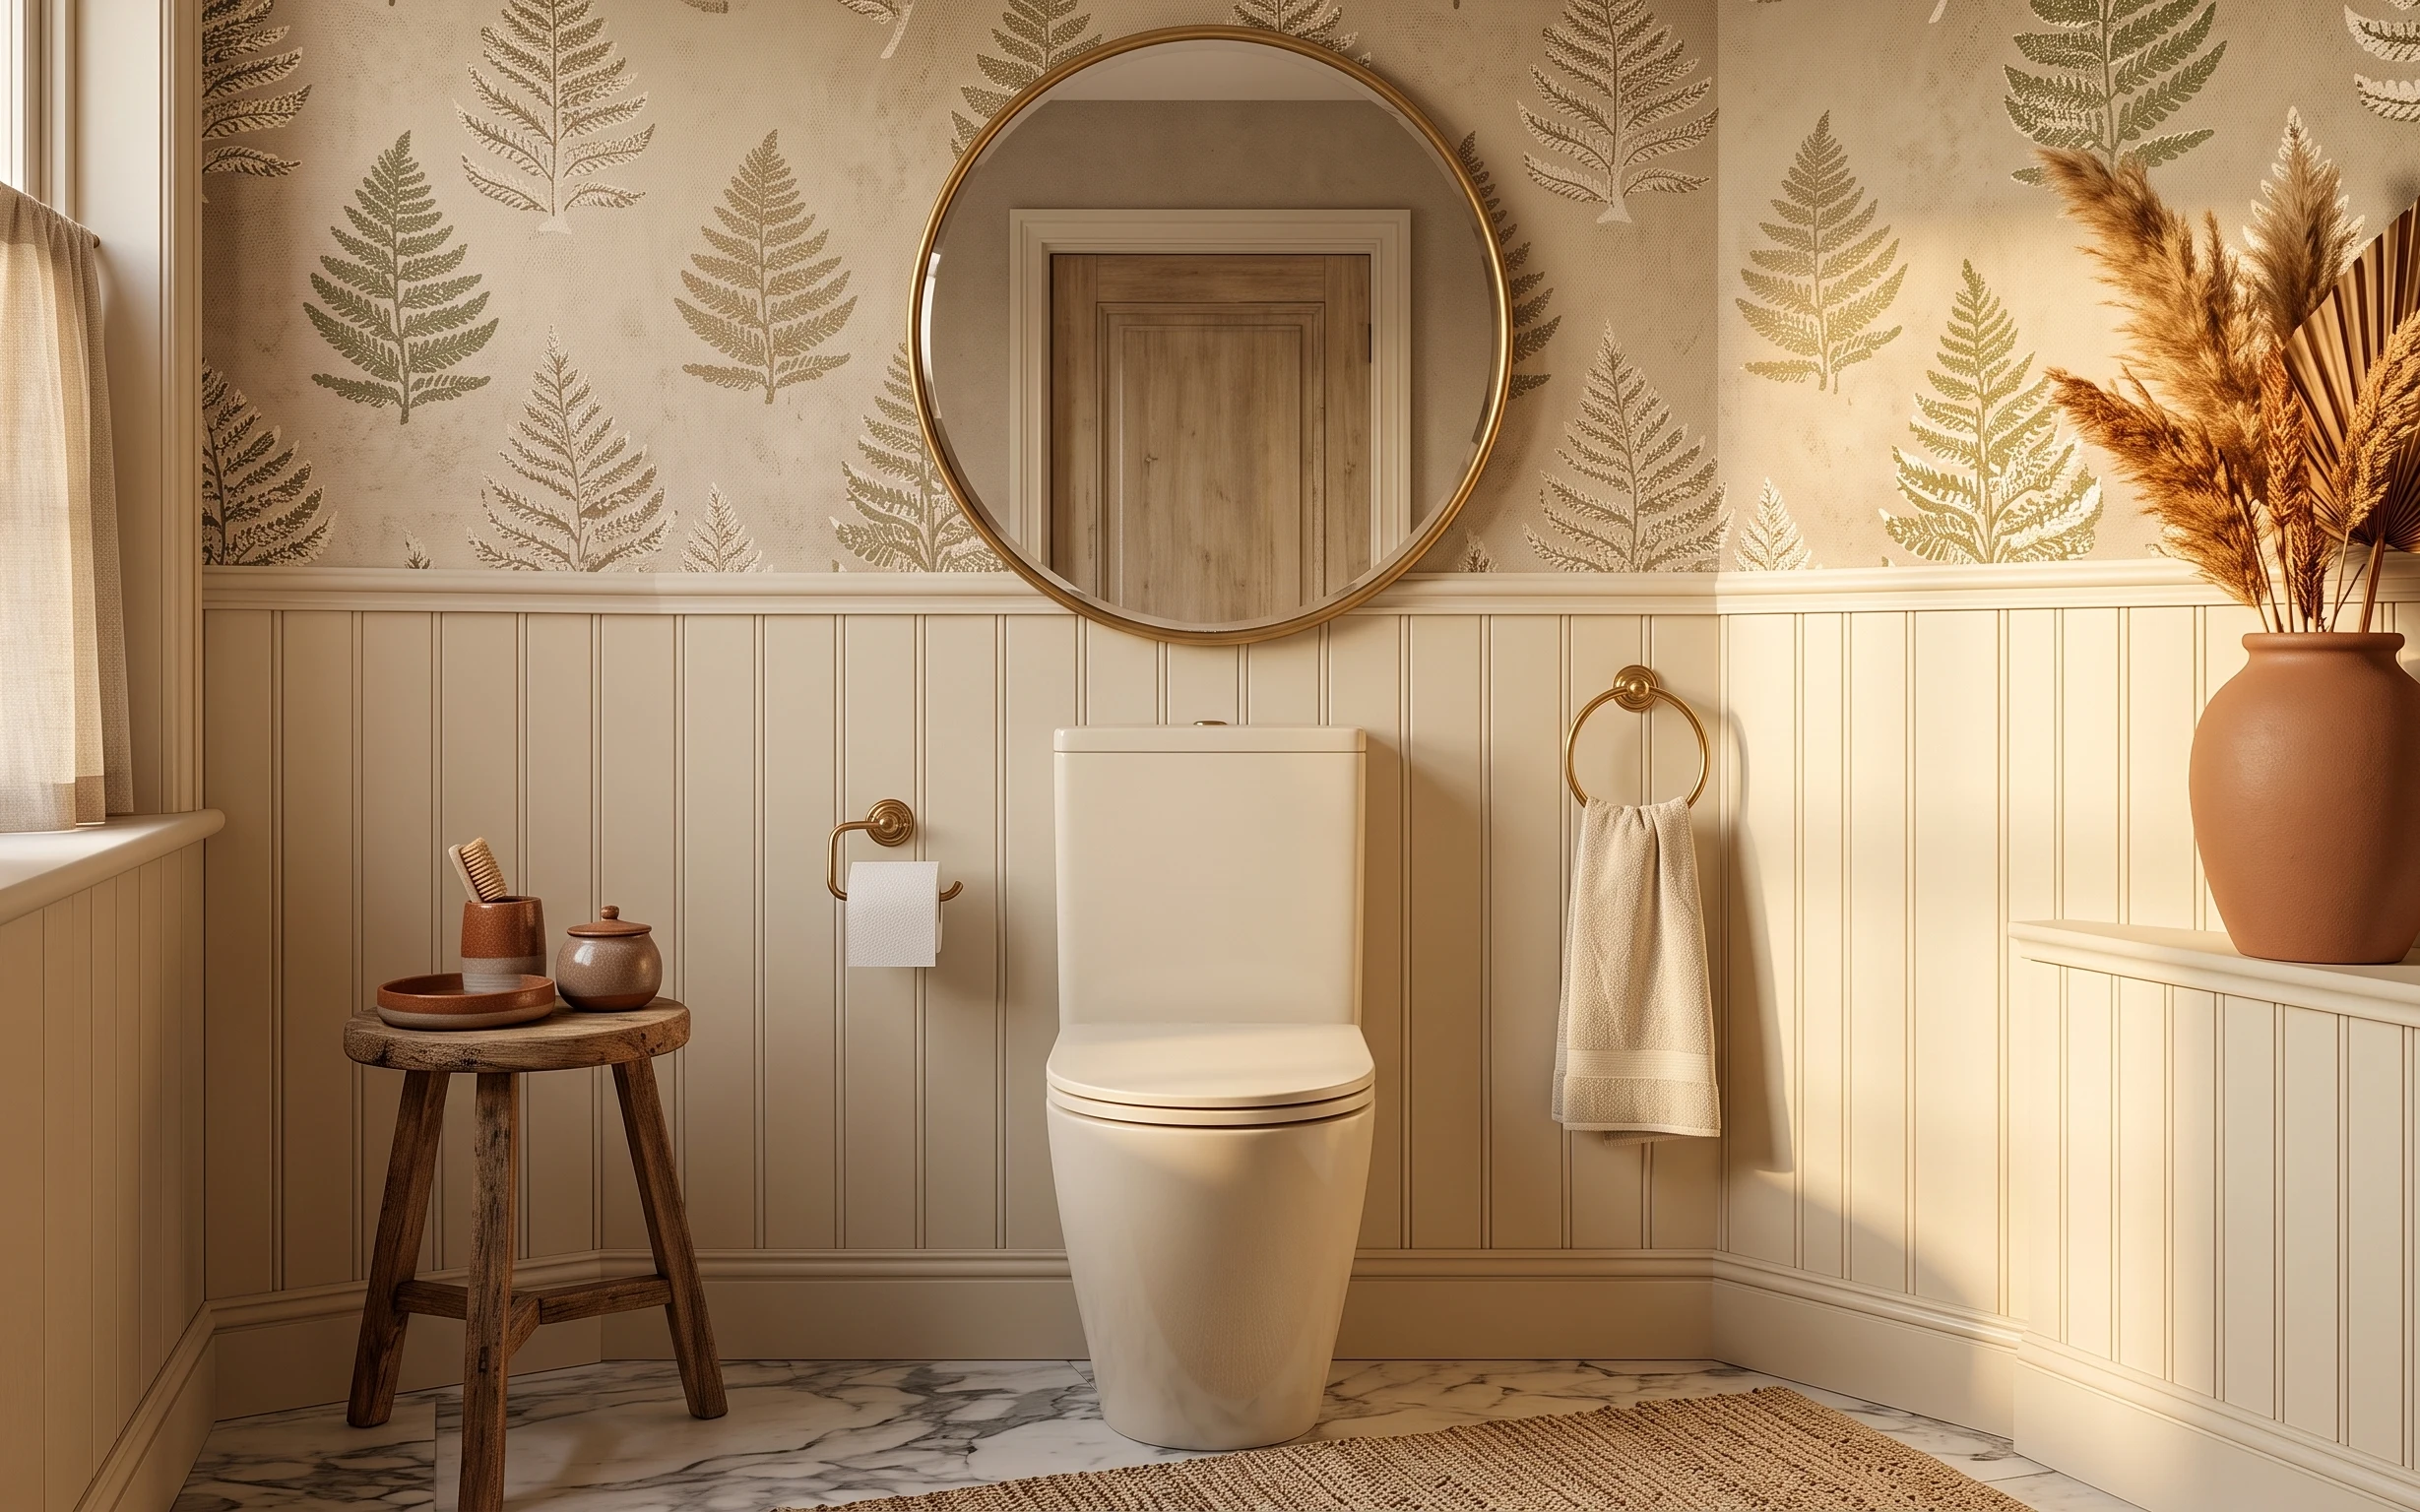
Under $400: move-ready beige bathroom corner refresh
A warm beige-and-terracotta bathroom corner refresh that packs up for your next lease. This $400 plan swaps small textiles and decor—plus o…
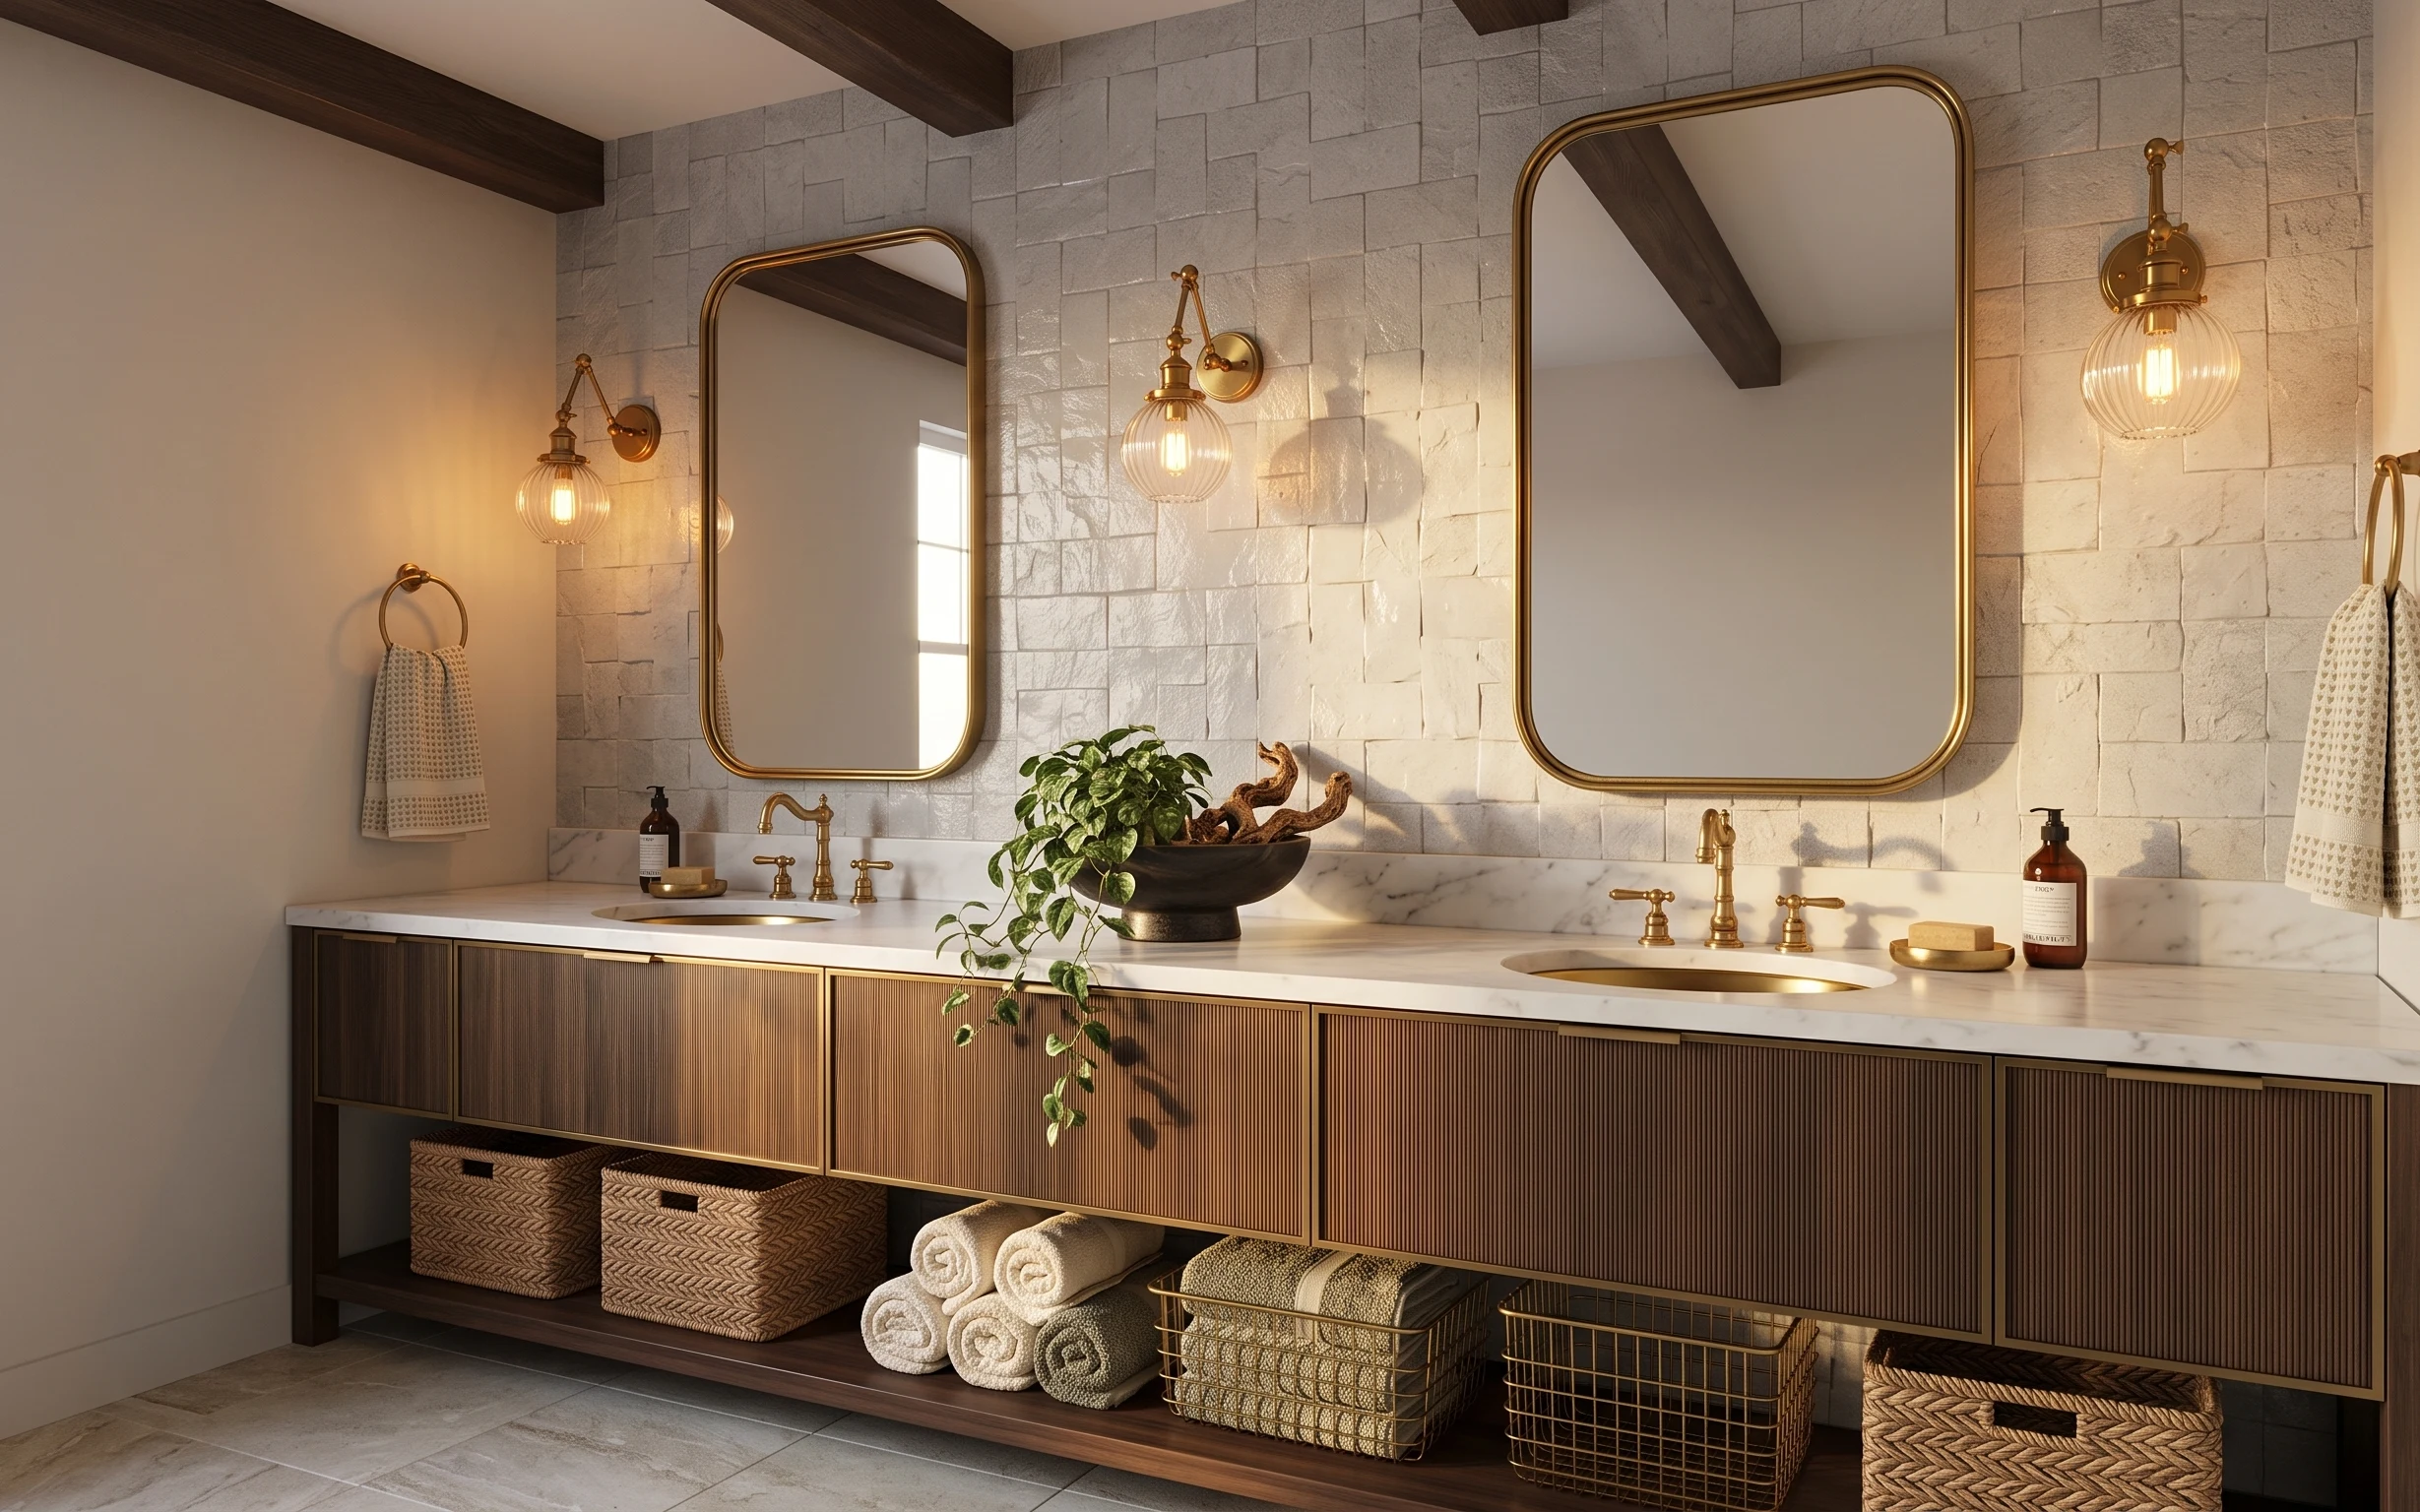
Under $250: renter-friendly bathroom double-mirror vanity swaps
This double-mirror vanity refresh is achievable for under $250 with move-friendly swaps: tidy storage baskets, fresh towels, warm gold coun…