- Best for
- texture layering around a mural-style wall
- Cost
- Under $400
- Difficulty
- Easy
- Time
- About 2–4 hours
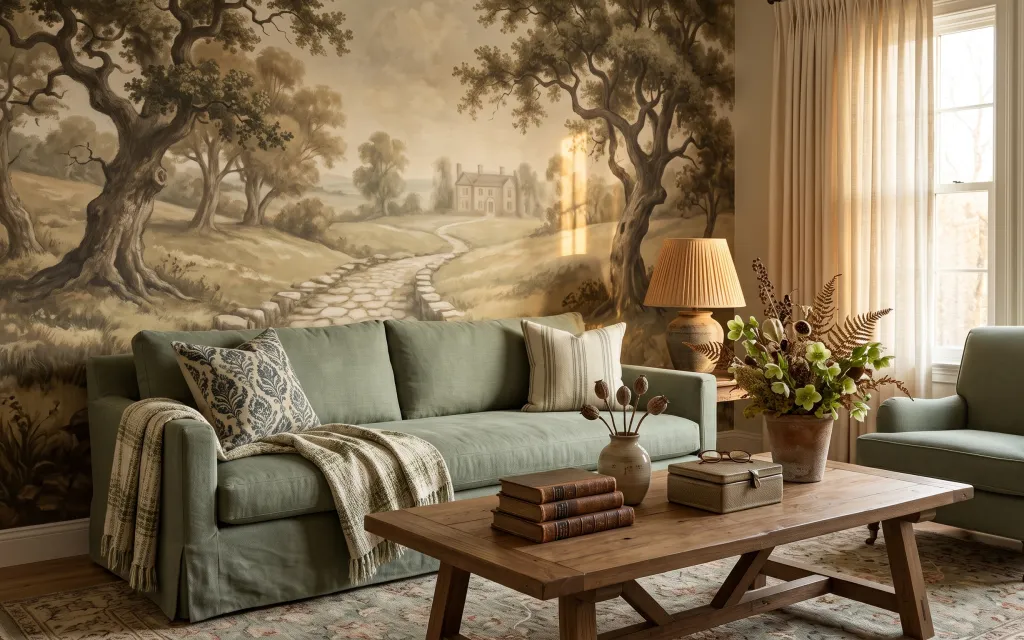
Why olive-and-cream textile palette is the living room of 2026
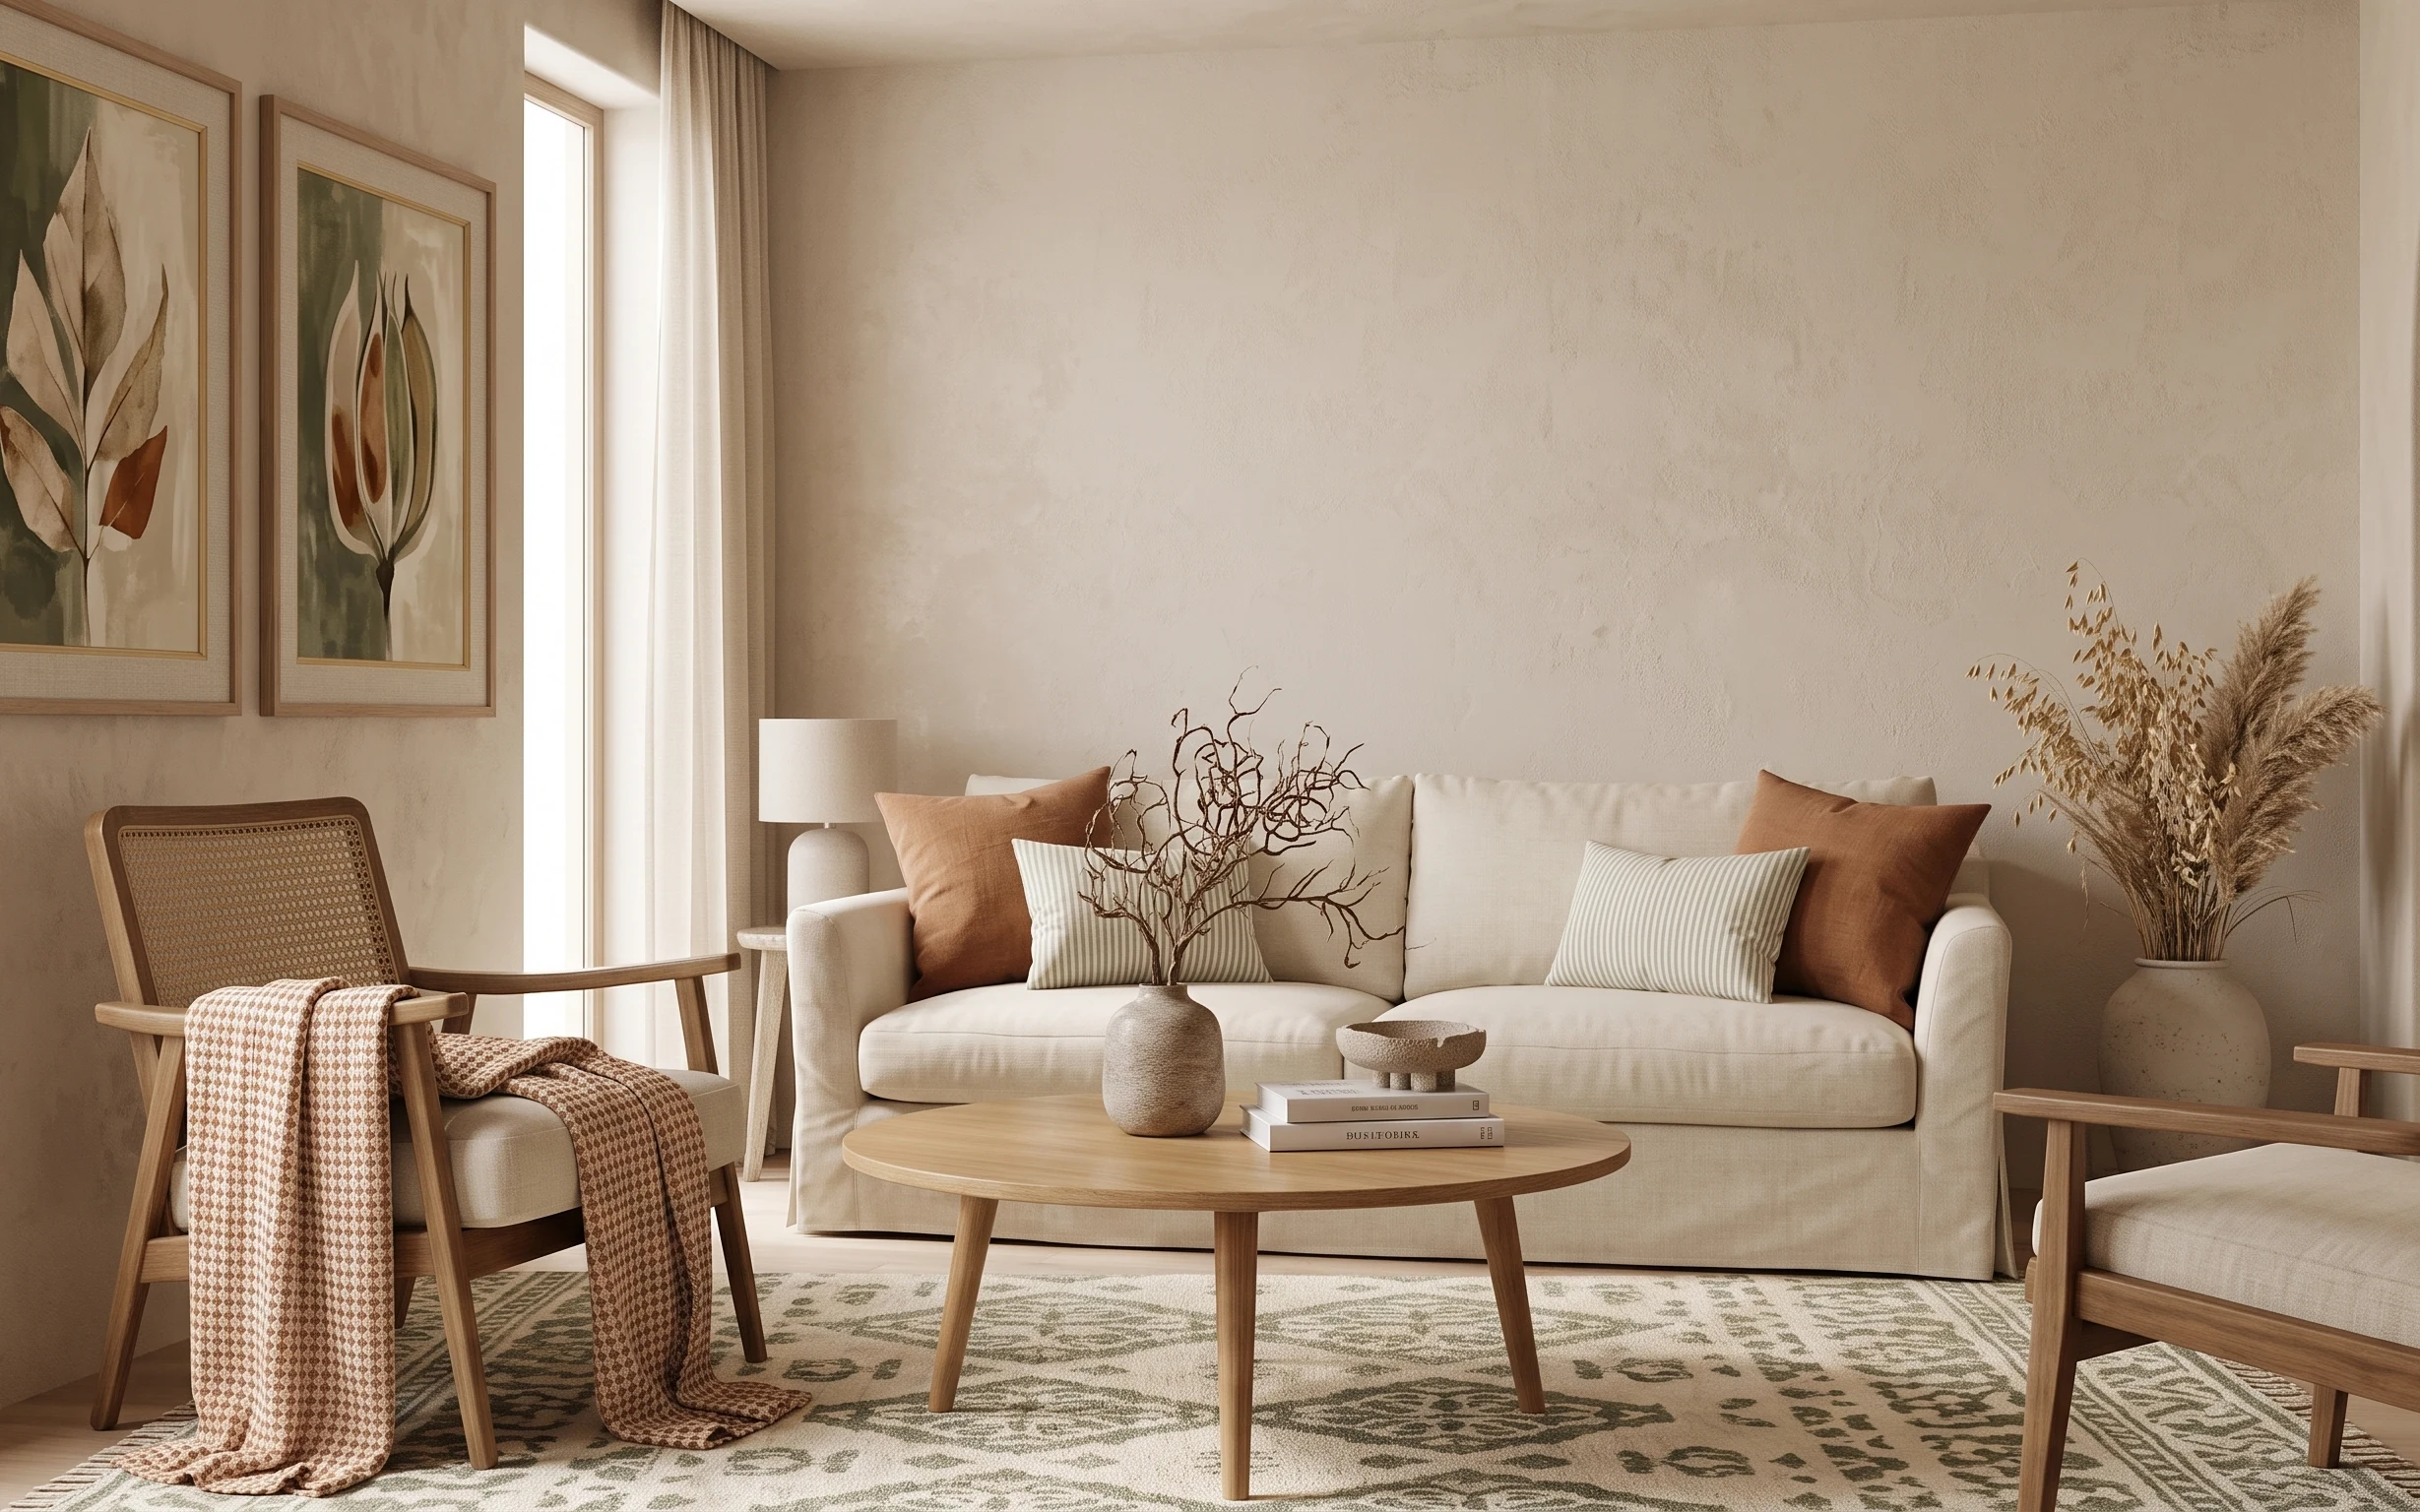
The hero in this living room is that classic country mural behind the sofa, which already brings drama without needing extra wall clutter. What makes it feel livable is how the softer items echo the same colors: the light green throw blanket sits over textured upholstery, the patterned and striped throw pillows add contrast, and the large area rug anchors everything on the wood floor. Cream sheer curtains keep daylight bright and airy, while the tan pleated table lamp adds warm shadowing after dark. For shared housing, this kind of “textiles first” approach is achievable because most pieces pack flat or roll up.
I almost overcorrected once and tried to match everything to the mural perfectly—darker throw, different rug, more prints. It started looking like a costume closet. The fix was simpler: keep the palette (olive, cream, warm tan), but let the fabrics do the heavy lifting—one bolder pillow pattern, one calmer stripe, and one throw in a light green that reads fresh against the wall.
Layer 1 — large area rug ($150) Underfoot that makes the whole mural feel intentional
The large area rug is the foundation here, and its size matters more than its exact pattern. In the photo, you can see the rug extends across the seating area and visually connects the coffee-table zone to the sofa. When this rug is too small, the room can feel like it’s floating in the middle of the wood floor; when it’s closer to this scale, it turns “decor” into a layout. Choose a rug with a muted background and subtle, slightly vintage coloring so it doesn’t fight the mural’s busy tree-and-path scene. Roll-up storage is the trade-off: pick a fiber that won’t crush permanently in a box.
Match tone, not motif
With a mural backdrop, prioritize warm neutrals and low-contrast patterning so the rug supports instead of competes.
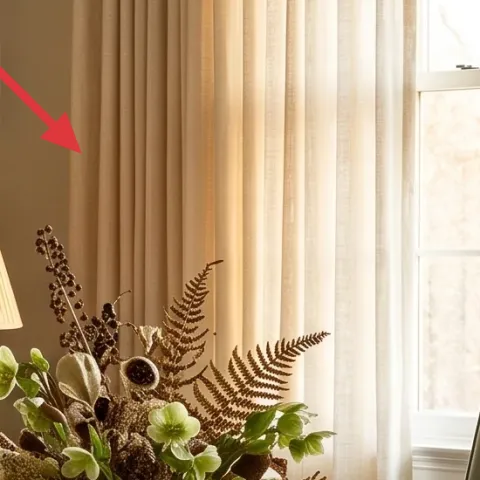
Layer 2 — cream sheer curtains ($60) Sheerness that keeps daylight doing the decorating
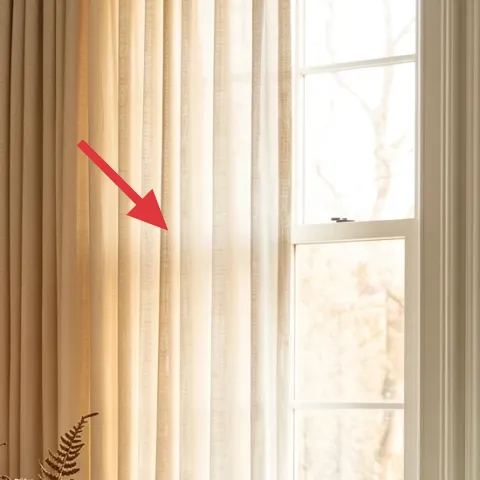
Cream sheer curtains are doing quiet work on the right side of the scene: they soften the bright window light and make the lamp glow feel intentional, not sudden. The fabric reads light and floaty, which helps balance the mural’s darker greens and browns. For a move-friendly swap, go for a pair of sheers that are easy to fold and hang with tension or existing hardware—sheers generally pack flatter than heavy drapes. The trade-off is privacy: they’re for daylight comfort, not total coverage, so plan on blinds or shades if your street is busy.
Let sheer set the color temperature
Cream sheers keep the room looking warm and consistent even when the mural has a lot of brown-greens.
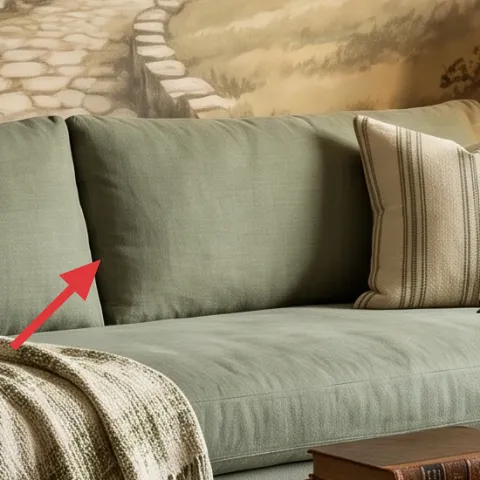
Layer 3 — light green throw blanket ($25) One soft texture that repeats the sofa’s undertone
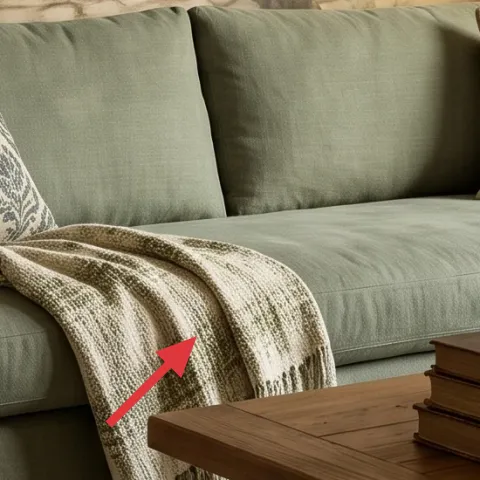
The light green throw blanket is the easiest way to echo the olive family without redoing anything permanent. In the photo, it’s draped so it creates a visible texture layer on the sofa—slightly casual, but still styled. That position is the key: it reads when people enter the seating area, not only up close. When choosing a replacement, pick a throw that’s thicker than a thin knit so it holds shape over upholstery, and keep the color pale enough to feel fresh against the mural. The trade-off is storage bulk: thicker throws take more space in transit, so fold tight and keep it with your pillow bundle.
Fold, don’t wad
A folded throw keeps crisp edges that sit nicely on upholstery even after moving.
Layer 4 — patterned throw pillow ($30) The DIY color tune-up for the olive-and-cream vibe
Make it instead of buying it
Dyed pillow covers let this patterned pillow land in the same olive-and-cream family as the rug and throw without hunting for an exact match.
Materials
- Fabric dye (olive tone) — 1 kit — craft store — $12
- Salt — 1 box — grocery store — $5
- Dish soap or dye fixative — 1 bottle — grocery store — $4
- Gloves — 1 pair — pharmacy — $2
- Drop cloth / plastic liner — 1 sheet — home store — $1
Steps
- Wet the pillow cover fully, then wring it out lightly so dye spreads evenly.
- Dissolve dye and mixing solution in hot water per kit instructions.
- Submerge the cover and stir regularly to avoid blotchy spots.
- Rinse in cooler water until runoff is clear, then wash separately with a mild detergent.
- Dry completely, then fluff and re-stuff or re-insert the pillow form.
Total DIY cost: $24 — saves about $6 over buying.
When the pillow pattern is already in place, dyeing is the smartest lever because it changes the undertone without changing the shape or size. In the photo, the patterned pillow adds movement in the same warm-brown and green family as the mural, but it also needs to stay coordinated with the light green throw blanket. A DIY dye job lets you steer toward more olive or more cream depending on how the rug reads in your space. The trade-off is you can’t guarantee an identical outcome to store dye photos, so test on a hidden corner or similar scrap if the fabric allows. Keep this one in your “move box” since covers are easy to swap quickly.
Go lighter than you think
Most dyes darken as they dry; starting a shade lighter usually lands closer to the mural’s balanced tones.
Layer 5 — striped throw pillow ($12) A calm line that keeps the pattern from getting loud
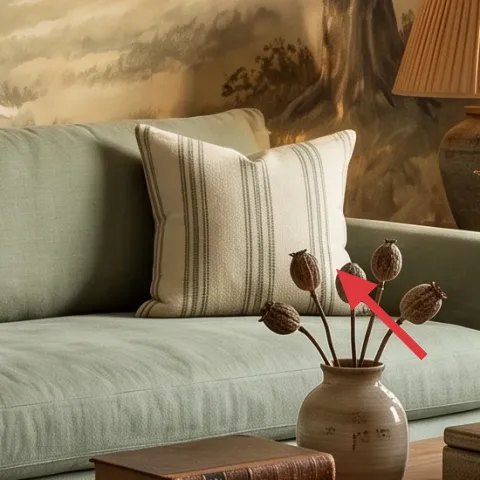
The striped throw pillow adds rhythm without adding more “busy.” In this photo, it sits near the patterned pillow and softens the overall look so the mural doesn’t feel like the only focal point. The stripes are subtle and directional, which helps your eye travel across the sofa and toward the coffee table. When swapping, pick a stripe that’s narrower than the patterned pillow’s motif, and keep the stripe color in the cream-to-olive range so it feels like a family member rather than an intruder. The trade-off is that stripes can look flat if the fabric is too shiny—choose a matte cotton or cotton-blend look for steadier texture.
Balance one loud pillow with one quiet one
Two patterns can work, but here the stripe is the “breather” that makes the mural feel designed.
Layer 6 — table lamp with tan pleated lampshade ($40) Warm pools of light that flatter the wall artwork
The tan pleated lampshade is the lighting piece that ties the room together because it warms the greens and creams instead of cooling them. In the image, the lamp sits on the right side of the coffee table zone, which means it lights the sofa face and helps the mural’s darker branches look dimensional. Choose a plug-in table lamp with a pleated or linen-look shade so light spreads softly; a hard glossy shade tends to create harsh highlights on textured fabrics. The trade-off is bulb warmth: if the bulb is too cool, the whole palette can start reading gray. Stick to a warm bulb and keep the cord length so it can still move with the table.
Use a warm bulb
A warmer bulb keeps cream curtains glowing instead of washing them out.
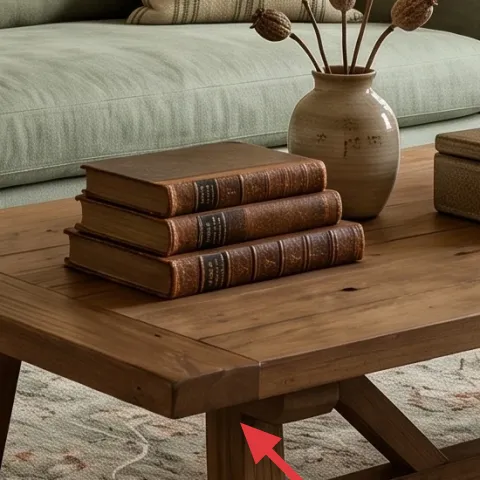
Layer 7 — large ceramic vase with flower arrangement ($15) A small hit of earthy texture on the coffee table
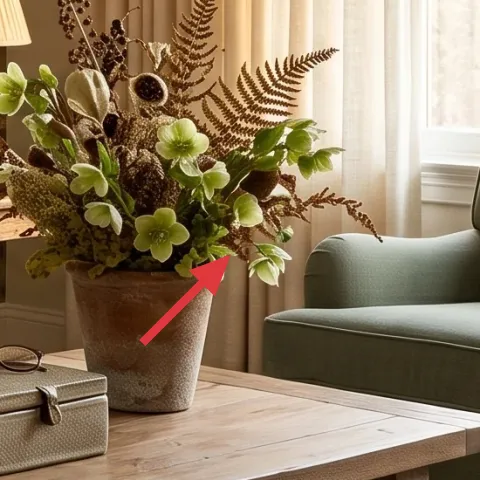
The large ceramic vase and flower arrangement are the finishing layer that makes the coffee table feel staged without adding another big object. In the photo, the greenery and brown stems echo the mural’s branches, and the vase brings an earthy, matte look that contrasts with the wooden tabletop. For shared housing, the best part is that vases are portable and don’t need any installs—just careful packing. When buying a similar look, aim for a neutral ceramic in a warm tone and stems with mixed greens and dried browns so the arrangement reads natural rather than overly matchy. The trade-off is fragility: use paper wrap in a box and keep it away from heavy items.
Pick stems with two tones
Green plus dried brown keeps the arrangement tied to the mural’s palette even when flowers change.
The cost, layer by layer
| Layer | Item | Cost |
|---|---|---|
| 1 | Area rug (8×10 style) | $150 |
| 2 | Cream sheer curtains (pair) | $60 |
| 3 | Light green throw blanket | $25 |
| 4 | Patterned throw pillow cover (DIY) | $30 |
| 5 | Striped throw pillow cover | $12 |
| 6 | Plug-in table lamp with tan pleated shade | $40 |
| 7 | Large ceramic vase for faux or fresh stems | $15 |
| Total | $332 | |
If a budget is tighter, swap the rug for a smaller 5×7 and keep the curtain pair as-is. You’ll still get most of the cohesion from the throw-and-pillow palette, and the lamp gives the mural room to feel warm after dark.
What worked, what didn't (across the whole room)
Most of the look holds together because the palette is consistent (olive, cream, warm tan) and the textures repeat: rug fibers, matte pillow covers, and a soft pleated shade. The mural is busy on purpose, so fewer competing prints made the seating area feel calmer.
What worked
- The rug’s muted pattern anchors the seating so the mural feels like part of the layout, not wallpaper clutter.
- Cream sheers keep daylight gentle, which makes the tan lamp look warm instead of harsh.
- The light green throw adds a “third texture” that softens the sofa’s solid color.
- One patterned pillow plus one striped pillow keeps the composition layered but not chaotic.
- The ceramic vase and earthy stems repeat branch-like shapes from the mural for visual continuity.
What didn't
- If the pillow pattern is too bold, it competes with the mural’s trees and pathway details.
- Cold, blue-leaning bulbs can make cream curtains look gray against the warm-brown wall artwork.
- A rug that’s too small makes the sofa feel unmoored on the wood floor.
- Shiny polyester sheers can reflect light and wash out the lamp’s cozy tone.
- Overstuffing with extra pillows can hide the throw blanket and flatten the layered look.
What we'd skip if we did it again
Skip replacing big fixed pieces like the sofa or large wall artwork. Even when the colors are close, swapping furniture usually costs more and is harder to move than changing textiles around it.
Skip heavyweight curtains that require special hardware. Sheers are light, packable, and they keep the room bright while still warming the edges around the window.
Skip adding a second “statement print” beyond the patterned pillow. With a mural-style wall artwork already doing the talking, extra patterns usually fight for attention instead of building cohesion.
Frequently asked
How long does it take to do a textiles-first living room refresh like this?
Plan for 2–4 hours if the only DIY is a pillow cover dye and the rest is swap-in shopping. The longest part is testing pillow and throw placement for balance on the sofa. Hanging cream sheer curtains can also take time if the existing setup needs a quick re-try. Once textiles are in, the room usually looks finished immediately, because the palette is already consistent with the mural.
Can this work if my living room is smaller or shaped differently?
Yes—scale is the adjustment lever. A smaller room usually needs a 5×7 or 6×9 rug that still reaches under the front legs of the seating. For curtains, choose a slightly narrower width so the sheers fall in soft folds instead of bunching. The pillow strategy still works: one patterned pillow and one quieter stripe keeps the mural from feeling busy even in a tight layout.
What if I’m renting and can’t change hardware for curtains or lighting?
This refresh is built around plug-in lighting and packable textiles. For curtains, use a no-drill option that matches existing hardware or rely on tension-style solutions if that’s already present in your unit. The table lamp is a plug-in swap, so it doesn’t require electrical work. Most of the “wow” comes from the rug, throw placement, and coordinated pillow tones.
Where should I shop for rug + pillow cover colors that match a warm mural?
Look for warm neutral palettes in the cream-to-olive family rather than cool grays. A good starting point is any store that sells area rugs with “vintage distressed” or “low-contrast” patterns, then match pillows by undertone instead of exact color. For the DIY pillow cover option, choose an olive dye and keep the goal slightly lighter than the mural so it blends in daylight.
What’s the biggest mistake to avoid in a mural-backed living room?
The biggest mistake is adding too many competing prints at the same visual intensity. When the wall artwork already has trees, paths, and layered scenery, the textiles should reduce chaos: muted rug tones, one patterned pillow max, and a stripe or solid throw to create breathing room. Also watch lighting temperature—cool bulbs can make cream sheers look washed out against warm-brown wall tones.
Is it better to buy ready-made dyed pillow covers or DIY dye?
If time is tight, buying a pre-matched cover is the easiest route, especially when the goal is a gentle olive undertone. DIY dye can be worth it if you’re trying to shift the tone of an existing patterned cover without changing the scale or placement. Either way, do a test on an inconspicuous area first so the fabric’s reaction doesn’t surprise you.
More in Living Room

Under $400: olive-and-cream living room refresh
A living room refresh built around olive-green upholstery, cream curtains, and a soft rug—kept move-friendly for shared housing. This 7-lay…
Under $400: move-ready living room refresh with rug, art, and textiles
A move-friendly living room refresh that leans into off-white + olive tones using a patterned rug, curtain panels, and framed botanical art…
Under $1000: modern living room weekend refresh
A modern living room refresh that leans warm wood-and-gold: swap in a plush light gray rug, add airy white sheer curtains, and update the g…