- Best for
- Warm, earthy dining refresh
- Cost
- $475 total
- Difficulty
- Easy swap-in layers
- Time
- 2–4 hours
Why sage chair-and-rattan buffet is the dining table zone of 2026
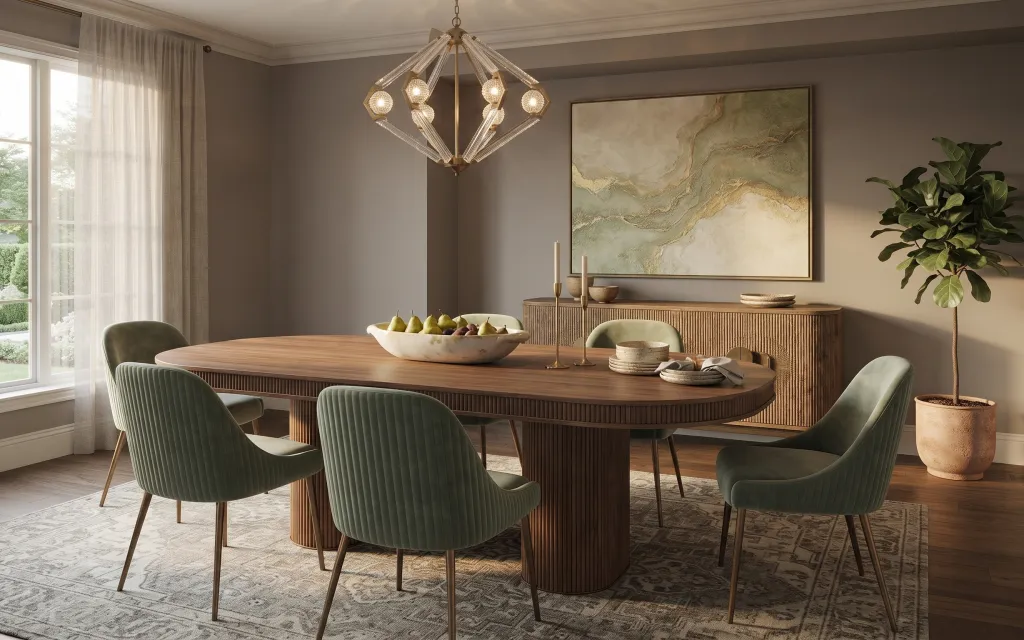
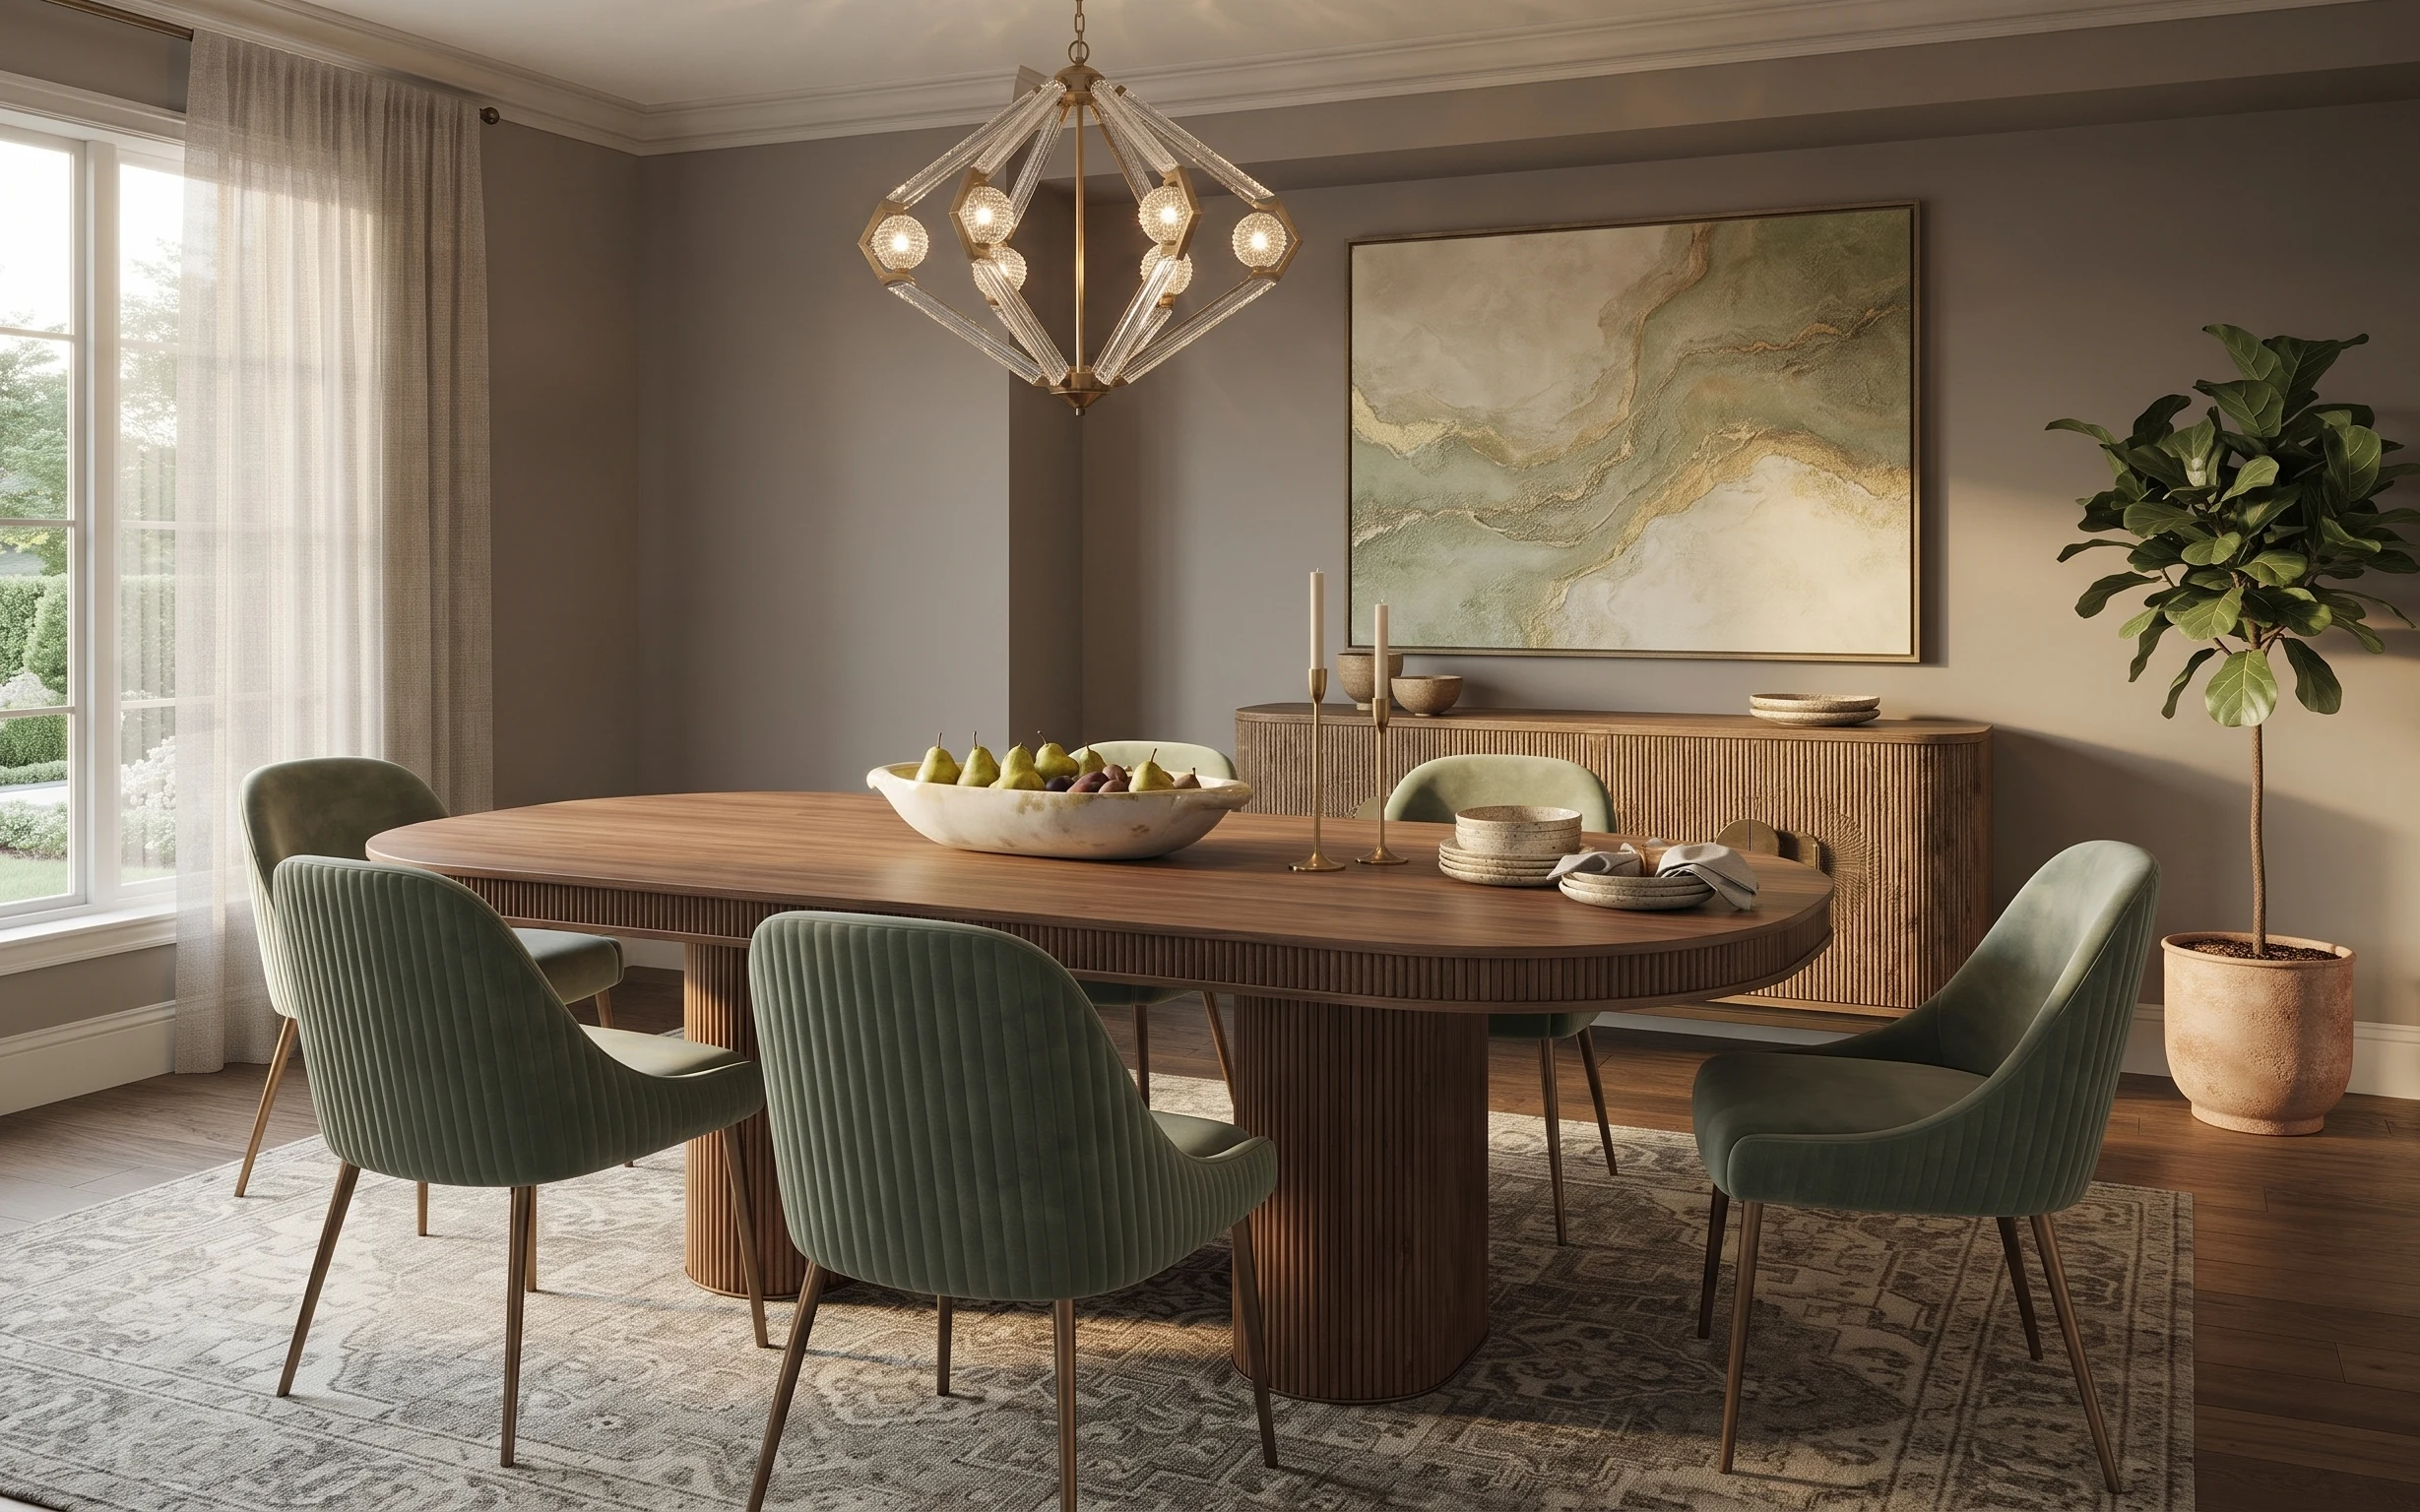
The biggest clue in this photo is how everything reads as one “materials story”: ribbed wood, creamy candles, and a warm neutral rug under soft curtain panels. That’s why this works even in a rented place—you’re leaning on textiles and freestanding styling, not fixtures. I’m always drawn to the mix of sage green upholstery with beige wall color and the brushed-gold feel of the chandelier. The good news for roommates is that the updates don’t need perfect measuring; they need a repeatable palette.
When I first tried to copy this vibe, I overdid it with too many small décor items on the sideboard. It looked busy in photos and crowded in person, which is the opposite of what dining spaces need. The fix was simple: keep the candle height, keep the fruit bowl as the center “anchor,” and let the framed abstract print do the heavy lifting on the wall. After that, the whole zone looked intentional without feeling staged.
Layer 1 — area rug patterns in warm neutrals ($80) grounds the dining zone
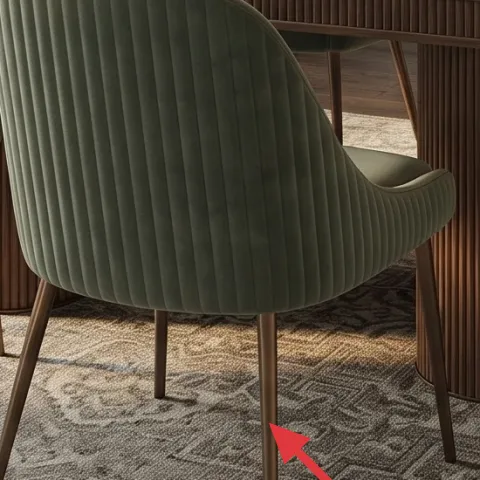
An area rug like the one shown—warm beige with a subtle pattern—makes the whole dining setup feel settled, even when you’re moving every couple of years. It also helps with the practical stuff: it softens sound from chairs, and it hides the tiny spills that always happen near a fruit bowl. The key choice here is pattern scale: you want something busy enough to forgive stains but not so loud that it fights the art print. The trade-off is that a rug is a “packable bulk” item, so plan for rolling and a rug bag.
Roll from both ends
Roll the rug around a cardboard tube and tape the edges so it doesn’t telescope in transit.
Layer 2 — curtain panels sheer beige layers ($60) adds softness without blocking light
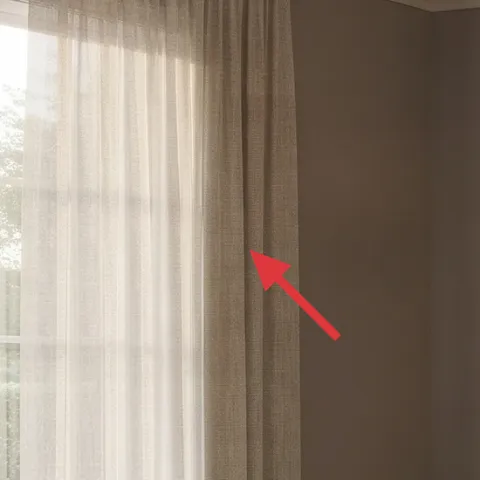
Those sheer beige curtain panels give you that airy look at the window while still making the room feel taller and more finished. For shared housing, sheer is a smart compromise: you get texture and privacy feel, but you’re not trying to install anything permanent. The trade-off is that sheer alone won’t stop glare or full sun, so you may need blinds or blackout options already in the rental. In a move-ready plan, curtains are one of the best wins because they fold flat, hang from standard tension or existing hardware, and let you keep the palette consistent across leases.
Keep the rod setup you already have
Use whatever the rental provides (or a renter-safe curtain rod) so you don’t add drilling to your moving list.
Layer 3 — large framed abstract wall art print warm marble tones ($25) brings the color story up top
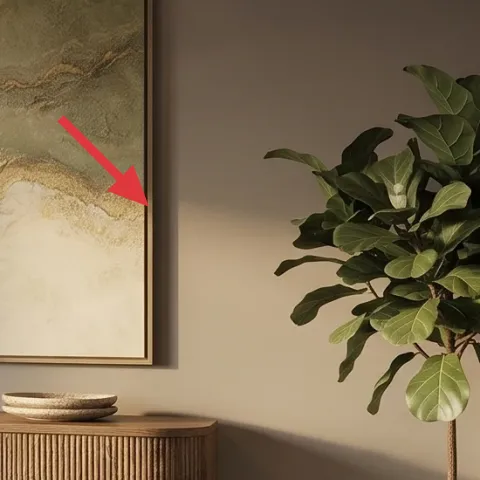
A large framed abstract wall art print with warm marble tones is what ties the whole palette together: beige walls, soft gold accents, and the sage seating all look more deliberate when the art repeats those colors. This is also the most “one item, big impact” layer—your eyes land here before they notice the smaller décor. The trade-off is size: a big frame is heavier than small prints, so protect it in a flat-pack portfolio or wrap-and-box system for moves. If you’re swapping within a rental, choose a frame that’s easy to tape up and rehang with non-damaging methods already available.
Wrap corners with paper
Cover frame corners with paper before bubble wrap so the frame edge doesn’t chip during a move.
Layer 4 — wood sideboard/buffet ribbed doors ($120) adds storage and visual rhythm
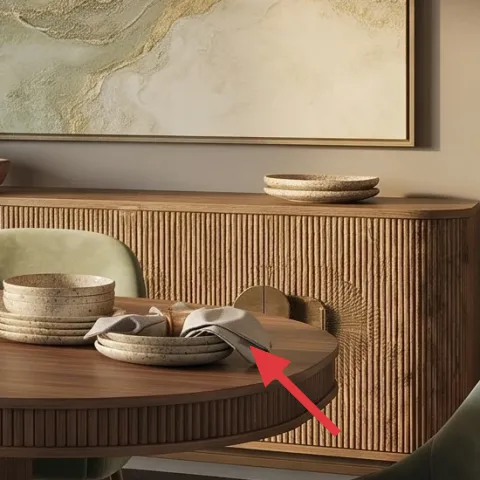
The wood sideboard/buffet with ribbed doors is the backbone of this look because it repeats the ribbed texture you see on the dining table. That repetition is what makes everything feel curated instead of accidental. For shared housing, the sideboard matters beyond looks: it gives you a place to stash extra plates, linens, or roommate essentials without stacking everything on the table. The trade-off is footprint—this kind of piece can dominate a smaller dining area—so keep the décor on top minimal and let the ribbing do the work. You’ll also be glad it’s freestanding when the next lease change happens.
Don’t overstyle the top
If the sideboard top gets crowded, it reads messy fast—keep to a couple of heights and one “group” tray.
Layer 5 — round dining table with wood pedestal base ribbed texture ($120) makes the seating feel intentional
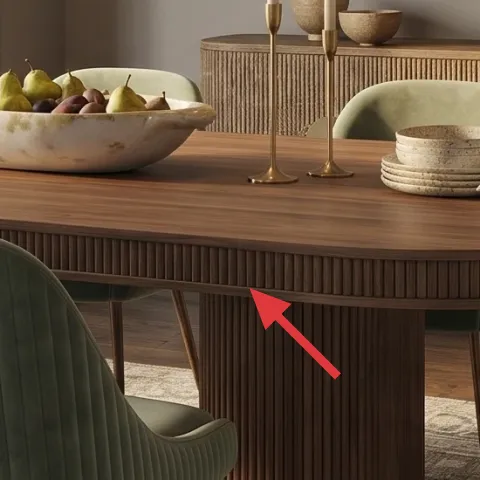
A round dining table with a wood pedestal base keeps circulation easy—chairs pull out without snagging, and the space feels smoother with four seats. Visually, it also softens the room’s angles compared with a rectangular table, which pairs nicely with the curved chair arms. The ribbed wood texture is the styling detail that matters most here; it echoes the ribbed storage so your palette feels cohesive instead of random. The trade-off is practicality: round tops can take more planning for place settings, so use a consistent centerpiece scale that fits without blocking serving.
Anchor with one centerpiece
Stick to one bowl or tray centerpiece so the tabletop stays clear for everyday use.
Layer 6 — candles on the sideboard tall cream candles ($25) adds height and warmth after dark
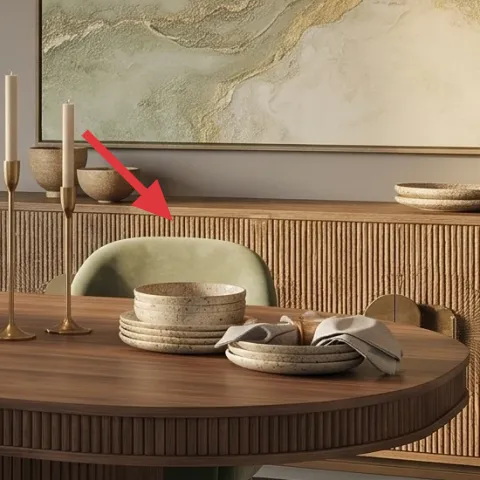
Candles on the sideboard—tall, cream, and close together—create the vertical rhythm that makes the sideboard feel “styled” even when you’re not arranging it for a photo. They also bring warmth to the color story: beige materials look richer near candlelight, and sage seating looks calmer. The trade-off is real life: candles mean timing and safety, so they’re best for evenings and gatherings, not constant burn. If you’re moving, choose candles you can transport easily and plan for the snuffer or lid so wax doesn’t smear. In a shared house, this is one of the simplest ways to upgrade mood without changing anything fixed.
Use a tray under the cluster
A simple tray catches drips and keeps transport easier when you pack décor.
Layer 7 — large potted plant in a terracotta planter statement pot shape ($45) brings life to the corner
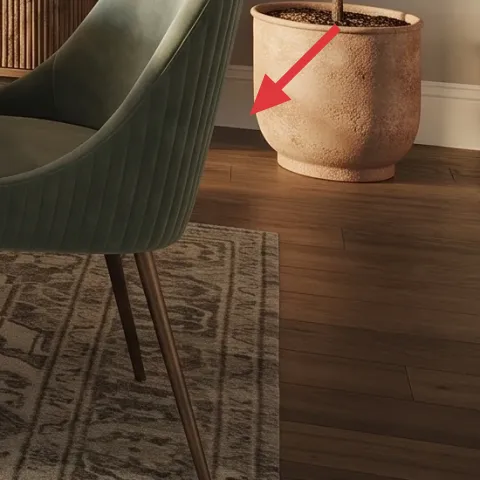
A large potted plant in a terracotta planter does two jobs at once: it adds organic texture and it reinforces the warm, earthy palette already happening in the rug and tabletop. The pot shape matters because it’s visible even when you’re standing up—an oversized container reads like “designed” rather than like a random houseplant. The trade-off is that oversized planters take up space in a move, so keep your plant to one hero pot and pack it carefully with a bag and padding. This is also an ideal place to DIY the pot finish so you still get the look even if the rental’s plant pot isn’t perfect.
Make it instead of buying it
DIY a painted terracotta planter set for the big corner plant moment, so the pot color matches the beige-and-gold palette without buying a new planter.
Materials
- Terracotta planter (medium) — 1 — garden supply — $15
- Acrylic craft paint (warm beige) — 1 small bottle — craft store — $10
- Foam brush or small paintbrush — 1 — craft store — $6
- Painters tape — 1 roll — hardware store — $4
- Drop cloth or cardboard sheet — 1 — hardware store — $3
Steps
- Set up a protected surface with a drop cloth or cardboard.
- Clean the planter and let it fully dry.
- Tape off stripes or a rim if you want a two-tone look.
- Paint thin coats with a foam brush, letting each coat dry fully.
- Peel tape after the final coat is dry to the touch.
- Let the painted planter cure completely before placing soil or the plant back inside.
- Test it with a dry plant placement first, then repot once you’re confident it’s set.
- Place the finished planter in the corner and style the leaves to face inward.
Total DIY cost: $38 — saves about $7 over buying.
The cost, layer by layer
| Layer | Item | Cost |
|---|---|---|
| 1 | Area rug (5×7) in warm neutrals | $80 |
| 2 | Curtain panel pair (sheer beige look) | $60 |
| 3 | Framed abstract art print (large) | $25 |
| 4 | Wood sideboard/buffet (ribbed doors) | $120 |
| 5 | Round dining table with pedestal base | $120 |
| 6 | Tall cream candles for sideboard | $25 |
| 7 | Large painted terracotta planter pot (DIY look equivalent) | $45 |
| Total | $475 | |
If you want a cheaper variant, cut the wall art and candle layers first: swap the large frame for a smaller framed print and use a single candle cluster instead of two taller ones. Keep the rug and curtains, since those are the “room structure” layers that read the most change from the doorway.
What worked, what didn't (across the whole room)
This combination works because it repeats texture (ribbed wood) and stays inside one warm palette, so everything feels cohesive even when you’re packing it up. The lighting and décor details add warmth without needing permanent changes.
What worked
- The warm neutral area rug reduced chair noise and made the tabletop feel “anchored.”
- Sheer beige curtain panels softened the window wall and kept the dining space bright.
- The framed abstract print pulled the palette upward, connecting beige walls and sage upholstery.
- The ribbed sideboard/buffet repeated the dining table texture and prevented visual randomness.
- Tall cream candles added height and made the sideboard look styled without clutter.
- The terracotta planter pot gave the corner an organic focal point with earthy tone continuity.
What didn't
- If the sideboard top gets too many small pieces, the ribbed texture reads busy.
- Sheer-only curtains won’t manage glare, so bright afternoons can still feel harsh.
- A large frame is heavier to move; without solid packing, corners chip more easily.
- Too many centerpieces on the round table shrink the serving area and feel cramped.
- Oversized planters can be awkward in small rooms; storage matters during moves.
What we'd skip if we did it again
Skip buying extra décor to fill every surface. Dining zones look best with one centerpiece, one candle moment, and a single “hero” plant—everything else can wait until the next lease is less rushed.
Skip oversized framed art if the move is frequent. A medium frame with the same warm marble palette keeps the look while being easier to wrap, lift, and rehang without stress.
Skip swapping for heavy, hard-to-pack storage on day one. Keep it freestanding and simple; add texture with rugs, curtains, and tabletop styling first so the room still functions as a shared space.
Frequently asked
How long does this dining table zone refresh take?
Plan on 2–4 hours for the core setup: rug placement, curtain hanging, framed art packing and placement, and styling the sideboard with candles and bowls. The longest part is usually moving items safely (wrapping the frame and protecting the plant). If the curtain hardware is already there, you can move faster.
Is this renter-friendly for shared housing?
Yes, because the focus is on textiles (rug and curtains) and freestanding styling (sideboard décor and a terracotta plant). The layers avoid permanent changes and are designed to dismantle into boxes when the next lease starts. Choose lightweight décor groups so you’re not stuck carrying heavy pieces out on moving day.
What if my dining space is smaller?
Scale down the wall art size and keep the sideboard styling minimal. A smaller framed print still carries the palette up top, while a single centerpiece on the round table keeps the serving area open. For the rug, prioritize coverage under the front chair legs rather than trying to fit an overly large size.
What if my dining space is bigger?
Go slightly larger on the rug and leave more breathing space around the table. Keep the framed art large enough to read as a focal point from standing height. For candles and décor, increase only by height and spacing—not by adding more items. The goal is still repetition of texture and tone.
Where should I shop if I want the same vibe for less?
For a budget-friendly match, start with secondhand rugs, thrifted framed art, and marketplace sideboards. For the terracotta planter look, buy unfinished terracotta and paint it so you control the color. The rug and curtain look are the highest impact per dollar, so prioritize those first.
What’s the biggest mistake in this kind of dining styling?
The most common miss is over-styling the sideboard and the tabletop at the same time. When every surface has multiple tiny objects, the room reads busy instead of warm and cohesive. Use one “hero” group (centerpiece plus candles) and keep the rest simple so the textures—ribbed wood, rug pattern, and framed art—do the heavy visual lifting.
More in Living Room
Under $500: move-ready dining table zone refresh
A move-friendly dining table zone refresh built from 7 swaps under $500. Focus: warm neutrals, sage seating, and a terracotta plant moment—…
Under $600: modern beige living room refresh with 7 renter swaps
A modern beige living room refresh that stacks high-impact neutrals—rug, art, lamps, curtains, and tabletop styling—using move-friendly swa…
Under $500: warm neutral living room refresh with renter-safe swaps
A warm neutral living room refresh that fits under $500 using renter-safe swaps: rug, pillows, a plug-in floor lamp, framed art, and stylin…