
- Best for
- Layered renter-friendly living room styling
- Cost
- $585 total (under $600)
- Difficulty
- Easy swaps + one simple planter paint DIY
- Time
- About a weekend
Why warm-beige boho is the sofa lounge corner of 2026
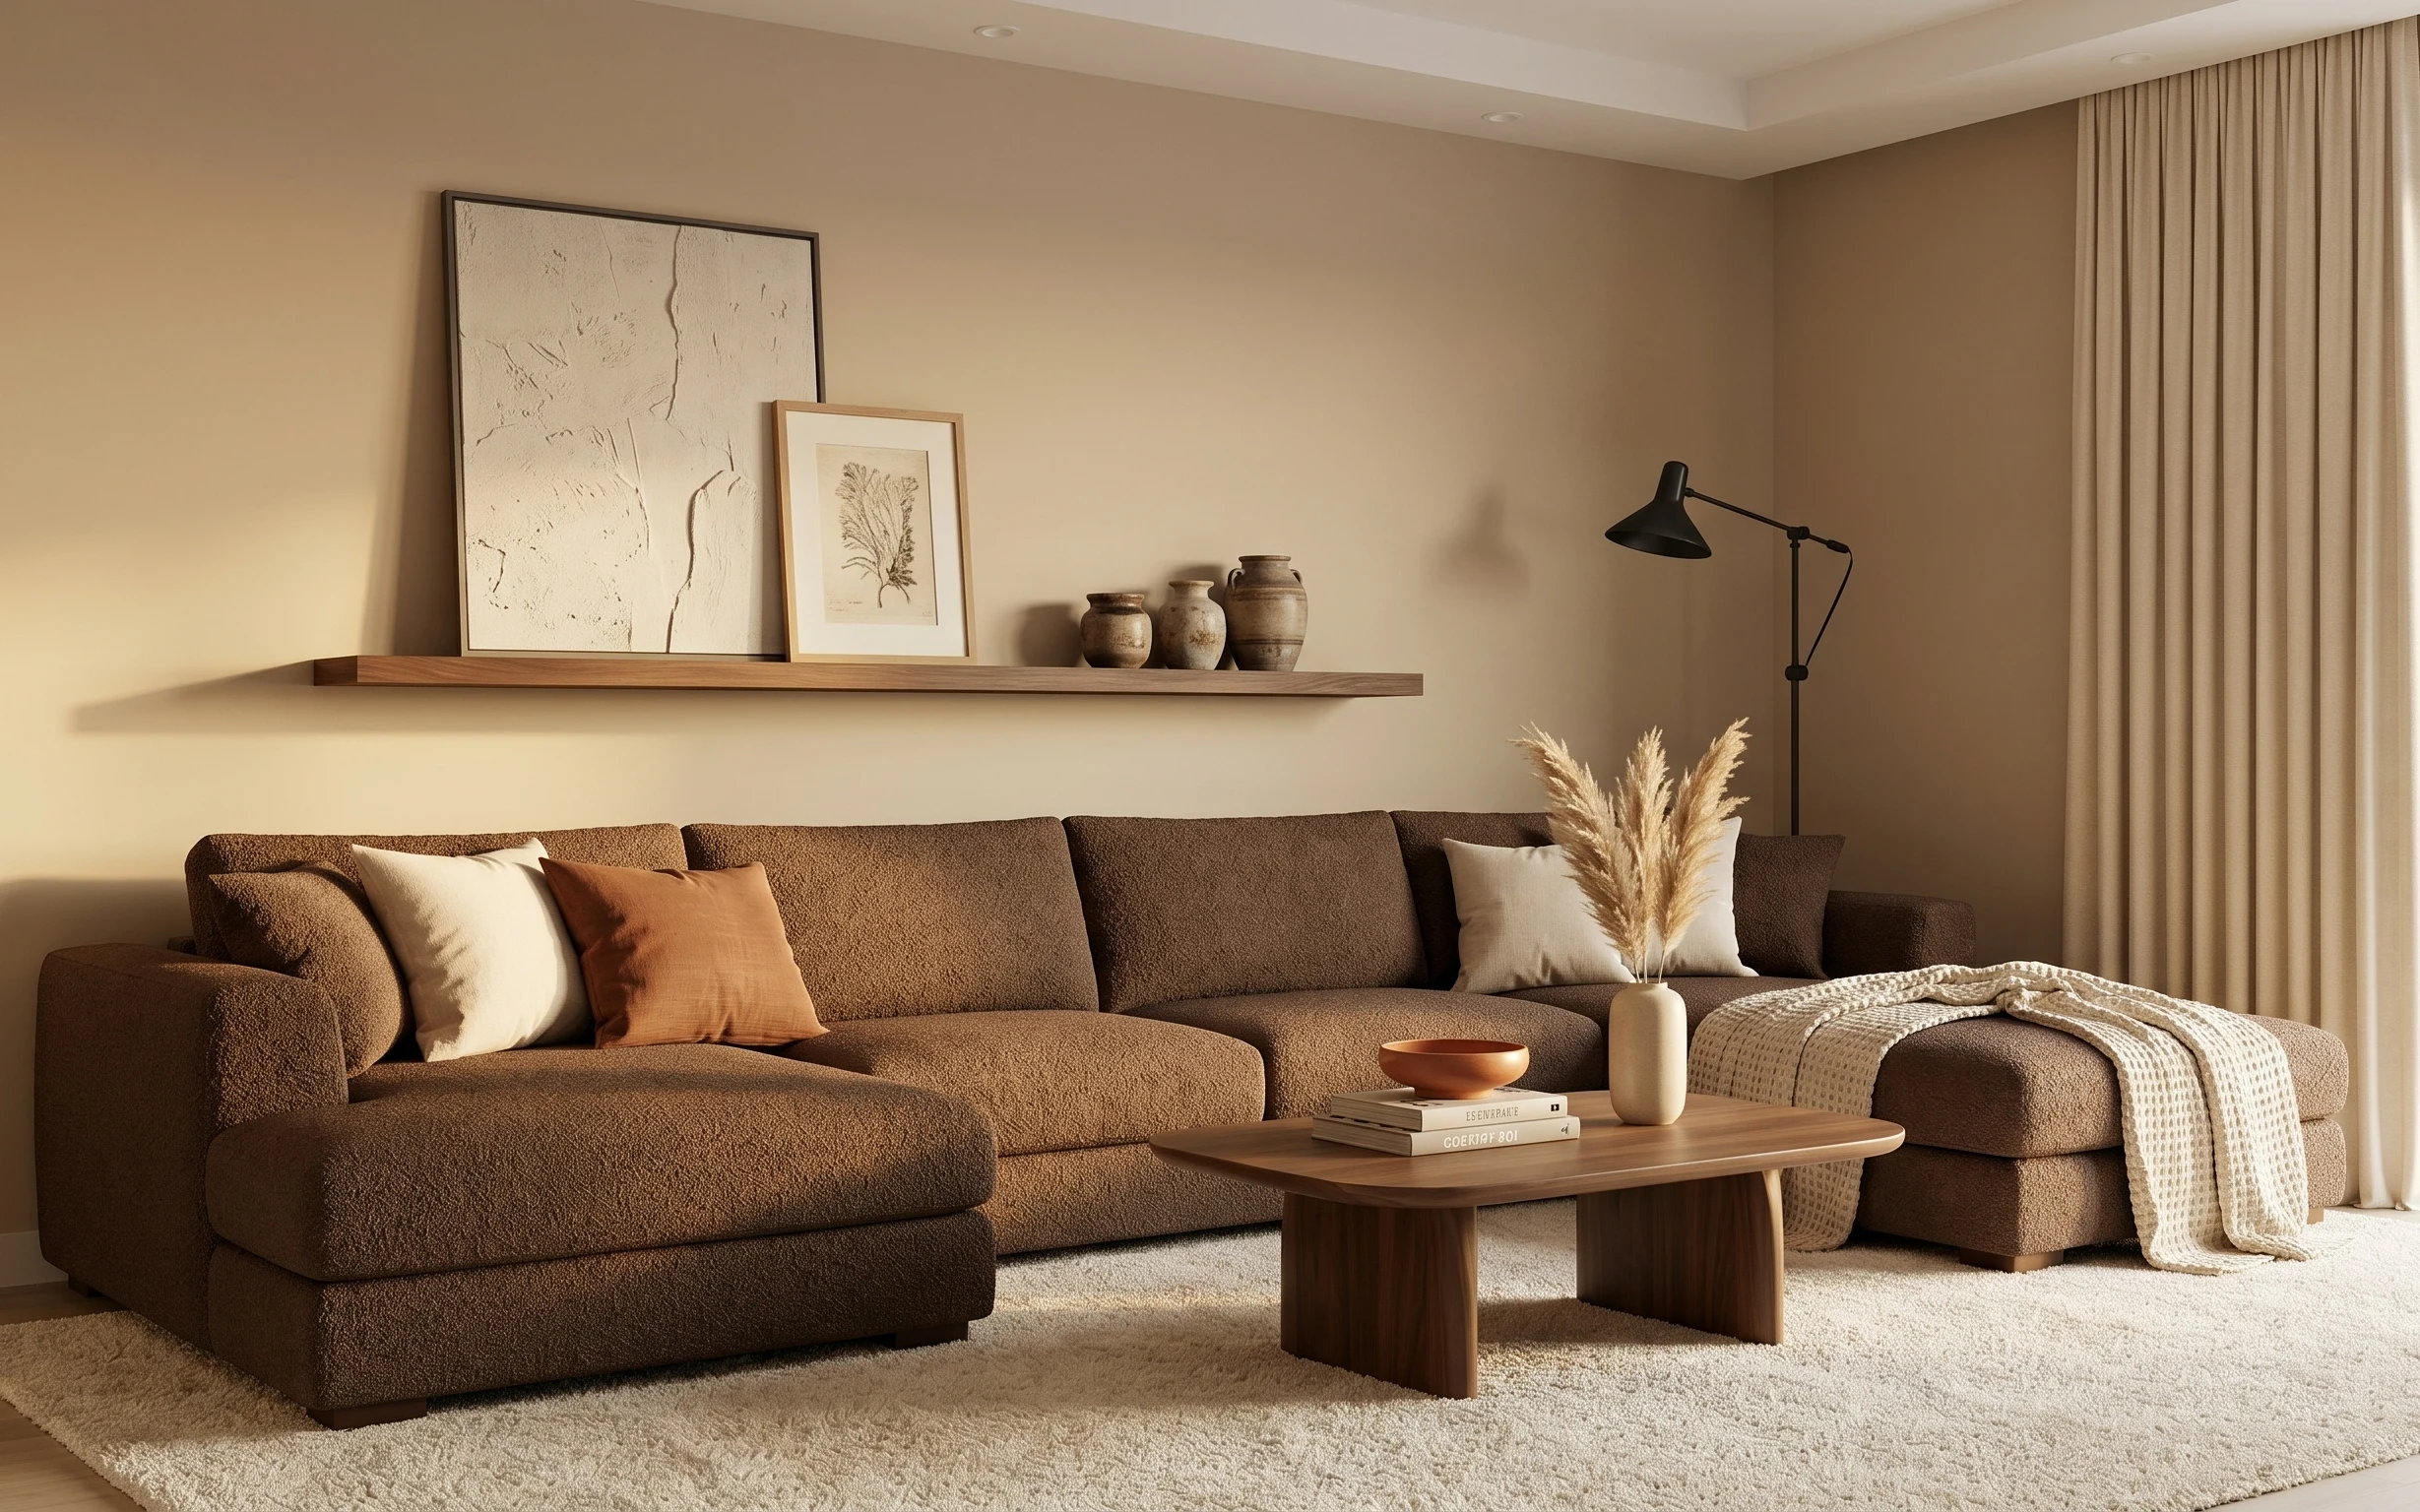
The easiest way to get this look is to build it in layers: soften the wood floor with a cream shag area rug, frame the window with beige curtain panels, then bring in warm light with a floor lamp and candle trio. On top of the charcoal sofa, the off-white throw pillow and the olive green throw pillow add contrast without needing new furniture. You’ll also notice how the textures do heavy lifting here—fur-like white throw, knit gray throw, and a botanical print that stays airy instead of busy. For renters, this combo is doable because every piece is removable and no-drill.
I used to overdo wall art, but this time I stopped chasing “more.” The first draft of my own living room had three different prints and it looked loud fast. What changed my mind was matching the botanicals to the plant colors already in the room—olive notes read calmer when they show up in both textiles and greenery. That’s the balance this sofa lounge corner nails: neutral base, one nature pattern, and warm lighting that makes everything feel finished.
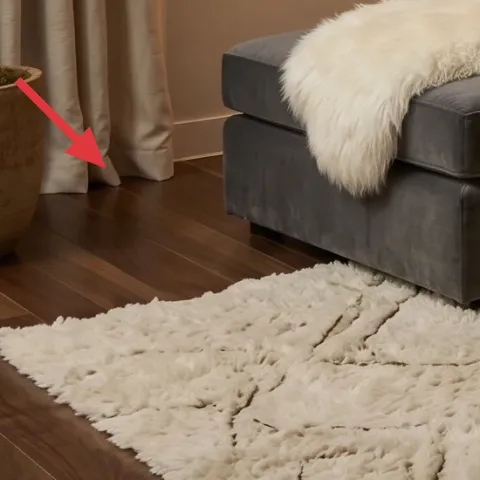
Layer 1 — cream shag area rug ($200) Soft underfoot and forgiving for daily life
A cream shag area rug anchors the whole scene and makes the gray sofa feel intentional instead of stark. In the photo, it sits at the front edge of the seating area, giving you that plush “sink in” moment the moment you step inside. If you go with a flatter rug, the space looks more formal but loses the cozy, boho texture contrast against the charcoal upholstery. The trade-off is that shag needs a little more care—aim for regular vacuuming and spot-clean any spills quickly—but it’s still an easy renter win because the rug rolls up and goes with you.
Pick the rug pile for your traffic
A thicker shag reads closest to the hero, but in a high-traffic rental, choose a shag with shorter fibers so it’s easier to vacuum.
Layer 2 — beige curtain panels ($80) Tall window framing without drilling
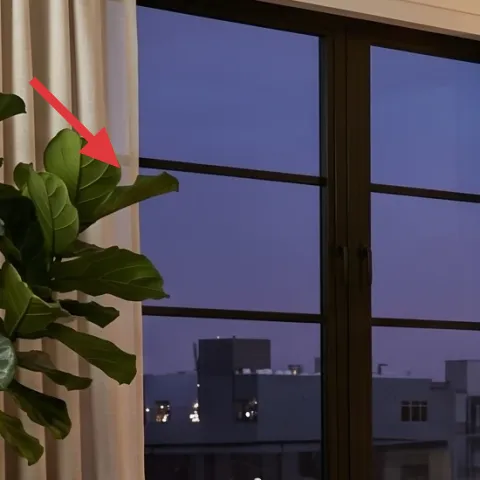
Beige curtain panels add height and softness around the window, which matters a lot in a lounge corner like this—especially when you already have bold wall decor. In the hero, the curtains fall in calm vertical folds that visually stretch the room upward, even though the walls stay a simple warm neutral. A basic sheers-only setup would let more light through but wouldn’t create the same cozy boundary. The trade-off is that you’re choosing styling weight over maximum brightness; if you need full daylight control, you can layer sheers underneath later, but you can keep these rentals move-ready.
Where they hang changes everything
Hang the panels high enough to reach near the window casing, so the folds read tall instead of boxy.
Layer 3 — floor lamp with cylindrical shade ($120) Warm light that flatters textiles
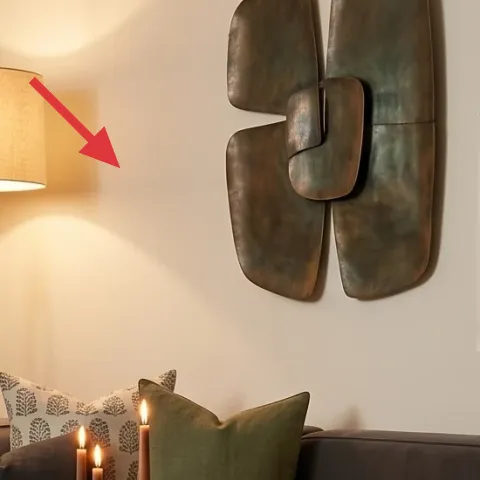
The floor lamp with its cylindrical shade is what turns the warm beige palette into a nighttime-ready look. The hero shows light pooling across the wall and around the sofa, which makes the olive green pillow and fur-like white throw look richer instead of flat. If you swap to a cooler bulb or skip a shade, you get harsh highlights on the candles and pillows, not the gentle glow in the photo. The trade-off is footprint: a floor lamp needs some clearance, so measure your path from the coffee table to the sofa before you commit. Still, it’s a renter-friendly plug-in that packs away easily.
Use a warm bulb
Look for a warm 2700K-style bulb so the beige reads creamy and the olive stays soft.
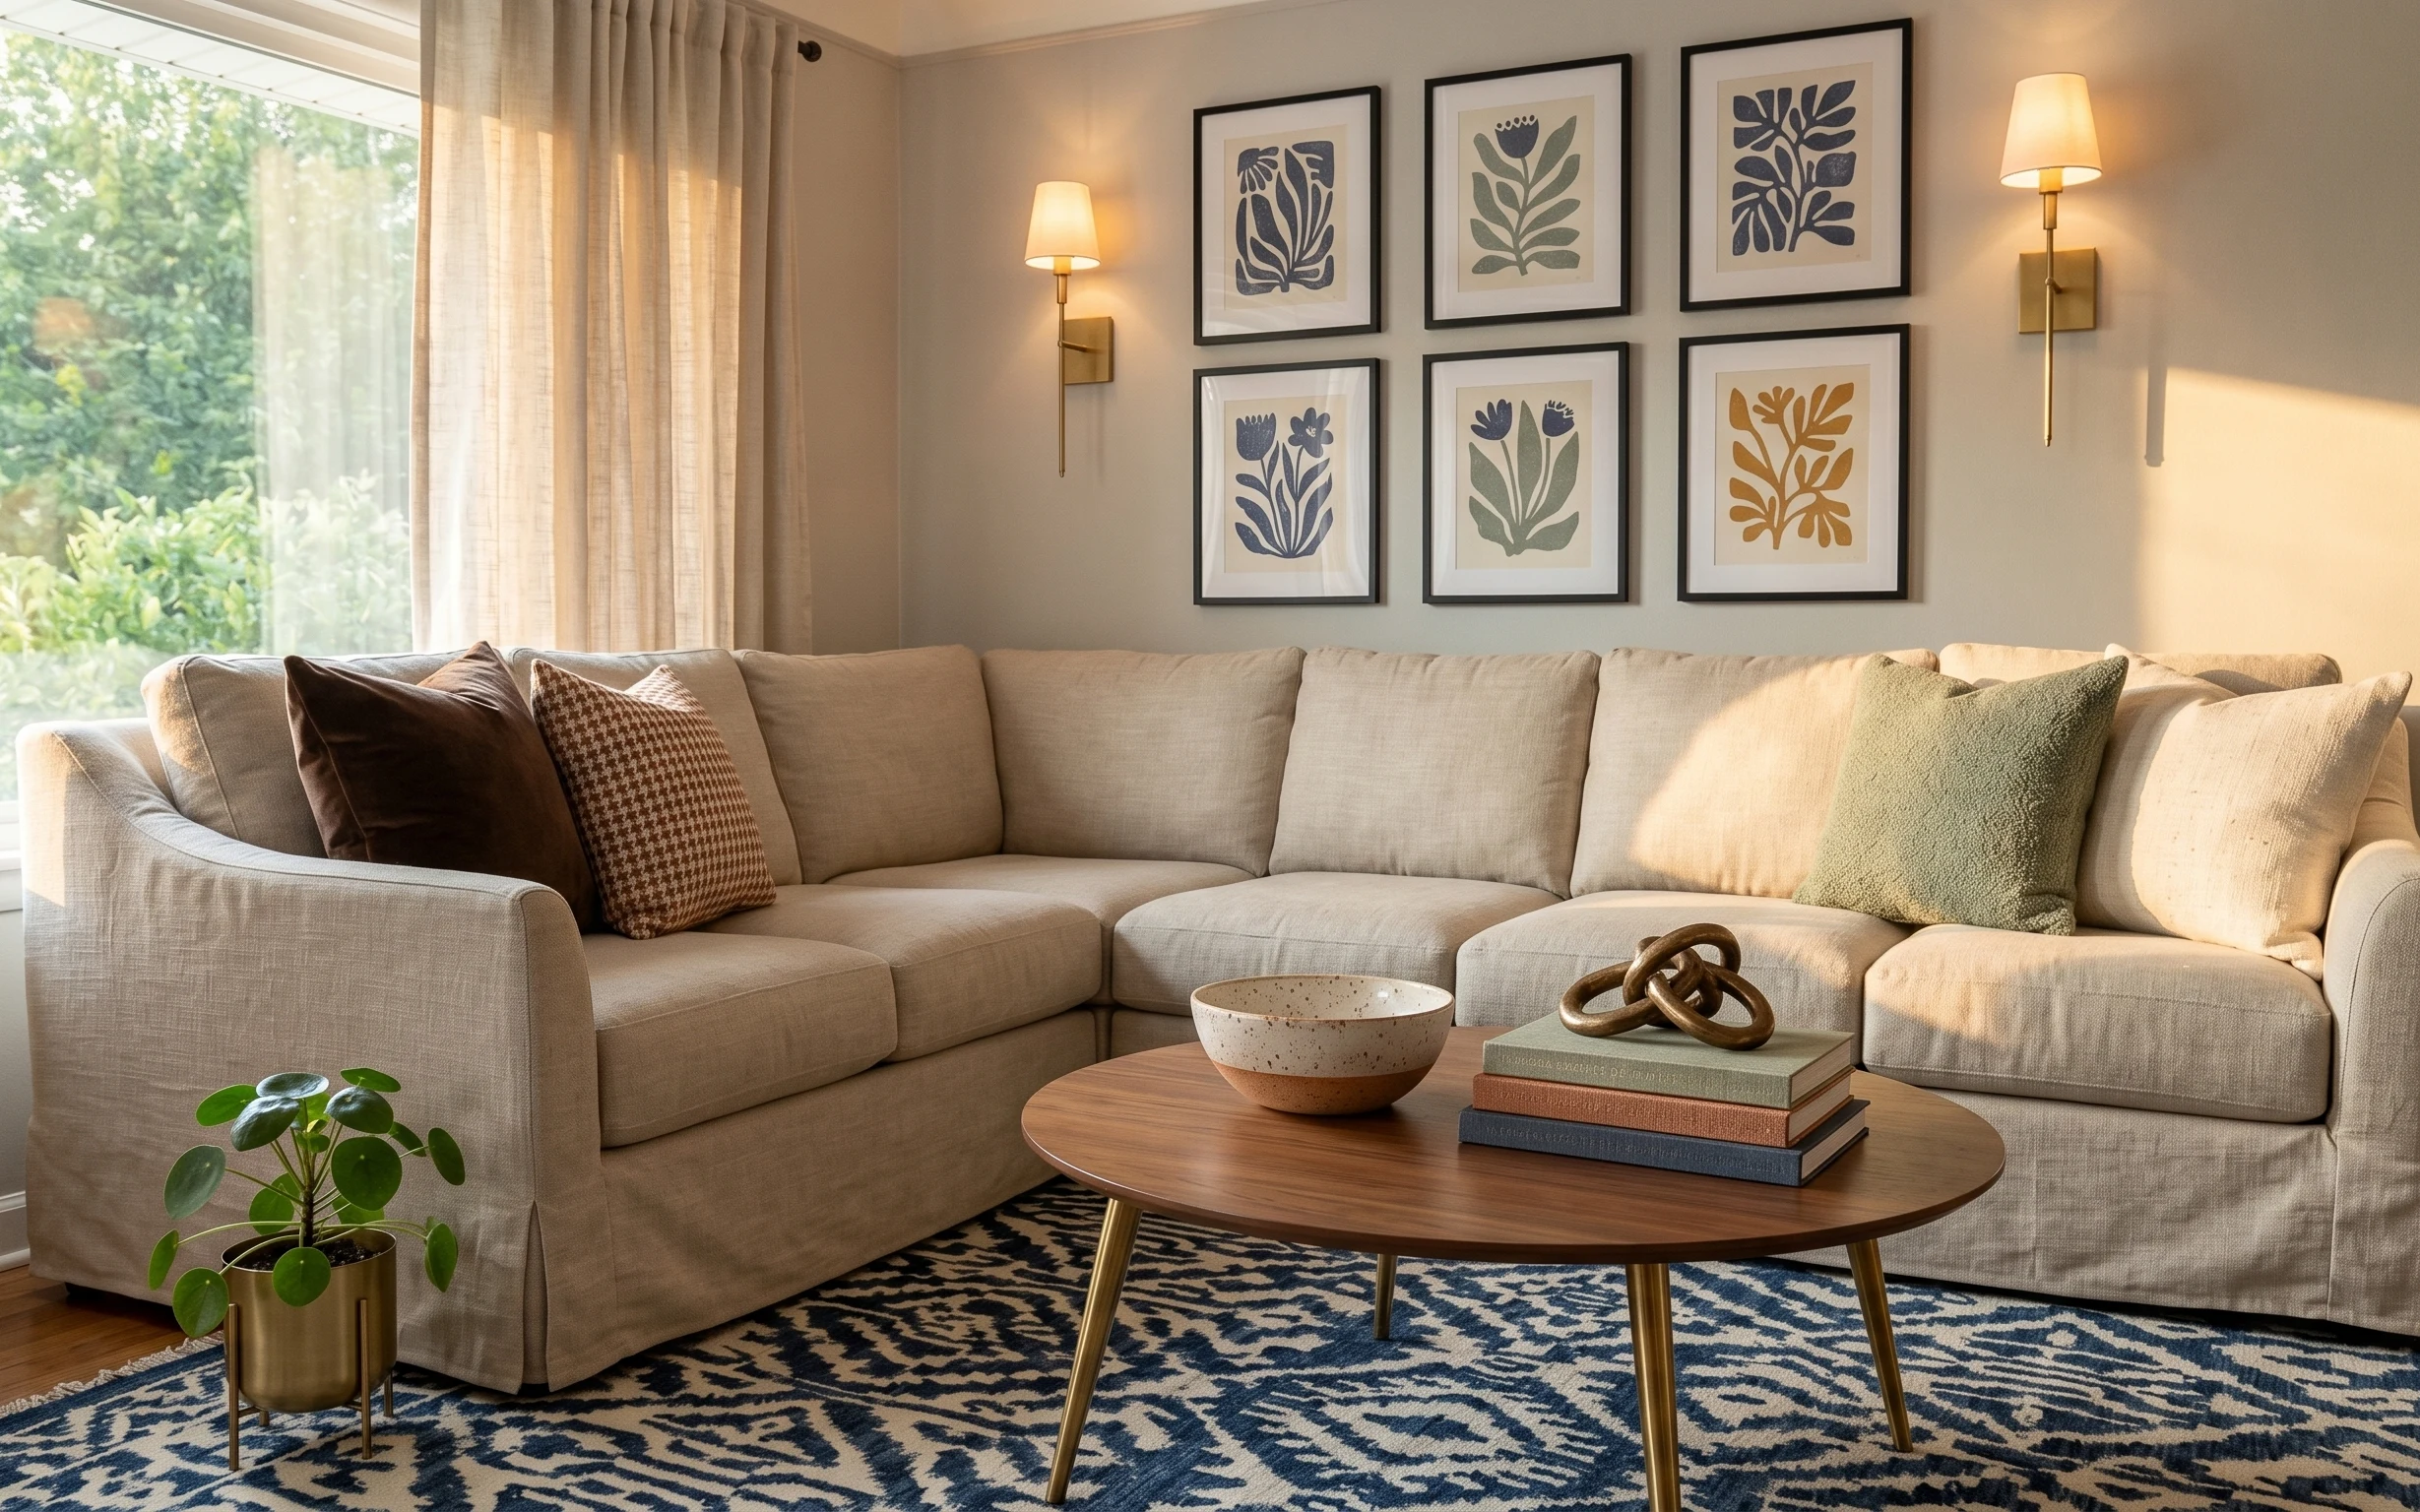
Layer 4 — framed botanical wall art print ($80) One natural motif to keep the walls balanced

The framed botanical wall art print is the visual counterweight to the large metal wall sculpture letters. Because the botanical lines are thin and the background stays light, the print feels airy instead of competing with the bolder shapes. In the photo, it sits to the right of the metal piece, creating a two-part wall story: one abstract-metal form, one delicate plant sketch. A solid-color print would simplify the look, but you’d lose the nature connection that echoes the real plant in the room. Trade-off: botanical art doesn’t hide flaws—choose one with clean linework and make sure your hanging height is eye-level when you’re seated.
Don’t overcrowd the print size
If your botanical art is too small next to the metal letters, it can look accidental—pick a frame that holds its own.
Layer 5 — olive green throw pillow ($30) Color contrast that still reads calm

The olive green throw pillow adds the room’s signature color without making it feel like a themed costume. It’s positioned near the center of the sofa back cushions, so the green pops when you look toward the window side, but it doesn’t dominate the space. If you swapped olive for a bright saturated green, it would fight the warm beige curtains and make the charcoal sofa look heavier. The trade-off here is subtlety: olive is easy to under-emphasize, so don’t pair it with too many other loud patterns. Let it connect to the plant palette and keep the rest more neutral—off-white and gray do that job perfectly.
Repeat the color in smaller places
Even one green accent in styling items—like greenery—helps olive feel cohesive instead of random.
Layer 6 — terra-cotta planter pot by the window ($40) DIY-painted earthy base for the greenery
Make it instead of buying it
Paint the terra-cotta planter pot by the window in a warm, earthy tone so it matches the room’s beige/olive palette and looks finished beside the greenery.
Materials
- Terracotta pot (medium) — 1 — craft store — $10
- Acrylic craft paint (warm beige/earth tone) — 1 small bottle — craft store — $12
- Foam brush or small synthetic brush — 1 — craft store — $4
- Painter’s tape — 1 roll — hardware aisle — $5
- Disposable mixing palette/cup — 1 — craft store — $1
Steps
- Clean the pot with a dry cloth so the paint grabs instead of sliding.
- Tape off simple bands or a minimal vertical stripe pattern if you want a cleaner look.
- Paint one thin coat, starting near the rim so the top edge looks intentional.
- Let it dry to the touch, then add a second coat for full coverage.
- Peel tape while the paint is still slightly tacky for sharper lines.
- Set the pot aside to fully dry before you add your plant.
Total DIY cost: $32 — saves about $8 over buying.
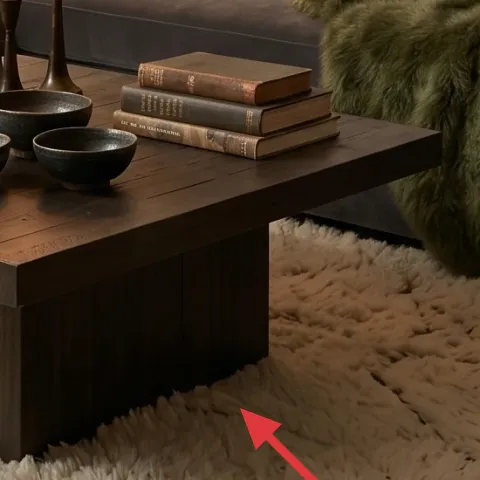
Layer 7 — decorative tray on coffee table ($35) A styled “home base” for candles and bowls
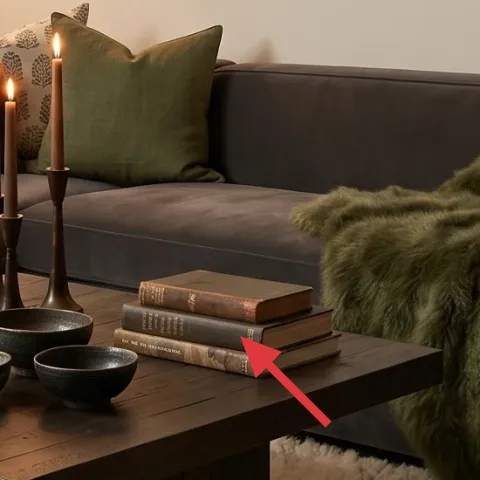
A decorative tray on the coffee table keeps the candle-and-bowls styling looking curated instead of scattered. In the photo, the tray gathers the small dark bowls and candle holders into one tidy focal cluster, which is why the coffee table reads “designed” even though the pieces are small. If you place candles directly on wood, everything can look cluttered when the room is busy. The trade-off is that you need to match size: too small and the items look cramped; too big and it swallows the table surface. A medium tray with a warm finish works especially well with wood coffee tables and warm lamp light.
Use the tray to control height
Put one taller object (candles) centered and keep the bowls off to the sides so the cluster stays readable.
The cost, layer by layer
| Layer | Item | Cost |
|---|---|---|
| 1 | Cream shag area rug 5×7 | $200 |
| 2 | Beige curtain panel pair (84") | $80 |
| 3 | Plug-in floor lamp with cylindrical shade | $120 |
| 4 | Framed botanical wall art print 16×20 | $80 |
| 5 | Olive green throw pillow cover | $30 |
| 6 | Painted terra-cotta planter pot (DIY retail-equivalent) | $40 |
| 7 | Decorative tray for coffee table | $35 |
| Total | $585 | |
If you want a cheaper variant, swap the shag rug for a lower-pile cream rug and choose curtain panels in a lighter, wrinkle-friendlier fabric. Keep the floor lamp and framed botanical print, but reduce the number of small styling items on the tray to just candles and one bowl.
What worked, what didn't (across the whole room)
This look works because it mixes one bold wall moment (the metal wall sculpture letters) with softer, textural basics: shag rug, layered pillows, and warm lighting. The only places you can’t cut corners are the color balance and the lamp warmth—those keep the room from feeling gray and flat.
What worked
- The cream shag rug made the charcoal sofa feel softer and more lived-in within the first minute.
- Beige curtain panels added height and a gentle frame around the window without any wall damage.
- The warm floor lamp glow connected the beige walls to the olive pillow color.
- The framed botanical print balanced the stronger metal wall sculpture letters on the same wall.
- Olive green in textiles looked richer because the room also included real greenery.
- The decorative tray kept candle and bowl styling from looking random.
What didn't
- If the lamp bulb is too cool, the beige reads yellow and the olive shifts toward dull.
- With too-small wall art, the botanical print can feel lost next to the metal letters.
- Using a flat cream rug instead of shag reduces the cozy texture contrast on the sofa.
- Skipping the tray makes the small bowls and candles look cluttered on busy days.
- If curtains hang too low, the whole lounge corner looks shorter than it is.
What we'd skip if we did it again
Skip a second framed print on the same wall. With the metal wall sculpture letters already taking up visual space, one botanical frame is enough to keep the wall from feeling crowded.
Skip a low-warmth lighting plan. Replacing the floor lamp with a dimmer, cooler option is the fastest way to make the whole palette look gray instead of warm beige.
Skip extra patterns in the pillows. The olive pillow plus botanical print are already doing the work—adding a third pattern usually makes the lounge corner feel louder than the hero.
Frequently asked
How long does this living room update take to do?
Plan for about a weekend. The biggest time blocks are measuring and styling the rug and curtains, then setting up the floor lamp and tray vignette. The DIY planter is quick—most of the time is dry-to-touch waiting between thin coats—so you can usually finish it in an afternoon.
Is it renter-friendly if I need everything back at move-out?
Yes. Every upgrade here is either soft goods (rug, pillows, curtains), plug-in lighting (floor lamp), or removable decor (framed print, tray, and a painted planter pot). The styling relies on textures and color repetition rather than any permanent changes, so you can pack it up without repainting.
What if my living room is smaller than the photo?
Go down one size on the rug or choose a lower-pile cream rug so it doesn’t overwhelm the floor. Keep the olive pillow and botanical print, but use one throw instead of two. Curtains should still hang high—vertical framing helps small rooms feel taller.
What if my living room has different wall space for the framed botanical print?
Aim for an eye-level placement when seated, and keep the framed piece as the “lighter” partner to the metal wall sculpture letters. If your wall is wider, you can shift the botanical print slightly to center the pair; if it’s narrower, place it a bit higher so it stays readable.
Where should I shop if I’m trying to stay near this budget?
For the biggest impact per dollar, prioritize the rug and floor lamp—those change how the whole palette feels. Then look for a framed botanical print in a standard 16×20 size and mix in pillows and tray styling from home sections or secondhand. The planter DIY can come from a local craft store.
What’s the biggest mistake people make with this kind of boho earthy palette?
Most people either over-paint the walls (not allowed here) or under-heat the lighting. The color story only works when the beige reads warm and the olive stays muted—so use a warm bulb and keep the botanical linework airy. Too many patterns in pillows also makes the room feel busy.
More in Living Room

Under $600: boho earthy living room swaps in a renter-friendly lounge corner
Warm beige, olive green, and a cream shag rug do most of the work in this sofa lounge corner look. With seven renter-friendly swaps (no-dri…
Under $400: earthy-neutrals living room refresh with 7 move-ready swaps
A living room refresh that leans into warm browns, cream textures, and terracotta accents—using only move-ready swaps. This plan totals und…
Under $400: botanical living room swaps for shared housing
A botanical living room seating area already has great bones. This $400 refresh leans on renter-safe textiles, move-ready wall decor, and w…