- Best for
- Statement wall + softer curtains
- Cost
- $760 total project layers
- Difficulty
- Moderate DIY with wall-art option
- Time
- 1 weekend for most pieces
Why layered warm neutrals is the bedside vignette of 2026
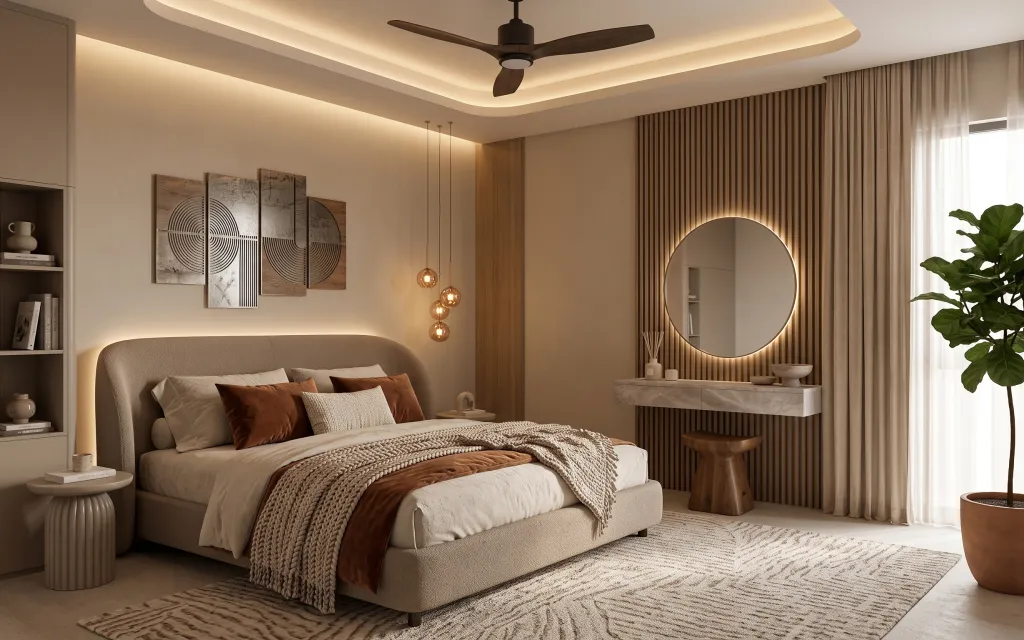
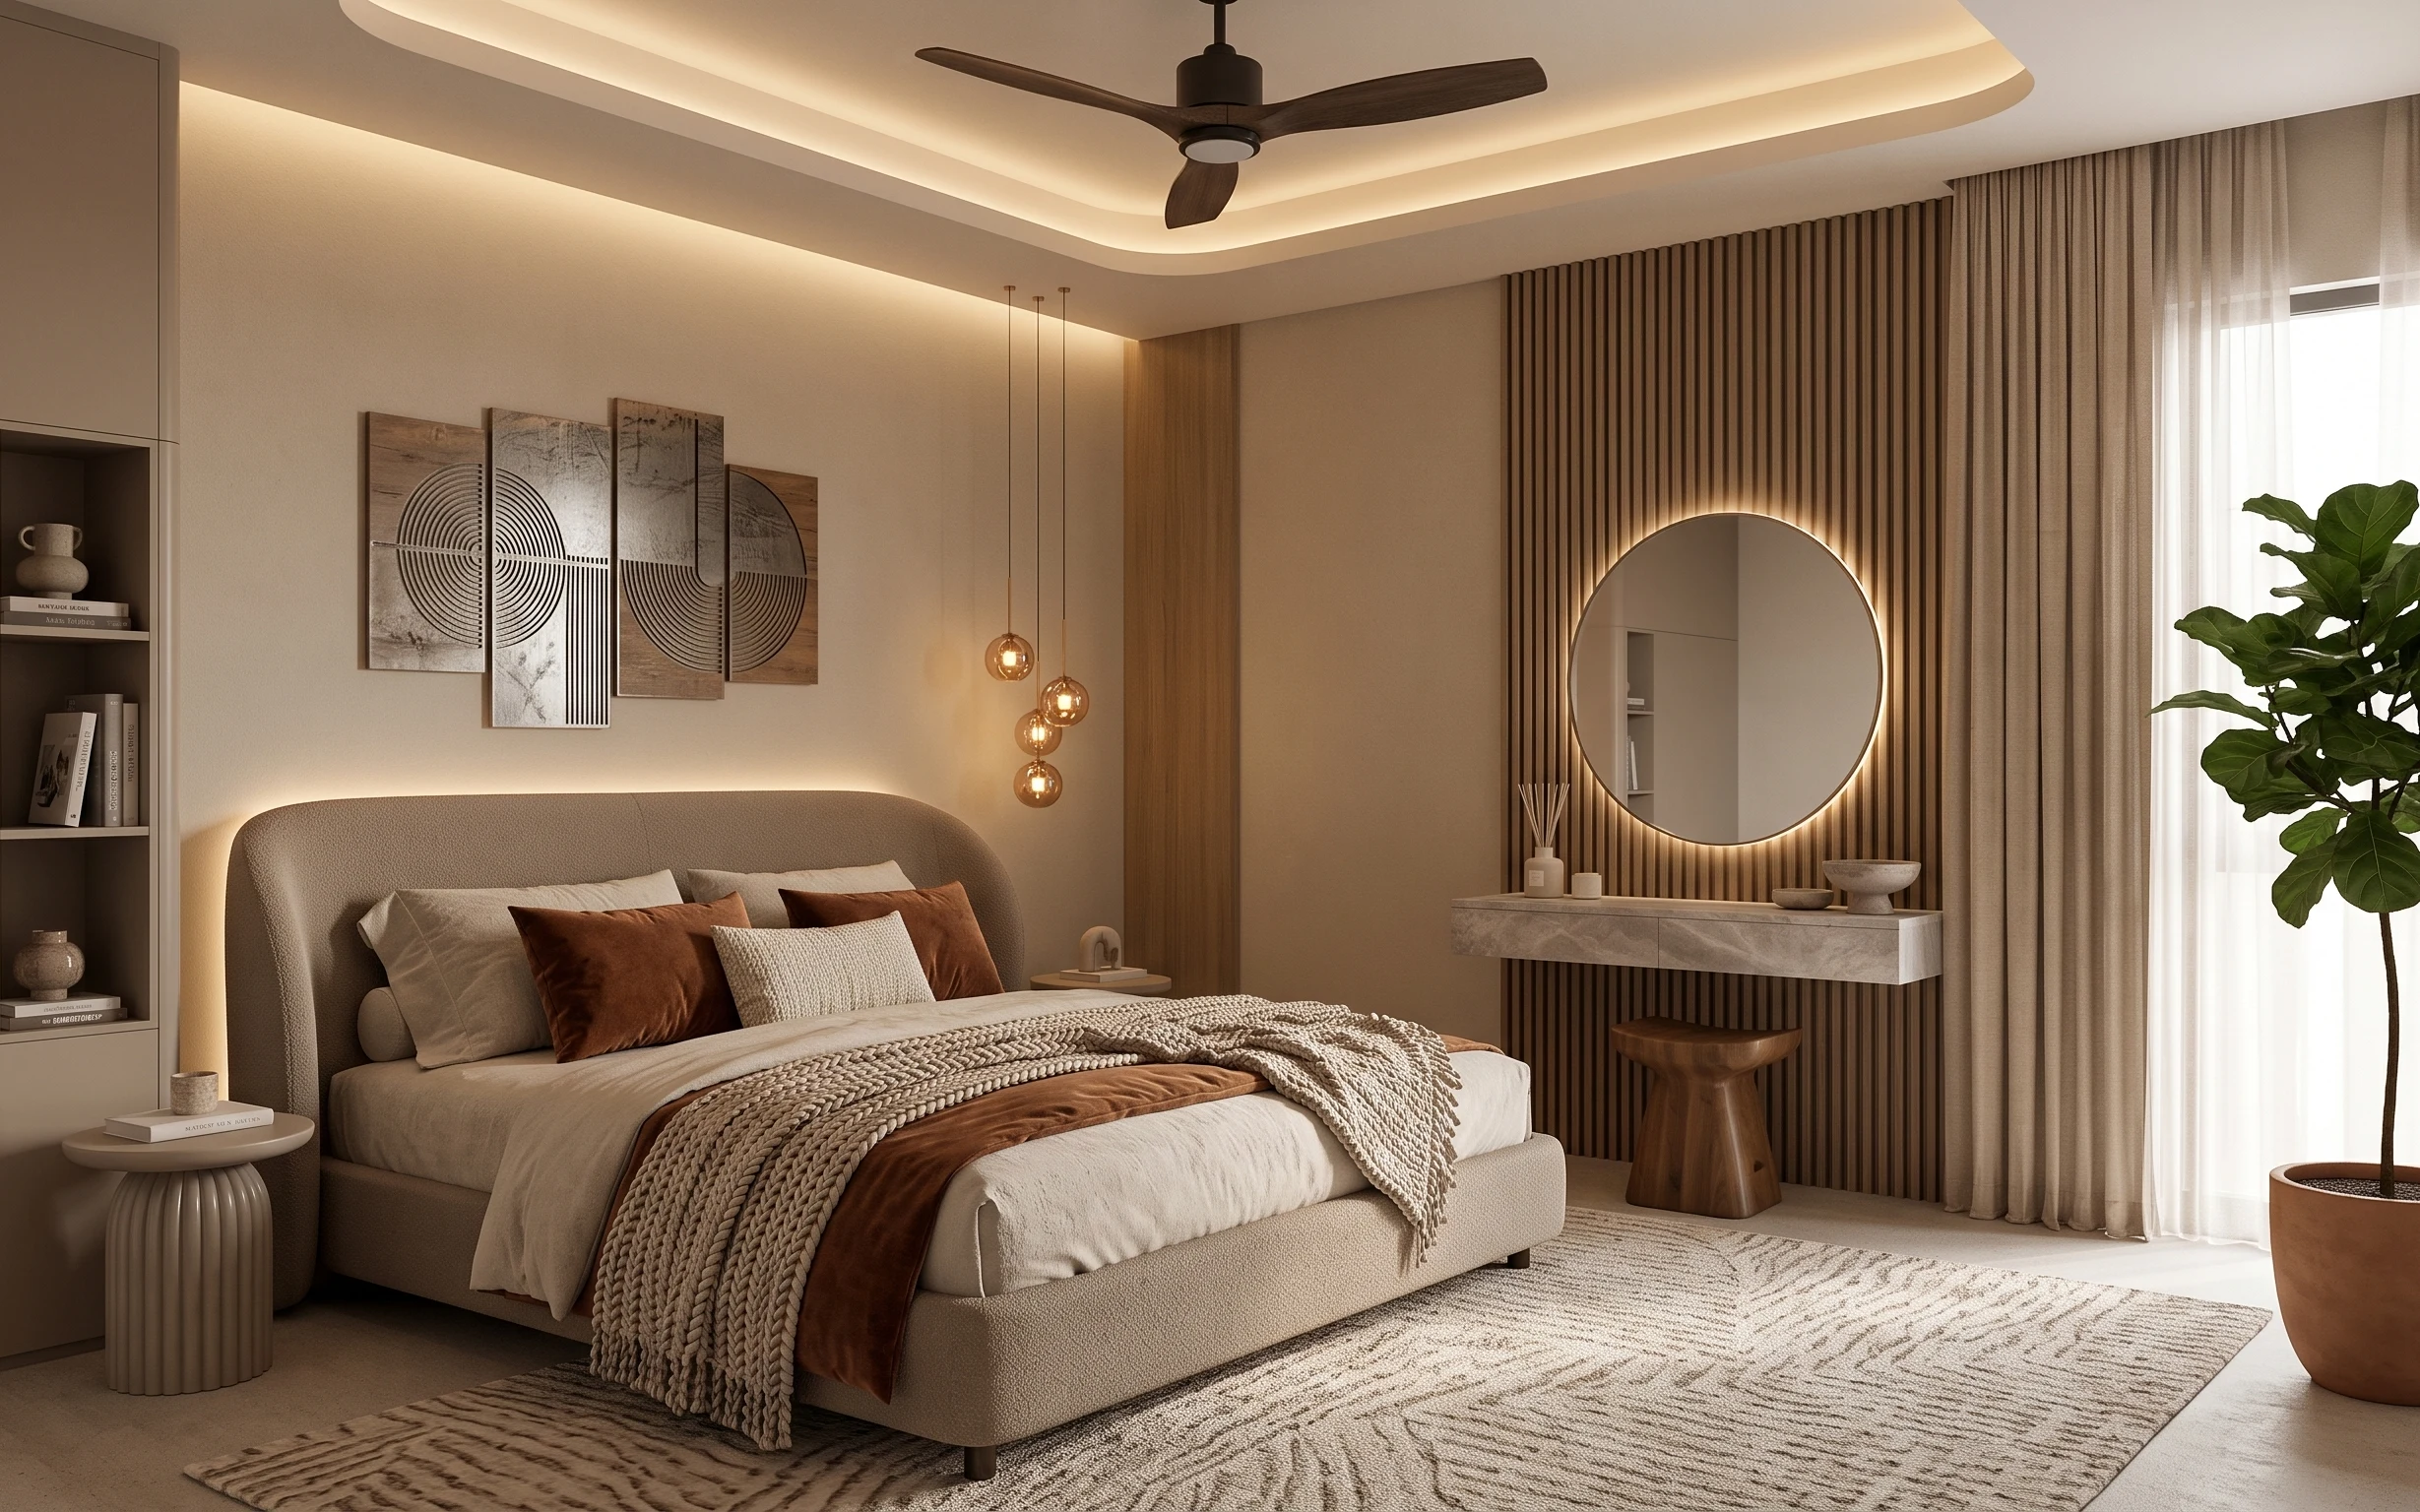
The photo has that calm, modern-japandi feel because it layers texture before it adds color: a patterned area rug grounds the whole bed, chunky knit sits over the bedding, and sheer + brown drapes soften the right side. The framed multi-panel art above the headboard brings graphic rhythm, while the round mirror bounces light back toward the bed. As a homeowner, you can pick the biggest visual moves first (rug + curtains + art), instead of chasing tiny fixes that don’t change the room’s “shape.”
I almost made the classic mistake of buying matching “set” pieces—same wood tone, same shade, same vibe—because it’s the easiest route. Then I noticed how this room still looks cohesive even with different textures: knit throw, woven rug, and straight wood slats all play different notes. That shift is what made me comfortable mixing materials and stopping at “good scale,” not “perfect match.”
Layer 1 — area rug 8×10 with pattern ($200) Ground the bed with real scale
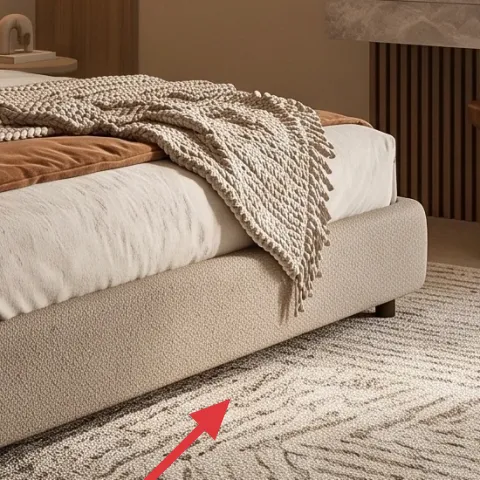
A patterned 8×10 area rug like this does two jobs at once in a bedroom: it visually anchors the bed and it hides the everyday mess that comes with making the bed daily (and sitting on it weekly). The light-and-dark pattern keeps the beige palette from flattening out, especially with the warm pendant glow overhead. The trade-off is that you’ll want to vacuum carefully around the edges so fibers don’t shed or shift. If you go smaller, the bed feels like it’s floating; if you go true-to-size, everything sits more naturally, even without extra furniture.
Size it so the bed has “feet” on the rug
For a queen or king bed, aim for the front legs (and at least part of the side legs) to land on the rug, not just the mattress area.
Layer 2 — chunky knit throw blanket ($60) Add texture you can see from the doorway
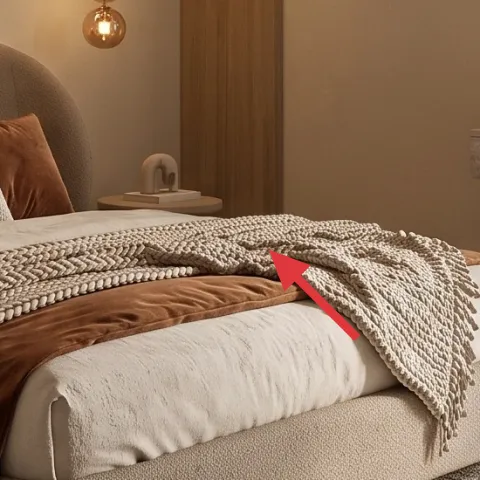
This chunky knit throw is the kind of detail that makes a room feel finished without adding another decorative object. It’s draped across the bedding in thick, cozy folds, so it reads as texture even from across the room. That matters here because the walls and wood slats are fairly clean-lined; the throw gives the soft contrast your eyes look for. I’d choose this over a thinner blanket because it holds shape and doesn’t collapse into a flat sheet. The trade-off is bulk—so use it as a top layer only, and keep the rest of the bedding looking smooth for contrast.
Choose warmth-first fibers over “perfect” drape
Look for knit throws labeled for everyday use; they’re usually sturdier than delicate-looking novelty knits.
Layer 3 — curtain panel pair (sheer + brown drapes) ($80) Soften the tall window wall
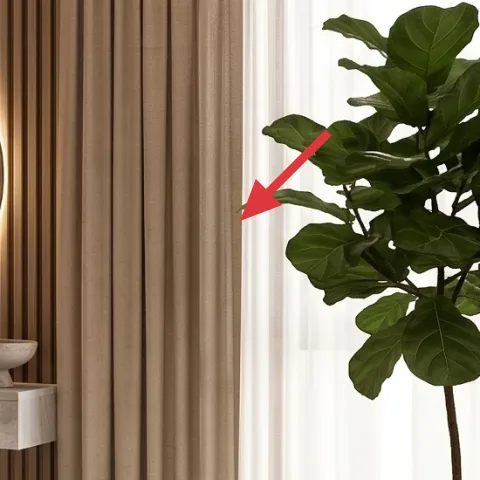
In this photo, the curtains don’t just cover the window—they create vertical softness that balances the wood slat wall. A pair of brown drapes over a sheer layer gives you that layered look: sheers diffuse the bright side light, and the drapes add depth when you draw them. Going with fewer layers (or shorter panels) is the easiest way to lose the “designer” feel. The trade-off with heavier drapes is weight and fabric care, but you’ll notice it every time you pull them closed. Hang at or near ceiling height so the ceiling light can “wrap” around the fabric.
Hang drapes high enough to make the room feel taller
Even 2–4 extra inches above the window opening adds a lot of visual lift with no construction work.
Layer 4 — framed multi-panel wall art set ($180) Build the graphic focal point above the bed
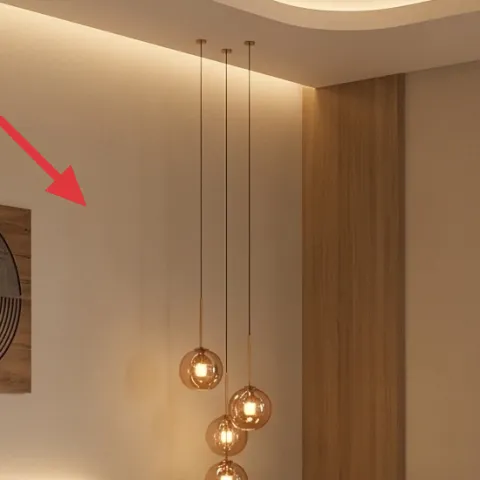
The multi-panel framed art sits above the bed like a visual anchor, and it’s the reason the wall doesn’t feel blank next to the clean wood-and-beige palette. The mix of light, dark, and curved linework adds movement without needing actual color pops. I chose a multi-panel set over one big single print because the bed is wide; splitting it keeps the proportion right and makes the art feel “custom” to the headboard width. The trade-off is alignment—multi-panel pieces need careful measuring so the spacing looks intentional, not random. DIY can solve that, especially if you nail the grid first.
Make it instead of buying it
Paint a simple abstract set on matching canvas panels so you get the multi-panel look above the bed for less.
Materials
- Canvas panels (set of 4, same size) — store craft department — $55
- Base coat acrylic paint (neutral) — 1 quart — $35
- Gray and charcoal acrylic paint (2 colors) — 2 bottles — $45
- Painter’s tape (1–2 rolls) — store hardware aisle — $25
- Clear acrylic sealer (matte) — 1 can — $10
Steps
- Measure the wall area above the bed and decide your panel spacing grid.
- Lay panels on the floor and sketch the curved/line pattern lightly with a pencil.
- Apply a neutral base coat to all panels and let it dry completely.
- After drying, tape off sections where you want crisp edges.
- Paint curved lines and blocks with gray/charcoal in layers for depth, letting each layer dry.
- Peel tape carefully once the paint is dry to the touch.
- Touch up any uneven lines using a small brush.
- Let everything dry fully, then apply matte clear sealer and allow it to cure per the can.
- Hang the panels using the same layout you measured so the set reads as one composition.
Total DIY cost: $170 — saves about $10 over buying.
Layer 5 — round wall mirror (lit edge effect) ($120) Get the “extra light” without extra clutter
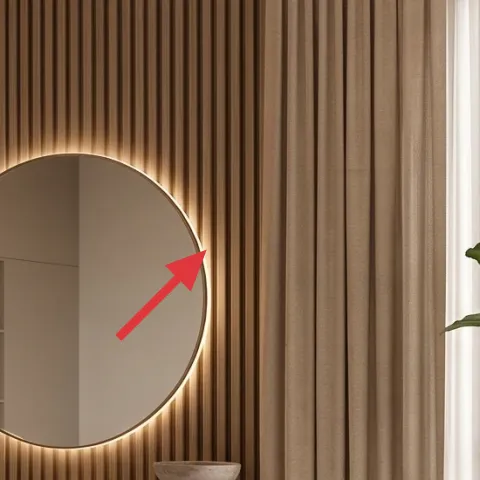
A round mirror with a warm glowing edge effect does something subtle but powerful: it pulls brightness from the right side and sends it back toward the bed, keeping the room from feeling heavy. The round shape also softens the straight lines of the wood slat wall and the rectangular frames on the other wall. I’d pick mirror over another framed art option because mirrors expand perceived space, especially in bedrooms where you don’t want more visual weight. The trade-off is that mirrors show dust and fingerprints, so you’ll wipe it down regularly. For best results, center it above the console so the mirror feels like part of the wall architecture.
Wipe it before guests arrive
Warm lighting makes streaks show up fast—use a microfiber cloth to keep the reflection crisp.
Layer 6 — wood console table under mirror ($80) Add a landing spot for “everyday pretty”
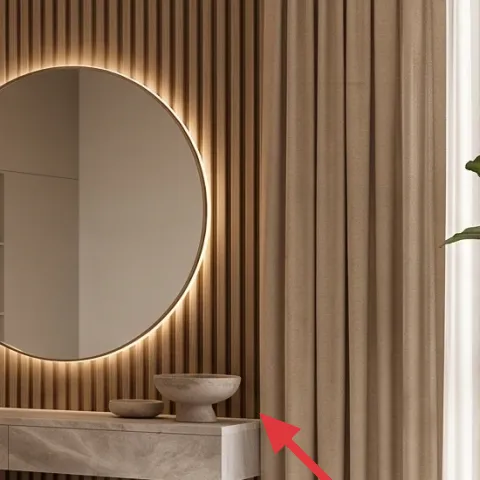
This wood console table underneath the mirror creates the perfect middle layer between wall and floor. It gives you a surface for small decor (like a candle, a tray, or a simple vase) and makes the mirror feel intentional instead of floating. Choosing a longer, slimmer console over a bulky dresser keeps the walkway open and preserves the clean look of the bedding and rug. The trade-off is storage—consoles often have less hidden space—so it’s best for display, not for bulk items. In this room, that trade-off works because there’s already built-in storage on the left side, balancing the open styling area.
Keep styling items low and grouped
A small tray plus two vertical accents reads “designed” without taking over the visual weight.
Layer 7 — large potted indoor plant ($40) Add life and a vertical shape break
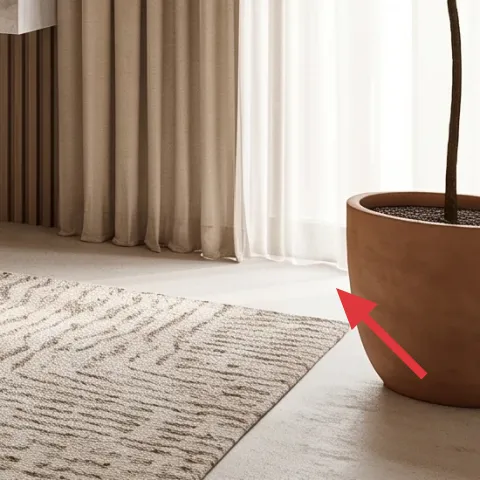
A large potted indoor plant is an easy way to add organic movement next to the structured wood slats and framed art. The tall leaves create vertical balance on the right side, so the window wall doesn’t feel like it stops abruptly at the floor. I’d choose a living plant over faux for the same reason you keep natural materials in a japandi-inspired room—it softens edges without looking staged. The trade-off is maintenance: you’ll rotate the pot and water on a schedule. Still, it’s worth it because it keeps the bedroom feeling alive, especially when the lighting is warm and the palette is neutral.
Place the pot where it can “read” in one glance
Corner placement works best if you can see the top third of the leaves from the bed.
The cost, layer by layer
| Layer | Item | Cost |
|---|---|---|
| 1 | Area rug 8×10 with pattern | $200 |
| 2 | Chunky knit throw blanket | $60 |
| 3 | Curtain panel pair (sheer + brown drapes) | $80 |
| 4 | Framed multi-panel wall art set (DIY equivalent $170 materials) | $180 |
| 5 | Round wall mirror (lit edge effect) | $120 |
| 6 | Wood console table under mirror | $80 |
| 7 | Large potted indoor plant | $40 |
| Total | $760 | |
If the framed art set budget is tight, swap it for a single large abstract print in a similar gray-and-cream palette, then add a simple frame in a warm wood tone. You’ll lose some of the multi-panel rhythm, but the wall still reads styled next to the bed.
What worked, what didn't (across the whole room)
The biggest win here is focus: one large rug for scale, one curtain moment for softness, and one graphic art piece above the bed. That combination makes the room feel intentional without adding clutter.
What worked
- The 8×10 patterned rug anchors the bed so the whole layout looks planned, not accidental.
- Chunky knit throw texture adds contrast against smooth bedding and keeps the palette from feeling flat.
- Layered sheer plus brown drapes soften the right-side window wall and add depth when closed.
- Multi-panel art gives movement above the headboard and balances the wood slat wall lines.
- The round mirror bounces warm light, brightening the bedside area without extra lamps.
- The console table creates a clean display zone for small objects that look “everyday styled.”
What didn't
- If the curtains hang too low, the room loses vertical height and starts to feel boxy.
- Skipping the rug pad (or using a small rug) makes the bed feel disconnected from the floor.
- Mirror fingerprints show faster under warm lighting, so it needs more frequent cleaning.
- DIY art spacing can look off if panel gaps aren’t measured before painting.
- Plant placement that’s too small or too far from the bed makes it feel decorative instead of balanced.
What we'd skip if we did it again
Skip buying lots of small wall décor pieces to “fill space.” In this layout, the bed wall needs one strong anchor—multi-panel art—so the wall reads cohesive instead of busy.
Skip short curtains or single-layer window treatments. The sheer + brown drape combo is the texture that softens the window side, and it also helps the room look higher.
Skip a tiny plant or a plant that doesn’t reach the same vertical presence as the mirror. A larger plant is doing layout work here, breaking up straight lines and keeping the neutral palette from feeling sterile.
Frequently asked
How long does a project like this usually take?
If the rug and curtains are ready to go, plan on 6–10 hours spread across the weekend. The biggest time chunks are hanging curtains at a consistent height and installing the framed multi-panel art so it lines up cleanly. If you DIY the art, add 6–12 hours for painting and dry time (not nonstop work), plus extra time for arranging the panels on the floor first.
What if I rent—can I still get this look?
Focus on the pieces that don’t require permanent changes: the rug, the knit throw, and curtain hardware sized to your window. For wall art, you can use wall-safe anchors or command-style hanging strips (depending on your wall type). Swap any fixed console positioning for items you can move when you move out. The mirror and plant can stay, too, since they’re freestanding or removable.
My bedroom is smaller—should I downsize the rug and art?
Usually yes, but keep the proportions. For a smaller room, choose a rug that still lets the front legs of the bed sit on it, even if it’s closer to 5×7 than 8×10. For the wall art, reduce the number of panels or the overall width, but keep the “above the headboard” placement so the bed still feels anchored.
Where’s the best place to shop for these items on a budget?
For rugs and curtains, look at big-box and online retailers with frequent sales, then check measurements twice before ordering. For the mirror and console, thrift stores and salvage shops can be great if you’re willing to repaint or re-stain. The easiest budget win is the framed wall art: either hunt for neutral abstract sets or DIY painted panels in a gray-and-cream palette.
What’s the biggest mistake people make in this room style?
The most common miss is mismatched scale—especially with the rug and curtains. If the rug is too small, the bed looks like it belongs to a different room. If the curtains are too short or hung too low, the whole window wall loses height and feels heavy.
Can I make the art DIY but still look polished?
Yes—polished comes down to prep and consistency. Use painter’s tape for clean edges, keep your panel sizes identical, and assemble the set on the floor before you paint so your spacing matches what you want on the wall. Stick to a tight palette (cream base plus gray/charcoal lines) so the abstract work looks intentional, not random.
More in Bedroom
Under $800: layered neutrals bedside vignette refresh
A warm, neutral bedroom bedside vignette made over in a satisfying weekend refresh. This plan targets the rug, curtains, statement wall art…
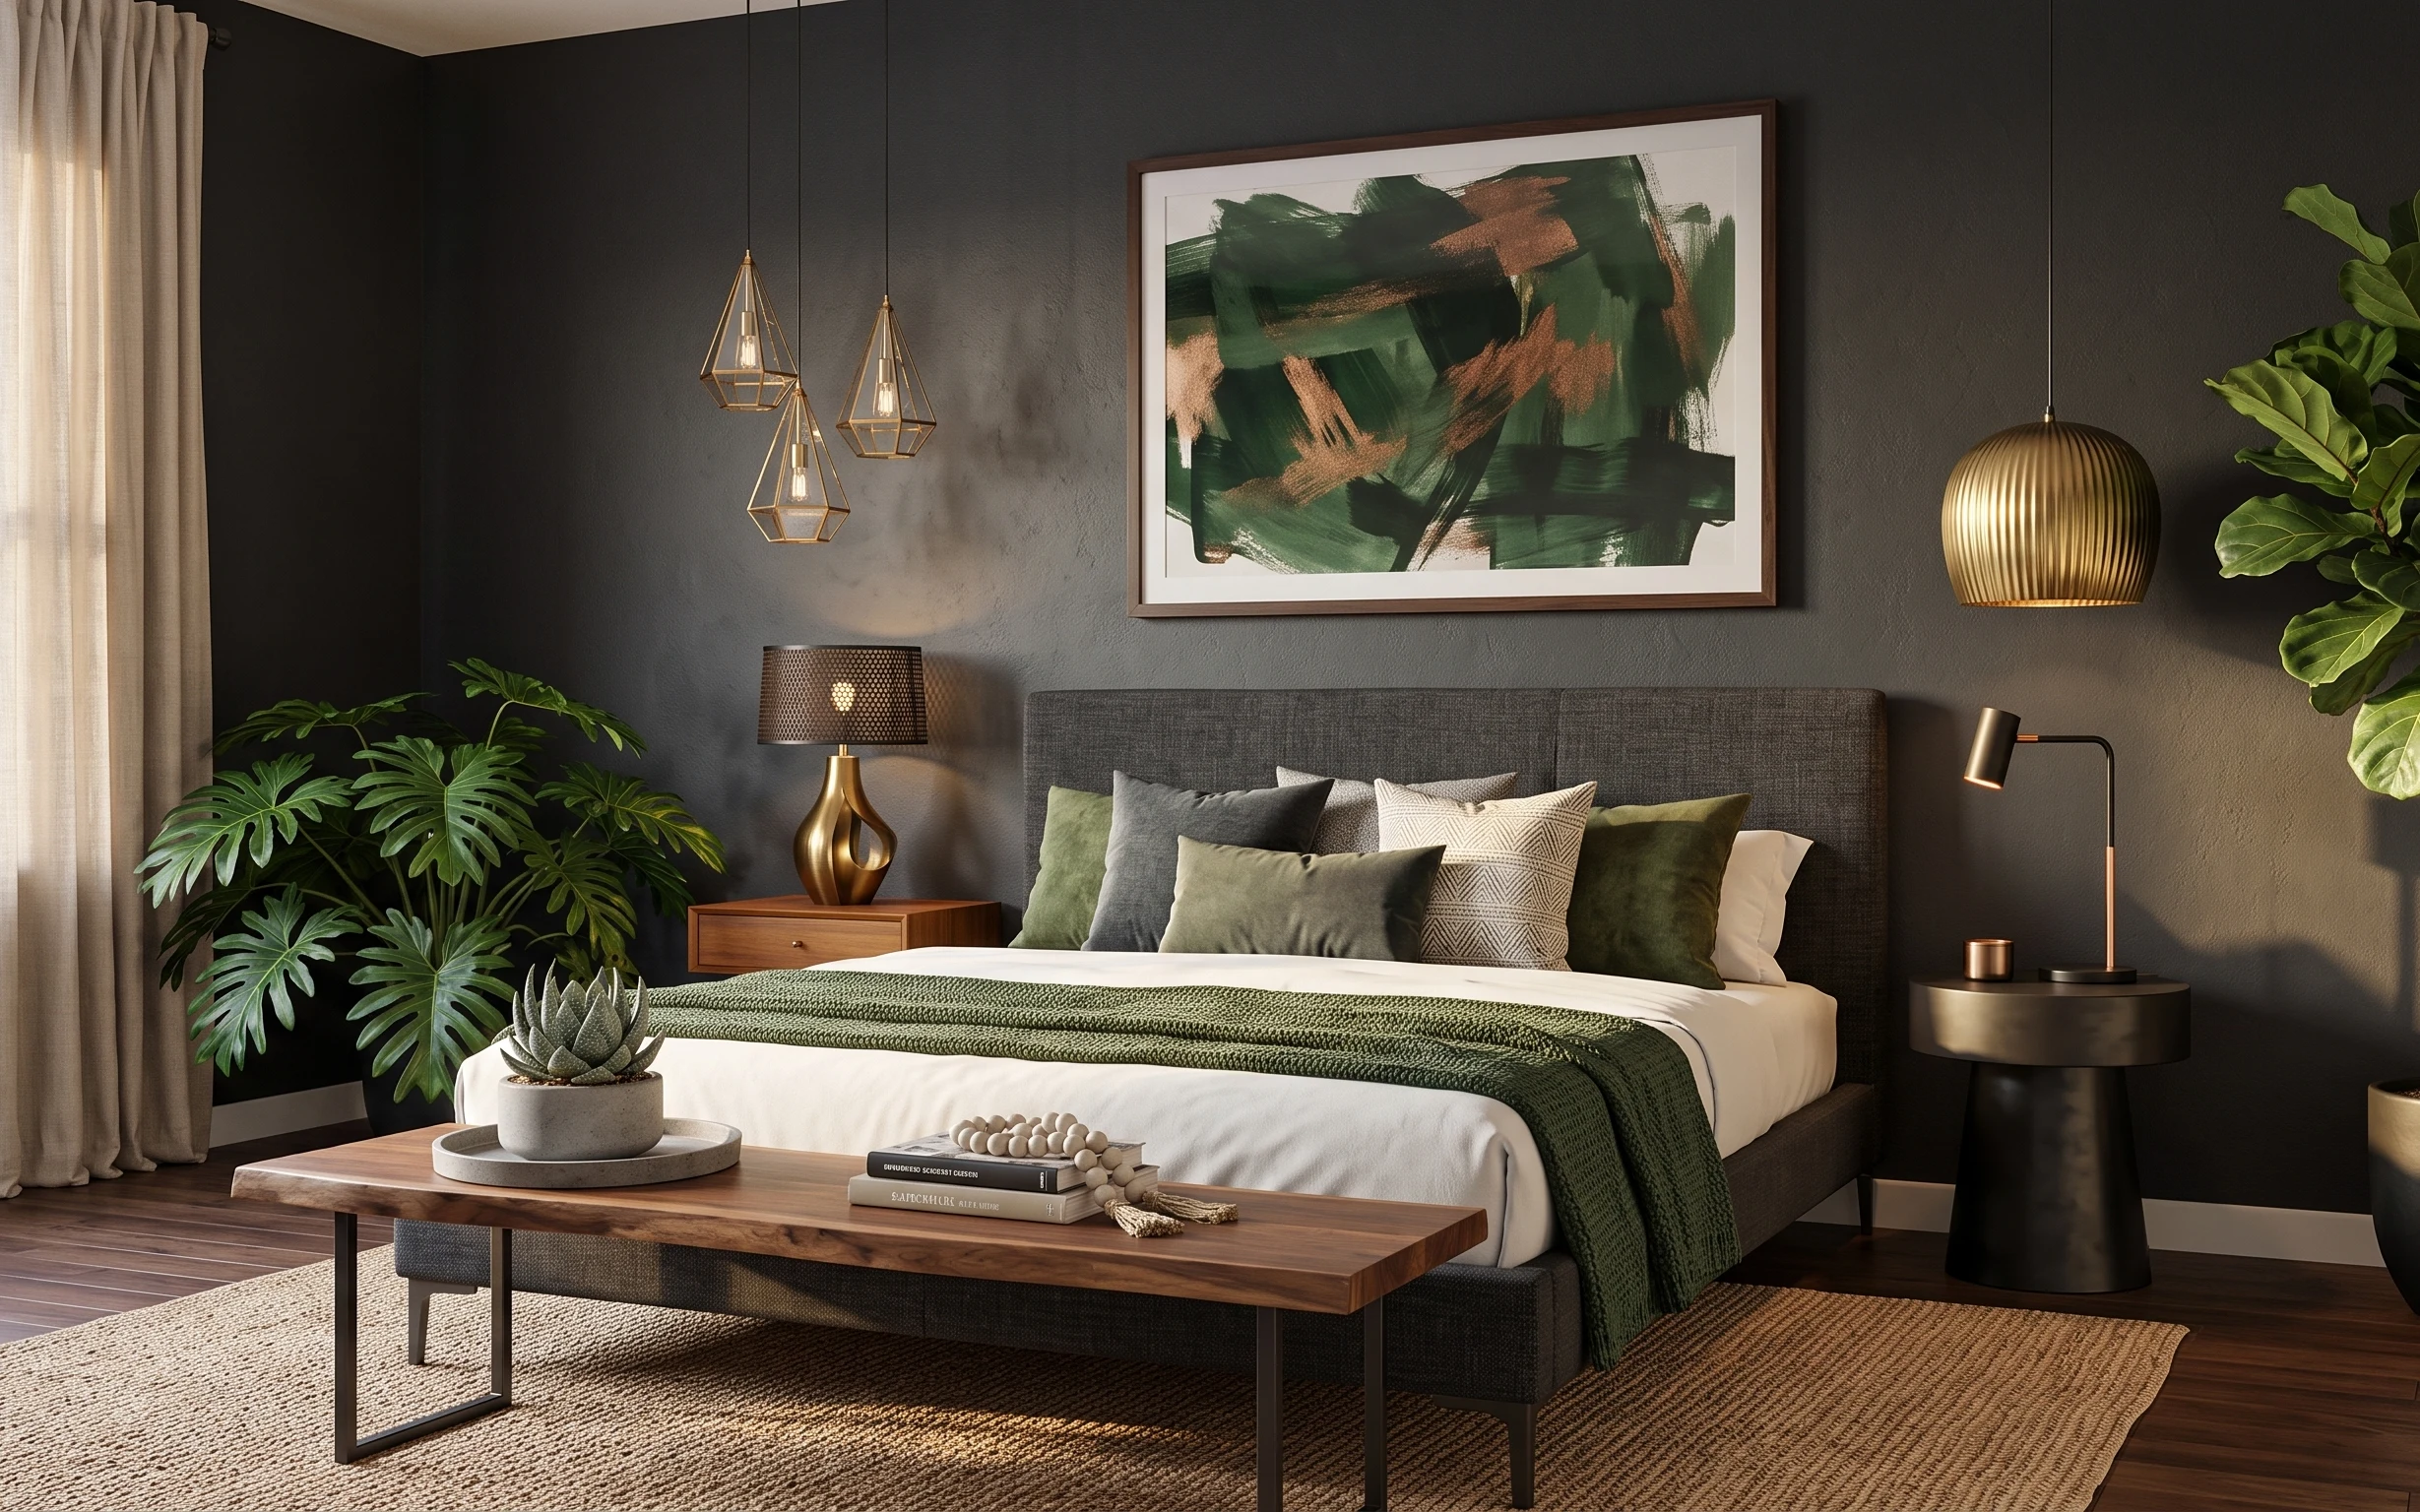
Under $600: plant-filled bedroom refresh with 7 upgrades
A plant-filled bedroom refresh for under $600—using curtains, framed art, and warm brass lighting to make the space feel calmer and more el…
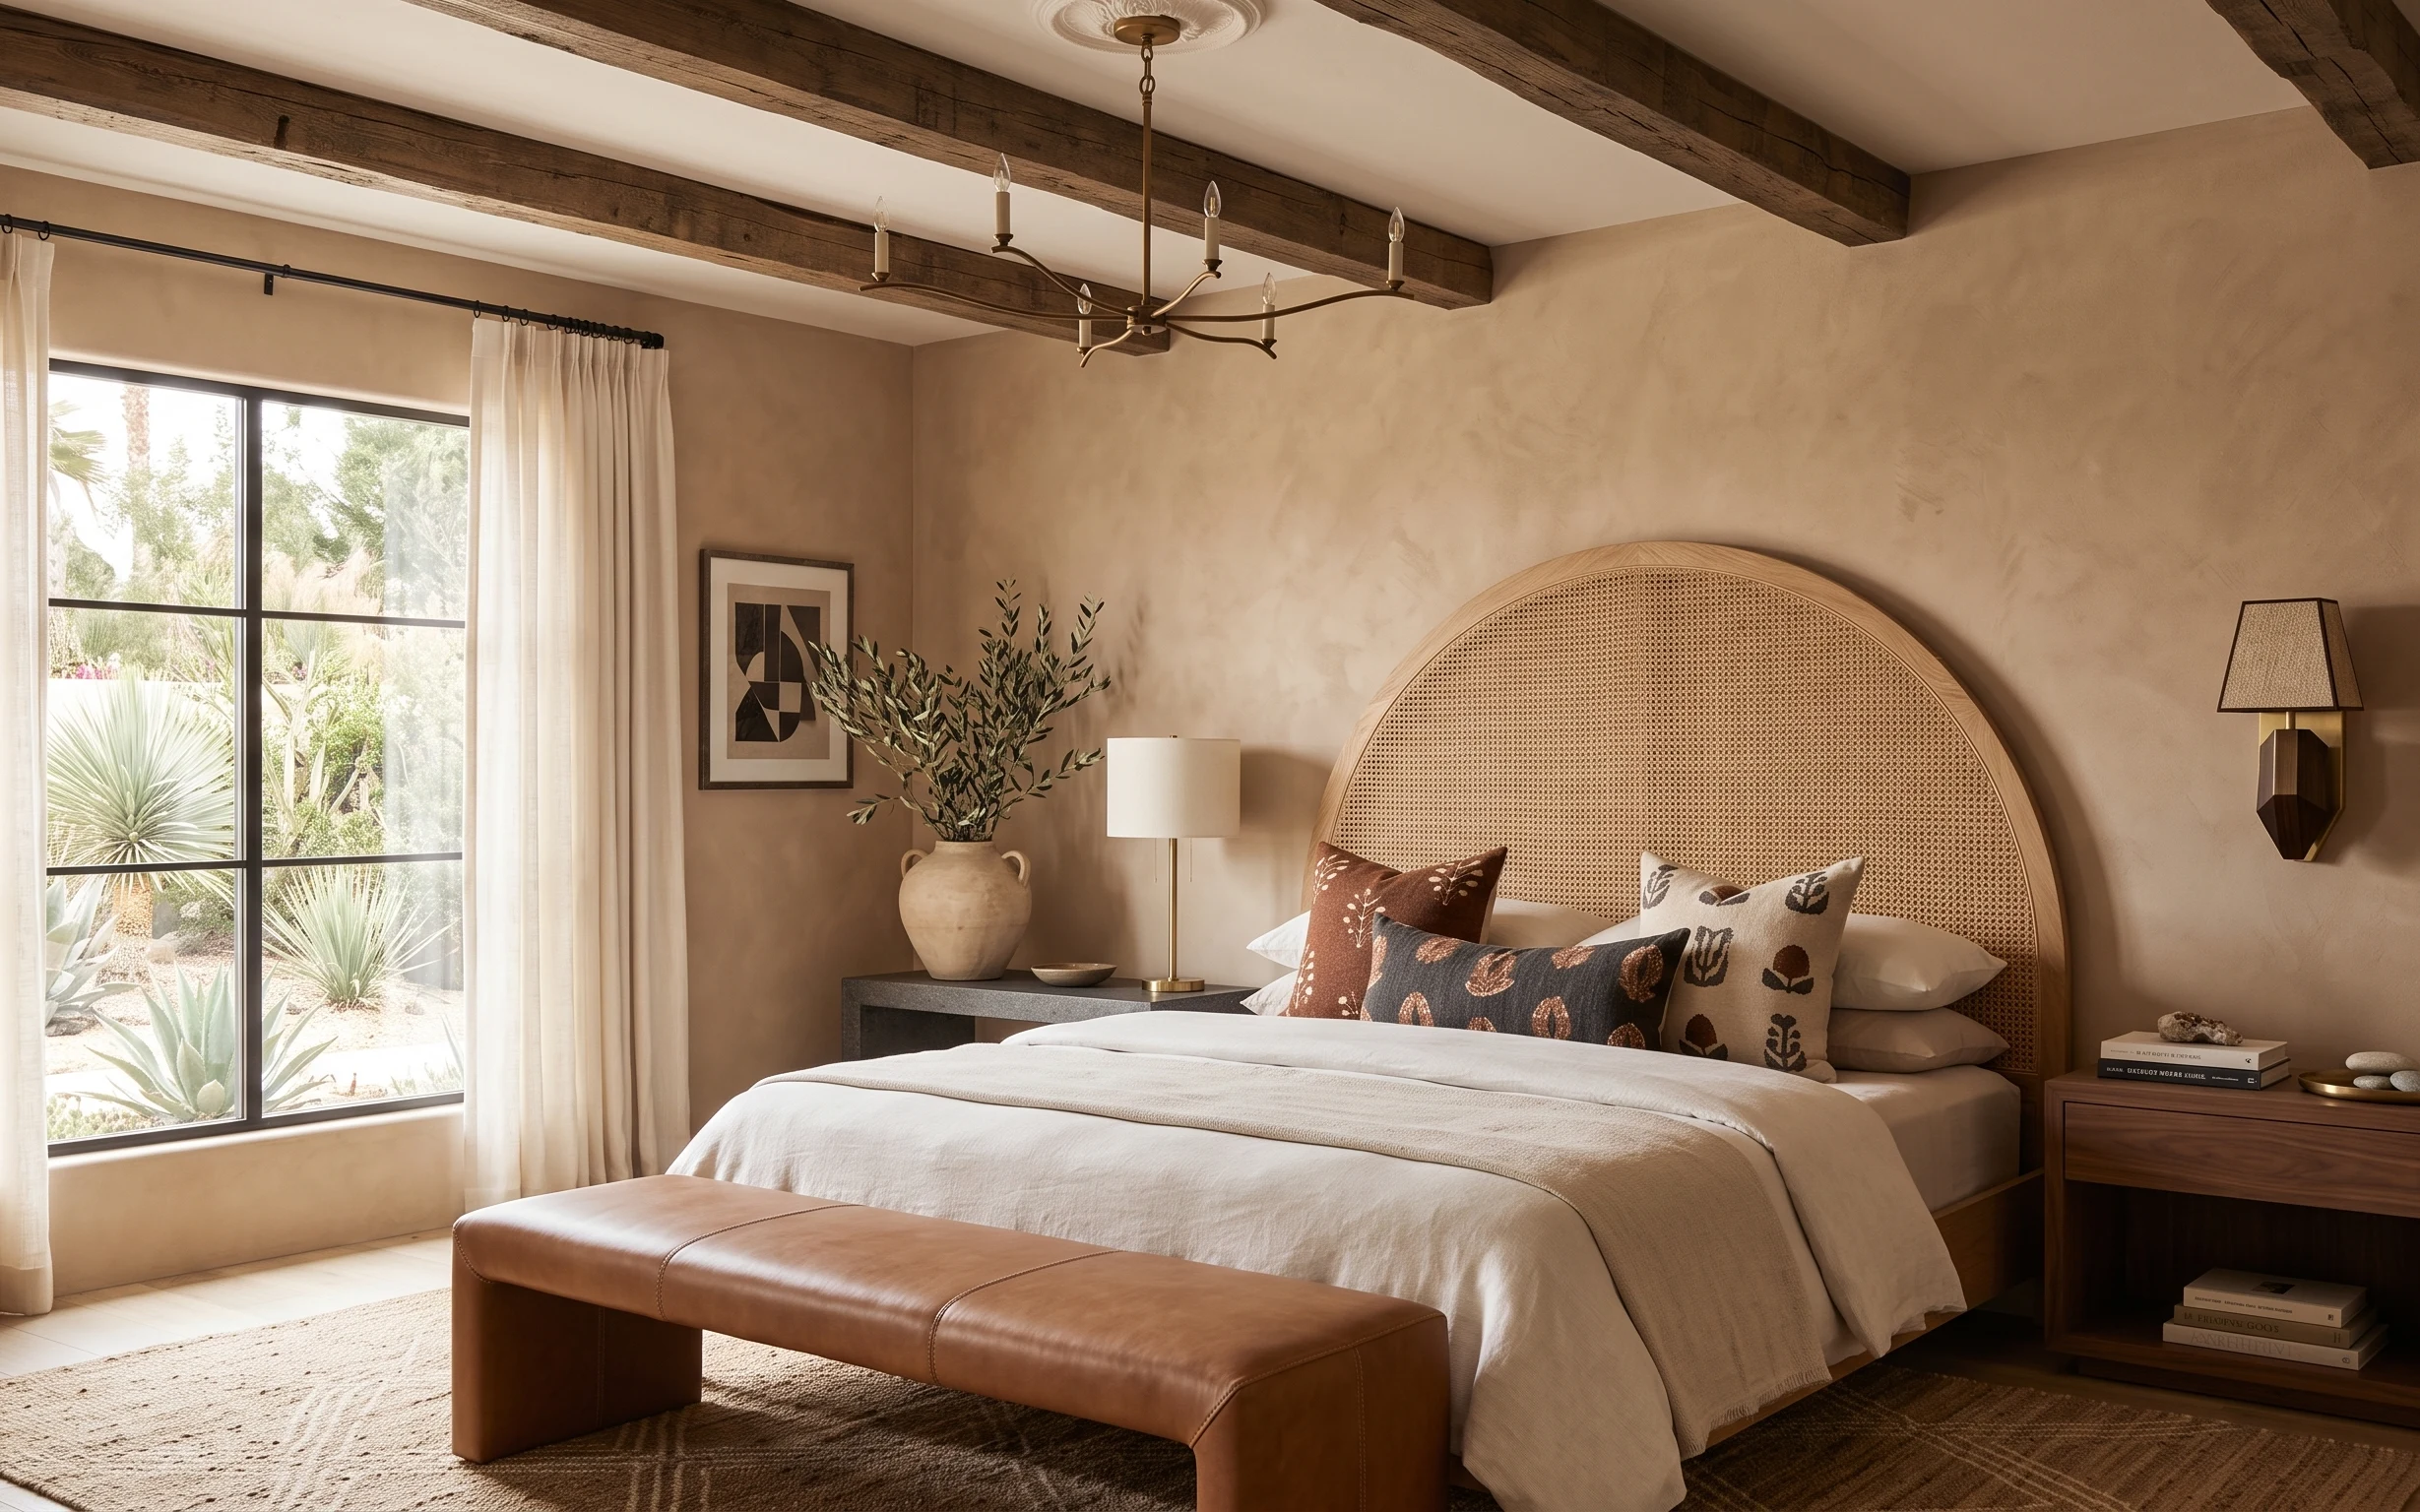
Under $600: move-friendly arched headboard bedroom refresh
Under $600, this arched headboard bedroom refresh leans into warm neutrals with renter-safe swaps: rug, sheer curtains, lamp glow, a stacke…