
- Best for
- layered renter bedrooms
- Time
- 2–4 hours for the full swap
- Total cost
- $580
- Renter-safe
- yes
Why warm olive-and-tan styling is the arched headboard bedroom of 2026
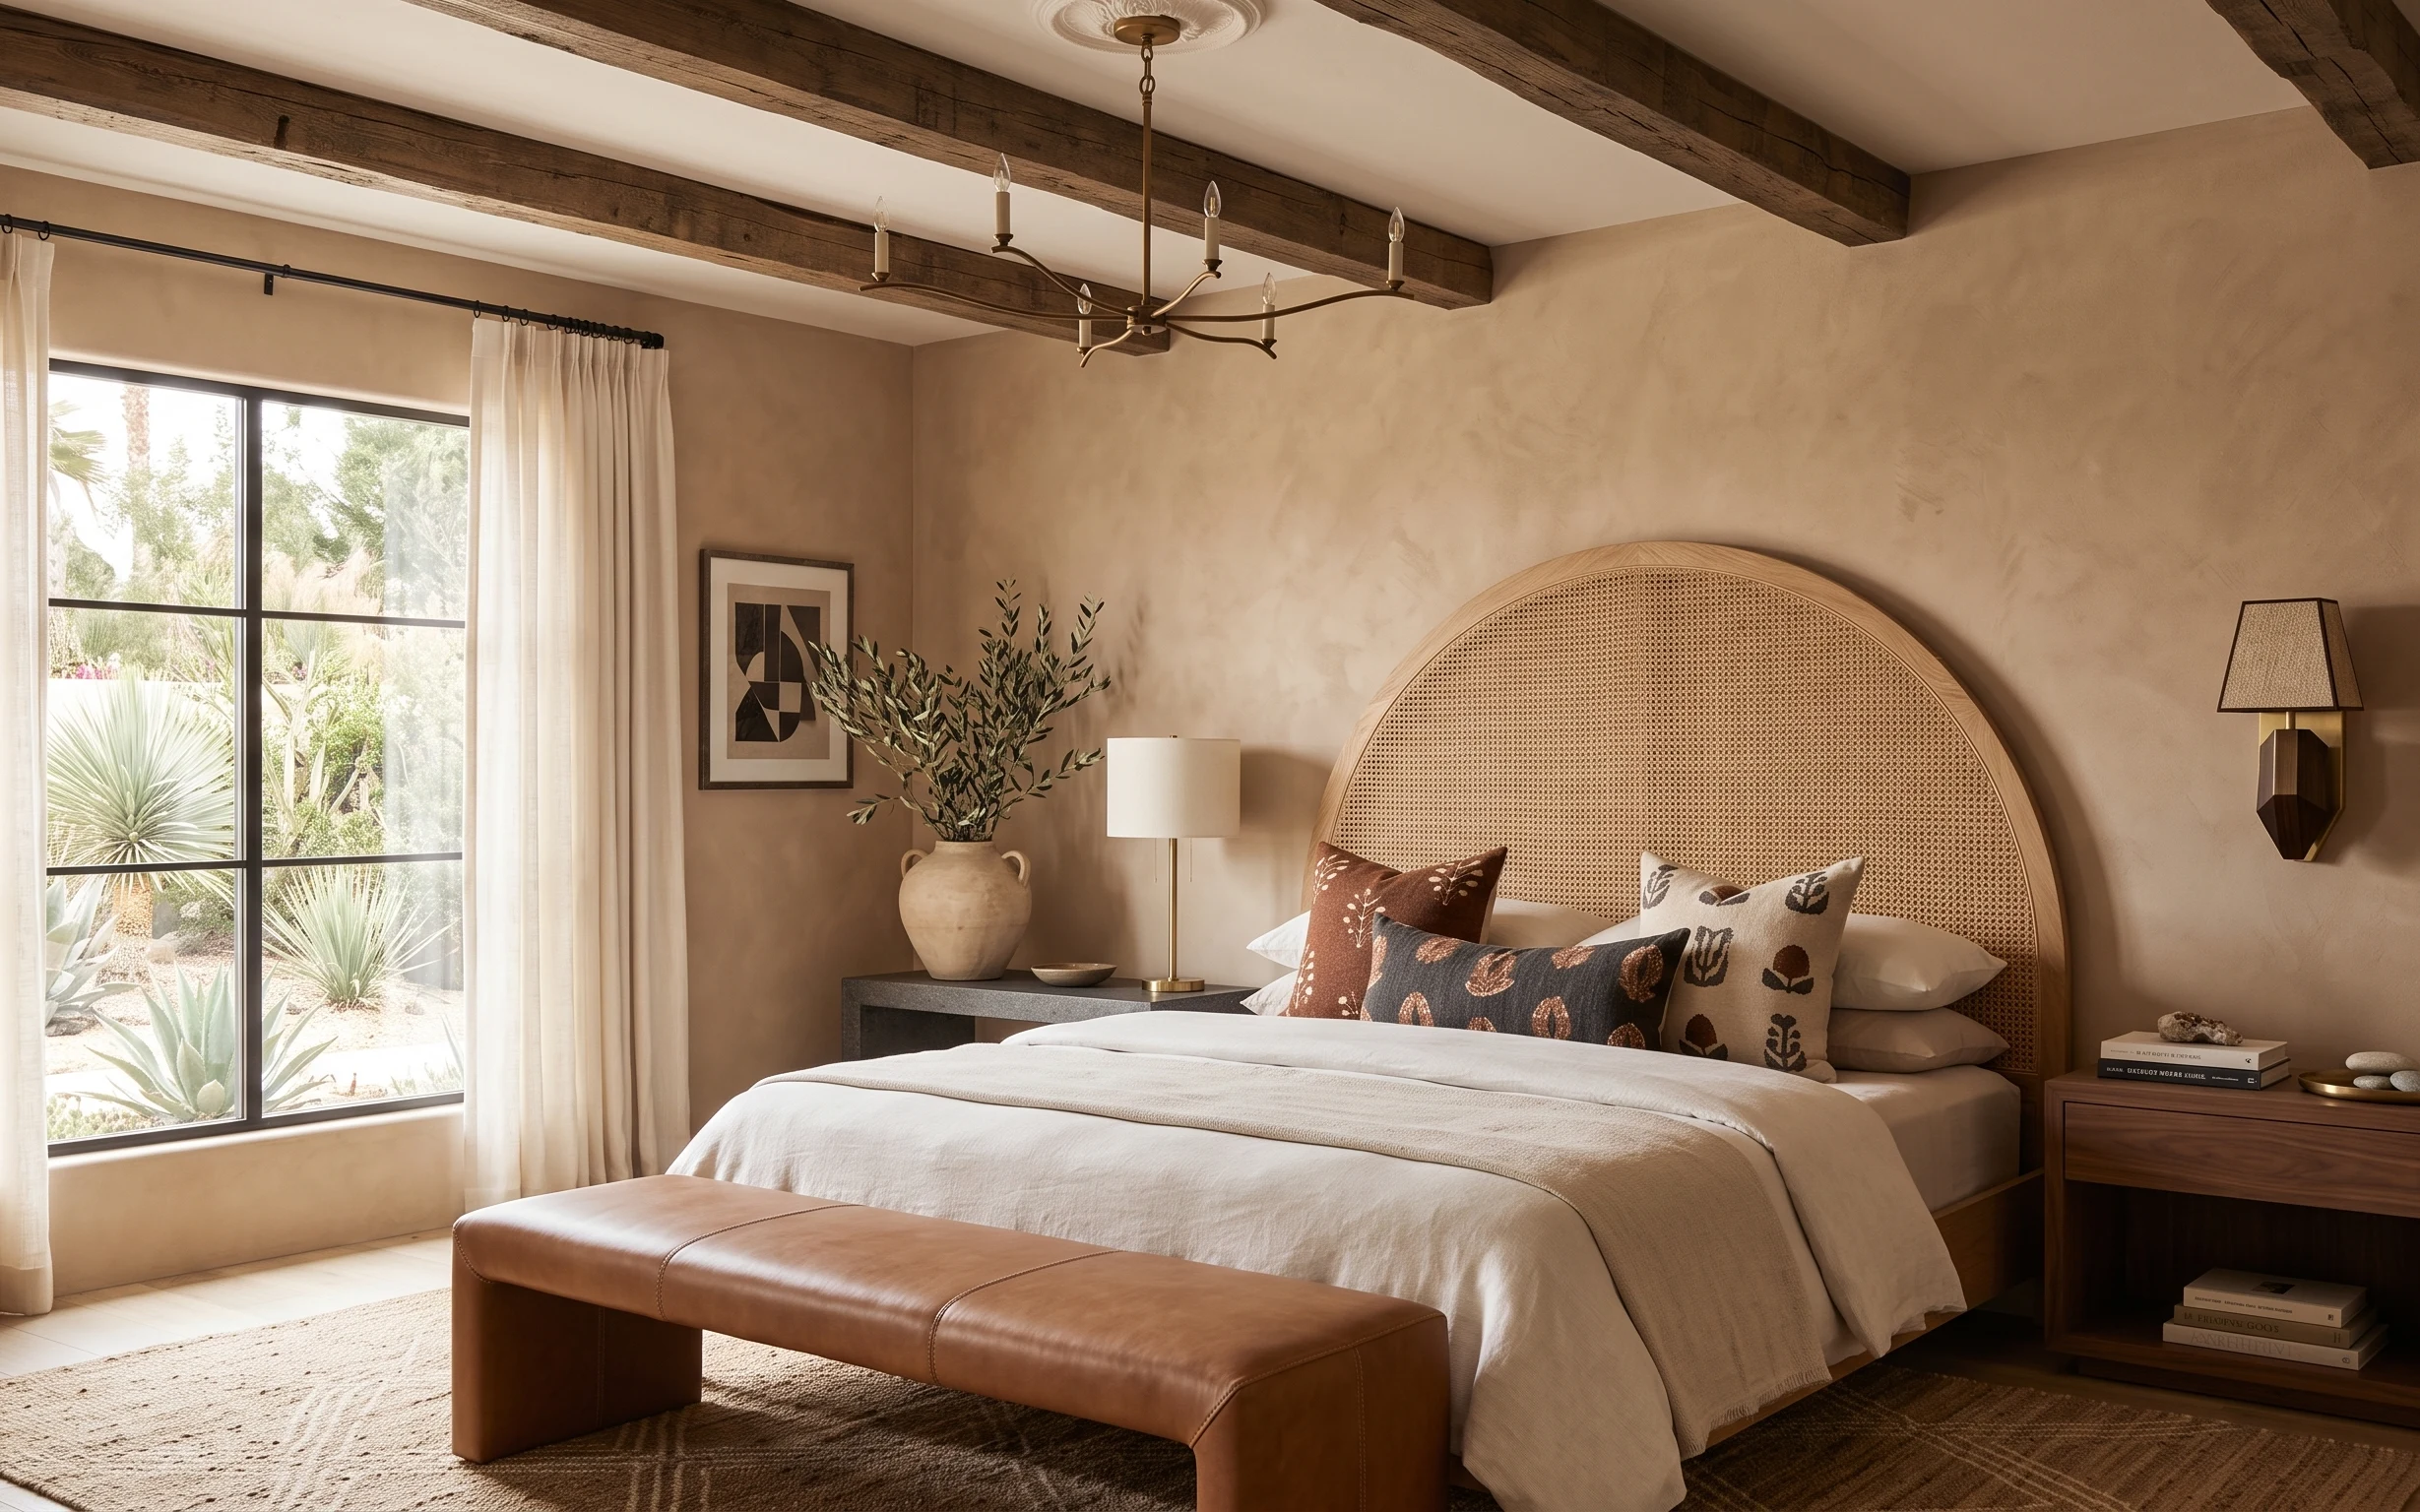
This photo is all about texture and softness: a light neutral patterned area rug, cream sheer curtain panels, and the woven-and-wood look of the arched rattan headboard. The warm lamp glow and the brown-and-cream patterned throw pillows make the room feel layered without needing any wall changes. For renters, this works because everything here is either freestanding (rug, bench, bedside table) or removable (curtains, framed art). If you’ve ever tried to “fix” a rental by buying one big thing, this is the opposite approach—small pieces placed on purpose do the heavy lifting.
I used to chase “perfect matchy” neutrals, and it always looked flat in my rentals. What changed my mind was adding one loud-but-controlled pattern—those brown-and-cream pillow prints—and then repeating the warm tones in smaller places like the ceramic vase and the framed abstract art print. You can see the same logic here: the palette stays cohesive, but the textures do the talking.
Layer 1 — light neutral patterned area rug ($200) Subtle pattern keeps high-traffic floors looking clean
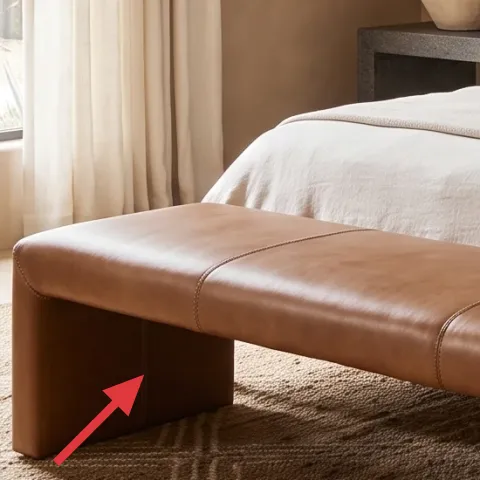
Start with the light neutral patterned area rug, because it sets the foundation for the whole bed zone. In the photo, the rug’s faint pattern is doing double duty: it softens the floor visually and hides everyday marks better than a solid white rug. The main trade-off is that patterned rugs aren’t as easy to “spot-spot clean” as darker options, so keep a small stain remover on hand. Still, for a renter, this is one of the easiest upgrades to pack up and replace later. Choose a size that reaches under the front legs of your bed/bench area.
Layer for friction
If your floors feel a bit slippery, add a rug pad so the rug stays put and doesn’t bunch under the bench.
Layer 2 — cream sheer curtain panels ($80) Window softness without blocking daylight
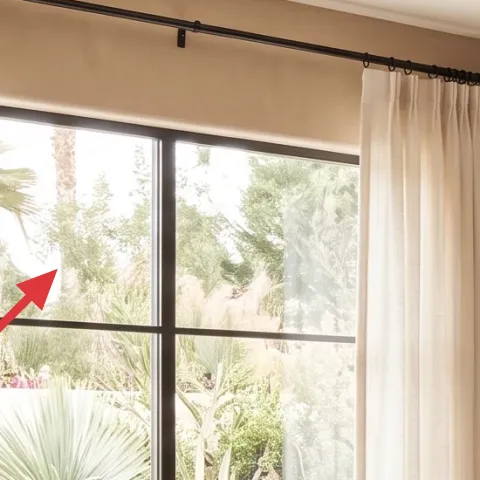
The cream sheer curtain panels are the reason this bedroom reads airy instead of heavy. They’re hung wide around the large black-framed window, which makes the whole wall feel taller and calmer. The texture matters here: sheer fabric catches light and diffuses it, so your warm lamp glow doesn’t overpower the daylight. The trade-off is privacy—you’ll still need blinds/room-darkening layers depending on your building and street visibility. As a renter, sheers are a smart move because you can remove the panels at move-out and leave the rest of the window hardware alone.
Go for length, not just width
Look for panels that pool slightly or just kiss the floor; that’s what keeps the drape looking intentional.
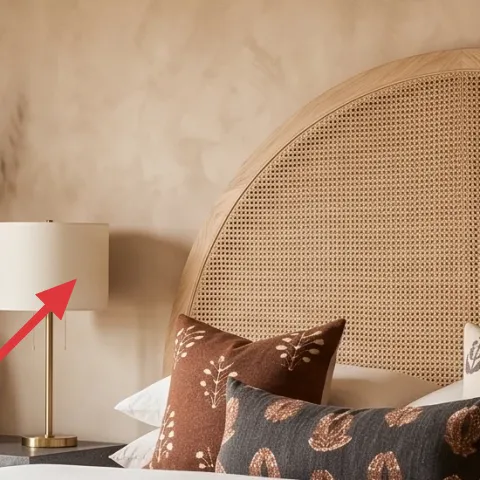
Layer 3 — plug-in table lamp with hexagonal base ($60) Warm, movable light next to the bed
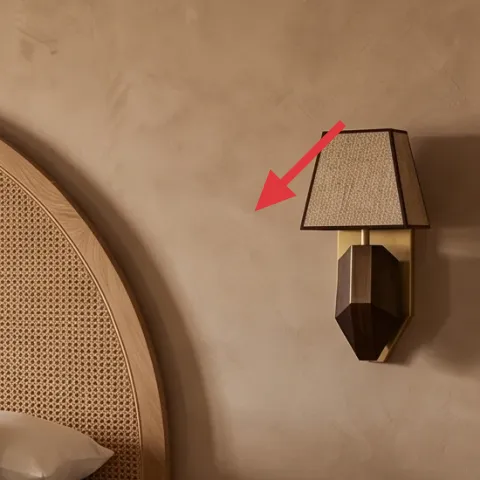
Add the plug-in table lamp with the hexagonal base to replicate the bedside glow. In the photo, the lamp sits on the wood bedside table and adds warmth that the ceiling light can’t mimic. You’re also getting height variety: the shade sits above the pillow line, which helps the whole composition feel balanced. The trade-off is that you’ll likely want a bulb with a warmer color temperature so it doesn’t feel harsh against the beige wall. This is also renter-friendly because you’re not altering wiring—plug it in, set it where you need it, and swap it later if your next apartment layout changes.
Don’t pick a shade that’s too bright
If the shade is white-on-white, it can wash out the warm palette; a softly textured shade keeps the bed zone cozy.
Layer 4 — brown-and-cream patterned throw pillow set ($45) One pattern repeat makes the headboard area look styled
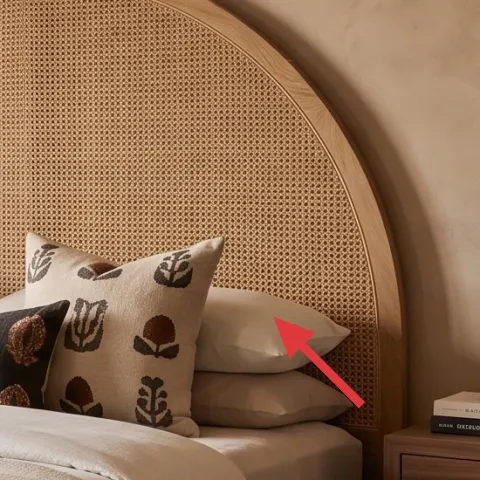
Those brown-and-cream patterned throw pillows are what make the arched headboard zone look designed instead of temporary. The prints stay in the same warm family—earthy browns, cream ground, and leaf-like motifs—so they read cohesive even when you mix pillow designs. My rule for rentals: if you can’t change the walls, change the “surface planes” that sit close to eye level. The trade-off is that patterned pillows can look busier if you choose the wrong scale, so go for medium, not tiny, motifs. Mix one larger pattern pillow with one or two coordinate prints for that layered look without overthinking it.
Mix one bold print with two quiet coordinates
Keep the quiet pillows simpler (solid or minimal pattern) so the bed doesn’t compete with the wall art.
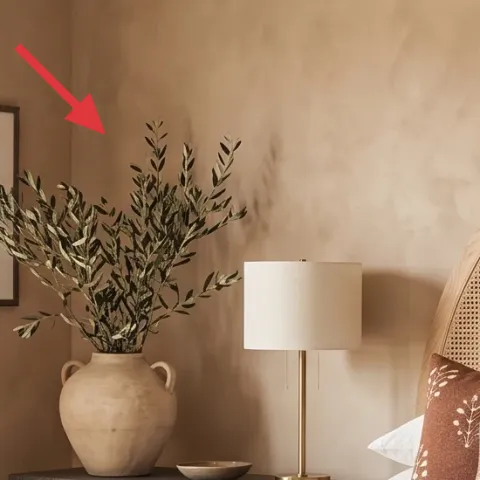
Layer 5 — large ceramic vase with leafy branches ($35) A sculptural centerpiece that reads natural year-round
The large ceramic vase with leafy branches turns the wood bedside table into a focal point. You can see it in the photo: the vase adds height above the tabletop and the stems bring movement without needing real “garden maintenance.” The ceramic tone also echoes the room’s warm neutrals, which is why it doesn’t fight the beige plaster-texture wall. The trade-off is that loose stems shed a little, so trim and refresh as needed. For renters, this kind of styling is perfect because you can pack it in a box and reset the look in your next bedroom with almost no effort.
Group by height, not by number
A tall focal vase plus a little negative space around it makes the bedside look curated.
Layer 6 — framed abstract wall art print ($80) DIY it once, then swap the palette later
The framed abstract wall art print is the visual “anchor” above the bedside styling. In this room, the shapes and warm-and-neutral tones echo the pillows and the ceramic vase, so everything feels like one story instead of separate buys. The trade-off with abstract art is it won’t always mask awkward wall proportions—so center it at eye level and don’t go too small. If your landlord won’t allow drilling, you can still hang a lightweight frame using removable methods.
Make it instead of buying it
This hand-painted abstract on cardstock gives the same warm neutral “bridge” between the pillows, vase, and arched headboard.
Materials
- Cardstock sheets (pack) — 1 pack — craft store — $12
- Acrylic craft paint (warm neutrals + 1 dark accent) — small set — craft store — $6
- Paintbrushes (flat + small detail) — 2–3 pack — craft store — $8
- Frame or poster frame (fits your chosen art size) — 1 — discount store — $15
- Matte clear spray (optional for protection) — 1 — craft store — $4
Steps
- Cut cardstock to the exact size that fits inside your frame.
- Sketch loose shapes lightly with pencil so you have a plan for balance.
- Paint 2–3 big color blocks in the warm cream and beige tones.
- Add one dark accent shape and a few curved lines to echo the leaf-like mood.
- Let the paint dry fully before layering details.
- Touch up edges, then place the finished art into the frame backing.
Total DIY cost: $45 — saves about $35 over buying.
Layer 7 — wood bedside table with books and tray ($80) One tidy surface makes the whole bed zone look intentional
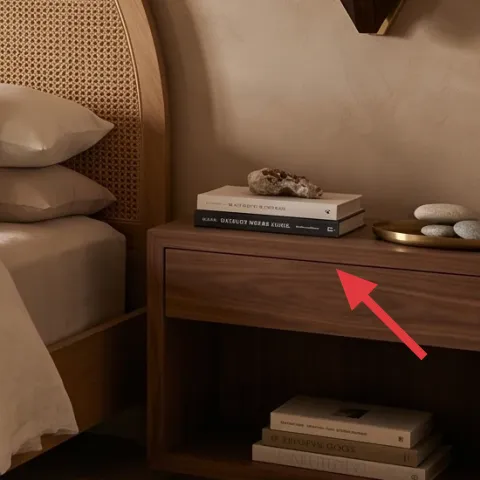
Finally, the wood bedside table with books and tray is what turns “decor” into a lived-in vignette. The table’s warm wood tone repeats the ceiling beam vibe and creates a grounded place for the plug-in lamp, the ceramic vase, and a small stack of books. That layering is why the room doesn’t feel staged—everything is sitting at the right heights for reading and nighttime routines. The trade-off is that it’s easier to clutter than a plain surface, so keep styling minimal: one tall element, one lamp, and one small object group. Choose a size that fits your lamp base and leaves enough tabletop for a small tray.
Use a tray to “contain” the mess
Keeping the small ceramics and tray together makes the bedside look styled even on busy weeks.
The cost, layer by layer
| Layer | Item | Cost |
|---|---|---|
| 1 | Light neutral patterned area rug | $200 |
| 2 | Cream sheer curtain panels | $80 |
| 3 | Plug-in table lamp with hexagonal base | $60 |
| 4 | Brown-and-cream patterned throw pillow set | $45 |
| 5 | Large ceramic vase with leafy branches | $35 |
| 6 | Framed abstract wall art print | $80 |
| 7 | Wood bedside table with books and tray | $80 |
| Total | $580 | |
If you want a cheaper variant, swap the rug for a solid neutral runner with a small texture and scale down to one statement pillow plus one coordinating solid cover. Keep the plug-in lamp and sheer curtains—they’re the “big feel” pieces that make the room read expensive without major changes.
What worked, what didn't (across the whole room)
The strongest win here is the repeat of warm neutrals across three surfaces: floor (rug), vertical softness (sheers), and bed-zone accents (pillows and ceramic). The second win is lighting height—placing a warm table lamp next to the bed keeps the scene soft at night. The only thing that can go wrong is picking prints or fabrics that don’t share undertones.
What worked
- The light neutral patterned rug gives definition without making the floor look busy or harsh.
- Cream sheer curtain panels diffuse daylight and make the black-framed window feel less heavy.
- The plug-in table lamp adds warm color when daylight fades, keeping the beige wall flattering.
- Brown-and-cream patterned throw pillows add one clear focal point in front of the arched headboard.
- The large ceramic vase with leafy branches brings height so the bedside surface doesn’t look empty.
- The framed abstract wall art print ties the pillow motifs to the vase and ceiling-beam tone.
What didn't
- If the curtains are too short, the window feels chopped and the whole wall loses height.
- Using only solid pillows makes the bed zone look flat against the curved headboard.
- Choosing a lamp shade that’s too stark can wash out the warm palette.
- Skipping a tray on the bedside table turns the vignette into scattered small items.
What we'd skip if we did it again
Skip heavy blackout curtains if your goal is that airy, sunlit bedroom feel. In this look, the cream sheer curtain panels do the work of softening the black-framed window while keeping daylight moving through the room. If privacy is an issue, use removable temporary options instead of swapping the whole fabric weight.
Skip buying a rug in a pure white tone. This space works because the rug is light neutral with a subtle pattern—close enough to “bright” without reading like a constant stain magnet. A slightly warmer off-white or oatmeal undertone plus a gentle pattern keeps it rental-realistic.
Skip abstract art that’s either too small or too cool-toned. The framed abstract wall art print here matches the warm cream and brown rhythm of the pillows and ceramic vase. Go for a warmer palette and a size that sits comfortably above the bedside vignette so it actually anchors the wall.
Frequently asked
How long does this kind of bedroom refresh usually take?
Plan for about 2–4 hours total if you’re only swapping textiles, adding a rug, styling the bedside table, and hanging a framed abstract print with removable methods. Curtains are the most time-consuming because you’ll want to get the panel length and width right so they pool slightly or land neatly. Once those are in place, the lamp, pillows, and ceramic vase are quick, mostly just arranging and editing.
Will this still work in a smaller rental bedroom?
Yes—just scale the rug and keep the bedside surface less cluttered. In a smaller room, you can keep the same color palette (warm beige, cream, medium brown) but choose a slightly smaller rug so you don’t lose floor space. For the wall art, aim for a frame that still feels “anchoring” above your bedside vignette, not tiny. The airy sheers are especially helpful when square footage is tight.
What if my apartment doesn’t get much daylight?
If daylight is limited, lean harder on the lamp glow and keep the sheers a true cream rather than a heavy taupe. The plug-in table lamp helps maintain warmth when natural light fades, and the patterned throw pillows keep the bed zone from going flat. Consider choosing a rug with slightly higher contrast (still warm, just not too close to the floor tone).
Where should I shop for pieces like the lamp, rug, and pillows?
For this look on a renter budget, start with a patterned area rug at a big-box home retailer or marketplace, then build up the bed zone with a few coordinated pillow covers. The plug-in table lamp is often easiest to find in the lighting section with a warm bulb option. For the framed abstract wall art print, you can buy a ready frame or DIY one—either way, search for warm neutrals and one darker accent so it matches the ceramic vase tone.
What’s the biggest mistake people make on this bedroom type?
Picking one element that doesn’t share undertones is the most common issue. For example, cool gray pillows against warm beige walls can make the room feel off, even if everything is “neutral.” Another frequent miss is hanging curtains that are too narrow or too short—then the window looks squeezed. If the palette is warm and the sheers are properly proportioned, the whole look usually lands.
Is the DIY framed abstract art move-out friendly?
Yes, because you’re making the artwork itself, not changing anything permanent to the wall. You can mount the frame using removable methods that don’t damage paint. When you move, you take the frame and artwork with you, and you can swap in a different piece to match your next apartment’s palette. The DIY is also repeatable—make a second version for under different seasons or moods.
More in Bedroom
Under $600: move-friendly arched headboard bedroom refresh
Under $600, this arched headboard bedroom refresh leans into warm neutrals with renter-safe swaps: rug, sheer curtains, lamp glow, a stacke…
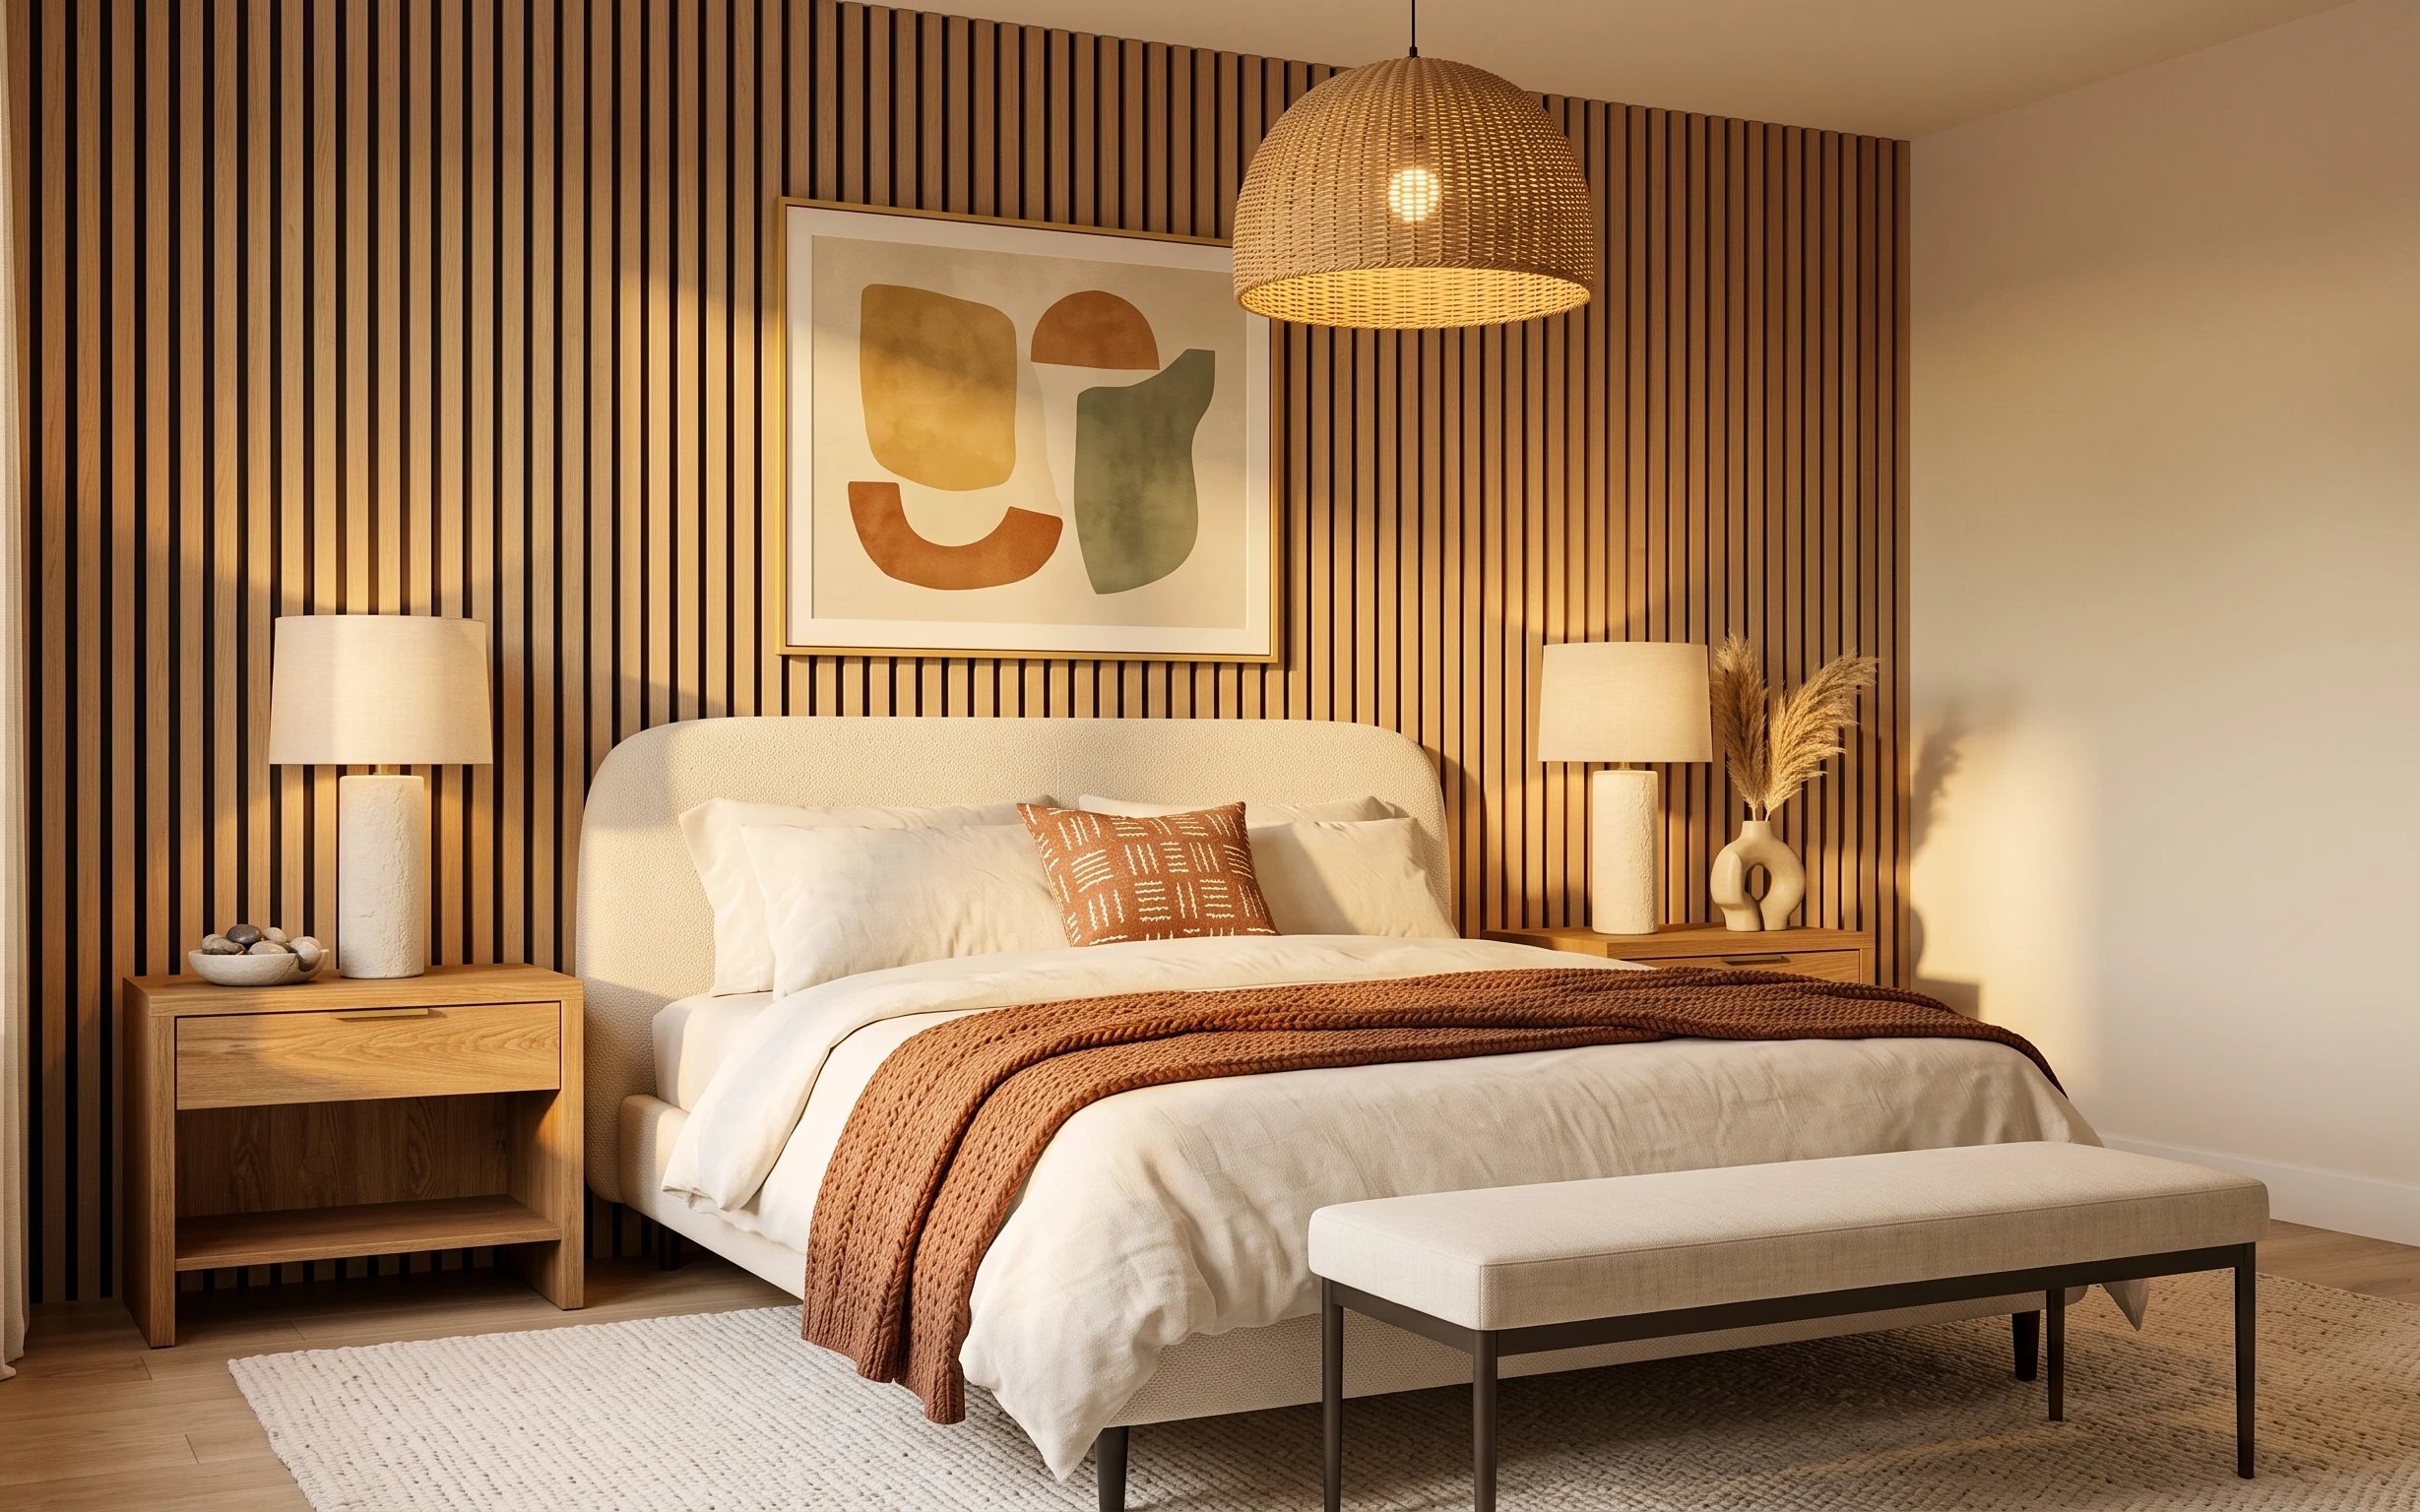
Under $700: modern organic bedroom refresh with 7 weekend wins
A modern organic bedroom refresh that leans warm and lived-in—without major construction. With a $700-ish budget, the big shift comes from …
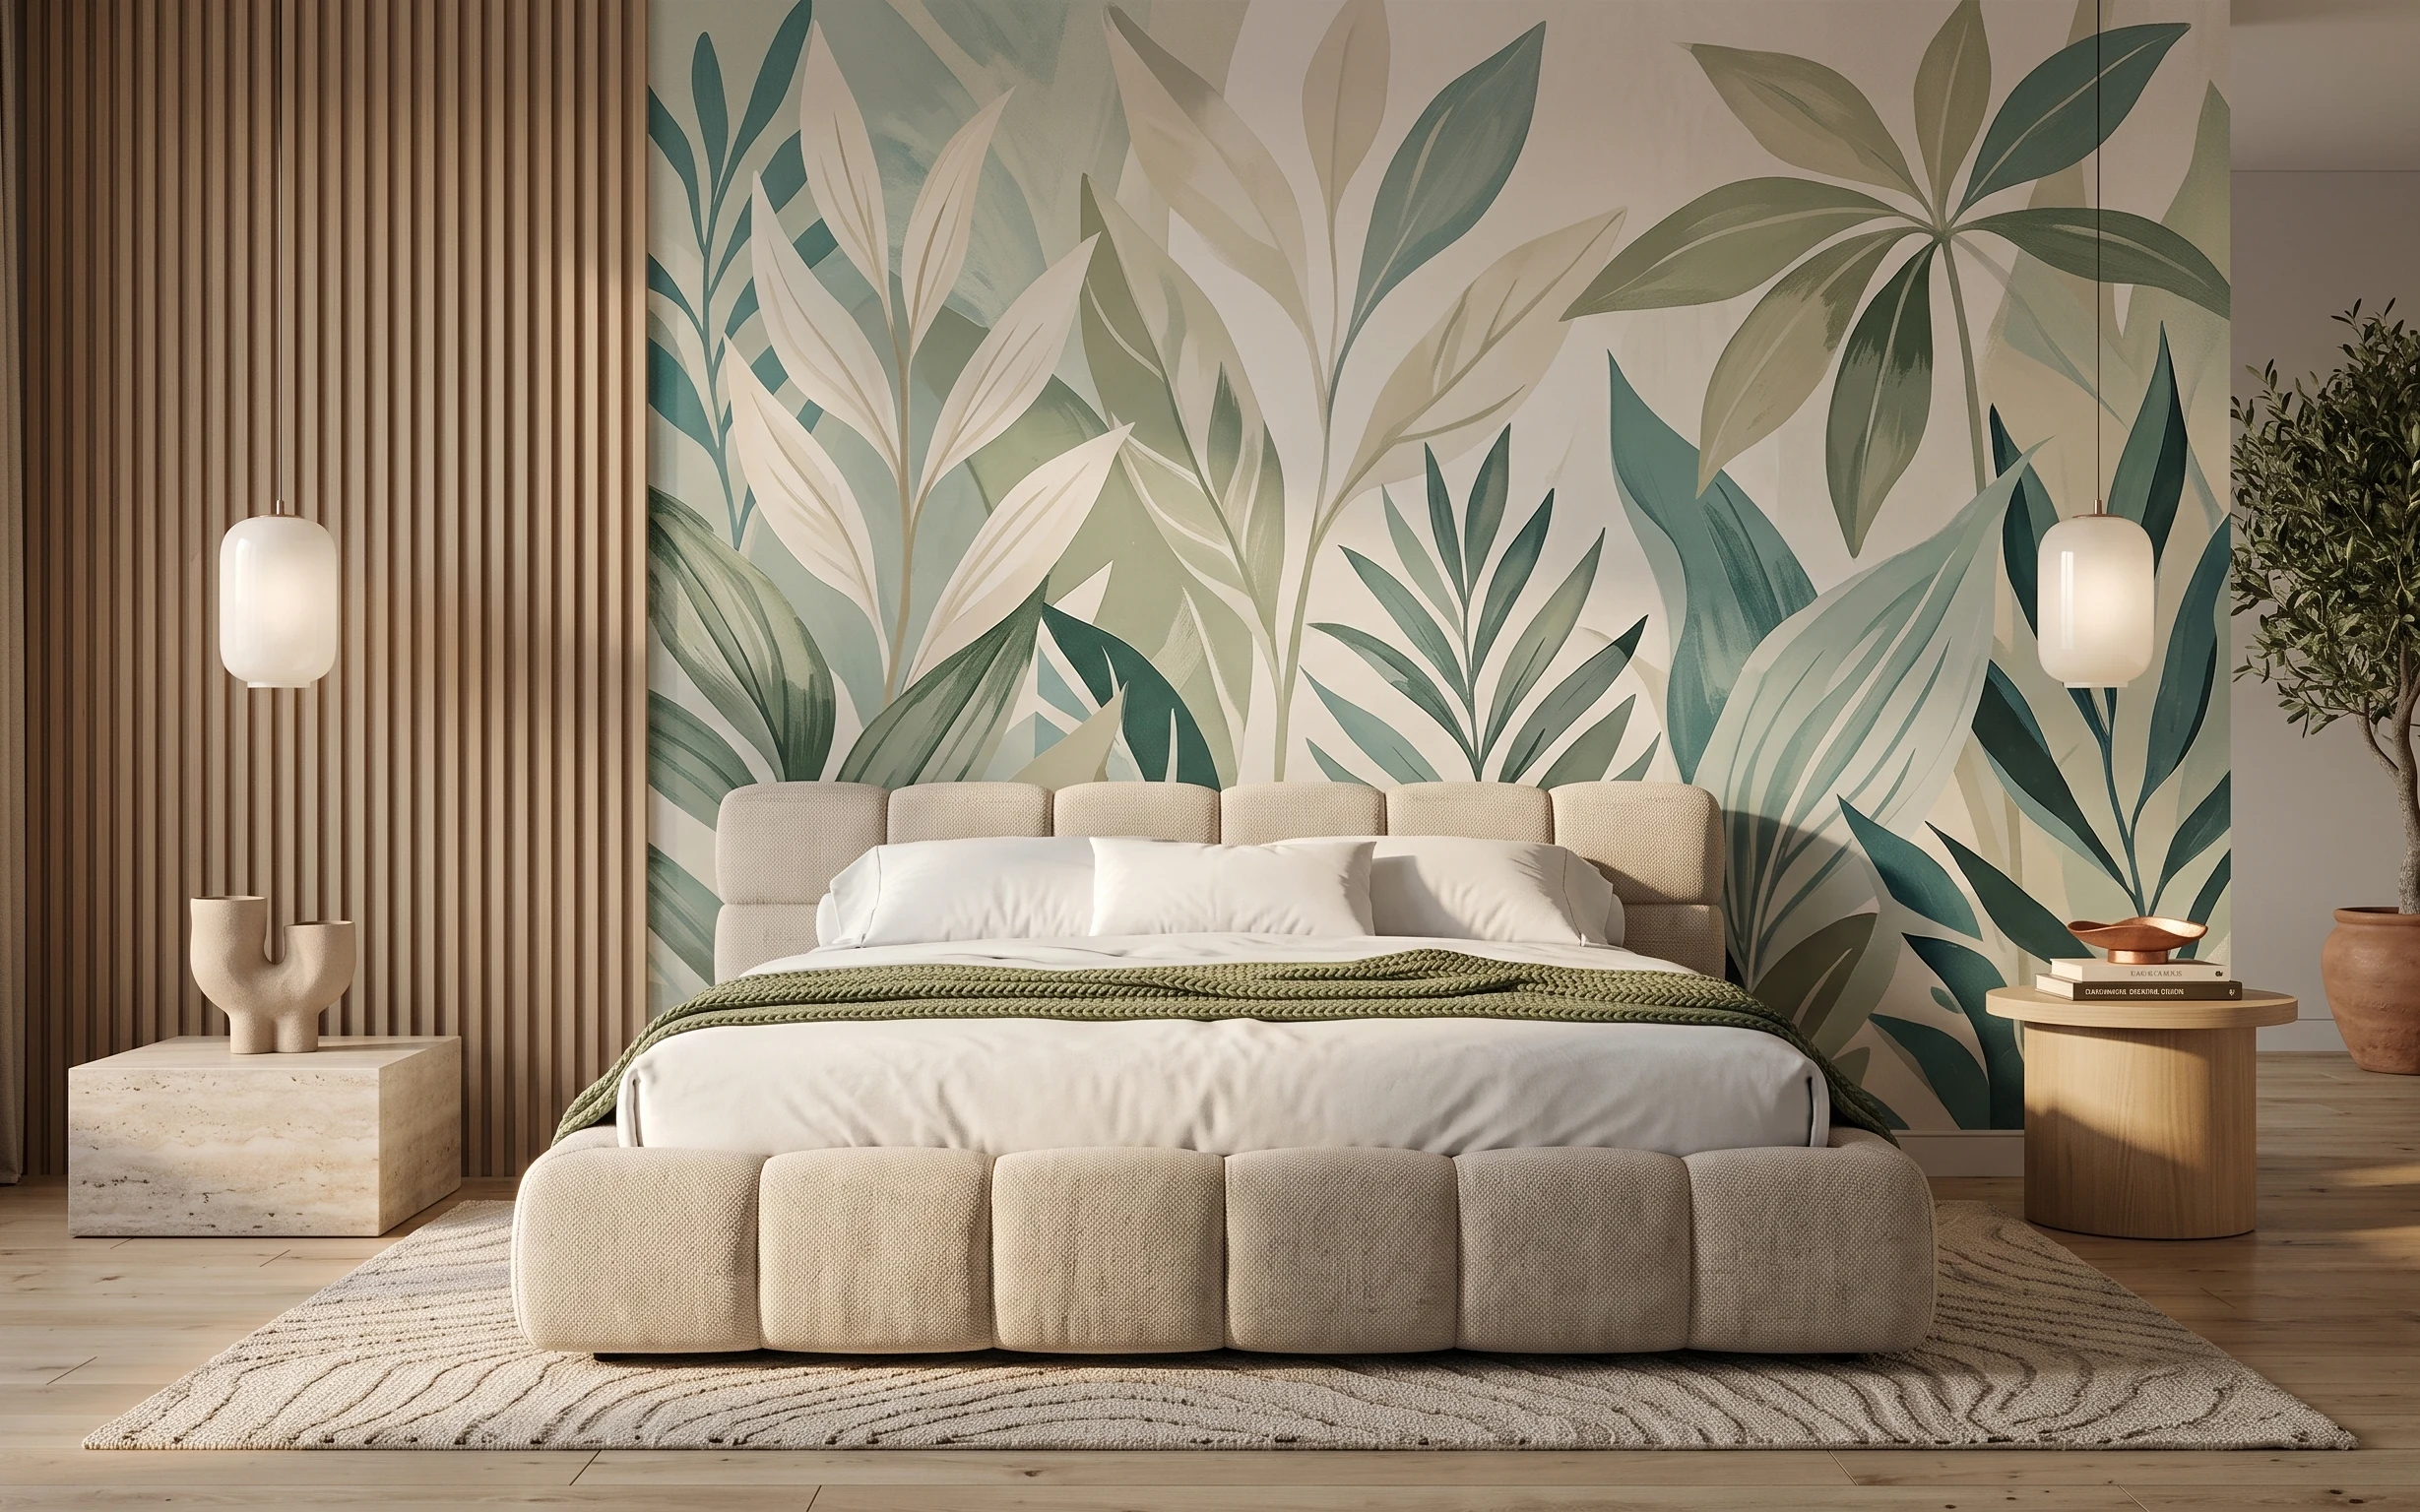
Under $500: sage-leaf bedroom refresh with 7 renter swaps
A sage-leaf wallpaper mural, two plug-in lamps, and a patterned rug create a high-impact bedroom look for under $500—no drilling, no paint,…