- Best for
- Earthy boho bathroom corners
- Cost
- About $300 total
- Time
- 1 afternoon for all swaps
- Renter-safe
- Yes—textiles + hook-on wall decor
Why earthy beige tile-and-macramé details are the bathtub corner of 2026
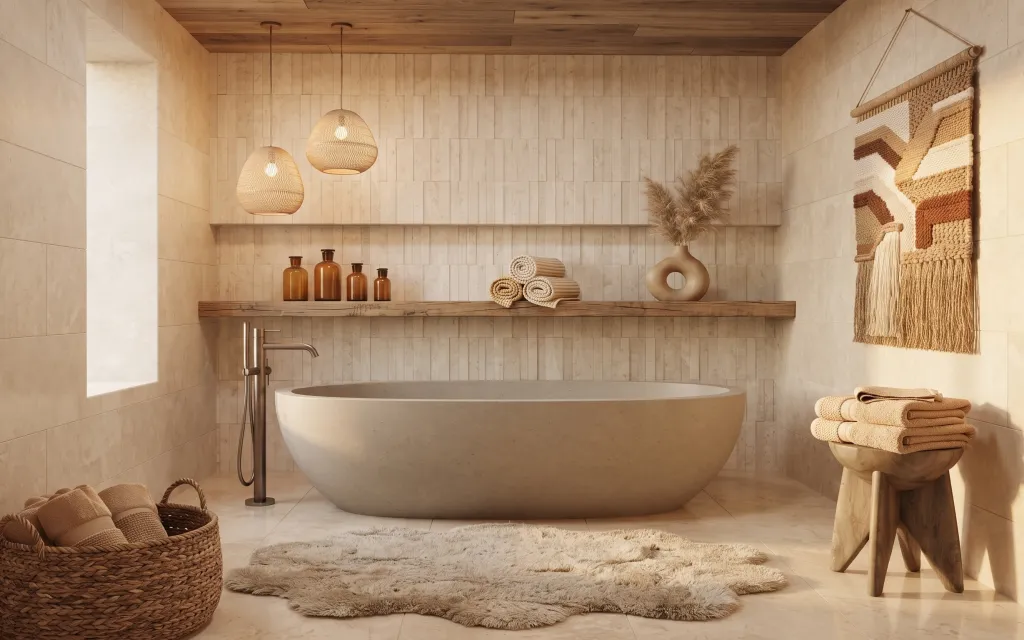
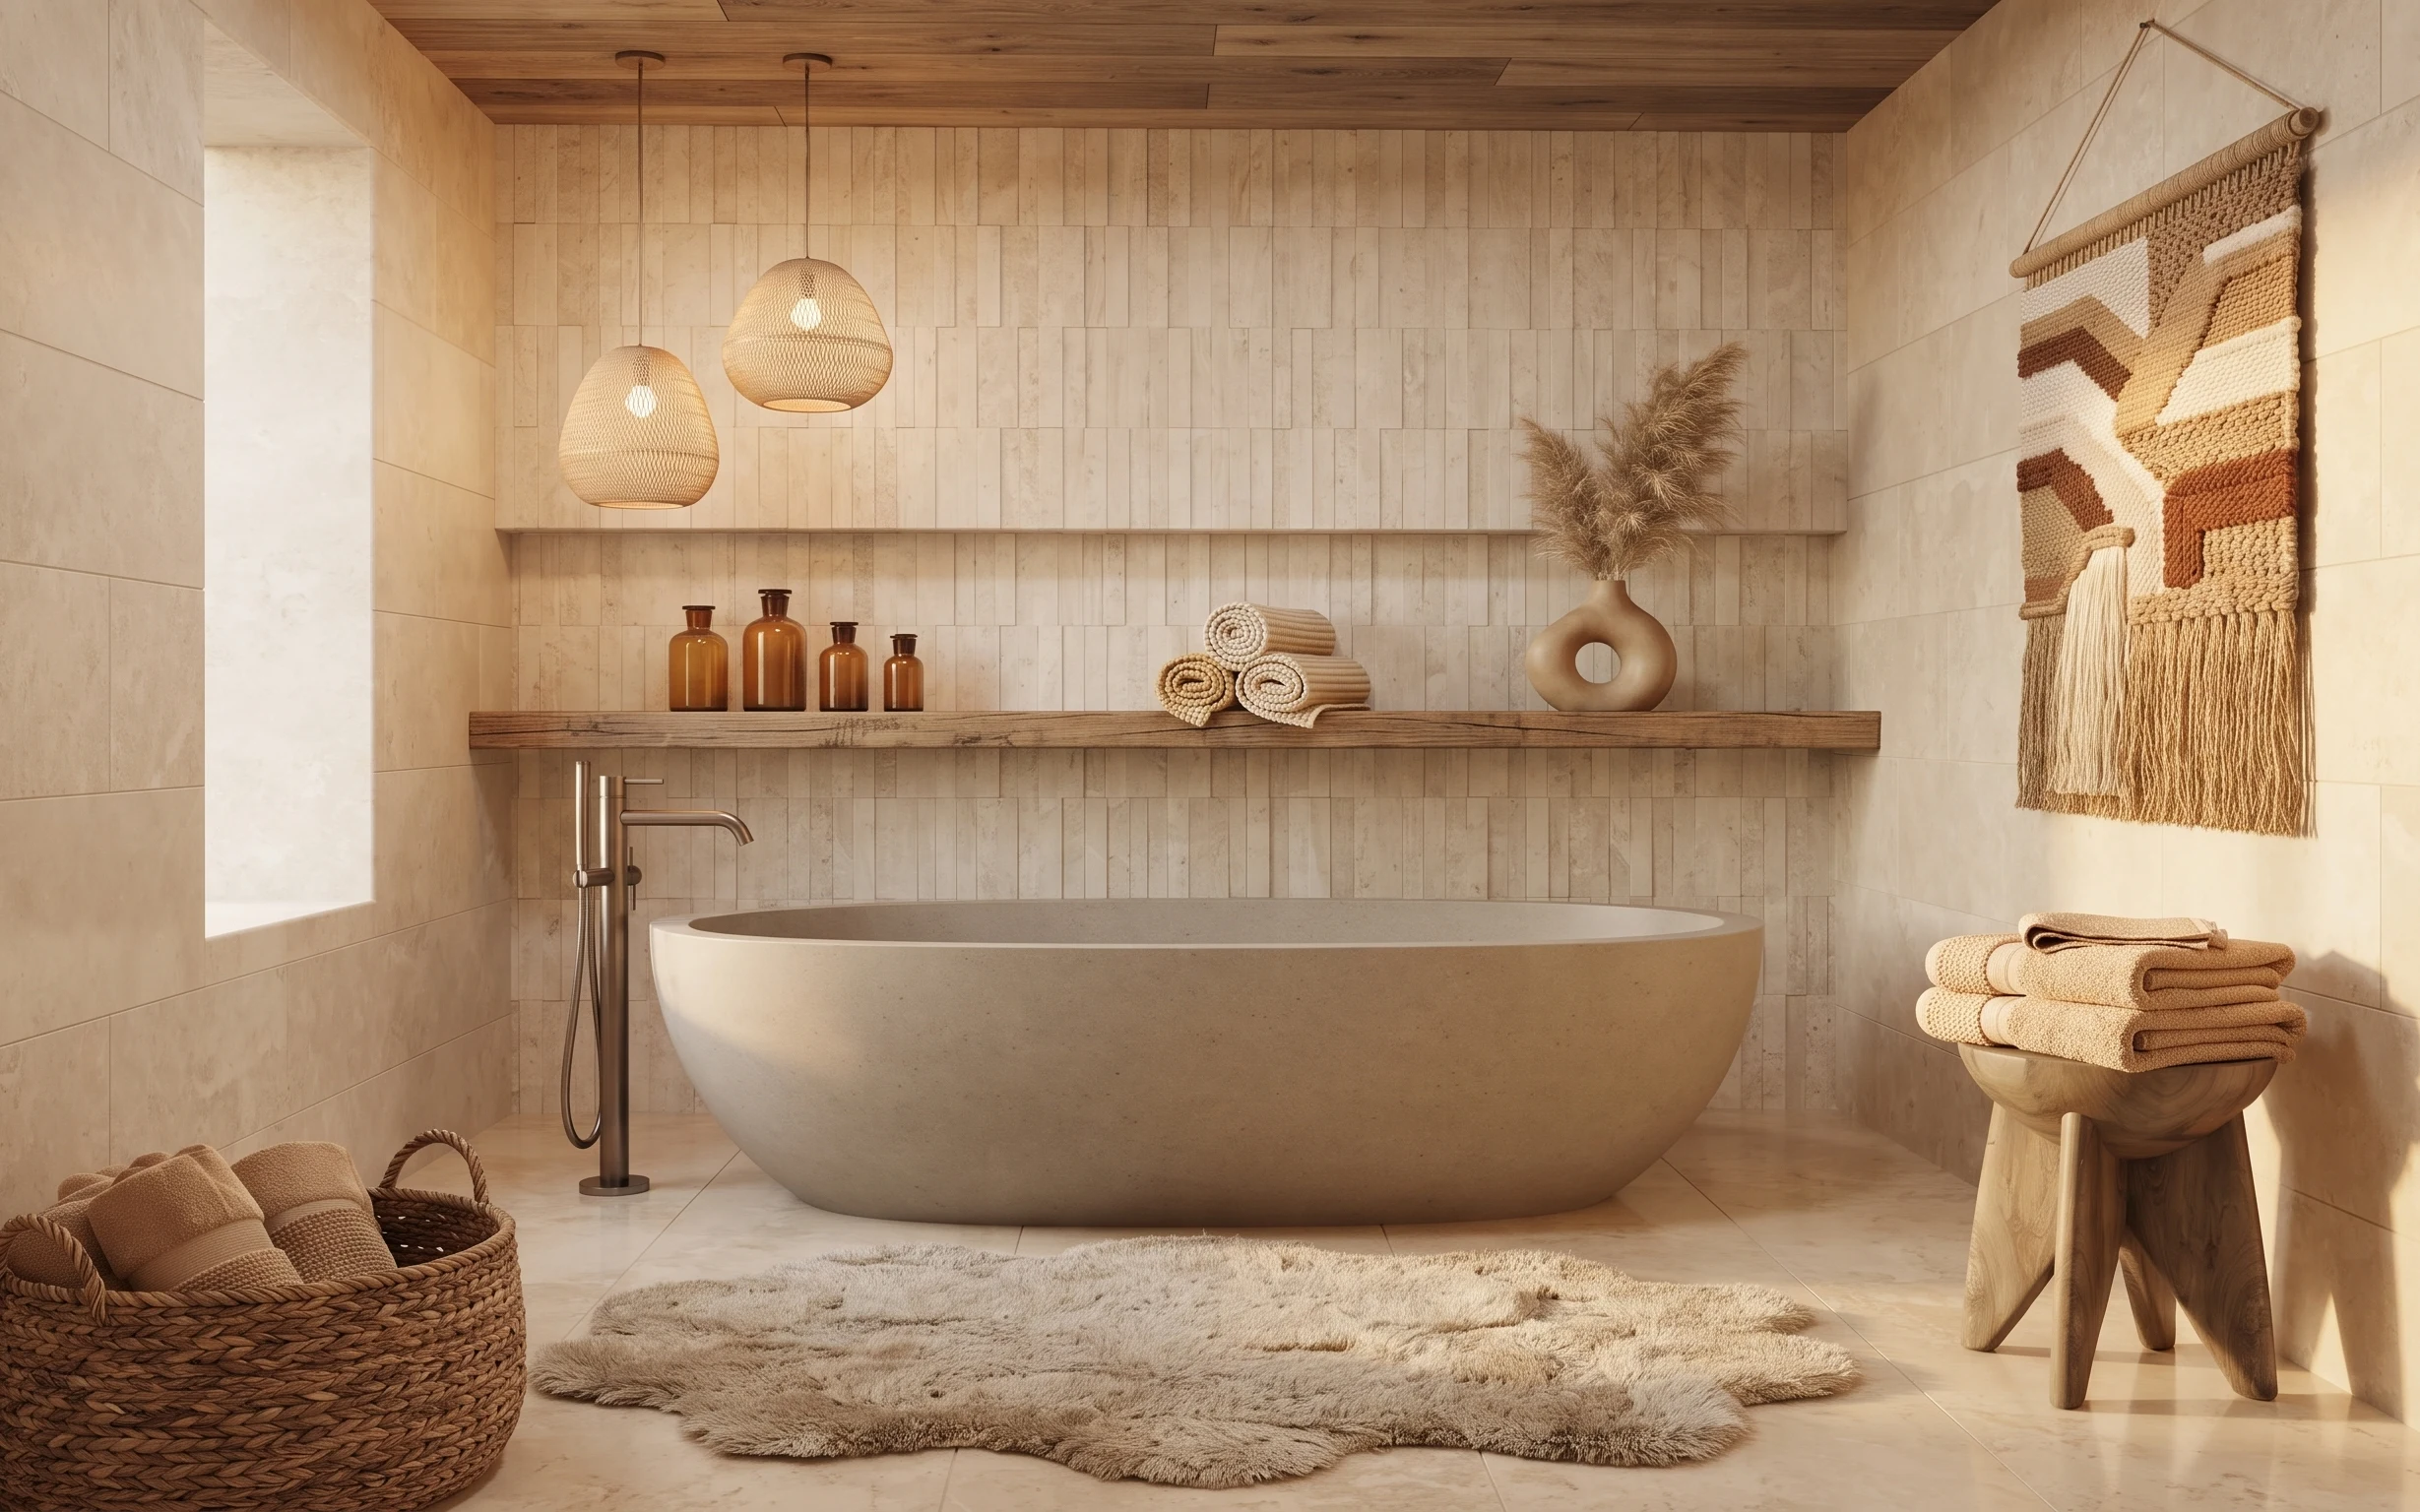
That light beige tile and wood shelf set the baseline, but the vibe comes from softness: a shaggy area rug underfoot, rolled towels stacked on a small stool, and the chunky texture of a macramé wall hanging. In magazines like Domino, this is the formula—natural fibers + warm neutrals + fewer, larger objects that feel tactile from across the room. For shared housing, the win is choosing things that pack flat or dismantle fast, instead of chasing permanent changes.
I used to buy bathroom “decor” that turned out to be too fussy—pretty, but awkward to move. The shift for me was going straight to textiles first: rug pile, towel weight, and one wall piece with a strong texture. This look is also forgiving: even if the room lighting changes where you hang the macramé, the beige cords and zigzag pattern still read as warm and intentional.
Layer 1 — area rug ($80) Soft pile, warm underfoot
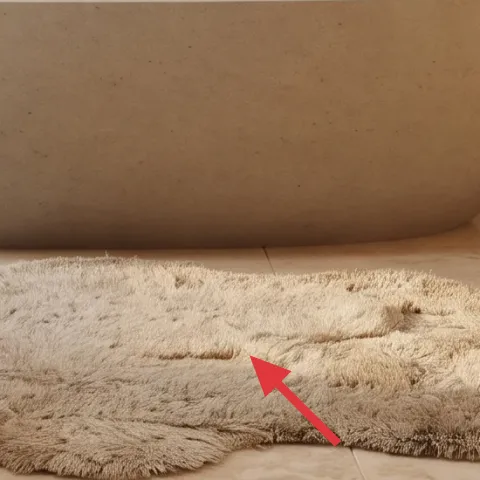
An area rug is the easiest way to keep a tile bathroom from feeling echo-y. In the photo, the rug sits centered in front of the tub with a creamy, slightly shaggy pile that reads cozy without adding clutter. I’d rather start here than buy more “bath accessories,” because it visually anchors the whole corner and makes towels look more styled by contrast. The trade-off is that rugs need a quick shake-out, but in shared housing that’s still easier than anything that requires tools or wall changes.
Pick a rug you can lift with one hand
If you have to wrestle it out for cleaning, it won’t get done—choose a size you can roll and pack into a box without fighting it.
Layer 2 — macrame wall hanging ($55) Zigzag cord texture for a warm focal
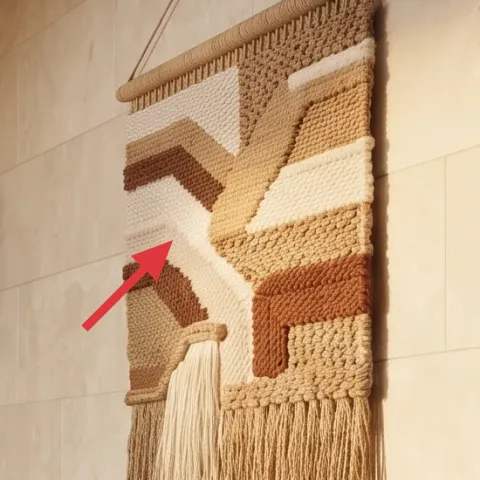
A macramé wall hanging gives you the boho texture that’s doing a lot of the heavy lifting here. The one in the hero has a chunky woven pattern with earthy tones and fringe, placed high on the right wall so it becomes the visual “finish” after the shelves and tiles do their part. The reason to pick this over a framed print is scale: cords add dimension even when you don’t have perfect lighting. Trade-off: you have to be okay with a wall decor piece that’s textural, not glossy.
Make it instead of buying it
DIY a small macramé wall hanging using cord, a simple dowel, and a renter-safe hook so it packs up when your lease ends.
Materials
- Macramé cord — 1 bundle — craft store — $18
- Wood dowel — 1 (about 24 in) — hardware store — $10
- Command hook (medium, reusable) — 1–2 — office store — $8
- Yarn or twine for fringe ties — 1 spool — craft store — $9
Steps
- Cut cord lengths for your width, then gather into bundles so the fringe hangs evenly.
- Tie cords to the dowel with a secure knot, keeping tension consistent across the bar.
- Weave the zigzag pattern using alternating knot direction, checking symmetry every few rows.
- Trim fringe to the same length and tidy the bottom ends so the pattern reads clean.
- Test the placement height by holding it against the wall before hanging.
- Hook it up using the Command hook(s), then press to activate and set it aside briefly.
Total DIY cost: $45 — saves about $10 over buying.
Layer 3 — woven storage basket ($25) Add a place for extras
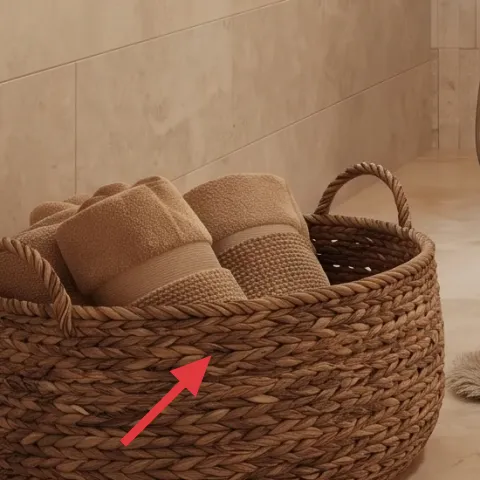
A woven storage basket is one of those “why didn’t I do this sooner?” bathroom adds, because it hides the everyday mess while keeping the boho texture family. The basket in the hero sits on the floor at the left edge, filled with extra towels or washcloths, so you get both function and a warm natural-material look. I like this choice more than a lidded bin because wicker reads softer against tile and doesn’t look like an office supply cabinet. The trade-off is that woven fibers can snag, so keep sharp items out and only move it by its handles.
Texture matters more than matching
Keep the basket in the same warm-beige range as your rug and towels; exact color matching isn’t required.
Layer 4 — dried pampas grass and round ceramic vase ($35) Feathery height above the shelf
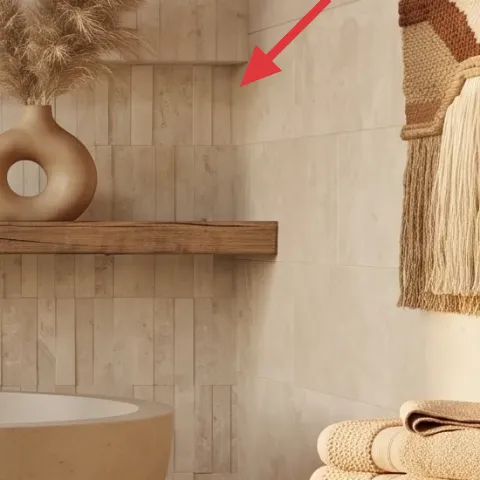
Dried pampas grass adds vertical interest without taking up countertop space. In the photo, the airy plumes sit in a round ceramic vase on the shelf, which makes the styling feel “done” even if the shelf is otherwise simple. I’d choose this over fresh flowers in shared housing because you’re moving within a year or two; dried stems pack more predictably and don’t need daily care. The trade-off is that you’ll want to transport it carefully so the plumes don’t shed everywhere.
Pack it in a box with tissue
Wrap the vase separately and slide the stems into tissue so they arrive intact for your next bathroom corner.
Layer 5 — rolled towels on stool ($45) Thick folds that read “spa” fast
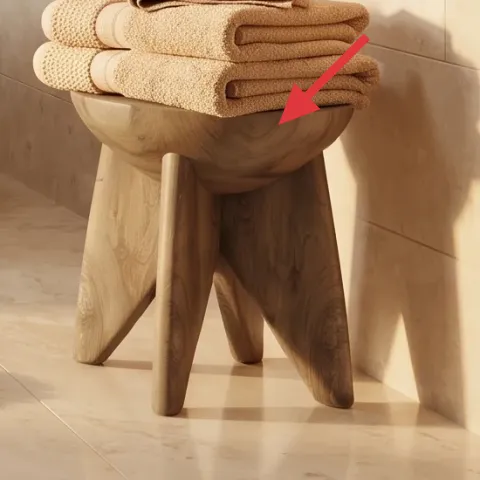
Rolls are underrated bathroom styling because they look intentional without requiring a ton of space. The hero shows rolled towels on the wooden stool at the lower right, adding color warmth while also giving you a realistic surface to store towels for daily use. I’m picking rolls instead of a single draped towel because rolls stack cleanly and are easier to repack when you move. Trade-off: rolled towels take a little time to set up the first day, but once they’re placed, the corner looks styled even when you’re busy.
Choose towels that won’t shed lint on rug pile
If you pick a very fuzzy towel, it can fuzz up the rug over time—wash once before styling.
Layer 6 — towel stack on stool ($30) Extra height without clutter
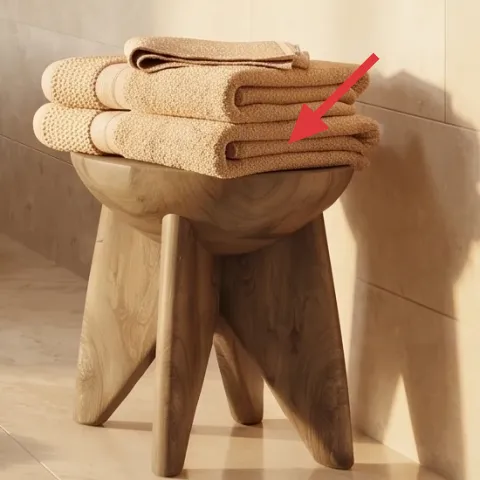
That second towel stack matters because it creates a height step next to the rolled towels, which keeps the right side from feeling flat. The hero’s stack sits right on the stool surface, still in warm neutrals that match the rug and cord tones. If you try to skip this layer, the corner can look “one-note,” like everything is the same size and texture. The trade-off is managing volume: keep only enough towels for what you’ll actually use so the stack doesn’t become visual clutter in a small bathroom.
Keep towel colors in the same undertone
Warm whites, sand, and oat tones read cohesive; grey-laundry tones break the spa feeling.
Layer 7 — amber glass bottles ($25) Warm color on the shelf
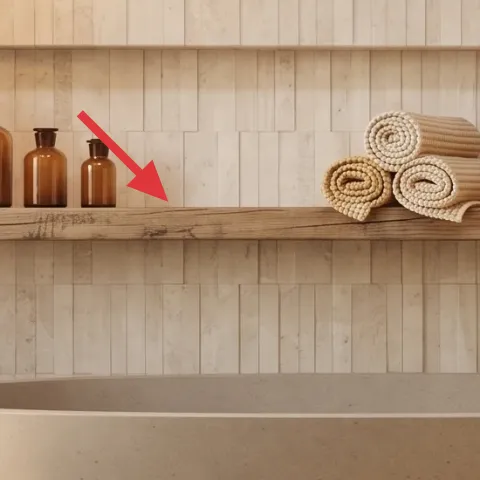
Amber bottles give you that warm apothecary cue without permanent changes. In the photo, the bottles line up across the shelf in a neat row, creating a simple rhythm that looks styled even when the bathroom is otherwise minimal. I’d rather use a small set of matching bottles than random mismatched containers because this look is about repetition. Trade-off: if you fill bottles with liquid, you’ll need to transport them empty or sealed—so keep the labels clean and use funnels or swap to dry refills for moves.
Use empty bottles as a “starter set”
Stage them for photos and daily use, then pack them safely between leases.
The cost, layer by layer
| Layer | Item | Cost |
|---|---|---|
| 1 | Area rug | $80 |
| 2 | Macrame wall hanging (DIY-ready) | $55 |
| 3 | Woven storage basket | $25 |
| 4 | Dried pampas grass and round ceramic vase | $35 |
| 5 | Rolled towel set | $45 |
| 6 | Towel stack on stool | $30 |
| 7 | Amber glass bottles | $25 |
| Total | $295 | |
If you want a cheaper version, keep the area rug and rug-friendly towel rolls, then swap the macramé for a simpler woven wall hanging bought on sale. You can also use one amber bottle instead of a row—still enough warmth to read as intentional.
What worked, what didn't (across the whole room)
This corner works because it layers soft textiles and warm natural texture around fixed tile and wood. The rug sets comfort, while the macramé and woven basket add dimension without needing any drilling or permanent installs.
What worked
- The rug anchors the bathtub area and makes the floor feel softer against bare feet.
- The macramé wall hanging brings depth so the beige tile doesn’t look flat.
- Rolled and stacked towels create visible styling without taking extra wall or counter space.
- The woven basket hides extras and keeps the corner looking tidy at a glance.
- Amber glass bottles add warm color repetition across the shelf.
- Dried pampas grass adds vertical drama while staying low-maintenance for moves.
What didn't
- If the towels are too different in undertone (cool white vs oat), the palette starts to feel mismatched.
- Over-filling the basket makes it look cluttered instead of intentionally styled.
- Dried stems can shed if they’re bumped during transport, so they need careful packing.
- If the rug is too thin, tile bounce will make the whole corner feel less cozy.
- Too many bottles on the shelf can look busy fast—keep the row tight.
What we'd skip if we did it again
Skip adding more small countertop “decor” pieces at first. With tile and wood already doing a lot of background work, extra jars and trays usually become visual noise instead of adding warmth.
Skip buying a wall piece that requires drilling or leaves stubborn residue. A macramé with a renter-safe hook keeps the look while staying move-friendly for shared housing.
Skip fresh flowers unless you truly have the time to maintain them. Dried pampas keeps the height and texture for longer, and it transports with less stress when your next lease starts.
Frequently asked
How long does this bathroom refresh take for shared housing?
Plan for about 3–5 hours total. The rug and towel styling are quick, and the macramé wall hanging is the only slower part—either hanging it with a renter-safe hook or making it DIY. If you’re buying instead of DIY-ing, it’s usually closer to 2–3 hours. The goal is a complete “before photos” look you can pack up easily later.
Is this renter-friendly if the place has strict rules?
Yes, because the core layers are textiles and freestanding styling: rug, towels, a woven basket, bottles, and a hook-on macramé. Avoid swapping fixed bathroom fixtures, and don’t use anything that needs drilling. The only wall interaction here is a command-style hook designed for temporary decor, which helps reduce damage risk during move-out.
What if my bathroom is smaller or the bathtub corner layout is different?
Keep the rug centered in front of the tub if possible, but scale down if needed so you still get a clear boundary underfoot. For wall decor, hang the macramé higher so it doesn’t crowd a low shelf. Use fewer amber bottles and lean on towel rolls for the height step. The textures matter more than the exact placement grid.
Where should I shop to keep the palette cohesive?
For the boho neutrals, start with one store or brand for towels so undertones match: warm white, oat, and sand. Look for rug options with natural cream tones (shag or low pile with a soft look). For macramé cord and dowels, craft stores are usually cheaper than decor boutiques, and you can reuse the hook kit for future walls.
What’s the biggest mistake people make in bathroom corners like this?
They add too many small decor items that all compete for attention. This hero look works because it repeats a few textures—cord, wicker, woven pile, and glass amber—at different heights. If you skip one texture layer (like the towel stack), you can still get the vibe, but if you add lots of random objects, the corner stops reading as calm and intentional.
More in Bathroom
Under $300: boho bathtub corner refresh with move-friendly swaps
A boho bathtub corner is already built-in—so this budget refresh focuses on move-friendly textile swaps and a renter-safe macramé wall hang…
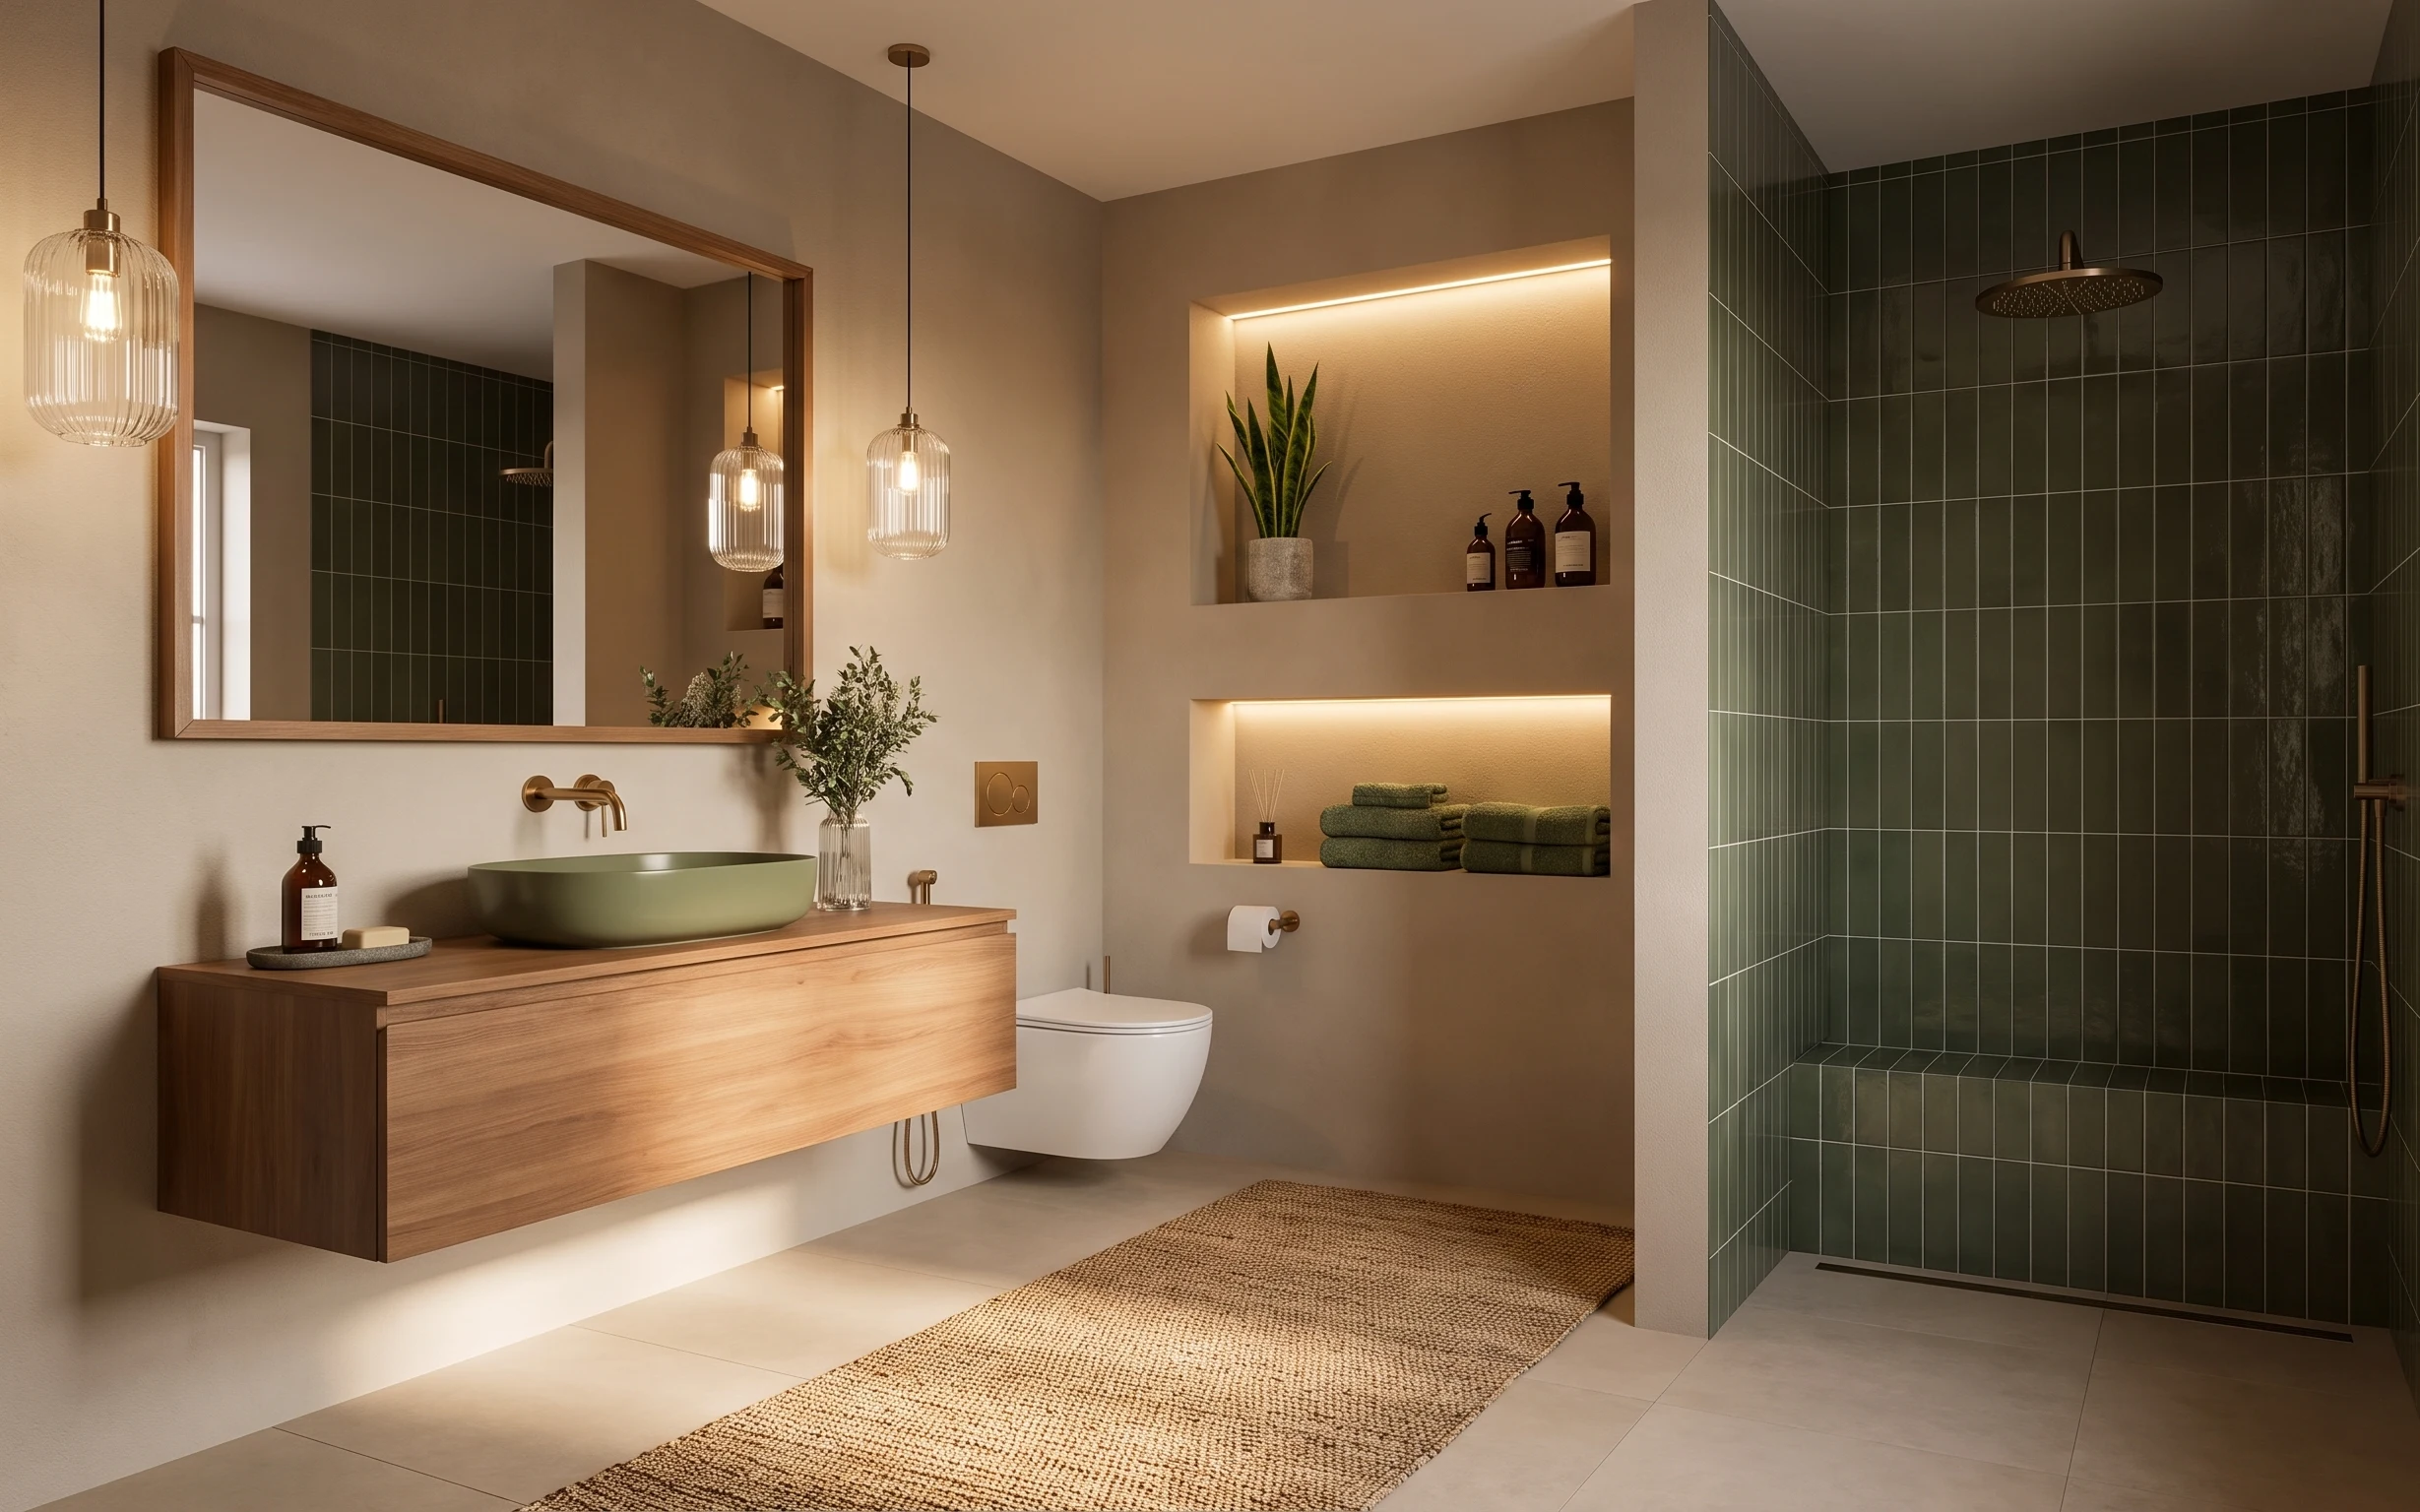
Under $400: warm wood-and-olive bathroom vanity corner refresh
A renter-friendly bathroom vanity corner refresh with warm wood tones, dark green tile, and softer textures. This $400 plan uses 7 move-rea…
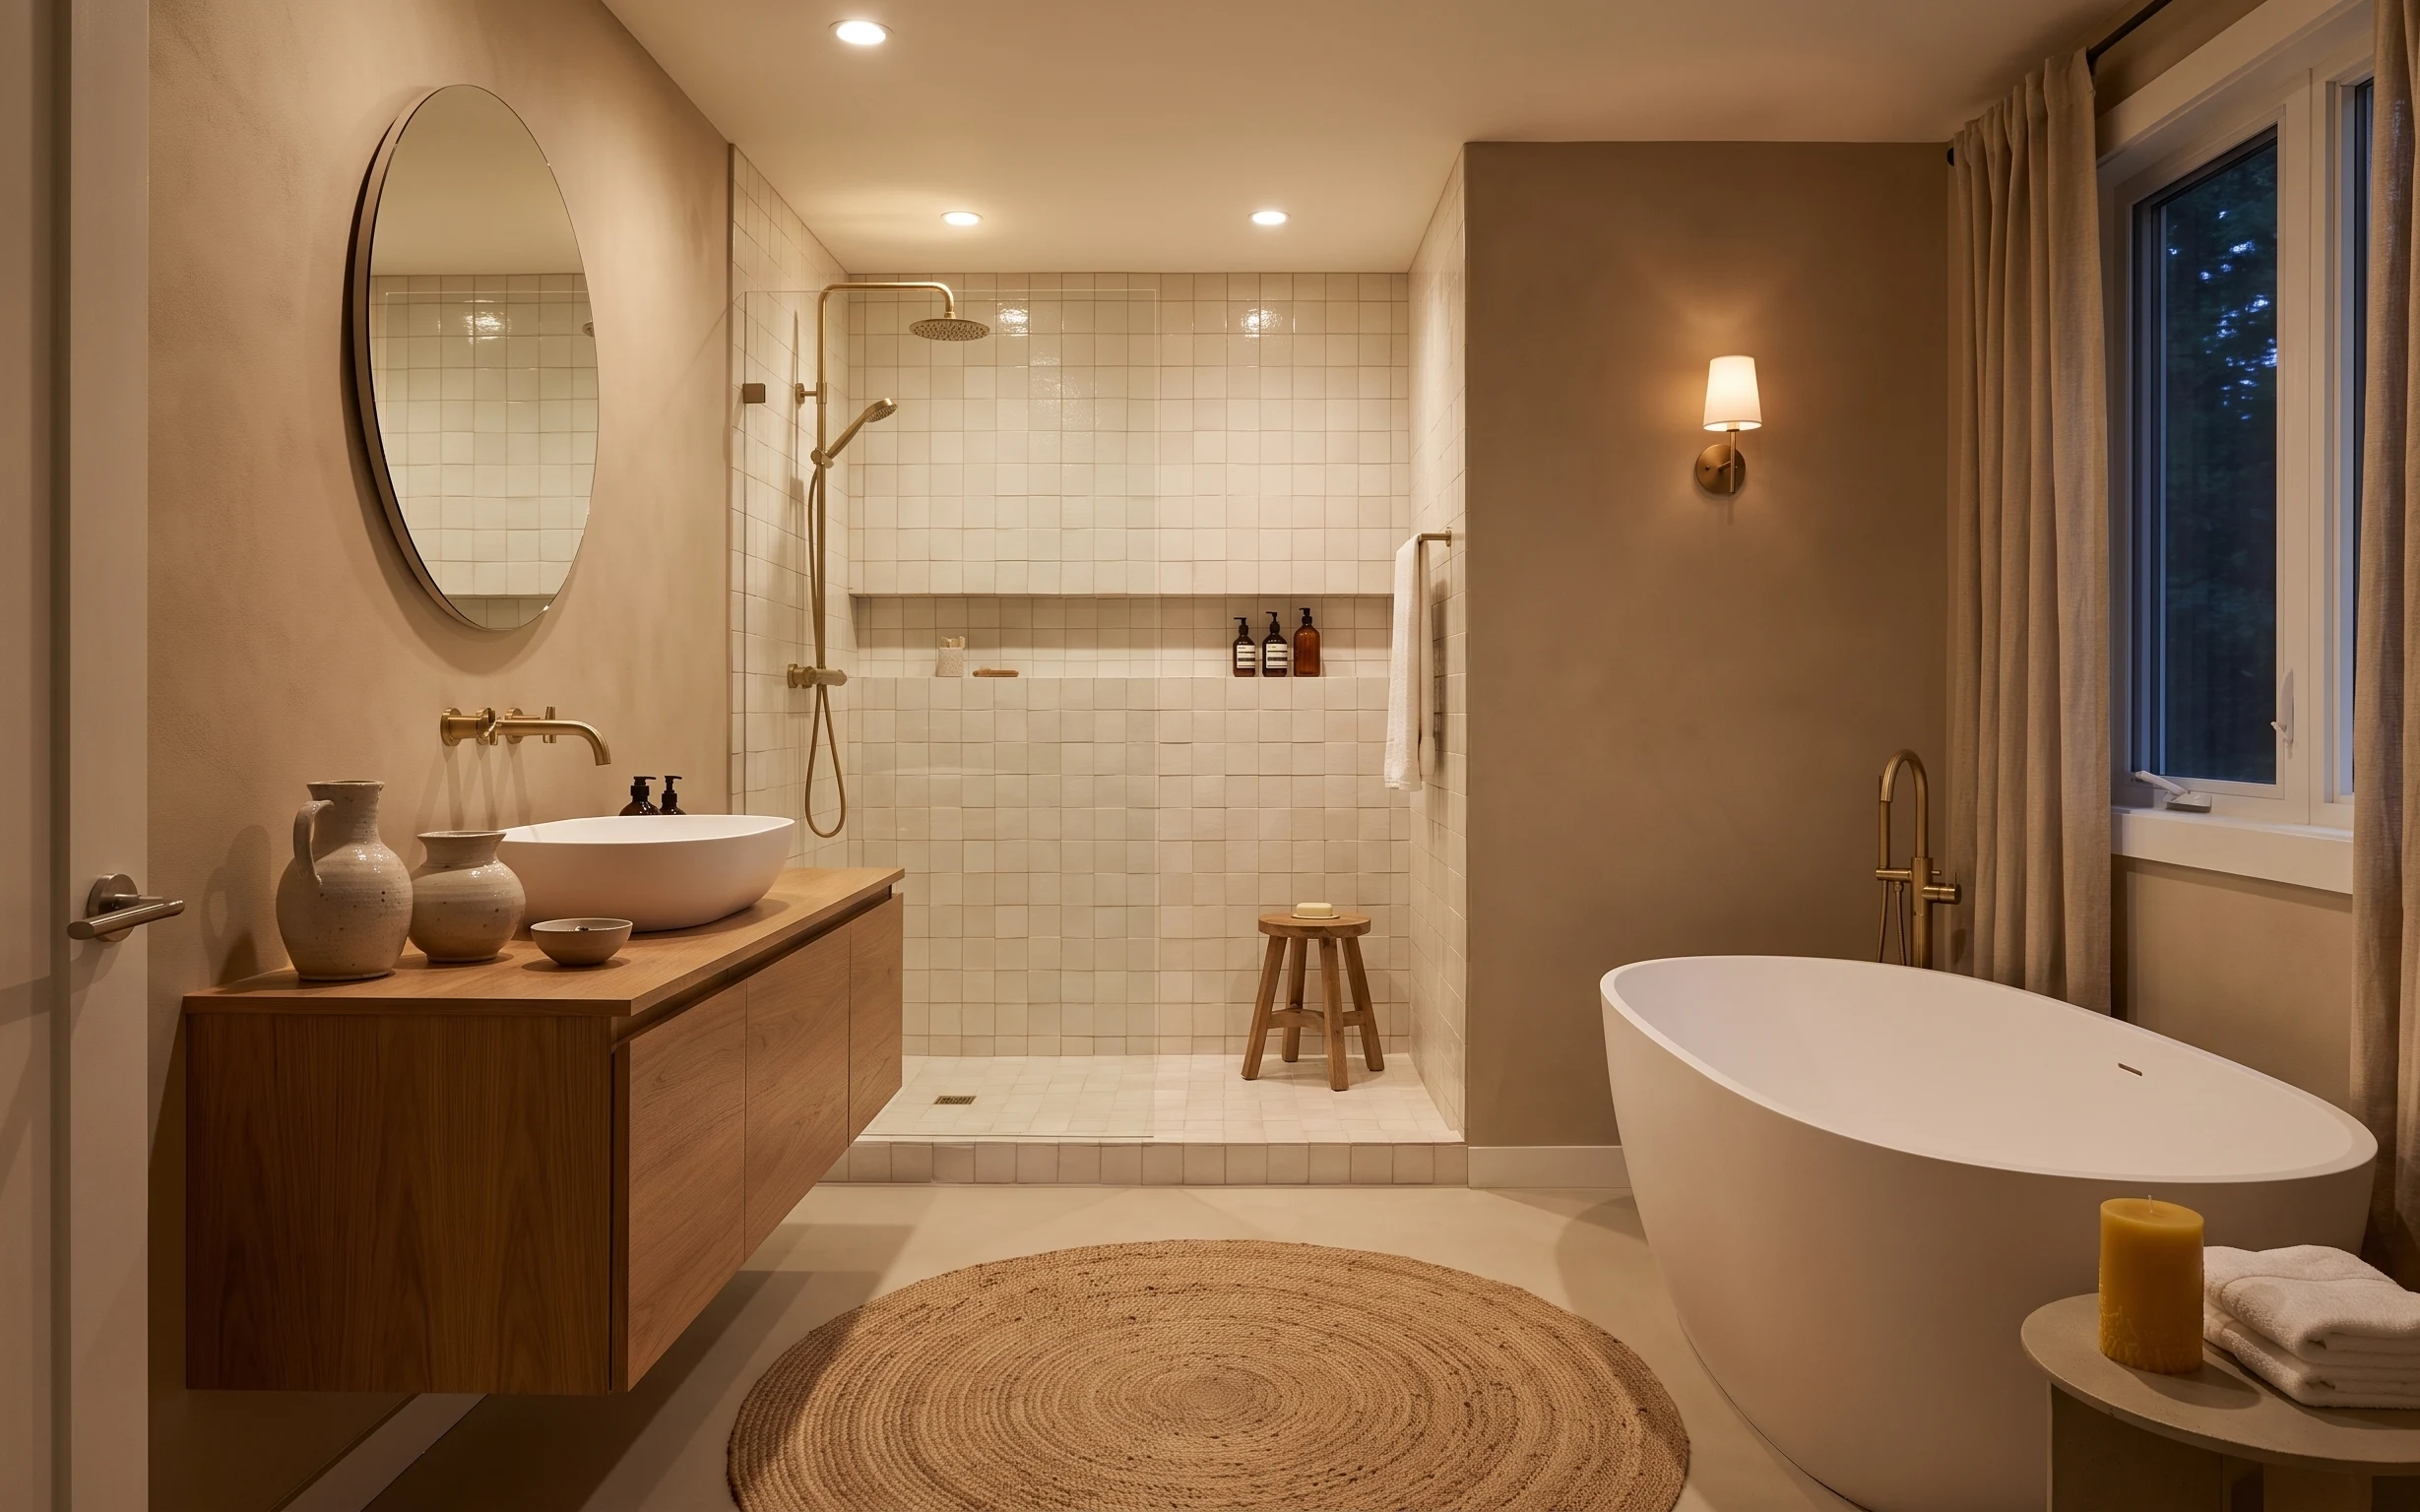
Under $700: warm modern bathroom tub corner refresh with 7 swaps
A warm brass-and-cream bathroom tub corner makeover using 7 budget-friendly swaps (mirror, curtains, rug, vanity, faucet, candle, and ceram…