- Best for
- console tabletop styling
- Cost
- about $350 total
- Difficulty
- easy weekend refresh
- Time
- 2–4 hours plus drying
Why warm neutrals are the console table nook of 2026
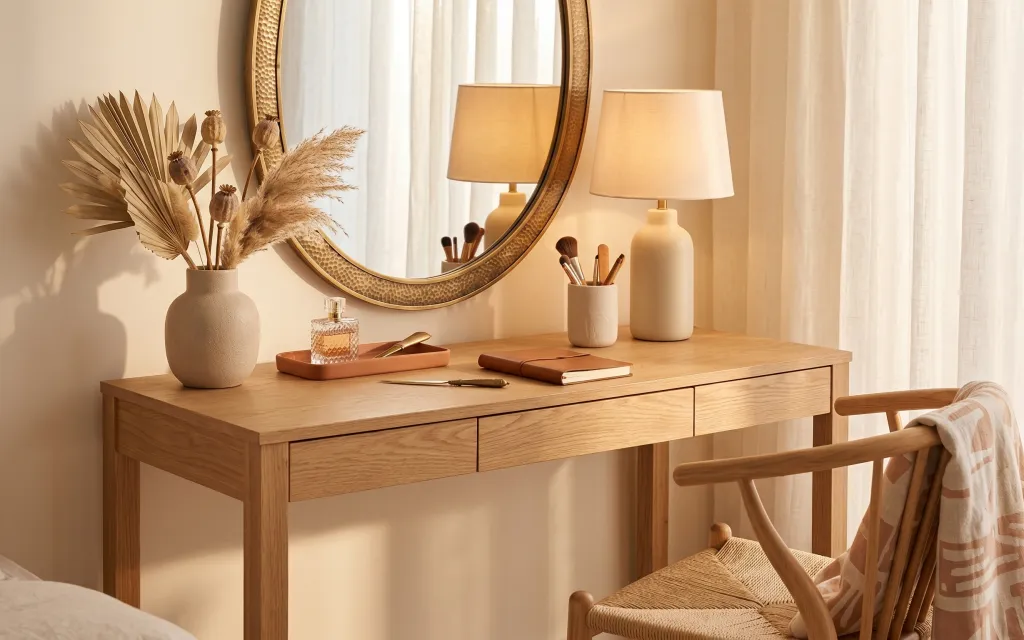
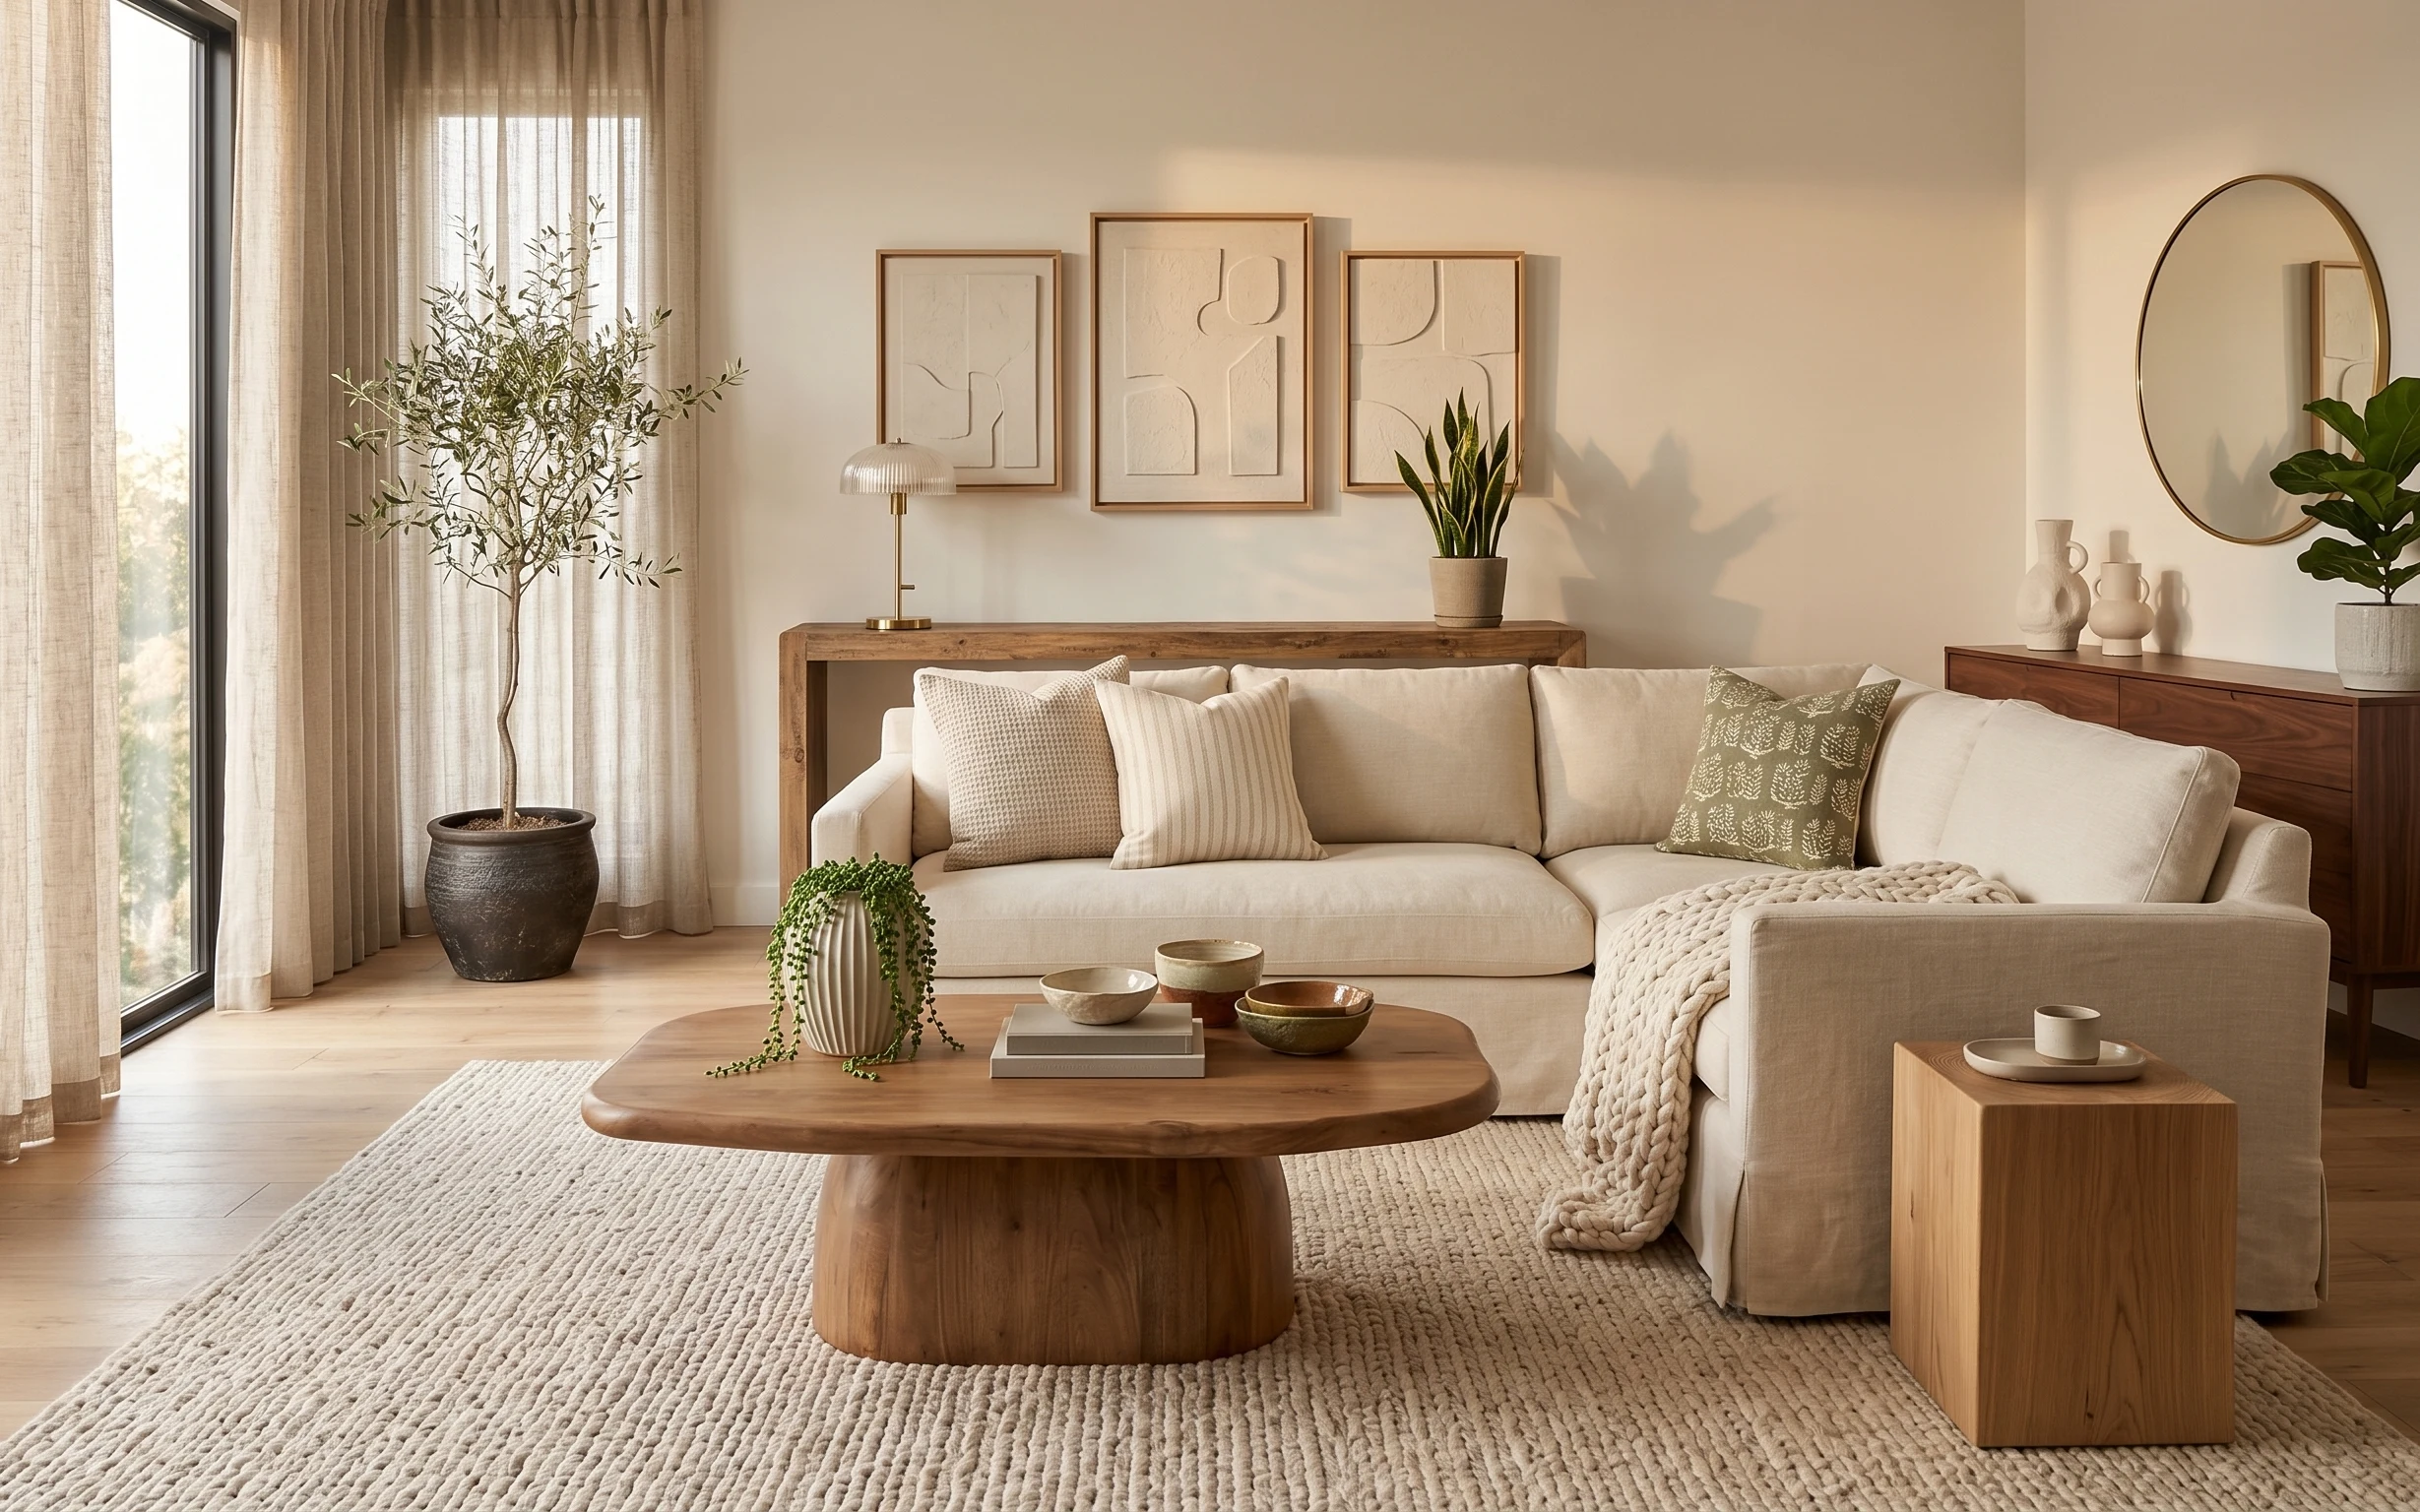
The styling in this photo is basically beige textures plus a curved mirror shape that softens everything. You can see the light wood tabletop, the creamy lampshade, and the airy sheer curtains acting like a neutral backdrop. The dried-stem arrangement gives height, while the small brush cup and brown tray keep the tabletop from looking busy. I love this mix because it feels collected, not matchy—very doable for renters who need swaps they can take with them.
I used to overdo the accessories on my own console table and it always looked crowded in photos. This time I forced myself to pick one “tall note” (the dried stems) and then repeat the warm tones with ceramics and a tray. The moment that clicked was realizing the arched mirror already does a lot of visual work behind the lamp. After that, the styling got calmer instead of louder.
Layer 1 — dried-stem arrangement in vase ($35) Vertical height without visual clutter
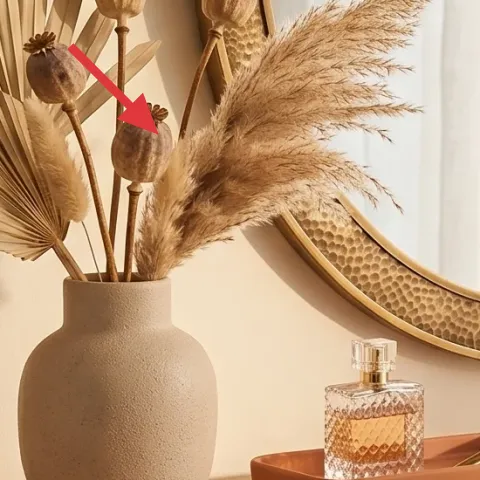
The dried-stem arrangement is the first thing your eye lands on: feathery, tan, and tall enough to echo the arched mirror. In the photo, it sits in the left vase on the tabletop, creating a gentle “L” shape with the mirror’s curve. I picked dried stems over fresh greenery because they don’t wilt on a renter schedule, and the neutral color blends with warm wood and cream textiles. The trade-off is you’ll want to handle them gently and keep them dust-free, but that’s easier than finding vase water space every week.
Use a tall bundle, not multiple minis
One thicker cluster reads intentional, while scattered stems look like they’re missing a centerpiece.
Layer 2 — brown decorative tray ($25) Corrals small bottles and tools
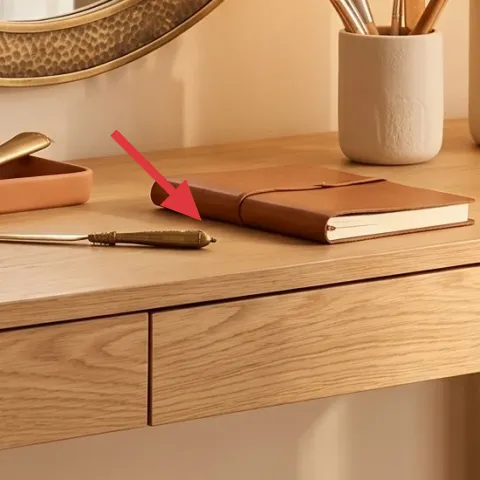
This brown tray is doing quiet organization work. It’s tucked near the middle of the tabletop, underneath smaller items, so the whole surface looks styled instead of accidentally placed. I love choosing a tray with a warm, earthy tone because it matches the wood and keeps the ceramics from floating. Buying a tray also beats trying to “DIY” a tabletop organizer with mismatched lids—those always look like they were borrowed. The trade-off is that a tray can visually crowd a small surface, so aim for one tray, not two.
Tray first, then add items
Set the tray down before you place the bottle and book so you can judge spacing at a glance.
Layer 3 — small beige brush cup ($20) Turns desk clutter into decor
The small beige brush cup is a simple but effective way to make everyday tools look designed. In the photo it’s grouped with a few brushes and sits near the right side of the table, balancing the taller vase on the left. I’d rather buy one ceramic catchall than spread supplies across the tabletop because it keeps the color story consistent—beige ceramics against warm wood. The trade-off is you need a “home” for the cup items; otherwise it turns into a dumping spot. With the cup contained, the rest of your styling feels intentional.
Keep the brush set tight
Even five brushes looks curated when they’re all visible above the rim.
Layer 4 — arched round mirror frame ($120) Adds curve and light reflection
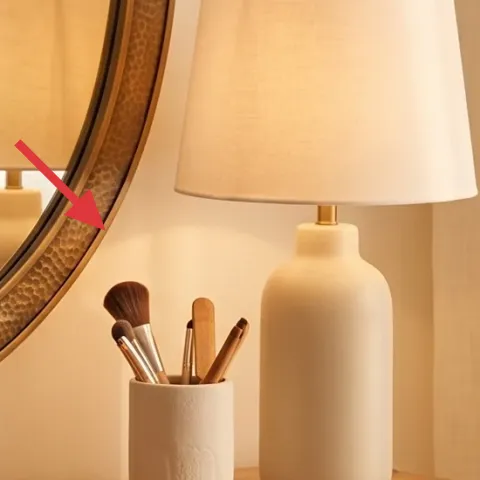
The arched round mirror frame is the centerpiece shape, and it’s doing real optical work here. Because it’s curved and tall, it makes the tabletop styling look more elevated without adding more objects. In the photo, it’s positioned above the console, reflecting the warm lamp glow and extending the beige palette. I’m choosing a framed mirror like this over wall art because it’s one purchase that instantly anchors a whole vignette. The trade-off is placement: keep it centered so the curved frame doesn’t compete with the lamp and curtains.
Check your mounting rules before buying
Use renter-safe mounting methods only (no drilling), and make sure the mirror’s weight matches what your allowed hardware can hold.
Layer 5 — table lamp with brass base ($60) Warm light for nighttime “cozy”
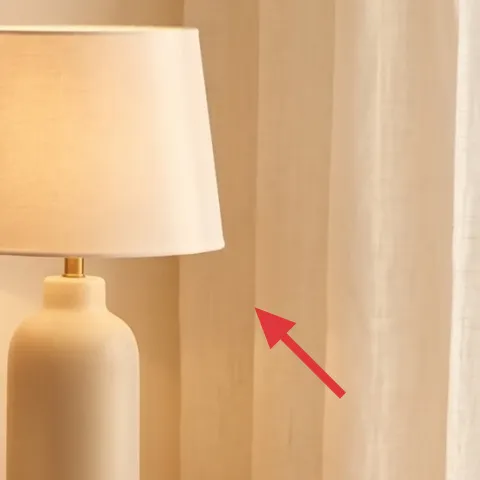
This table lamp with a brass base and cream shade is what makes the whole scene feel warm after dark. It sits on the tabletop to the right of the mirror, and the brass tone repeats the warm metallic notes you see throughout the decor. I picked plug-in-style lighting because renters can swap locations without changing landlord fixtures. The shade color matters, too—cream helps keep light from turning yellow or harsh. Trade-off: you’ll want to choose a bulb color that flatters beige walls, otherwise the lamp can make the wood look too orange.
Let the lamp size match the mirror
If the lamp shade is too small, the mirror’s scale will feel oversized.
Layer 6 — cream and tan throw blanket ($40) Softens the chair edge
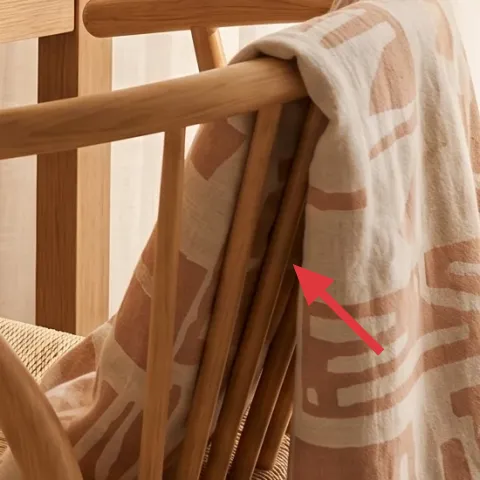
The throw blanket is the texture “soft landing” on the right side of the photo. It’s draped on the chair, and the cream-and-tan pattern repeats the dried stems and beige ceramics without competing for attention. I’m using a blanket here instead of adding another small decor object because textiles read instantly in rentals—no mounting, no hardware. The trade-off is that a draped throw can slip off if the chair seat is smooth, but that’s easy to solve with a quick tuck and regular straightening. It’s also a budget-friendly way to make the whole nook feel finished.
Drape across the back, not only the arm
That gives better coverage in photos and a more relaxed look in real life.
Layer 7 — painted terracotta planter vase ($45) DIY your way to the large beige look

The vase is the big mass of matte beige on the left side, and it’s what holds up the dried-stem arrangement. Since it’s a ceramic-like shape in the photo, a painted terracotta planter is a renter-friendly DIY substitute that gives you the same earthy texture. Buying a ready-made vase can be pricey for the size you see here, so the DIY route lets you match the warm neutral tone without permission or permanent changes. The trade-off is you’ll need to let the paint fully dry between coats, but there’s no cure-time hassle like sealants or glazes. Once it’s painted, it’s ready to style immediately.
Make it instead of buying it
This painted terracotta planter vase DIY gives you the same warm beige base for the dried stems—without paying for a designer ceramic.
Materials
- Terracotta planter (one larger pot or vase-style shape) — 1 — craft store — $18
- Acrylic craft paint (warm beige) — 1 small bottle — craft store — $16
- Foam brush or sponge brush — 1 — craft store — $5
Steps
- Wipe and dry the terracotta so paint sticks evenly.
- Brush or sponge on the first warm beige coat using light pressure.
- Let it dry completely before adding a second coat for coverage.
- Check the texture in bright light and spot-coat any thin areas.
- Let the final coat dry fully, then style with dried stems.
Total DIY cost: $39 — saves about $6 over buying.
The cost, layer by layer
| Layer | Item | Cost |
|---|---|---|
| 1 | Dried-stem arrangement in vase | $35 |
| 2 | Brown decorative tray | $25 |
| 3 | Small beige brush cup | $20 |
| 4 | Arched round mirror frame | $120 |
| 5 | Table lamp with brass base | $60 |
| 6 | Cream and tan throw blanket | $40 |
| 7 | Painted terracotta planter vase (DIY retail-equivalent) | $45 |
| Total | $345 | |
If you want a cheaper version, swap the mirror for a smaller round mirror and keep everything else the same. Choose a lamp with a fabric shade that’s pre-lit and use a thrifted tray and book stack so the tabletop still looks styled without spending on the biggest statement piece.
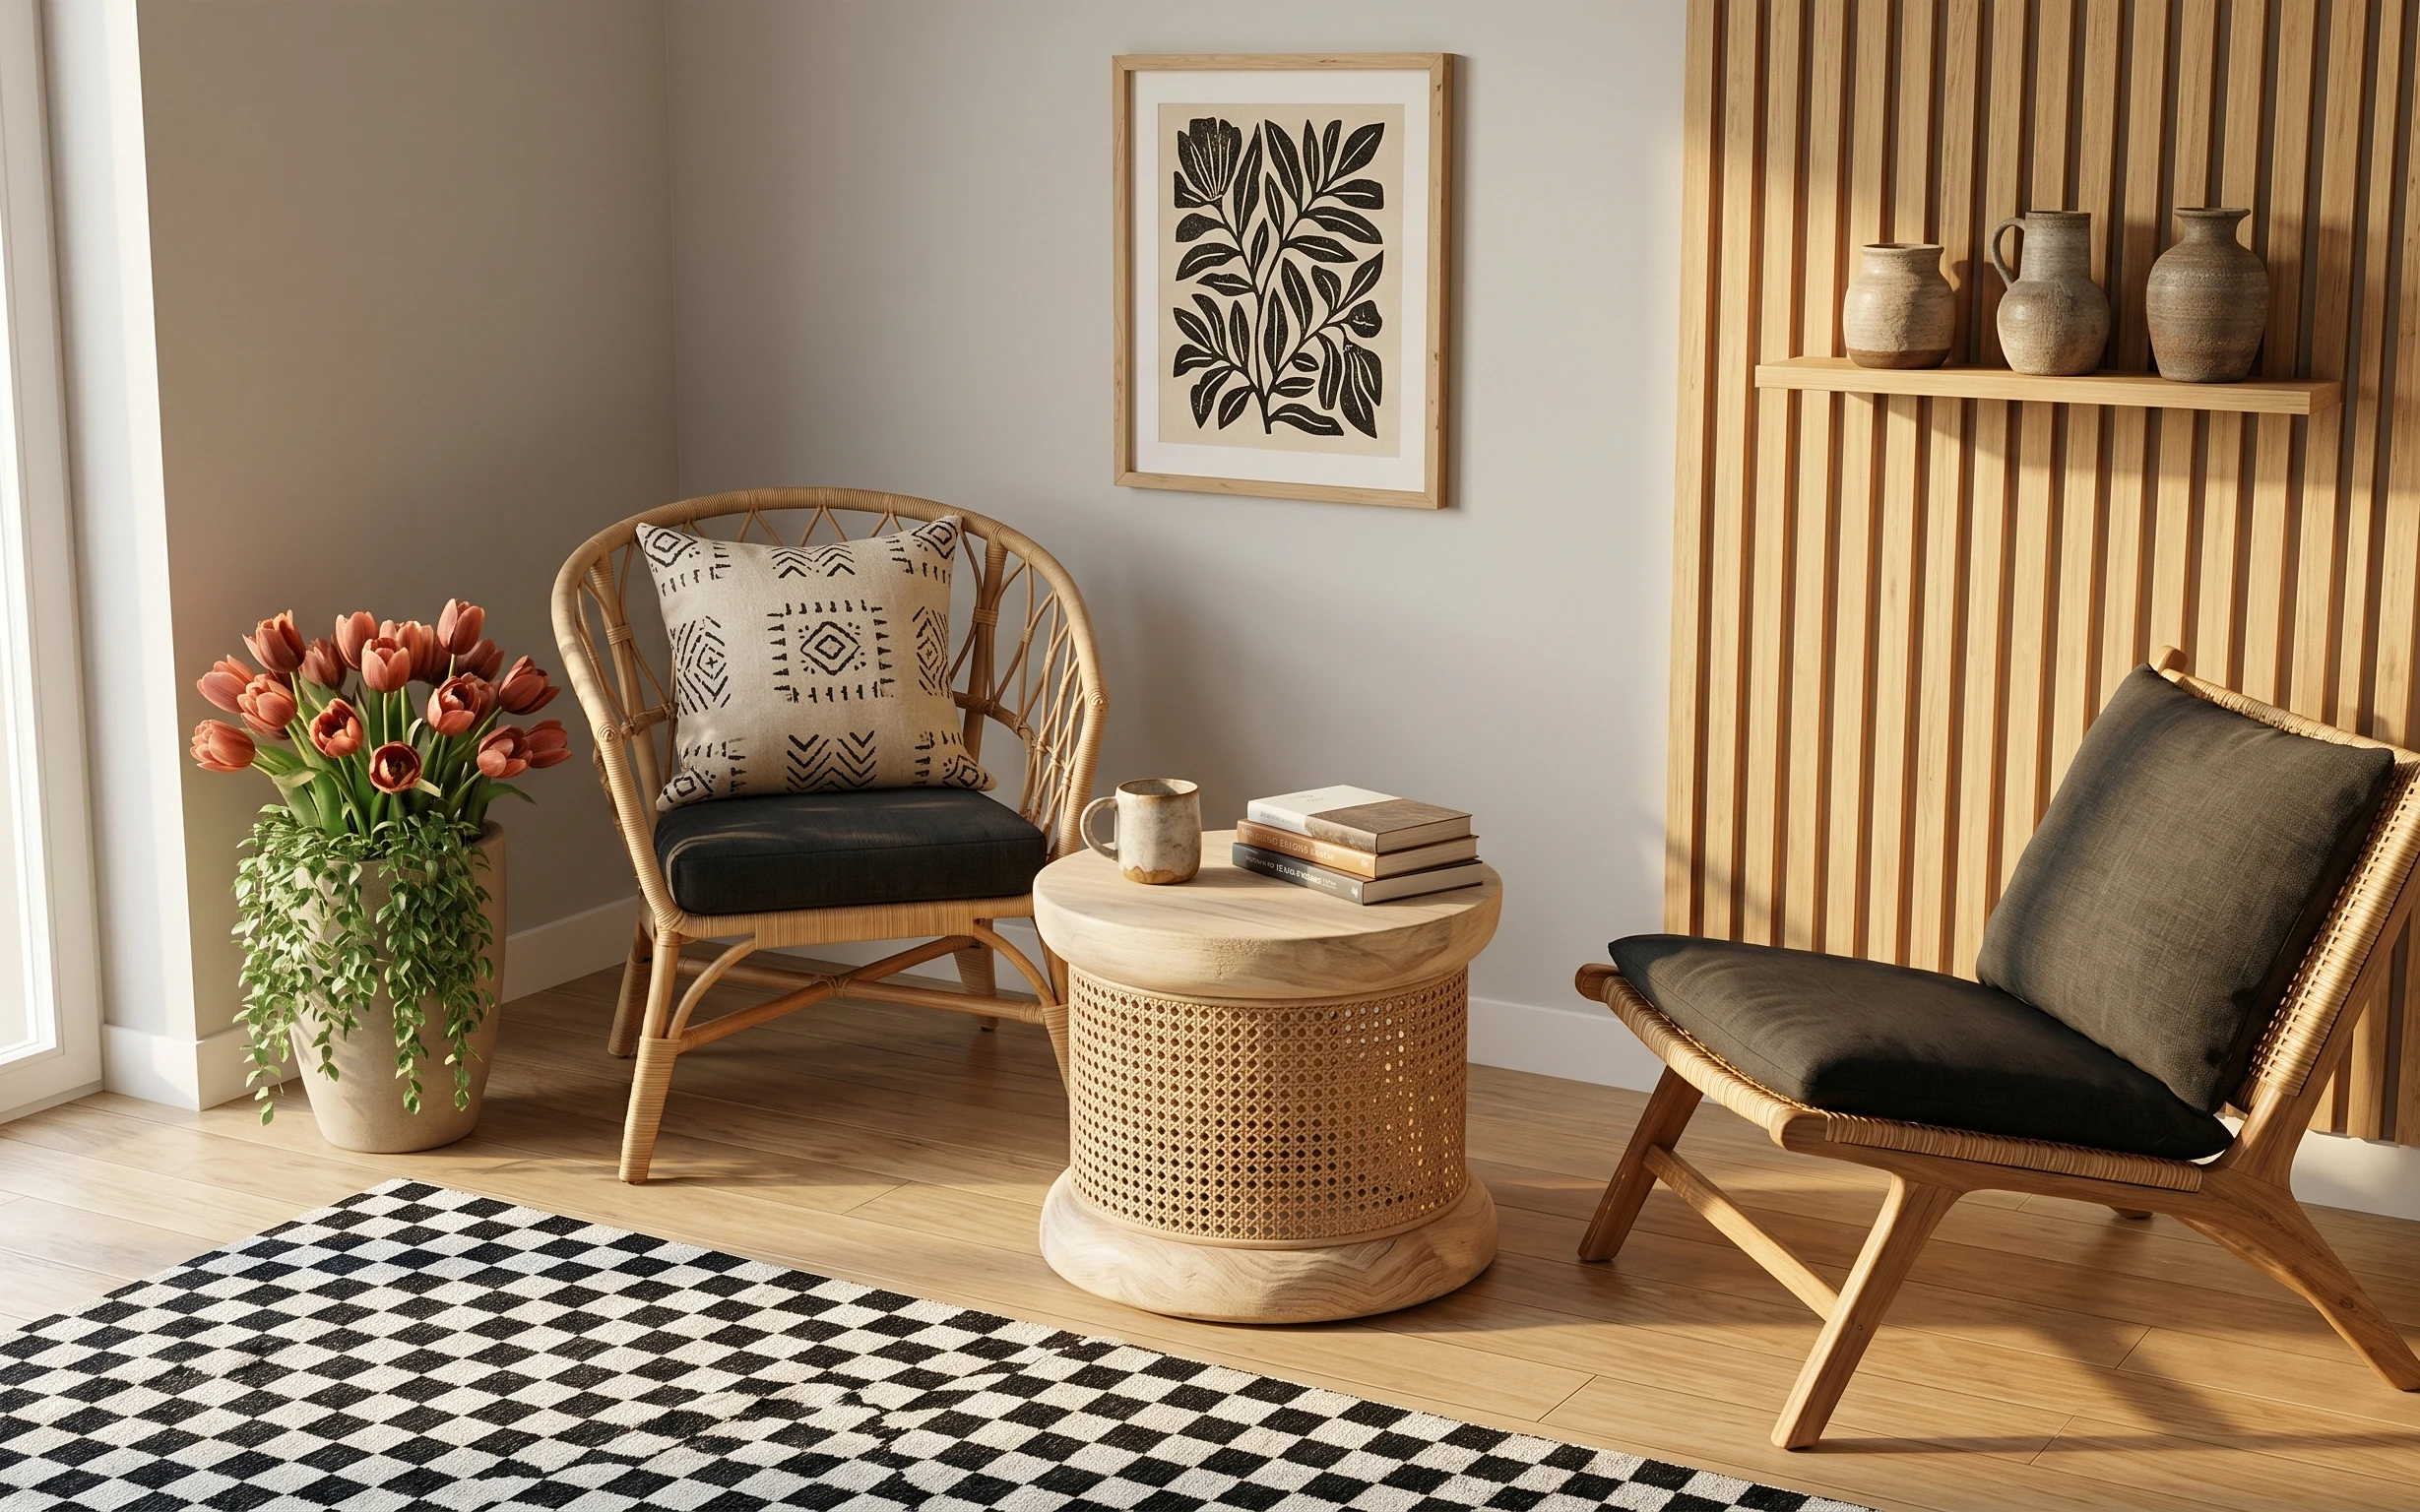
What worked, what didn't (across the whole room)
The strongest part of this look is the mix of curved shapes (the arched mirror) with soft textures (sheers and a throw). It also stays cohesive because the color story is limited to beige, cream, and warm tan across ceramics, wood, and stems. The only hiccup is that if you add too many small items on the tabletop, the nook starts looking cluttered instead of curated.
What worked
- The arched mirror shape makes the console vignette feel taller without extra furniture.
- Brass-base lighting repeats warm metal notes and keeps the scene flattering at night.
- The dried stems add vertical interest that draws the eye upward toward the mirror.
- A single tray keeps small items together so the surface reads intentionally styled.
- The brush cup turns functional clutter into part of the beige palette.
- The chair throw adds texture without any mounting or rental-risk hardware.
What didn't
- Too many tabletop accessories at once makes the warm neutral look feel busy.
- If the lamp shade is the wrong cream tone, it can cast an unflattering yellow.
- Oversized vases or trays can visually squash the tabletop when the space feels tight.
- Leaving gaps around the dried stems can make the arrangement look unfinished.
- Mirrors that aren’t centered can compete with the curtains and lamp instead of balancing them.
What we'd skip if we did it again
Skip buying multiple small organizers. One tray plus one catchall cup is enough to make the tabletop look curated; extra pieces usually create more visual noise than storage.
Skip a cool-toned lamp bulb. If the light reads too white, the beige wood and ceramics shift toward gray, and the whole nook loses the warm neutrals effect.
Skip a mirror that’s too small for the lamp. The arched mirror needs enough presence to frame the styling; otherwise you’ll end up adding more objects to “fill” the area.
Frequently asked
How long does this console table nook refresh take?
If you’re mostly shopping and swapping items, plan for about 2–3 hours. The only time consumer is the DIY painted terracotta vase, which depends on paint coats and drying between layers. Styling the final tabletop and lamp placement is the real “last 20 minutes” part—so set aside a little extra time to step back, recenter, and re-balance the height.
Can I do this if I’m not allowed to drill or use wall anchors?
Yes. The key pieces here are renter-swappable: textiles, tabletop decor, and plug-in lighting. For the arched mirror, only use approved renter-safe mounting methods that your lease allows (and that can support the mirror’s weight). Everything else—the tray, brush cup, dried stems, and throw—can be moved without touching the wall.
What if my space is smaller than the photo?
Go smaller on scale, not on styling. Choose a mirror that still has an arched shape, but keep the lamp shade slightly lower and use one tray instead of spreading items across the whole surface. The dried stems can stay the same “tall note,” but pick a shorter bundle or trim the stems so the arrangement doesn’t overpower a compact console.
What if my space is bigger—how do I keep it from looking empty?
Add one more repetition, not five more objects. For example, keep the single tray system and brush cup, then increase the height of the dried stems or choose a slightly taller lamp base. If you add anything extra, make sure it matches the warm beige materials already in the scene so the look stays cohesive.
Where should I shop for these pieces on a renter budget?
For the arched mirror, check home goods stores and marketplace listings because the shape is the statement. The tray, brush cup, and lamp are easier to find at discount home retailers, online lighting shops, and thrift stores with good lighting (so you can see the brass color). The throw blanket is often the easiest win—look for neutral patterns that match the beige palette.
What’s the biggest styling mistake on a console nook like this?
Over-adding. When the tabletop has too many small items, the eye doesn’t know where to land, and the mirror/lamp lose their anchor role. Start with the height (dried stems), then add one tray for grouping. Finish with one lamp and a single chair textile so the nook feels balanced.
More in Living Room

Under $350: boho console table nook refresh with 7 layers
A warm beige boho console table nook on a $350 renter budget—built with seven swap-friendly layers like a arched mirror, a brass-base lamp,…
Under $300: wicker seating corner refresh with 7 renter-safe swaps
A bright wicker seating corner gets a cleaner, more intentional look for under $300 using seven renter-safe, move-ready swaps. The biggest …
Under $1000: olive-and-oak sofa corner refresh
A Japandi sofa corner refresh that reads warm and pulled-together without demolition. You’ll swap in a cozy rug, height-boosting curtains, …