- Best for
- countertop styling
- Cost
- about $350
- Time
- under 2 hours
- Renter-safe
- yes (no drilling)
Why brass-and-ceramic counter styling is the coffee bar corner of 2026
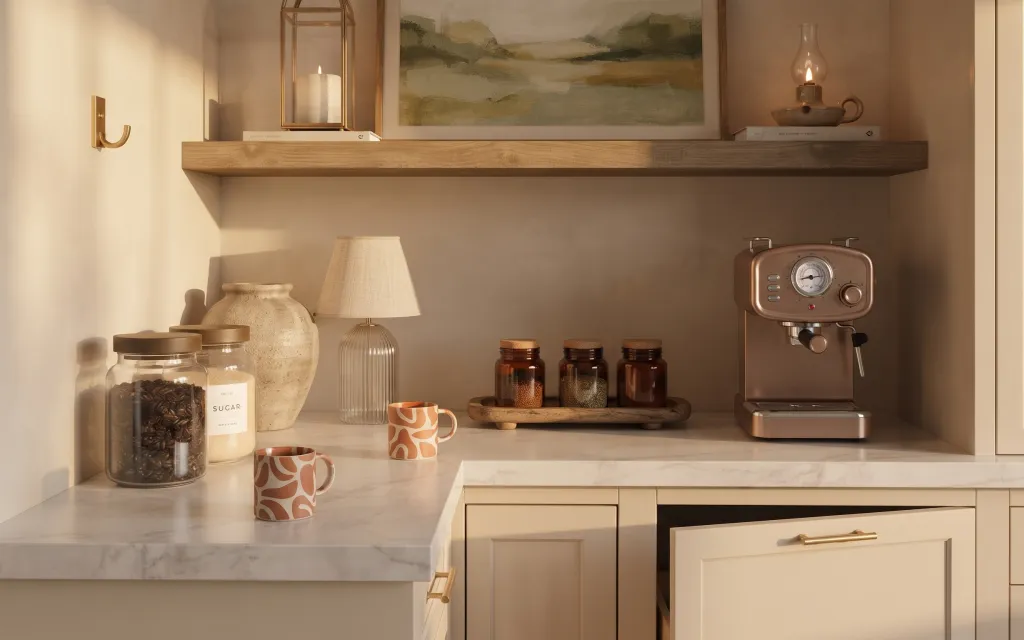
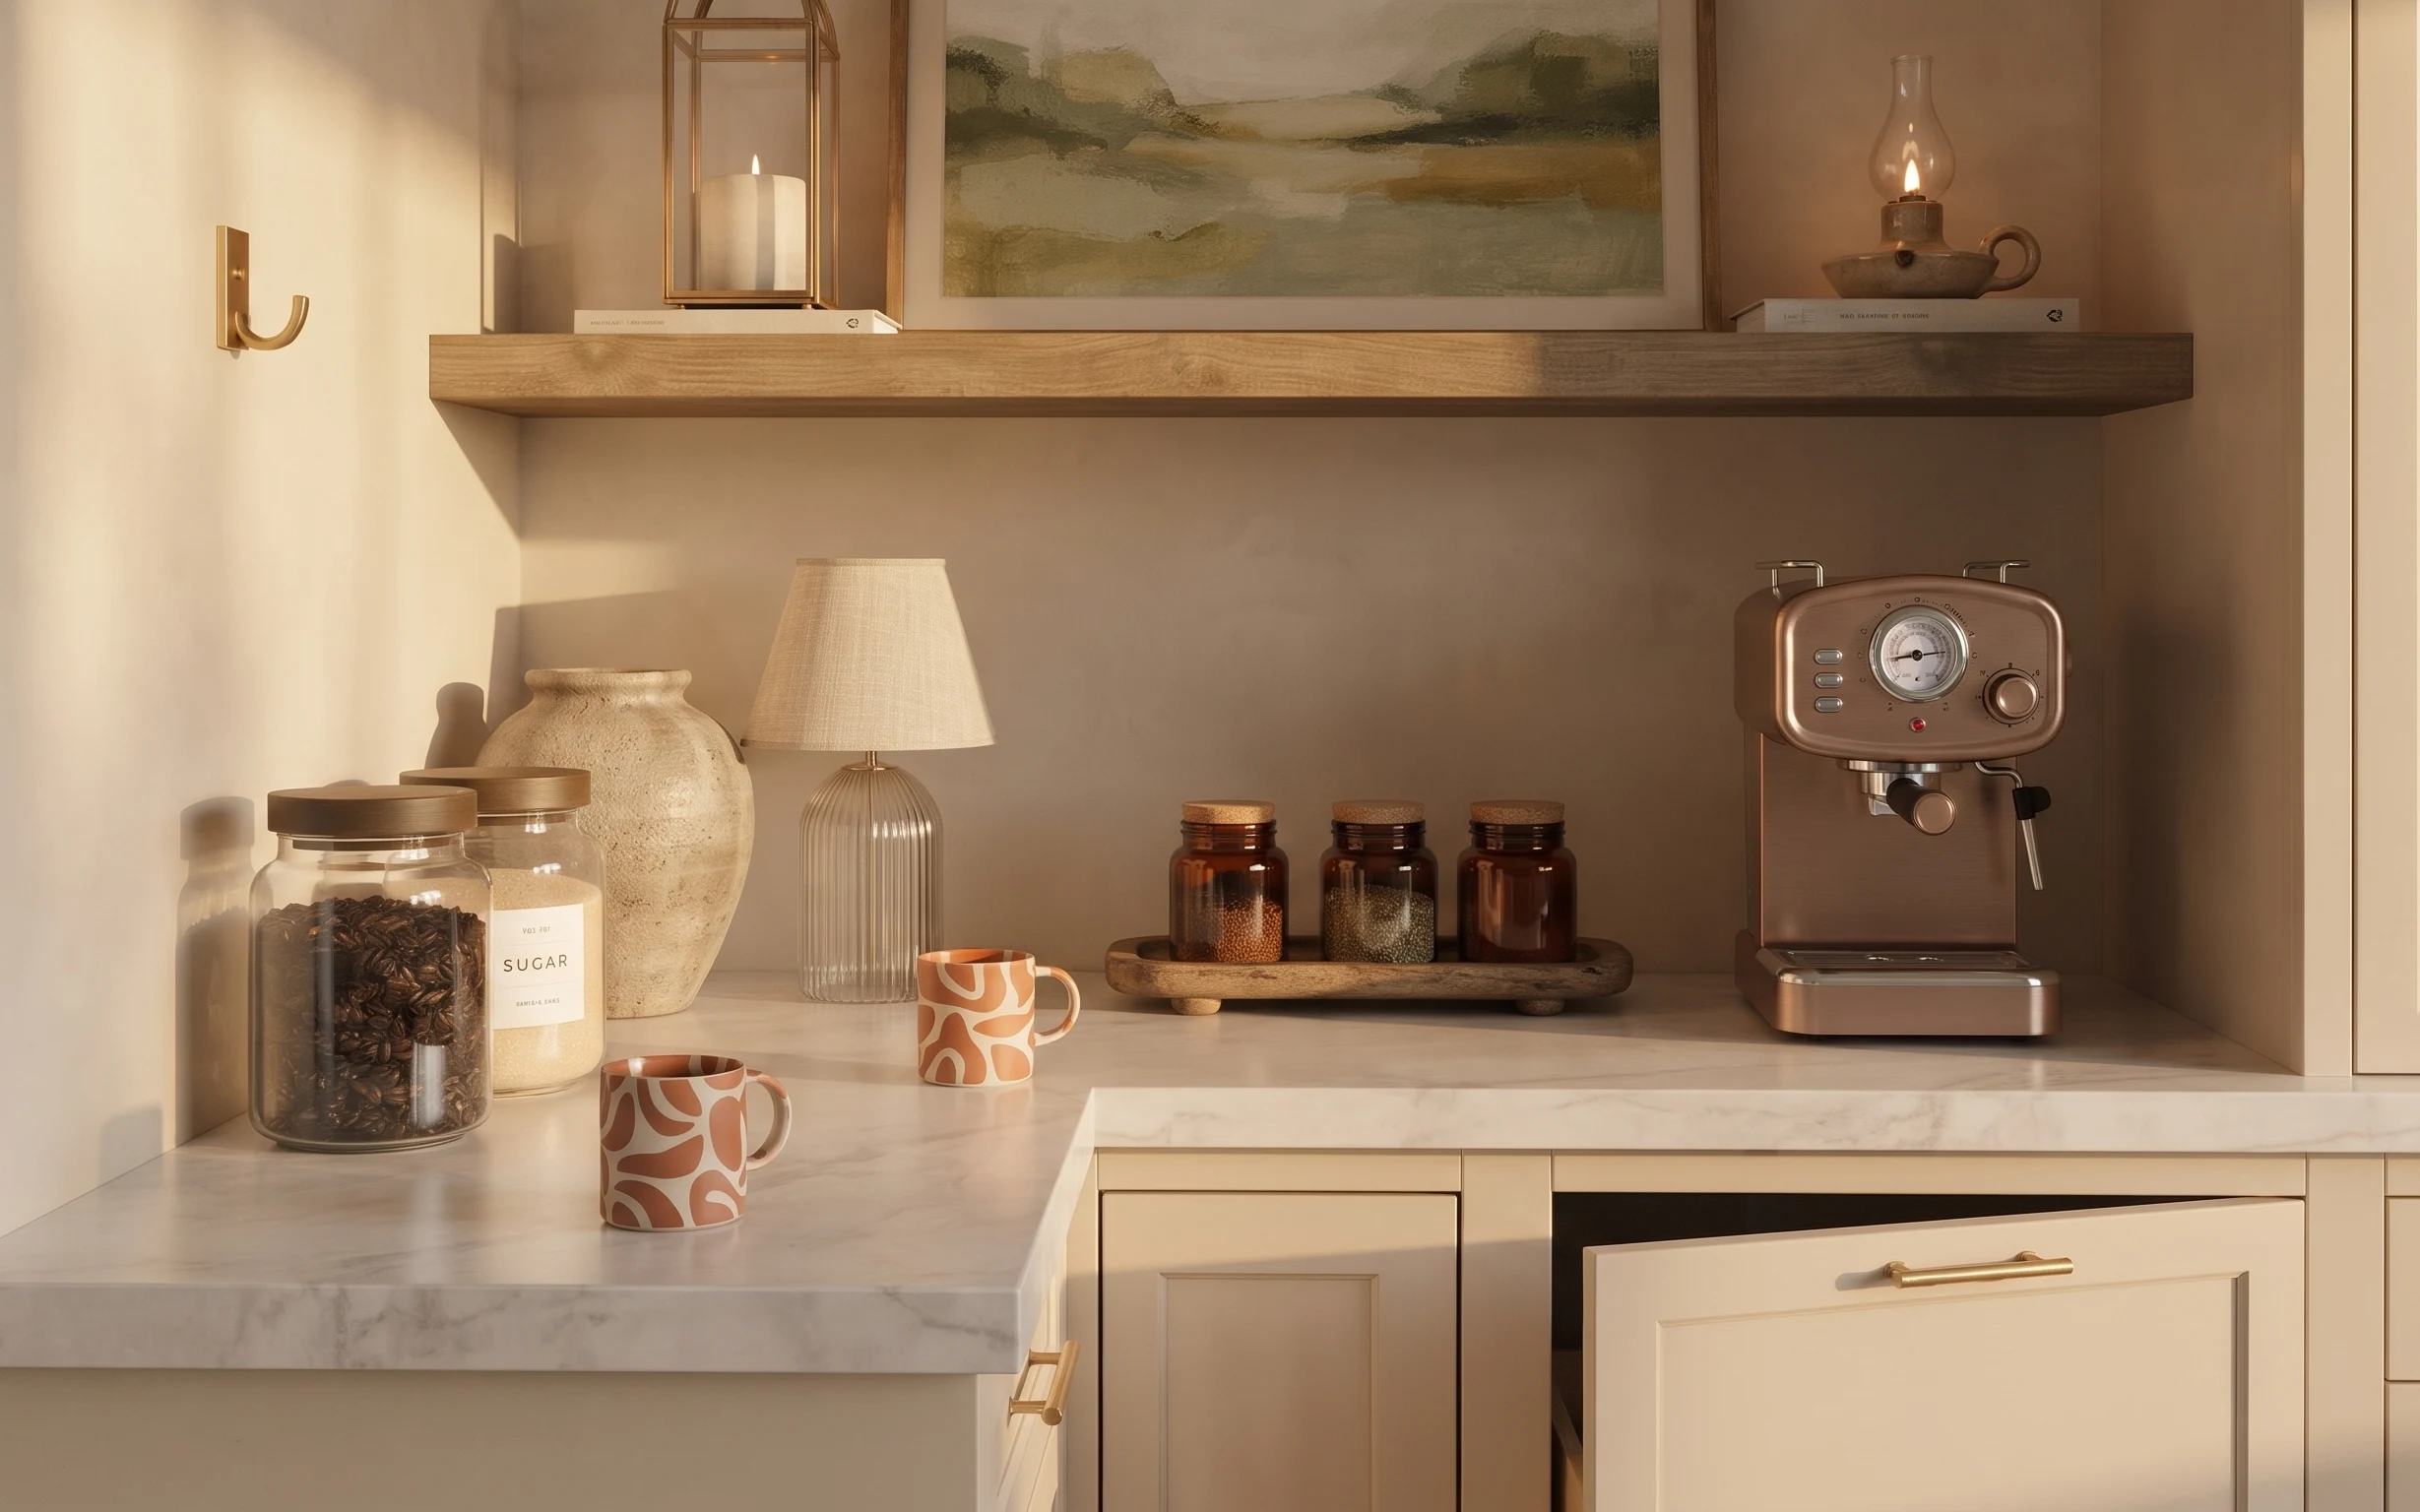
The best part of this setup is how the warm neutrals stack: a wood shelf backdrop, a wood tray with a little height variation, and ceramic mugs that look curated instead of cluttered. In the hero, you can see the textures doing the heavy lifting—marble-look countertop shine, a fabric lamp shade, and the matte glow from a small candle. For shared housing, that matters because you’re styling what’s already there (shelf, counter, wall art) rather than committing to anything permanent.
I’ve made the mistake of “decorating” a countertop by adding random jars until it looked busy instead of styled. The change happened when I started repeating one palette (beige, warm brown, cream) and one shape family (glass and ceramic) across the same surface area. Once I used a tray to corral the items, everything suddenly looked like a system, not a pile.
Layer 1 — wood tray for countertop styling ($45) Build a controlled surface “still life”
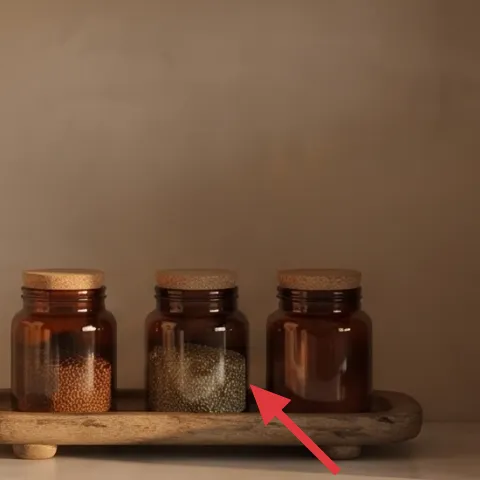
A wood tray is the easiest way to make a counter look styled even when you’re moving in a year or two. In this hero, the tray sits on the wood shelf and gives the coffee items a clear boundary, which is why the jars and small objects don’t feel scattered. The trade-off is that a tray takes up a little surface area, so it works best when you pick fewer, taller pieces instead of everything at once. If you’re using the same shelf space as in the photo, choose a tray that’s deep enough to hold jars without tipping.
Keep the tray’s height consistent
When jars and small decor are roughly the same “standing height,” the shelf reads tidy from across the kitchen.
Layer 2 — table lamp with fabric shade ($60) Add warm light without touching wiring
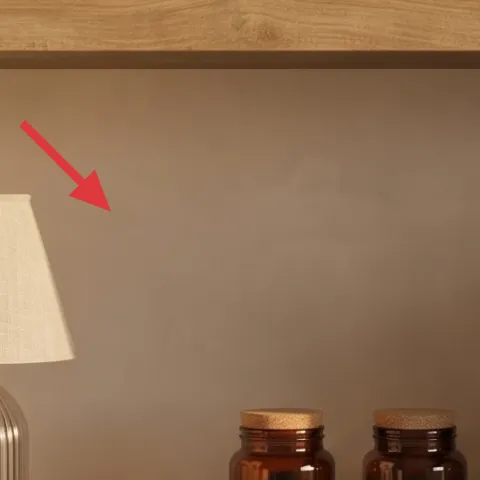
The table lamp with a fabric shade does two jobs at once: it softens the beige wall and gives you that warm amber glow the hero already has from the candle light. A plug-in lamp is also the rental-friendly move here—no replacing hardwired fixtures, no calling maintenance, and no permanent changes. The alternative is using only battery candles, which can look a little flat once you’re standing in front of the shelf. With a lamp, you get a steady pool of light that makes glass jars and ceramic mugs look warmer.
Let the shade do the “color work”
A light fabric shade keeps the palette cream-beige instead of turning the whole shelf too orange.
Layer 3 — framed wall art above the shelf ($80) Tie the shelf to a larger focal point
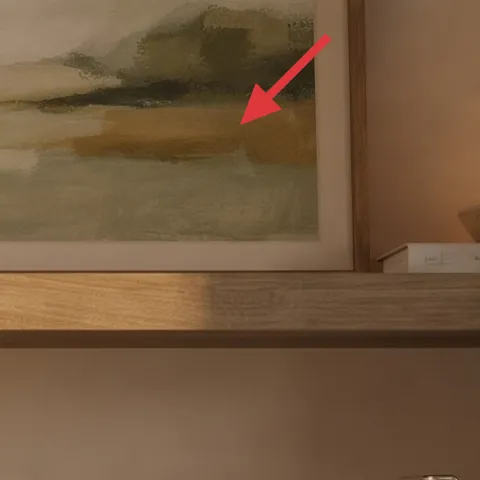
Above the wood shelf, framed wall art gives the coffee bar corner its anchor. In the hero, the frame pulls the warm tones together, so the countertop items don’t look like they’re floating in blank space. This is where an apartment-friendly swap helps: choose an art piece you can hang with removable methods or leave in a box when you move. The trade-off is scale—if you pick something too small, the shelf styling will look crowded; too big, and it dominates the kitchen. Aim for a proportion that matches the shelf width.
Avoid anything that requires wall permanence
Skip nail-in hardware and anything that’s meant to stay—move-friendly hanging options protect your security deposit.
Layer 4 — gold wall hook near the shelf ($12) Add one brass detail that feels “placed”
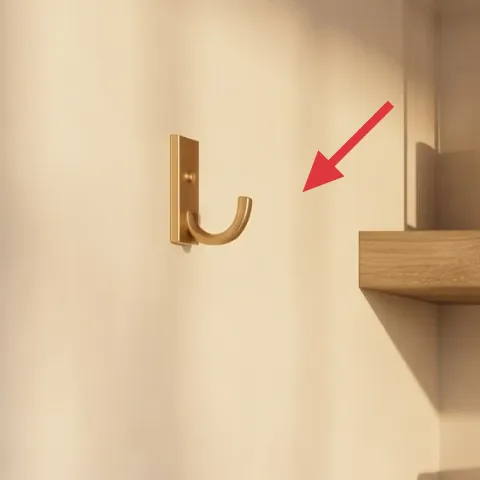
The gold wall hook is a tiny detail, but it reads like intentional design because it repeats the metal warmth found in the coffee machine area. In the hero, it’s placed near the shelf and adds a vertical line that balances the horizontal shelf and counter. The obvious alternative is skipping it, but then the left side can feel empty next to the shelf vignette. The trade-off with hooks is spacing—if it’s too low or too far from the shelf, it competes with the jars and mugs instead of framing them.
Use hooks for function-light styling
Hang a folded cloth, small utensil, or lightweight accessory so it looks useful, not random.
Layer 5 — decorative ceramic mugs on the counter ($30) Repeat the same shape in the foreground
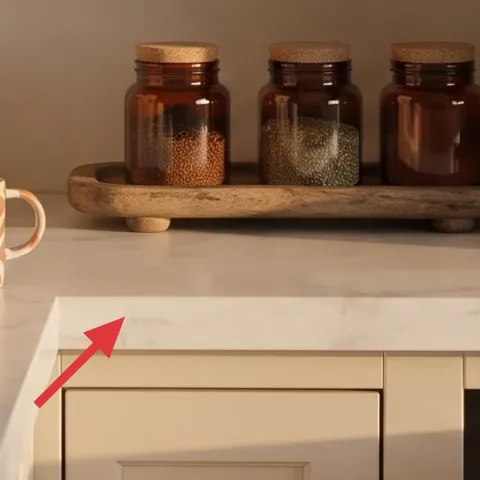
Two decorative ceramic mugs bring the warmth of the hero’s palette into the foreground. They’re also the piece people notice first when they walk into a kitchen, because they’re functional but styled. In the photo, the mugs’ cream-and-warm-brown tones echo the beige wall and ceramic vase, making the whole counter arrangement feel cohesive. A key trade-off: mugs take more “real estate” than jars, so you’ll want to keep the number of mugs limited to what looks balanced with the tray and jars behind them. Too many, and you lose the still-life effect.
Choose a matching color story, not identical designs
Different mug patterns can still work as long as the warm-beige and brown tones repeat.
Layer 6 — apothecary-style jars on the wood tray ($50) Make storage look like decor
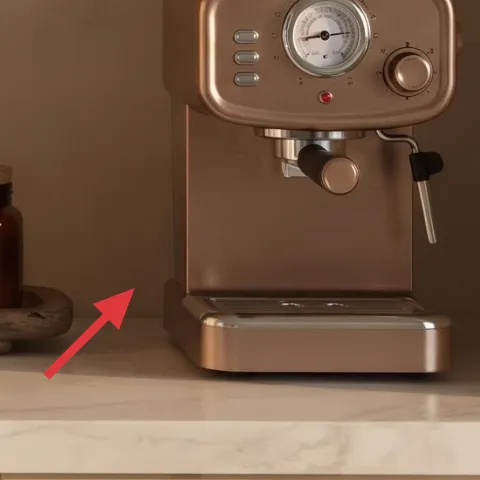
These apothecary-style jars are what turn countertop storage into a design moment. In the hero, the jars sit together on the wood tray, creating a rhythm of glass fronts and warm labels that looks curated instead of utilitarian. This choice is especially good for shared housing because jars are easy to pack flat-style items around—lids come off, glass stays contained, and the look travels with you. The alternative is keeping everything in plain containers, which doesn’t give the same visual structure when guests glance toward the shelf. Aim for consistency in jar shape so the grouping looks intentional.
Vary heights, not shapes
Use a mix of jar heights while keeping the overall jar silhouettes similar.
Layer 7 — small candle for warm glow ($35) Add one flicker point to soften everything
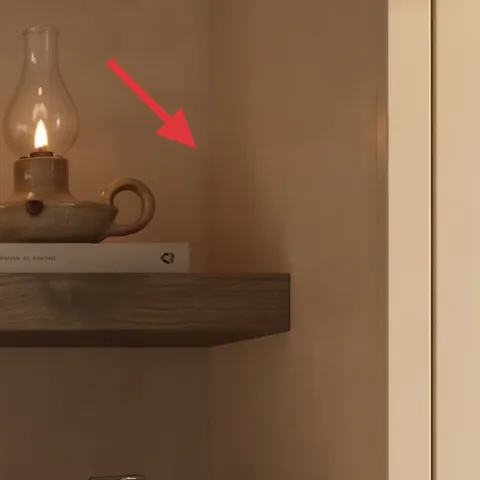
A small candle creates the warm glow that makes beige rooms feel lived-in. In the hero, the candle’s flame gives a gentle focal point near the right side of the shelf, and that warmth makes glass and ceramic look richer without changing any permanent finishes. The trade-off is that candles require you to be mindful about placement and safety, especially in a small kitchen with kids or roommates who move quickly. If the candle lives near the edge, make sure it’s steady and out of the main traffic path.
Keep it away from drafts and shelves with clutter
Use a stable holder and give the flame space from paper labels and textiles.
The cost, layer by layer
| Layer | Item | Cost |
|---|---|---|
| 1 | Wood tray for countertop styling | $45 |
| 2 | Table lamp with fabric shade | $60 |
| 3 | Framed wall art above the shelf | $80 |
| 4 | Gold wall hook near the shelf | $12 |
| 5 | Decorative ceramic mugs on the counter | $30 |
| 6 | Apothecary-style jars on the wood tray | $50 |
| 7 | Small candle for warm glow | $35 |
| Total | $312 | |
If you want a cheaper version, swap the framed wall art for a smaller framed art print and look for a used ceramic mug set at a thrift store. Keep the wood tray, lamp, and jar grouping—they’re the pieces that create the “designed” structure.
What worked, what didn't (across the whole room)
This coffee bar corner works because it uses repeat materials (wood, ceramic, warm metal) and gives the shelf a clear boundary with a tray. The lighting mix also feels right—steady lamp light plus a single candle point keeps the scene soft without looking dim.
What worked
- The wood tray makes the shelf feel intentional instead of like storage piled in the corner.
- The fabric lamp shade keeps the beige palette warm rather than harsh or yellow.
- Framed wall art provides a focal point so countertop items don’t look scattered.
- Grouping apothecary-style jars creates visual rhythm with minimal clutter.
- Decorative ceramic mugs bring the palette into the foreground where people actually notice first.
- A small candle adds a flicker detail that makes the whole setup feel lived-in after dark.
What didn't
- Using too many jar shapes at once makes the shelf read busy instead of curated.
- If the lamp shade is too dark, it can make the shelf feel heavy and dingy next to marble-look surfaces.
- Placing wall decor too low can fight the shelf line and pull attention away from the jars and mugs.
- A candle that sits too close to labels or textiles increases the “mess” feeling during daytime.
What we'd skip if we did it again
Skip large decorative pieces that can’t travel easily. For shared housing, the counter and shelf styling should pack into boxes without breaking the palette or requiring a “rebuild” every move.
Skip adding more jar categories. In kitchens like this, three jar “types” max is what keeps the grouping from turning into pantry clutter.
Skip wall changes that require permanence or patching. The shelf already has good structure, so reusable hanging methods and swappable art are the safer route for your next lease.
Frequently asked
How long does it take to style a coffee bar corner like this?
Plan on 60–90 minutes for the first pass: place the tray, line up the jars, and set the mugs so they read as a cluster. Add lamp and candle positions during the same session. If you’re re-organizing what you already own, count another 20–30 minutes for sorting and deciding what stays in the “front row.”
What if I can’t change the wall art or the shelf?
This setup still works because the main impact comes from grouping and layering on the countertop and wood tray. If wall art is off-limits, rely on the framed wall art look by choosing a move-friendly option that hangs temporarily, or shift focus to the tray and jar grouping. The lamp and candle still give the warm, lived-in feeling.
Will this feel too small for a bigger kitchen counter?
For a larger counter, scale by adding one more jar height level and using a larger tray footprint. Keep the same material repeats—wood, ceramic, warm metal—and avoid adding extra styles at the same time. If the shelf feels crowded, push one category (like mugs) back and leave more negative space in front.
Where should I shop to keep this budget under control?
Start with the pieces that are easy to thrift: ceramic mugs and candle holders. For the lamp and framed wall art, check resale marketplaces and discount home stores, then use a coupon for anything new. Jars are the last step—buy a set when you find the right shapes and warm label colors rather than mixing random sizes.
What’s the biggest mistake people make in a coffee bar corner?
Overfilling the shelf with too many jar shapes and too many colors. The hero look succeeds because it’s mostly the same beige-brown-cream palette and it uses one boundary (the tray) to keep everything organized. If anything looks off, remove one category first—mugs, jars, or extra bottles—before buying more.
More in Kitchen & Dining
Under $350: brass-and-ceramic coffee bar corner refresh
A warm-neutrals coffee bar corner makeover for renters and shared housing—no drilling, no replacing fixed fixtures. This $350 plan adds a t…
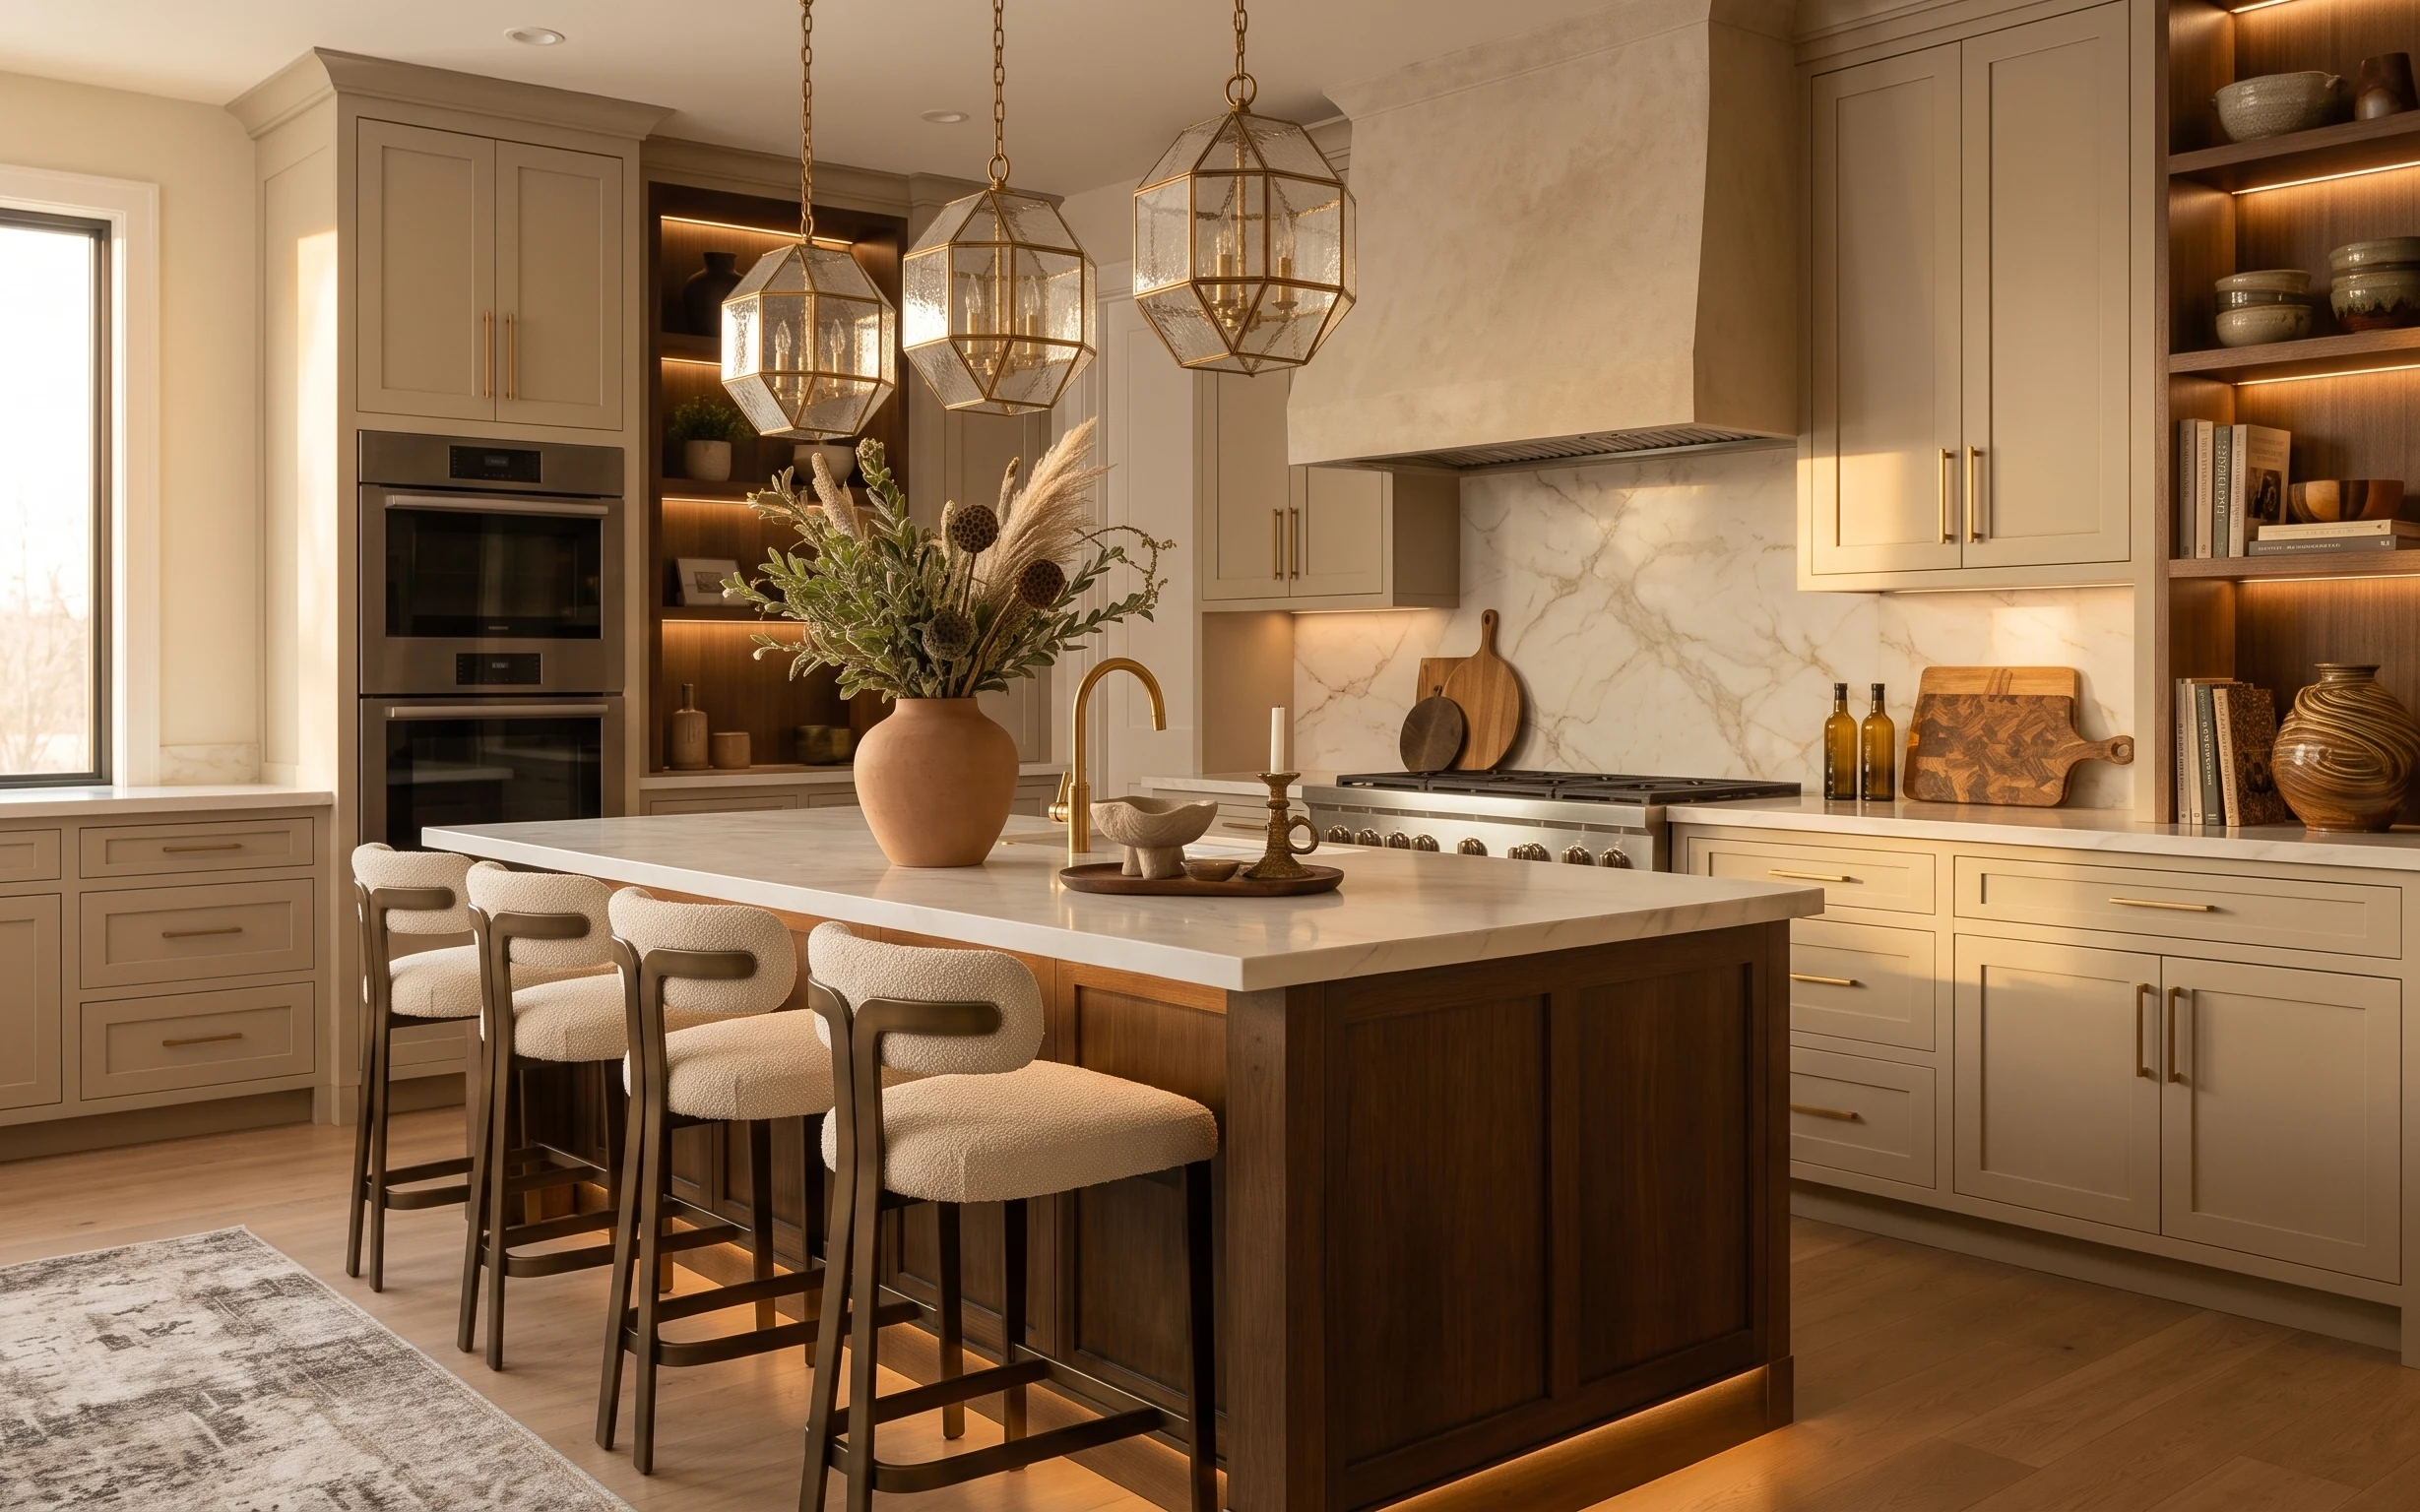
Under $400: warm brass-and-cream kitchen island refresh
A warm brass-and-cream kitchen island refresh for renters under $400. Swap in an area rug, styled countertop objects, and a DIY painted ter…
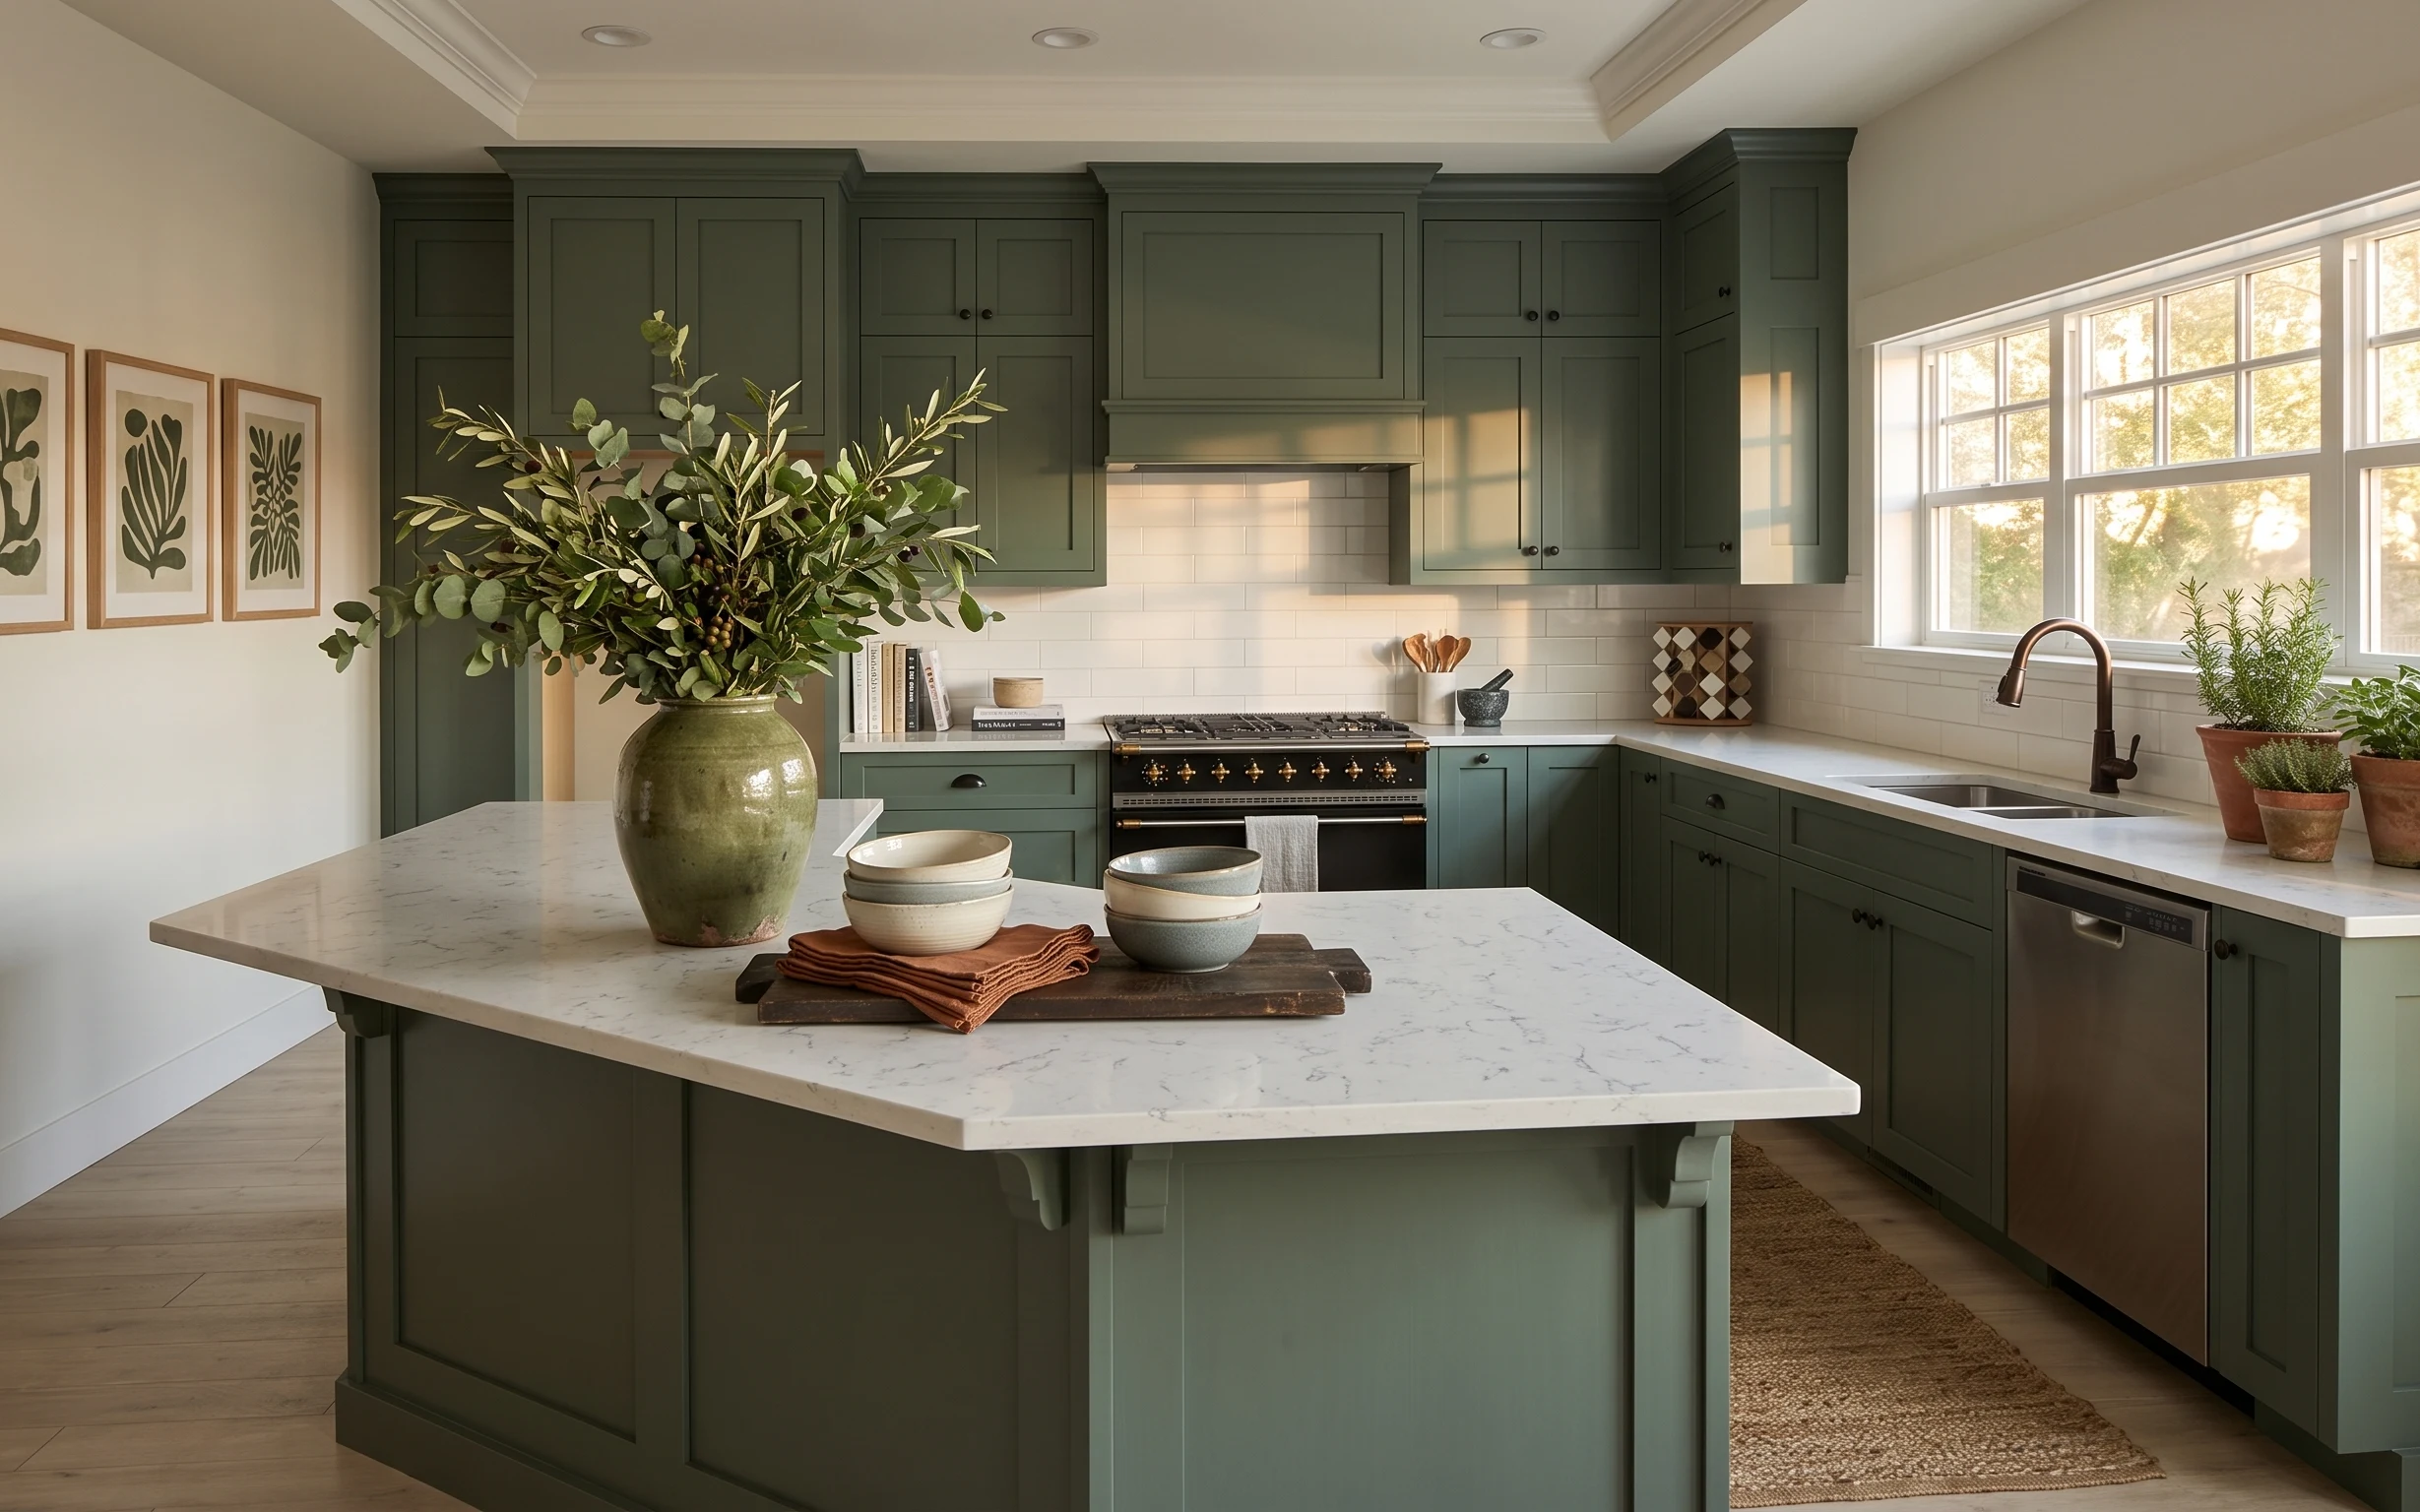
Under $350: move-ready kitchen island swaps with sage-green calm
A small, move-friendly kitchen refresh focused on the island and windowsill: rug runner, dish towels, a leafy vase, framed prints, and pain…