- Best for
- Shared kitchens that need island and window warmth
- Cost
- About $350 total
- Difficulty
- Easy (mostly textiles and surface swaps)
- Time
- 2–4 hours, plus drying for painted terracotta
Why sage-and-terracotta kitchen nook is the kitchen nook of 2026
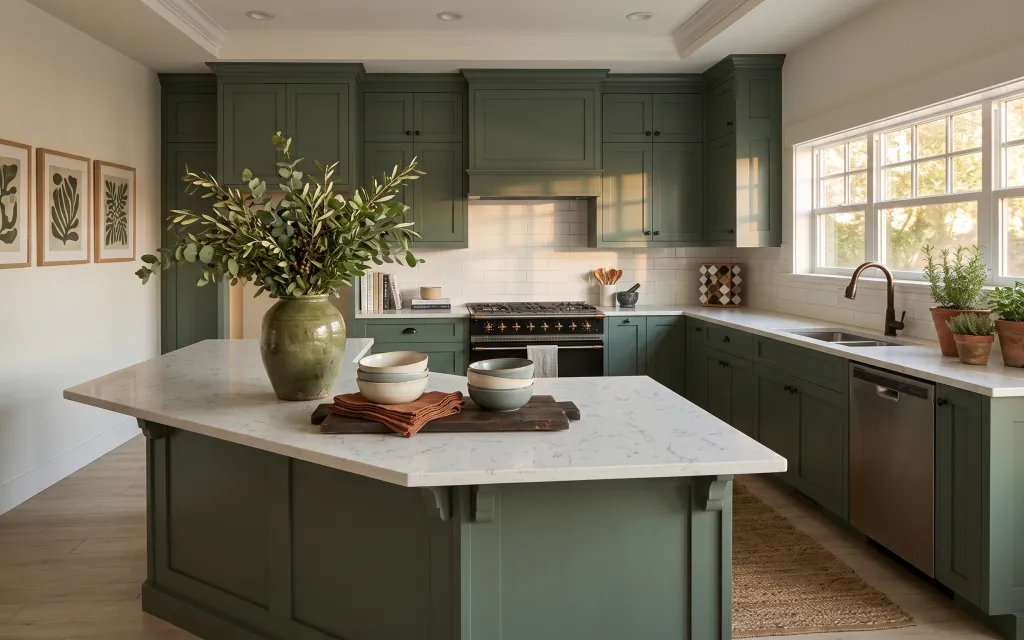
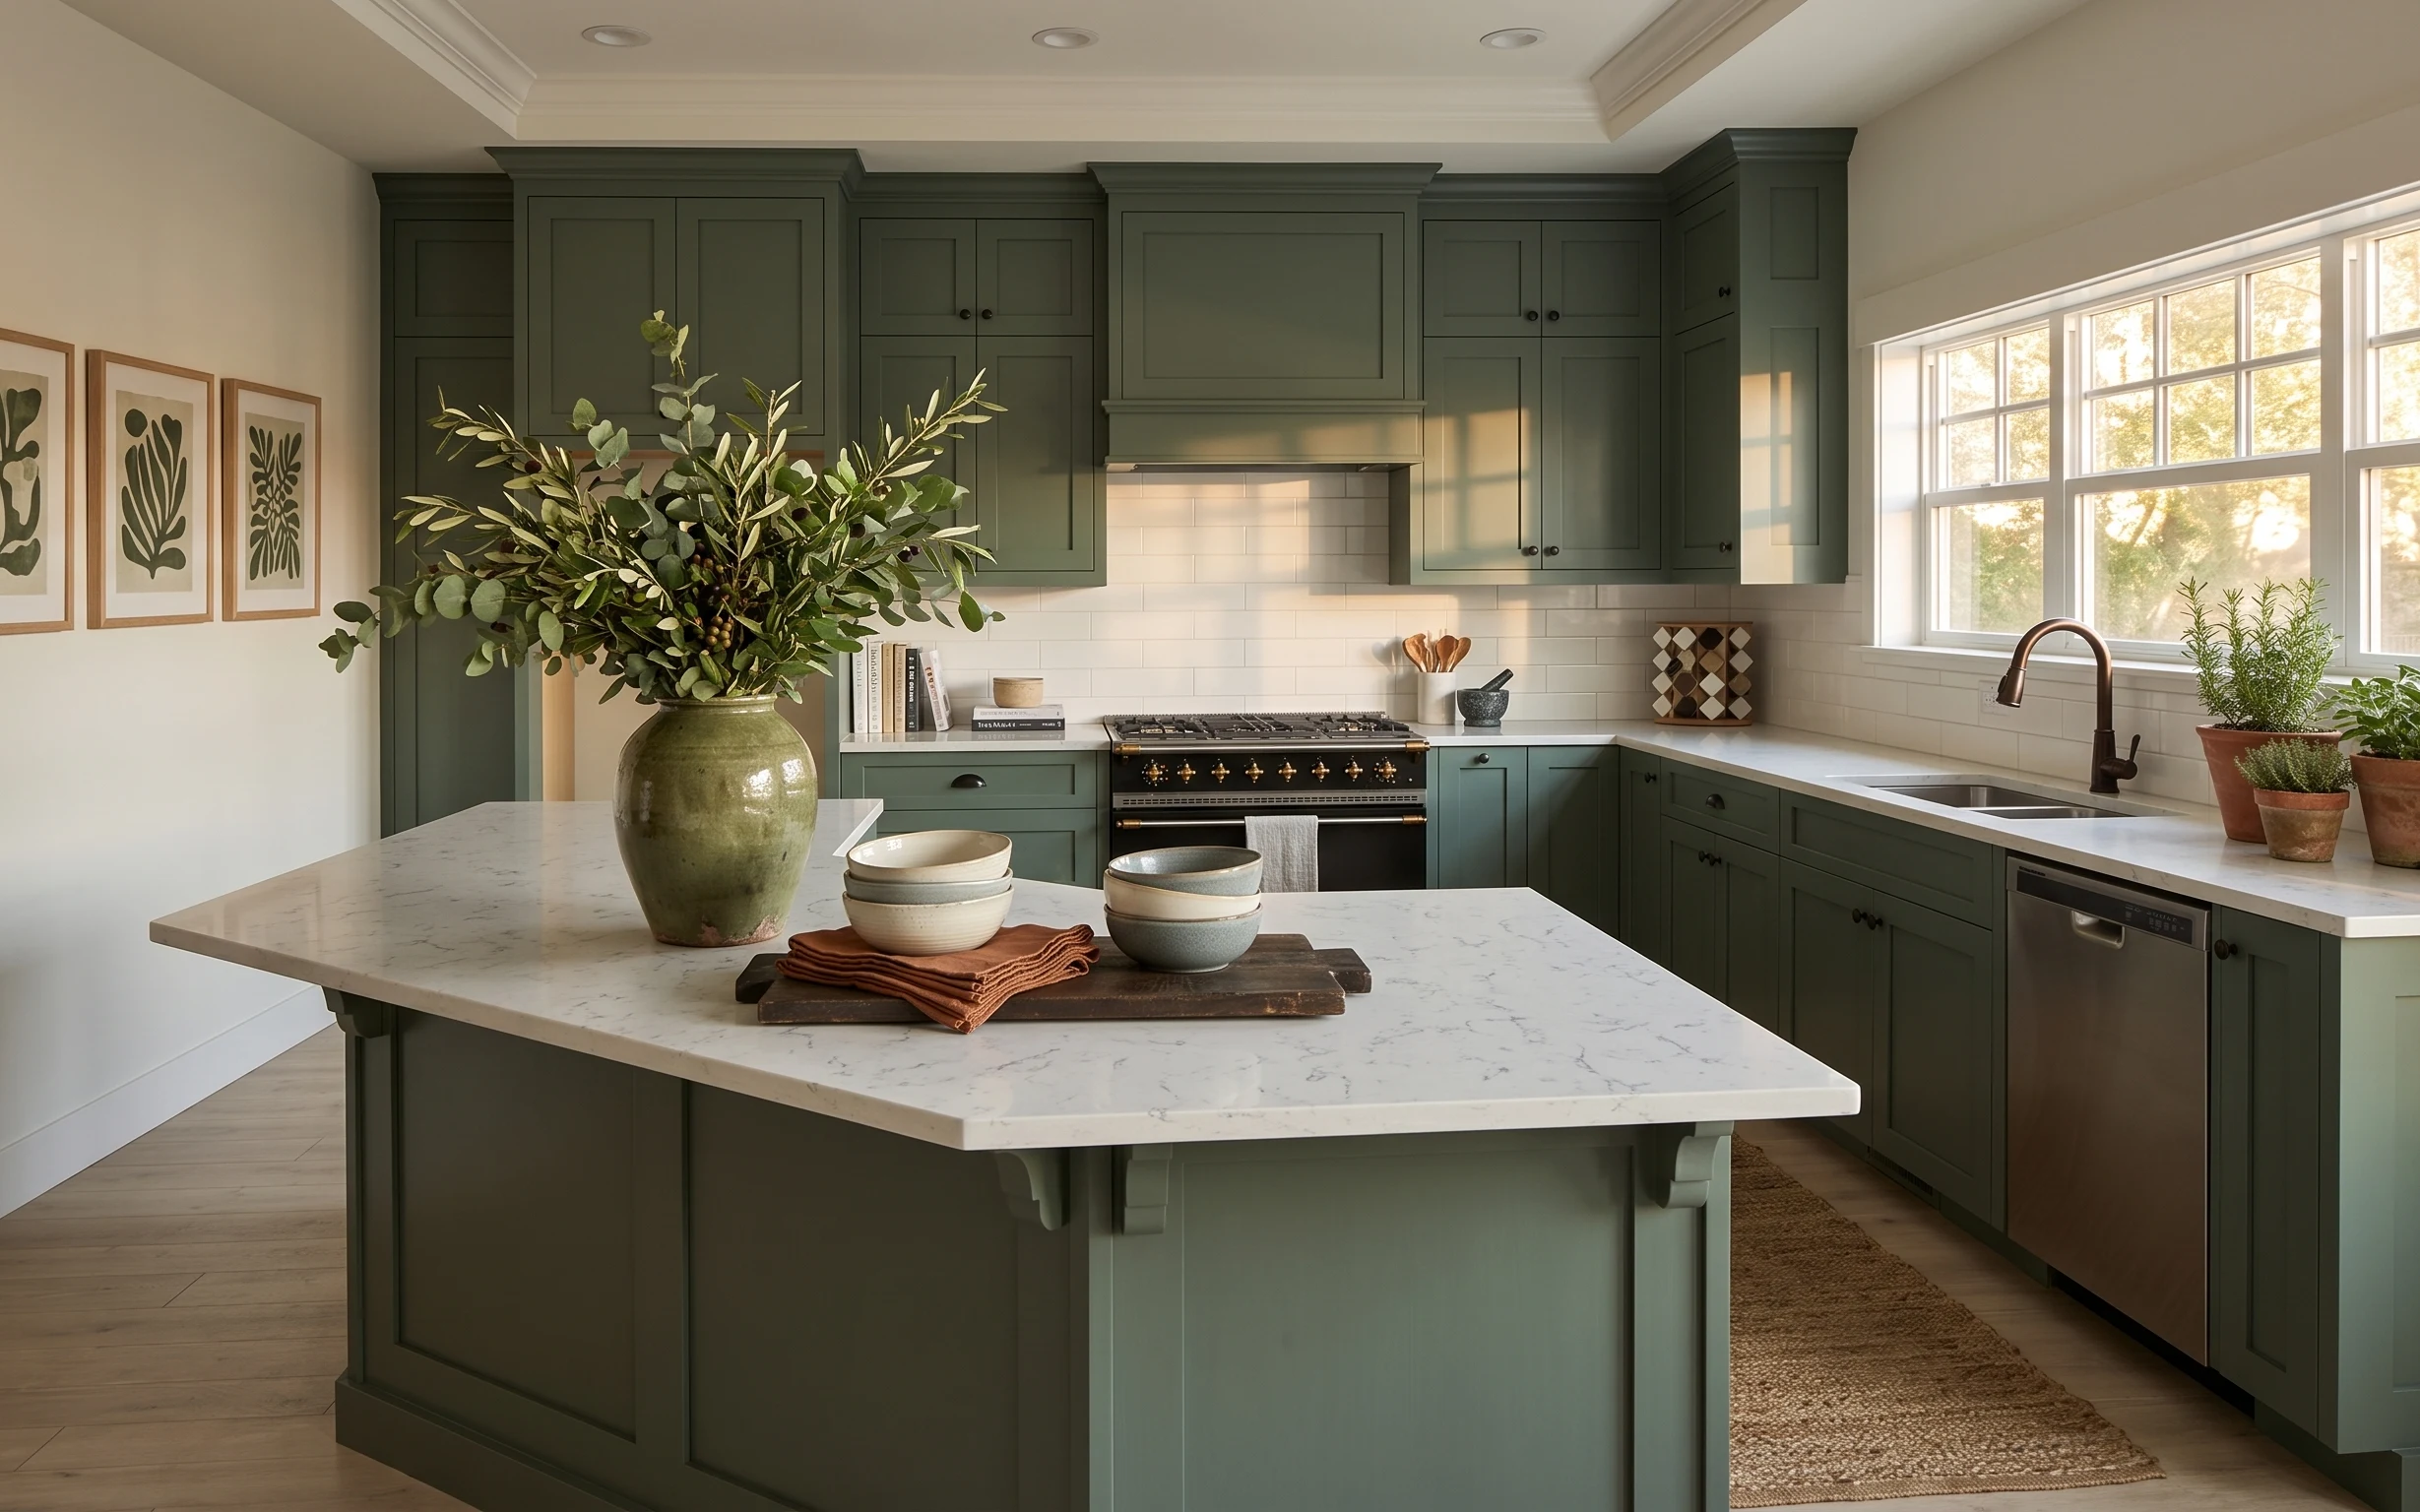
The island looks crisp because the white marble countertop reads bright against the sage green cabinet doors, but it still needs softness where you actually touch it daily. In the photo, the textures doing the work are the white subway tile backsplash, the leafy stems in the large green ceramic vase, and the folded terracotta dish towels. This refresh leans into those same textures with move-friendly, non-drill decor—so you get contrast without committing to anything that can’t leave with you. For shared housing, that’s the whole point: you can keep the vibe while changing the address.
I almost went “matchy-matchy” with greens everywhere, then caught myself staring at how the terracotta towels and warm window light already give the space its rhythm. When I’ve done this before, the place felt flat until I added one warm, plant-based element and one textural textile moment on the island. That’s why the plan centers on the runner, the towels, and the vase—then supports it with framed botanicals and painted planters that can pack into a few boxes.
Layer 1 — wool area rug runner ($80) defines the island zone
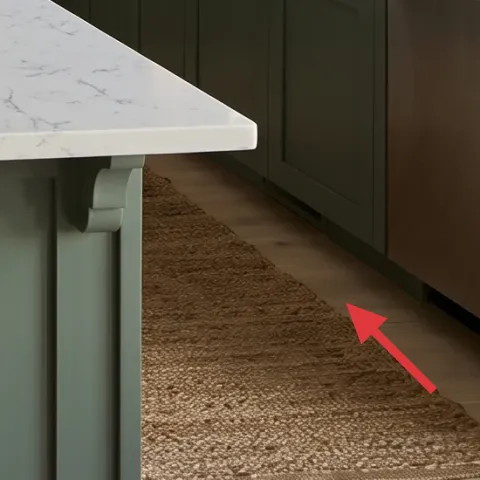
A rug runner under the island grounds everything that’s otherwise floating above wood-look tile floor. Look at how the rug sits at the bottom-right of the frame—this placement makes the kitchen feel intentional, not just “a countertop with cabinets.” I’d pick a wool blend in a neutral that reads warm with terracotta, because hard tile shows footprints and keeps every speck loud. The trade-off is that you’ll need to shake it out periodically and skip shag—thin, easy-to-roll piles win for moves and storage.
Layer for friction, not just softness
Runner texture helps dishes and shoes feel more stable, especially in kitchens where you’re constantly moving between sink and range.
Layer 2 — folded terracotta dish towels ($20) adds daily color without clutter
Those folded terracotta dish towels are small, but they’re doing big work: they add warmth right in the center of the island, where your eyes land first. Keeping them folded (instead of hanging everywhere) makes the whole setup look styled without becoming a countertop obstacle. If you’ve ever rented and found towel stacks taking over one drawer, this is the fix—use the island as a controlled “display surface” for two towels only. The trade-off is obvious: towels need a quick swap when they get stained, but that’s also why they’re easier to move than décor that’s glued or mounted.
Fold counts as instant “set dressing”
Neat folds look purposeful from across the room, while loose towels read like you ran out of time.
Layer 3 — large green ceramic vase with leafy stems ($50) brings height and softness
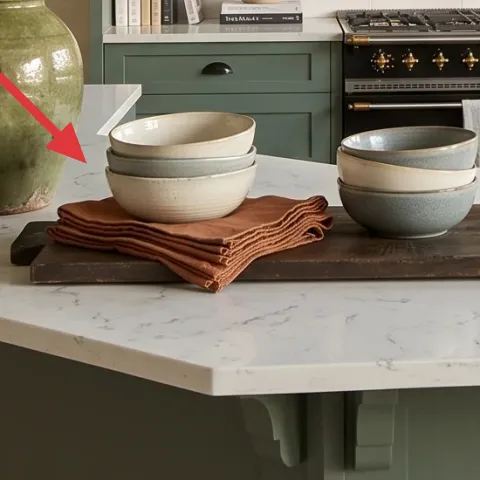
The large green ceramic vase with leafy stems is the centerpiece that makes the kitchen feel less like showroom cabinetry and more like someone lives here. In the photo, the vase anchors the left side of the island because it has both height and a matte, slightly textured surface. For renters, this is a great call because it’s a freestanding swap—you don’t need to change the backsplash or touch any fixed fixtures. The trade-off: ceramic is heavier than you think, so choose a vase you can lift comfortably one-handed and wrap it with a towel before packing.
Pick foliage that works in daylight
Leafy stems photograph well near windows; the bright exposure keeps greens from looking muddy.
Layer 4 — three framed botanical prints ($80) repeats the leaf motif
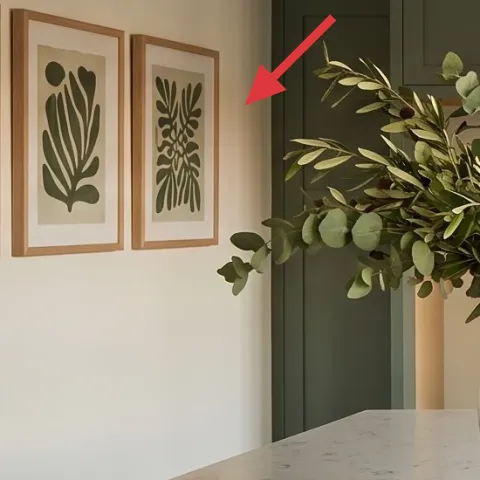
The three framed botanical prints on the left wall are an easy way to echo the “leaf” story already happening in the vase. Because the frames are already in a set, they read cohesive without needing a gallery wall expansion. This layer works with sage green cabinets because the botanical linework adds contrast without competing with the cabinet color blocks. The trade-off is planning for moves: frames take more wrap space than small décor, so box them flat with corners protected. If you’re tempted to add more prints later, stick to a trio—too many images can make a small kitchen feel busy.
Don’t rely on fragile hanging hardware
If the current hanging method pulls at drywall, switch to removable, low-tension hardware for the next place.
Layer 5 — diamond-pattern wall decor ($25) adds warmth above the backsplash
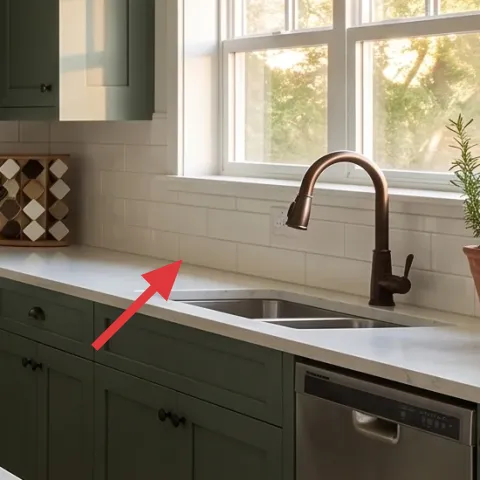
That small diamond-pattern wall decor is a practical “pause” between the white subway tile backsplash and the darker cabinet fronts. It sits visually in the mid-height zone, so it reads like part of the kitchen’s rhythm instead of a random accessory. This is a good move-friendly layer because wall décor like this can be removed without touching fixed fixtures. The trade-off: choose a lightweight version, since a heavy piece becomes annoying to carry and wrap. A small, centered size also prevents it from looking like you tried to cover the backsplash.
Keep it sized for one backsplash section
If it’s too big, it competes with the cabinetry doors and the stove line.
Layer 6 — small terracotta planters on the windowsill ($45) makes the window feel intentional
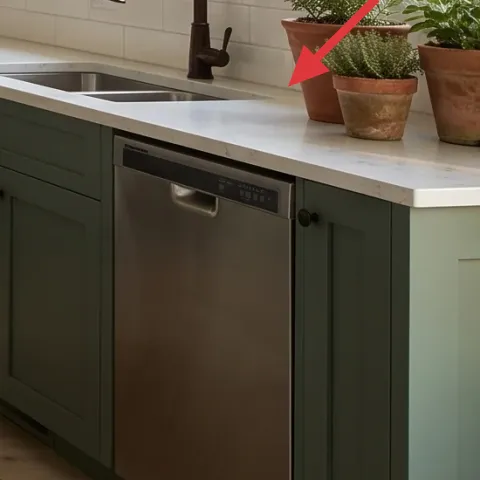
Terracotta on the windowsill does something kitchens desperately need: it adds warm color where daylight lands, without changing anything permanent. In this photo, the two small terracotta planters act like bookends for the window light, and their earthy tones connect back to the folded terracotta dish towels. For the move-friendly version, keep the planters small enough to pack, then switch the plant style as seasons change. The trade-off is that painted terracotta looks best when it’s kept out of direct splashes—use a saucer underneath so the finish stays clean during everyday cooking.
Make it instead of buying it
This painted terracotta planter set starts with your existing small terracotta planters, then adds a simple color pattern so the windowsill matches the island tones.
Materials
- Acrylic paint (sage or olive) — small bottle — $15
- Acrylic paint (cream) — small bottle — $10
- 1 fine-tip craft brush — 1 pack — $5
- Sponge or foam stencil dauber — 1 — $3
- Painters tape — 1 roll — $2
Steps
- Wash the terracotta planters, then let them dry fully.
- Tape off simple bands or a light geometric grid on the planter.
- Paint the first color (like sage/olive) with smooth, thin coats.
- Let the paint dry completely (about 1 hour).
- Add the cream layer using sponge dabbers for soft edges.
- Let the second coat dry completely (about 1–2 hours), then remove tape.
- Use the fine brush to touch up lines where tape lifted.
- Let everything dry fully overnight before setting plants inside.
Total DIY cost: $35 — saves about $10 over buying.
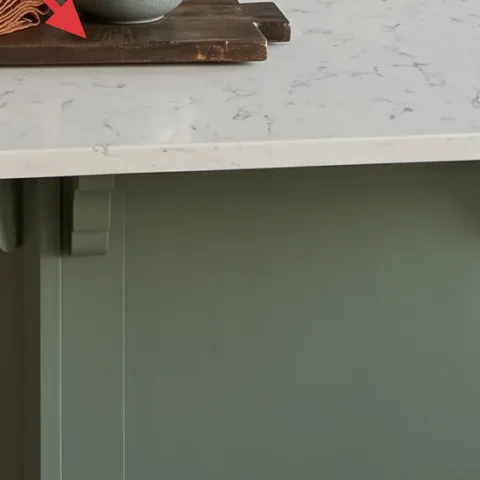
Layer 7 — decorative jar-and-tray centerpiece set ($30) keeps the island photo-ready
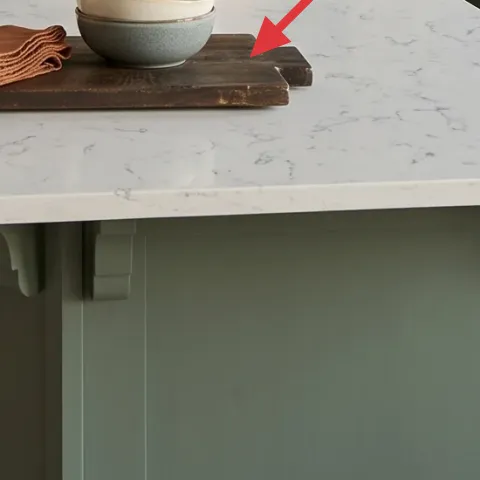
The jar-and-tray centerpiece idea is the finishing layer that turns “a few items on the island” into a deliberate vignette. In the photo, the island has a small stack of books plus a serving-style board/tray with bowls, so you’re already halfway there—this layer simply standardizes the container. A tray keeps small items from scattering when you move, and it also helps you clean faster because you can lift the whole grouping at once. The trade-off is space: trays take a little room in a box, so choose a flat, lightweight option you can stack with dish towels and linens.
Use the island like a staging table
Group everything on one tray so the counter reads “styled” even on busy weekdays.
The cost, layer by layer
| Layer | Item | Cost |
|---|---|---|
| 1 | wool area rug runner | $80 |
| 2 | folded terracotta dish towels | $20 |
| 3 | large green ceramic vase with leafy stems | $50 |
| 4 | three framed botanical prints | $80 |
| 5 | diamond-pattern wall decor | $25 |
| 6 | small terracotta planters on the windowsill (DIY painted) | $45 |
| 7 | decorative jar-and-tray centerpiece set | $30 |
| Total | $330 | |
If you need a cheaper variant, swap the runner for a low-pile flat weave in a similar warm neutral, and choose a smaller vase or fewer frames (a pair instead of a trio).
What worked, what didn't (across the whole room)
This refresh approach works because the kitchen already has strong color structure (sage cabinets and white tile), so the winning moves are warm textiles, live greenery, and framed linework. The biggest improvements are visual consistency at eye level and a styled-but-not-cluttered island.
What worked
- The runner anchors the island area and makes the tile floor feel less stark.
- Terracotta towels add warmth right where cooking mess is most likely.
- The large green ceramic vase creates height without needing any wall mounting changes.
- Three framed botanical prints repeat the leaf theme and balance the darker cabinet fronts.
- The diamond-pattern decor breaks up white tile visually at backsplash height.
- Painted terracotta planters tie the windowsill to the island color story.
What didn't
- Trying to add more items than fit on the island tray makes the counter feel busy.
- Large wall décor pieces can overpower the backsplash and compete with the range.
- Heavier vases are harder to pack, wrap, and transport during a lease change.
- Too-thick rug piles can trap crumbs and slow down quick kitchen cleanups.
What we'd skip if we did it again
Skip anything that requires drilling or permanent swaps. In shared housing, the kitchen will likely change faster than you think, and repainting or installing hardware just doesn’t pay off when you’re packing boxes.
Skip matching green accessories everywhere. Keeping one warm accent (terracotta towels and terracotta planters) prevents the room from turning flat and monochrome against the sage cabinet doors.
Skip adding extra wall art beyond the botanical trio unless the wall is truly empty. A small set of frames and one mid-height décor piece reads complete without making the backsplash and stove line feel visually crowded.
Frequently asked
How long does this kitchen refresh take in a real move-week?
Most of the work is just laying out the runner, folding towels, and building one island vignette on a tray. Figure 1–2 hours for the island items, another 45–75 minutes for the windowsill planters and any frame re-hanging, and the rest is styling time. If you DIY the terracotta painting, plan for overnight drying so the finish holds up when you set plants in.
Can this work if I’m not allowed to change wall hardware at all?
Yes—use freestanding décor as the backbone (runner, towels, vase, tray). For wall items like the three framed botanical prints and the diamond-pattern wall decor, keep the existing hanging method if it’s already rental-safe; otherwise, choose removable hanging that doesn’t damage plaster or paint. The key is that the island look still carries the room even if you wait on wall changes.
What if my kitchen island is smaller than the photo?
Scale down the centerpiece grouping. Keep the tray size closer to the width of your bowls/stack, and limit it to one focal container (the large green ceramic vase OR the jar-and-tray set). The runner can also be narrower as long as it still sits under the “traffic” area in front of the sink and range.
What if my windowsill doesn’t get much light?
Swap the plant choice inside the small terracotta planters rather than changing the planters themselves. Because the color story is terracotta + cream, it still reads warm even on less sunny days. If the vase dries out quickly, use leafy stems that tolerate lower light, and keep the towels and tray as the consistent color anchors.
Where should I shop for these move-friendly pieces?
For the runner and towels, look for home basics retailers with easy return policies so you can match size quickly. The frames and diamond-pattern wall decor are usually easiest to find at art-print and home décor stores—buy a set that’s lightweight for moving. The easiest DIY input is terracotta planters because they’re common at garden centers and many big-box stores.
What’s the biggest mistake to avoid in kitchens like this?
Over-collecting small décor. When every surface has something, the island turns into clutter instead of a vignette. Start with one tray grouping, one vase height moment, and two towels for warmth—then add only one wall element at a time so you can see how it affects the backsplash and range line.
More in Kitchen & Dining
Under $350: move-ready kitchen island swaps with sage-green calm
A small, move-friendly kitchen refresh focused on the island and windowsill: rug runner, dish towels, a leafy vase, framed prints, and pain…

Under $350: renter-friendly kitchen island seating refresh
A bright kitchen island seating update that swaps textiles and countertop styling for a warm, modern farmhouse look. This renter-friendly r…
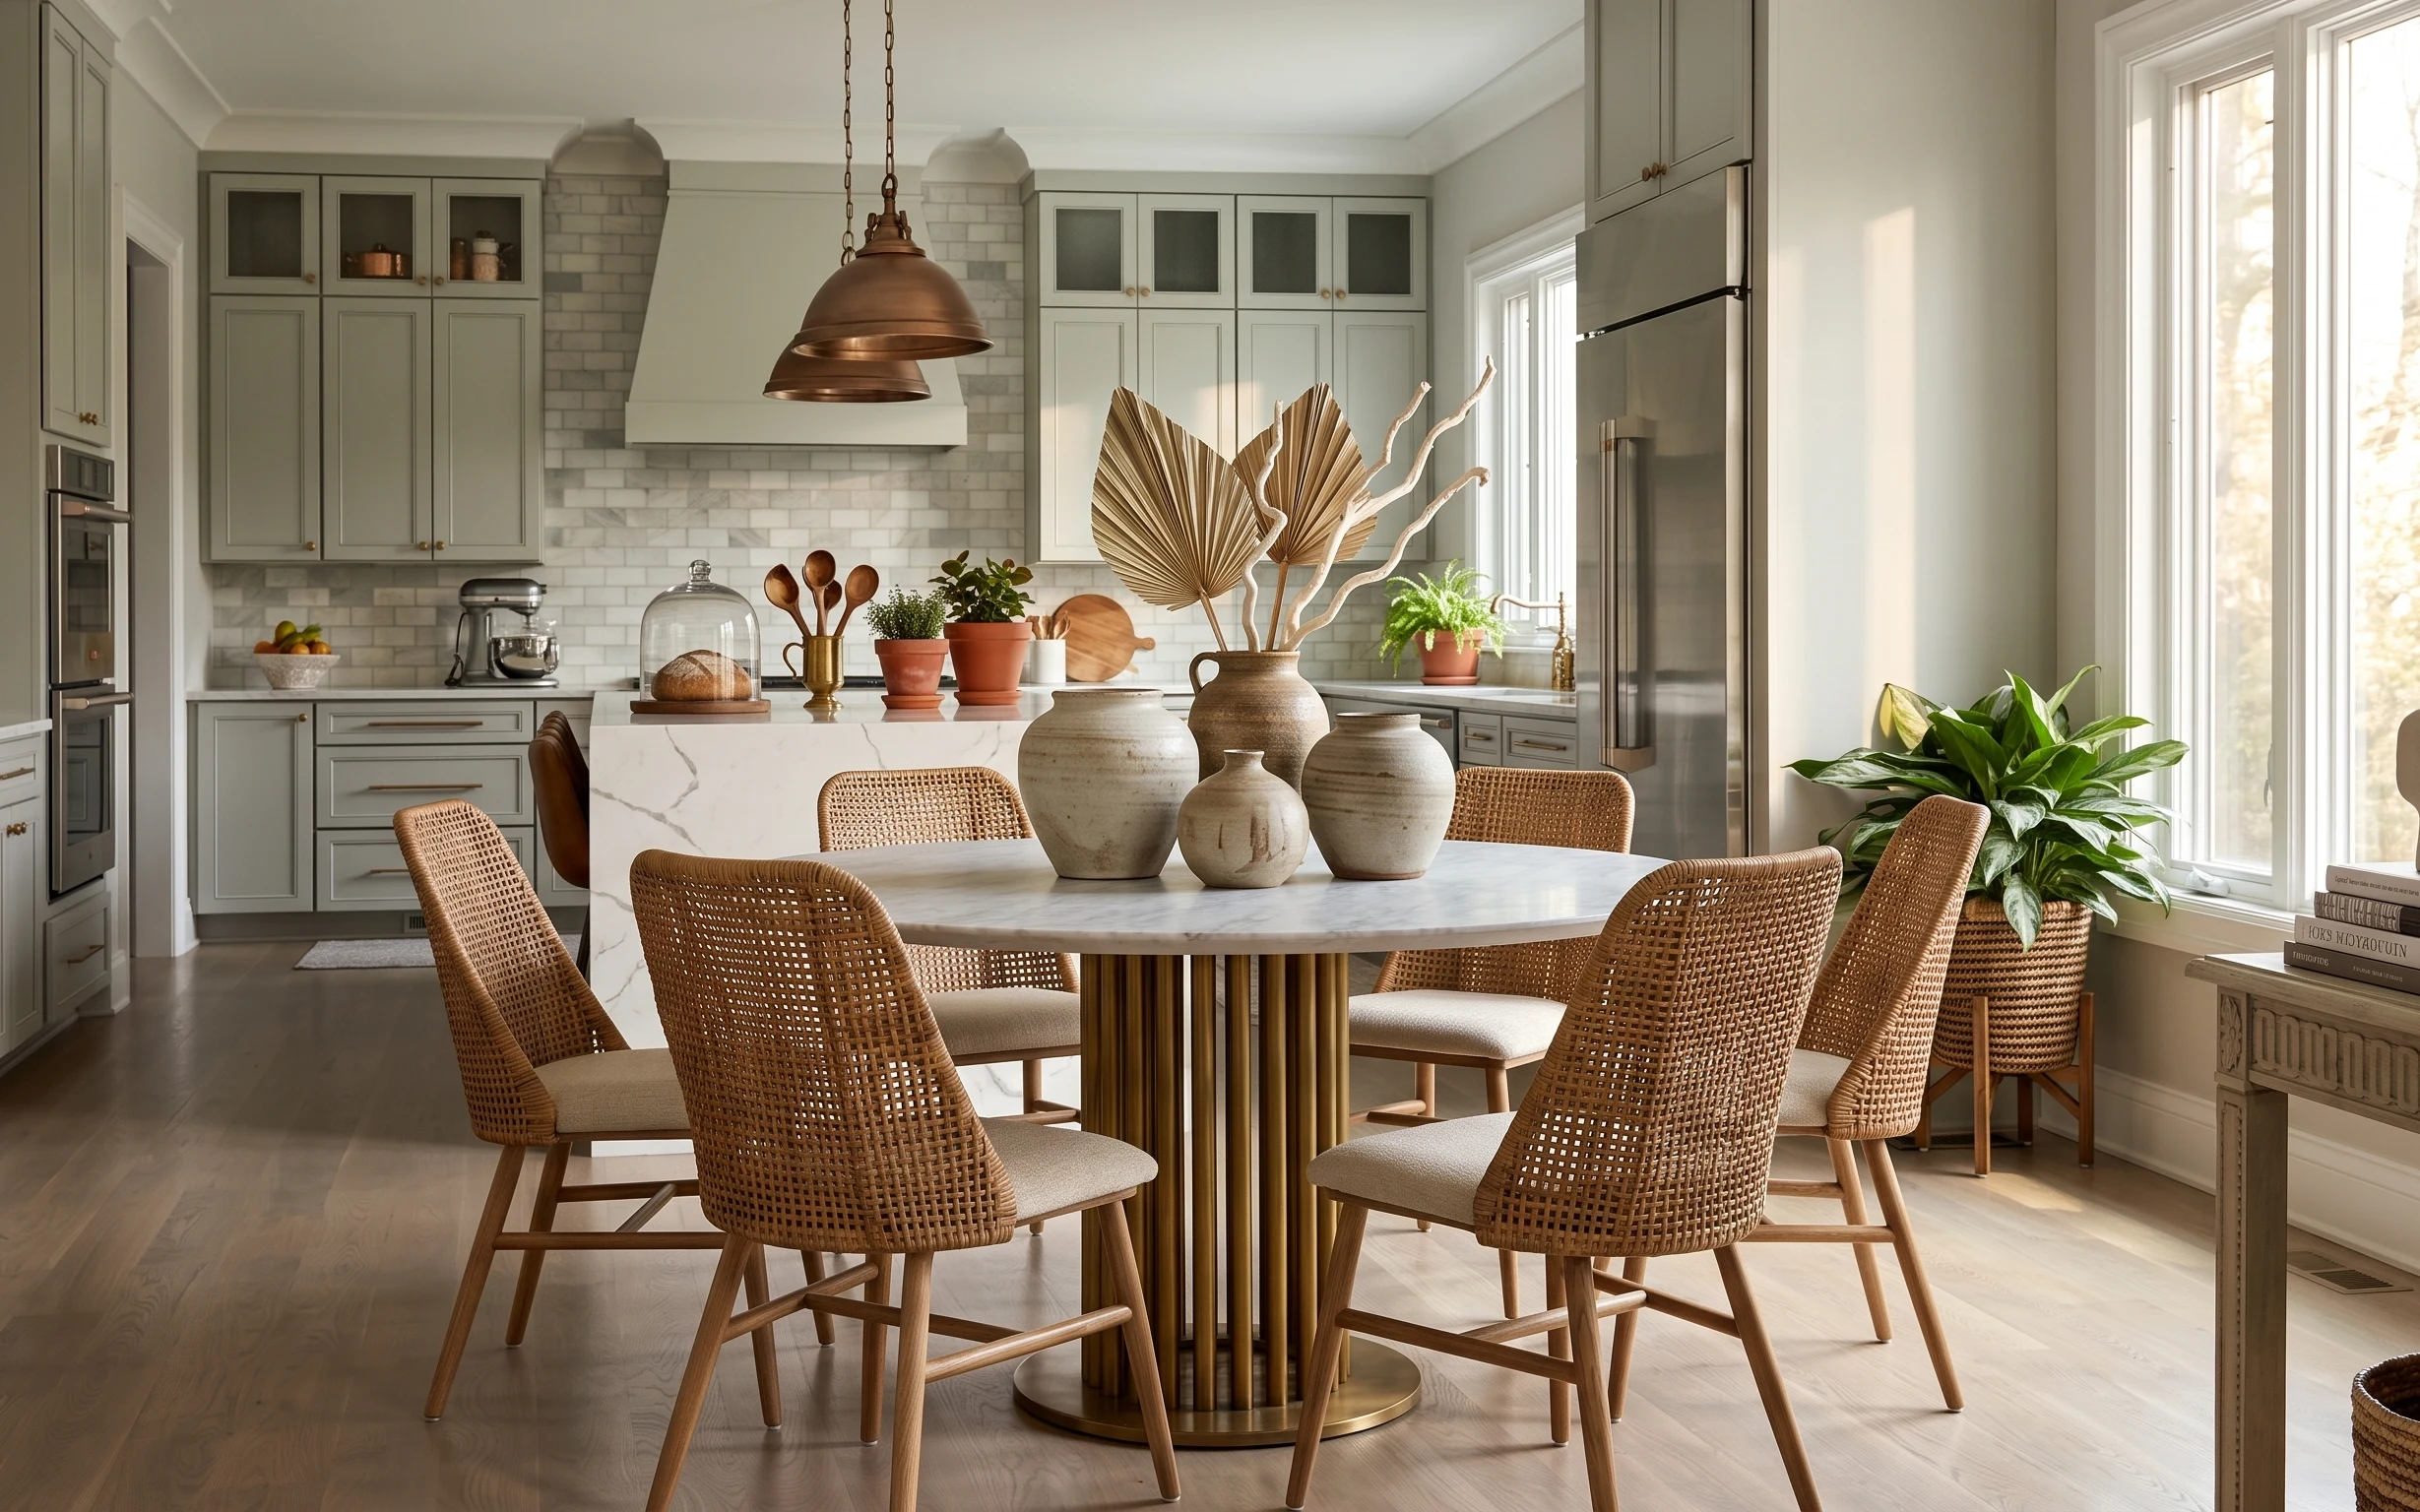
Under $700: warm rattan kitchen-dining nook refresh
A warm rattan-and-ceramic kitchen-dining nook look you can build in a rental—no painting or drilling required. This refresh uses 7 renter-s…