- Best for
- Cost
- Cost
- $395 total
- Difficulty
- Easy
- Time
- ~2 hours
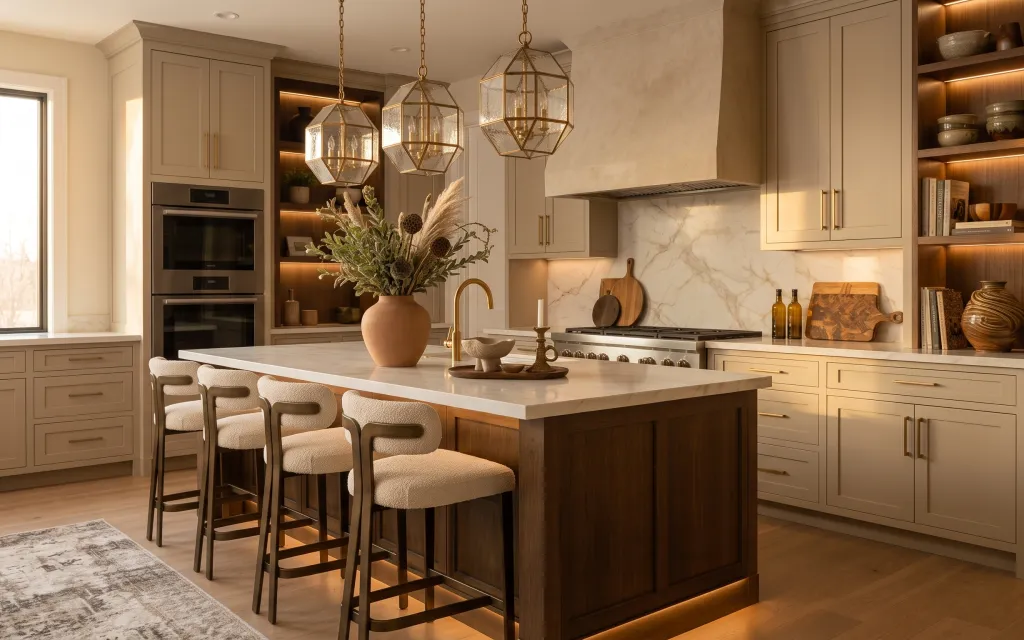
Why warm brass-and-cream details are the move-friendly kitchen island of 2026
That golden, warm look in this kitchen island setup comes down to texture and scale more than expensive renovations. The light-colored countertop and marble-look backsplash give you a clean, reflective base, while the walnut-brown wood floor adds warmth underfoot. Then the terracotta vase, dried floral arrangement, and decorative tray bring in the earthy contrast that makes the whole island feel styled instead of bare. The best part for renters: these are all object-based changes that move with you, so the “finish” survives the lease.
I made the classic mistake of trying to “fix” a rented kitchen by adding too many separate things—small, mismatched accessories everywhere. It looked busy fast, like I’d just stacked random finds. What changed my mind was treating the island like a single styling zone: anchor with one large textile, then group three or four objects at similar heights. Once I did that, the warm-and-brass vibe looked intentional instead of crowded.
Layer 1 — area rug ($200) grounds a busy island zone
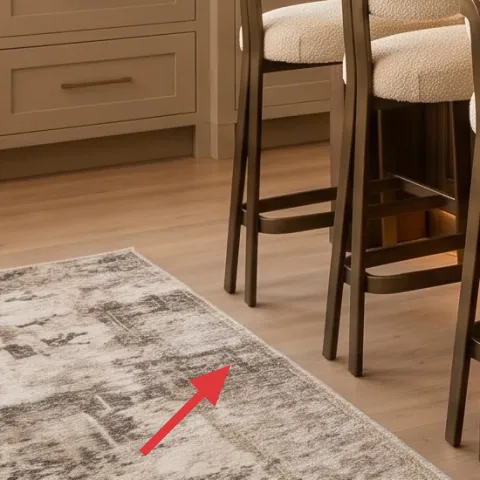
This area rug sits under the front legs of the bar stools and visually ties the island seating area together. The neutral pattern works with both the warm wood floor and the light backsplash, so you get contrast without fighting the kitchen’s existing tones. If you skip the rug, the island can feel like it’s floating above hard flooring; with it, the whole zone reads as one space. The trade-off is that rugs show wear in real life, so choose a pattern with enough variation to hide the occasional splash or scuff from daily use.
Pick a rug pattern with enough movement
When your kitchen already has marble-look veining and warm wood, a calmer pattern won’t mask everyday marks; a medium-contrast print will.
Layer 2 — decorative ceramic bowls on tray ($20) adds sculptural height
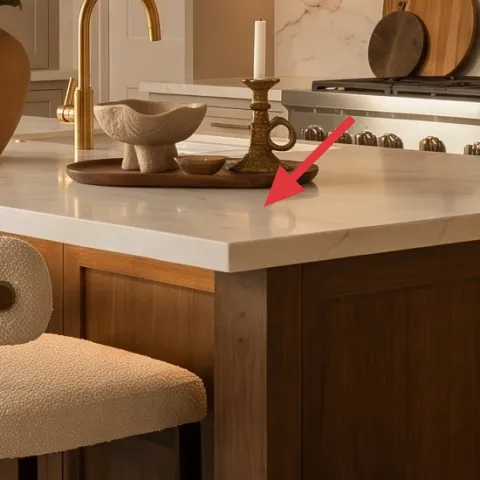
These decorative ceramic bowls act like little styling “anchors” on the island surface—small, weighty objects that catch light against the countertop. Grouping them on the same tray keeps the look from spreading into random clutter. I like this over adding another small vase because bowls read as intentional shape language, not just another container. The trade-off: ceramic accents take space on the counter, so they’re best when your everyday cooking clutter is stored elsewhere. Keep bowls together, then leave a little negative space around them so the marble-look backsplash still gets to show.
Use bowls instead of more bottles
In kitchens, bottles can duplicate the same visual “hard edges.” Bowls bring softer curves that break up the lines.
Layer 3 — terracotta vase ($45) makes warm neutrals feel handmade
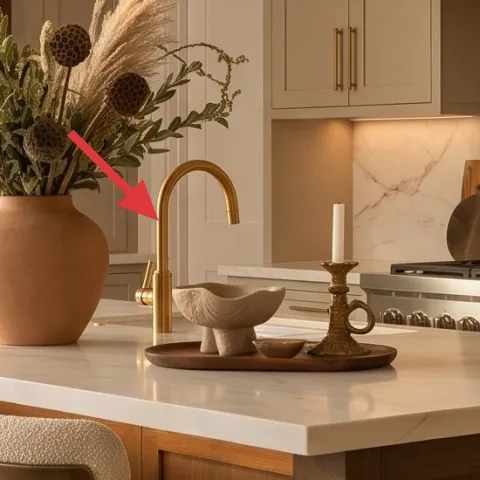
This terracotta vase is the warm focal point at the center of the island styling. Because it’s an earthy clay color, it bridges the walnut-brown wood floor and the brass-toned lighting, so the palette feels cohesive. I’m leaning into it instead of a glossy vase because matte terracotta reads more grounded next to a marble-look backsplash. The downside is terracotta can look slightly more “craft project” if it’s plain, which is why a quick paint refresh helps. A DIY-painted look also makes the vase feel like part of your personal rental style.
Make it instead of buying it
DIY a painted terracotta vase so the clay warms up the countertop palette without needing landlord-approved changes.
Materials
- Terracotta vase or small planter — 1 — craft store — $20
- Acrylic craft paint (warm neutral shade) — 1 jar — craft store — $12
- Foam brush or small paintbrush — 1 — craft store — $8
- Paper towels — 1 roll — pantry — $0
- Painter’s tape — optional — craft store — $0
Steps
- Wash and dry the terracotta so paint adheres evenly.
- Lightly tape off any areas you want to keep unpainted.
- Apply a thin first coat of acrylic paint, staying within the vase curve.
- Let the paint dry fully to the touch (no tackiness).
- Add a second coat for even coverage.
- Optional: dab a tiny amount of a lighter paint to soften the highlights.
- Let the final coat dry completely before placing the vase on the countertop.
- Style immediately with your dried stems so the finish looks intentional.
Total DIY cost: $40 — saves about $5 over buying.
Layer 4 — dried floral arrangement ($30) adds softness and movement
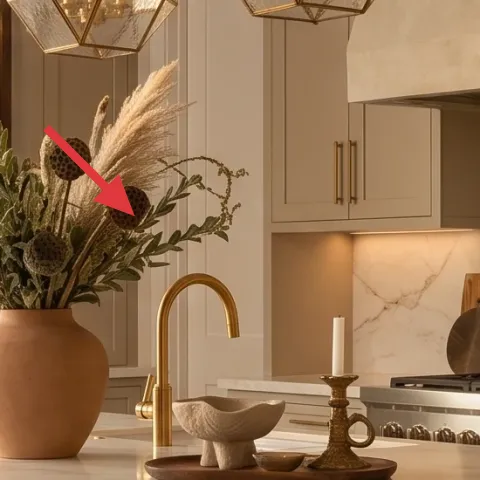
This dried floral arrangement brings the “airiness” that keeps a kitchen island from feeling too rigid. The mix of airy stems and fuller blooms contrasts nicely with the straight edges of the island and bar stools, and it reads warm even with bright natural light. I’d rather style dried florals here than fresh stems because dried pieces keep their shape longer and don’t need ongoing water management in a rental kitchen. The trade-off is that dried arrangements can shed a little over time, so handle them carefully when moving or swapping items during cleaning.
Handle dried stems gently when wiping
Dried arrangements shed more than you’d expect—dust around the base instead of rubbing the stems directly.
Layer 5 — decorative tray ($25) turns loose items into a designed cluster
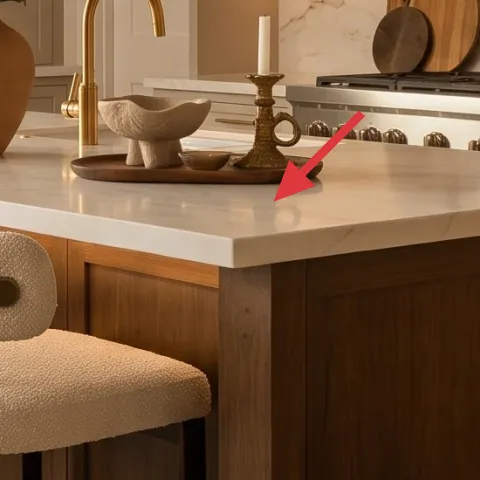
This decorative tray is what makes the countertop feel curated instead of “collected.” It holds the ceramic bowls in one zone, keeps items from sliding around, and creates a visual boundary on the island surface. That boundary matters in kitchens because we tend to drop stuff—keys, mail, random kitchen tools—without realizing it. A tray helps you reset faster: everything returns to the same grouping. I chose a tray over a single larger centerpiece because it’s easier to scale down when the counter gets busy. The trade-off is that trays can look too small if you forget to cluster items on top.
Keep the tray within one island “lane”
Choose one area near the center line of the island so the cluster stays readable from multiple angles.
Layer 6 — amber glass bottles ($40) adds warm color depth
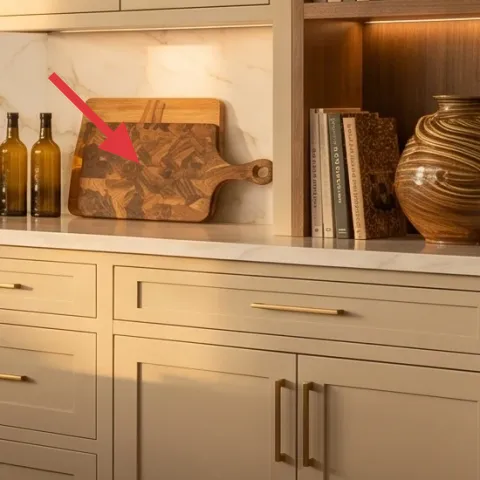
The amber glass bottles give you that warm, slightly vintage depth that plays well with brass-toned hardware and lighting. On a light countertop, they read like little “color blocks” without overpowering the scene. I’d pick bottles over another neutral object because the amber hue introduces a second warmth layer—separate from the clay and wood—so the island feels layered. The trade-off is that bottles with labels or unique shapes can look cluttered if you buy too many; stick to a small group and leave some negative space on the shelf line around them.
Limit bottle count for a cleaner rental look
Two to four pieces is enough—more starts to compete with the backsplash’s veining.
Layer 7 — wood cutting board ($35) brings everyday function into décor
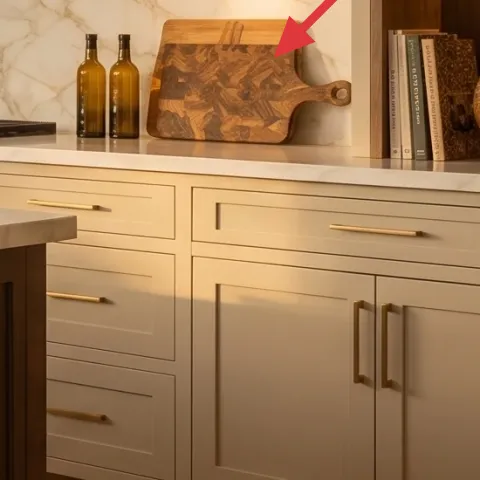
A wood cutting board gives you practical texture while still reading as décor when it’s styled flat against the backsplash side of the island. Matching the warm wood tone to the floor helps the kitchen feel intentional rather than pasted together. I like this choice over a metal utensil holder because it softens the reflective surfaces and adds grain detail. The trade-off: wood boards can scratch and pick up marks, but those “lived-in” scuffs actually look right in this kind of warm neutral palette. Keep it dry and wipe after prep so it doesn’t warp.
Style it where it won’t block prep space
Place it along the backsplash side so you can still use the center of the island for cooking.
The cost, layer by layer
| Layer | Item | Cost |
|---|---|---|
| 1 | Area rug (5×7 or larger, neutral pattern) | $200 |
| 2 | Decorative ceramic bowls | $20 |
| 3 | Terracotta vase (DIY paint refresh) | $45 |
| 4 | Dried floral arrangement | $30 |
| 5 | Decorative tray | $25 |
| 6 | Amber glass bottle set | $40 |
| 7 | Wood cutting board | $35 |
| Total | $395 | |
If the rug budget has to drop, choose a simpler neutral flatweave in the same warm undertone. That keeps the island grounded, and you can spend the saved money on one standout object like the dried stems or amber bottles.
What worked, what didn't (across the whole room)
This refresh works because it treats the island like a single styling zone: one large anchor textile plus a small cluster of objects at similar heights. The warm clay and amber tones also harmonize with the existing warm wood and brass notes. The only thing that doesn’t always hold up is counter clutter—without a tray, the grouping breaks fast.
What worked
- The area rug anchors bar-stool seating and makes the island feel like part of one room.
- Terracotta and dried florals add earthy texture next to marble-look backsplash and light cabinetry.
- A tray creates a boundary so small accessories don’t drift into visual mess.
- Amber bottles bring warm depth that matches brass lighting without adding another neutral.
- Wood cutting board ties countertop styling back to the walnut-toned floor.
- Grouping ceramic bowls gives sculptural interest without taking over prep space.
What didn't
- Adding too many small items near the center makes the island feel cramped and busy.
- Dried stems shed a bit during cleaning if they’re wiped aggressively.
- Flat neutrals without a second warmth (like amber) can read slightly bland under bright light.
- If the tray sits too far from the cluster, the styling looks accidental instead of curated.
What we'd skip if we did it again
Skip buying a bunch of tiny décor pieces to “fill space.” On kitchen islands, small items compete with backsplash veining and natural reflections, and the result reads busy instead of warm.
Skip replacing anything built into the kitchen—no renter-friendly swap is worth the risk. Instead, spend on removable objects (tray, bottles, vase, textiles) that can pack up intact at lease end.
Skip a rug that’s too small for the bar-stool footprint. When the rug doesn’t land under the seating zone, it looks like an afterthought rather than an anchor.
Frequently asked
How long does this kitchen island refresh take?
Plan for about 1–2 hours. The bulk is choosing and placing the rug, then styling the countertop cluster in a way that repeats height and materials (tray + bowls + vase + dried stems). If you DIY the terracotta vase, add time for drying between paint coats and a full final dry before styling. After the first setup, changing objects seasonally takes minutes.
Is this renter-friendly if my lease doesn’t allow changes?
Yes—none of the layers require painting, drilling, or replacing built-in fixtures. The changes are removable objects: a rug, countertop items, and a painted terracotta vase you can take with you. If the counter space is limited, you can reduce the bottle count or move the tray to a shelf grouping instead of the island.
What if my kitchen island is smaller than in the photo?
Scale down by keeping the rug large enough to sit under at least the front stool legs, then reduce the countertop cluster. Use the tray and ceramic bowls as your anchor, keep one tall element (vase + stems), and limit the bottles to two pieces. The trick is leaving negative space so the island doesn’t look crowded next to the backsplash.
What if my kitchen gets a lot of direct sunlight?
Direct light makes warm neutrals look great, but it can fade some pigments over time. Choose acrylic paint finishes that look even in daylight on the terracotta vase and consider rotating the dried stems if you notice color shifting. For the rug, pick a pattern with enough movement to handle light exposure and minor fading.
Where should I shop for these pieces on a budget?
Look for the rug and tray at big-box home stores or marketplace listings, then fill in the styling objects from thrift shops, craft stores, or discount home sections. Terracotta vessels and wood cutting boards are often found in kitchenware aisles, while dried stems can come from craft stores or local florists that sell pre-made bundles.
What’s the biggest mistake renters make with kitchen island décor?
They overfill. If everything is the same height or there are too many competing textures (too many bottles, too many small ceramics, too many trays), the island reads cluttered. A better approach is one large anchor (rug) plus a single cohesive cluster with repeated materials—clay, warm wood, and amber glass.
More in Kitchen & Dining
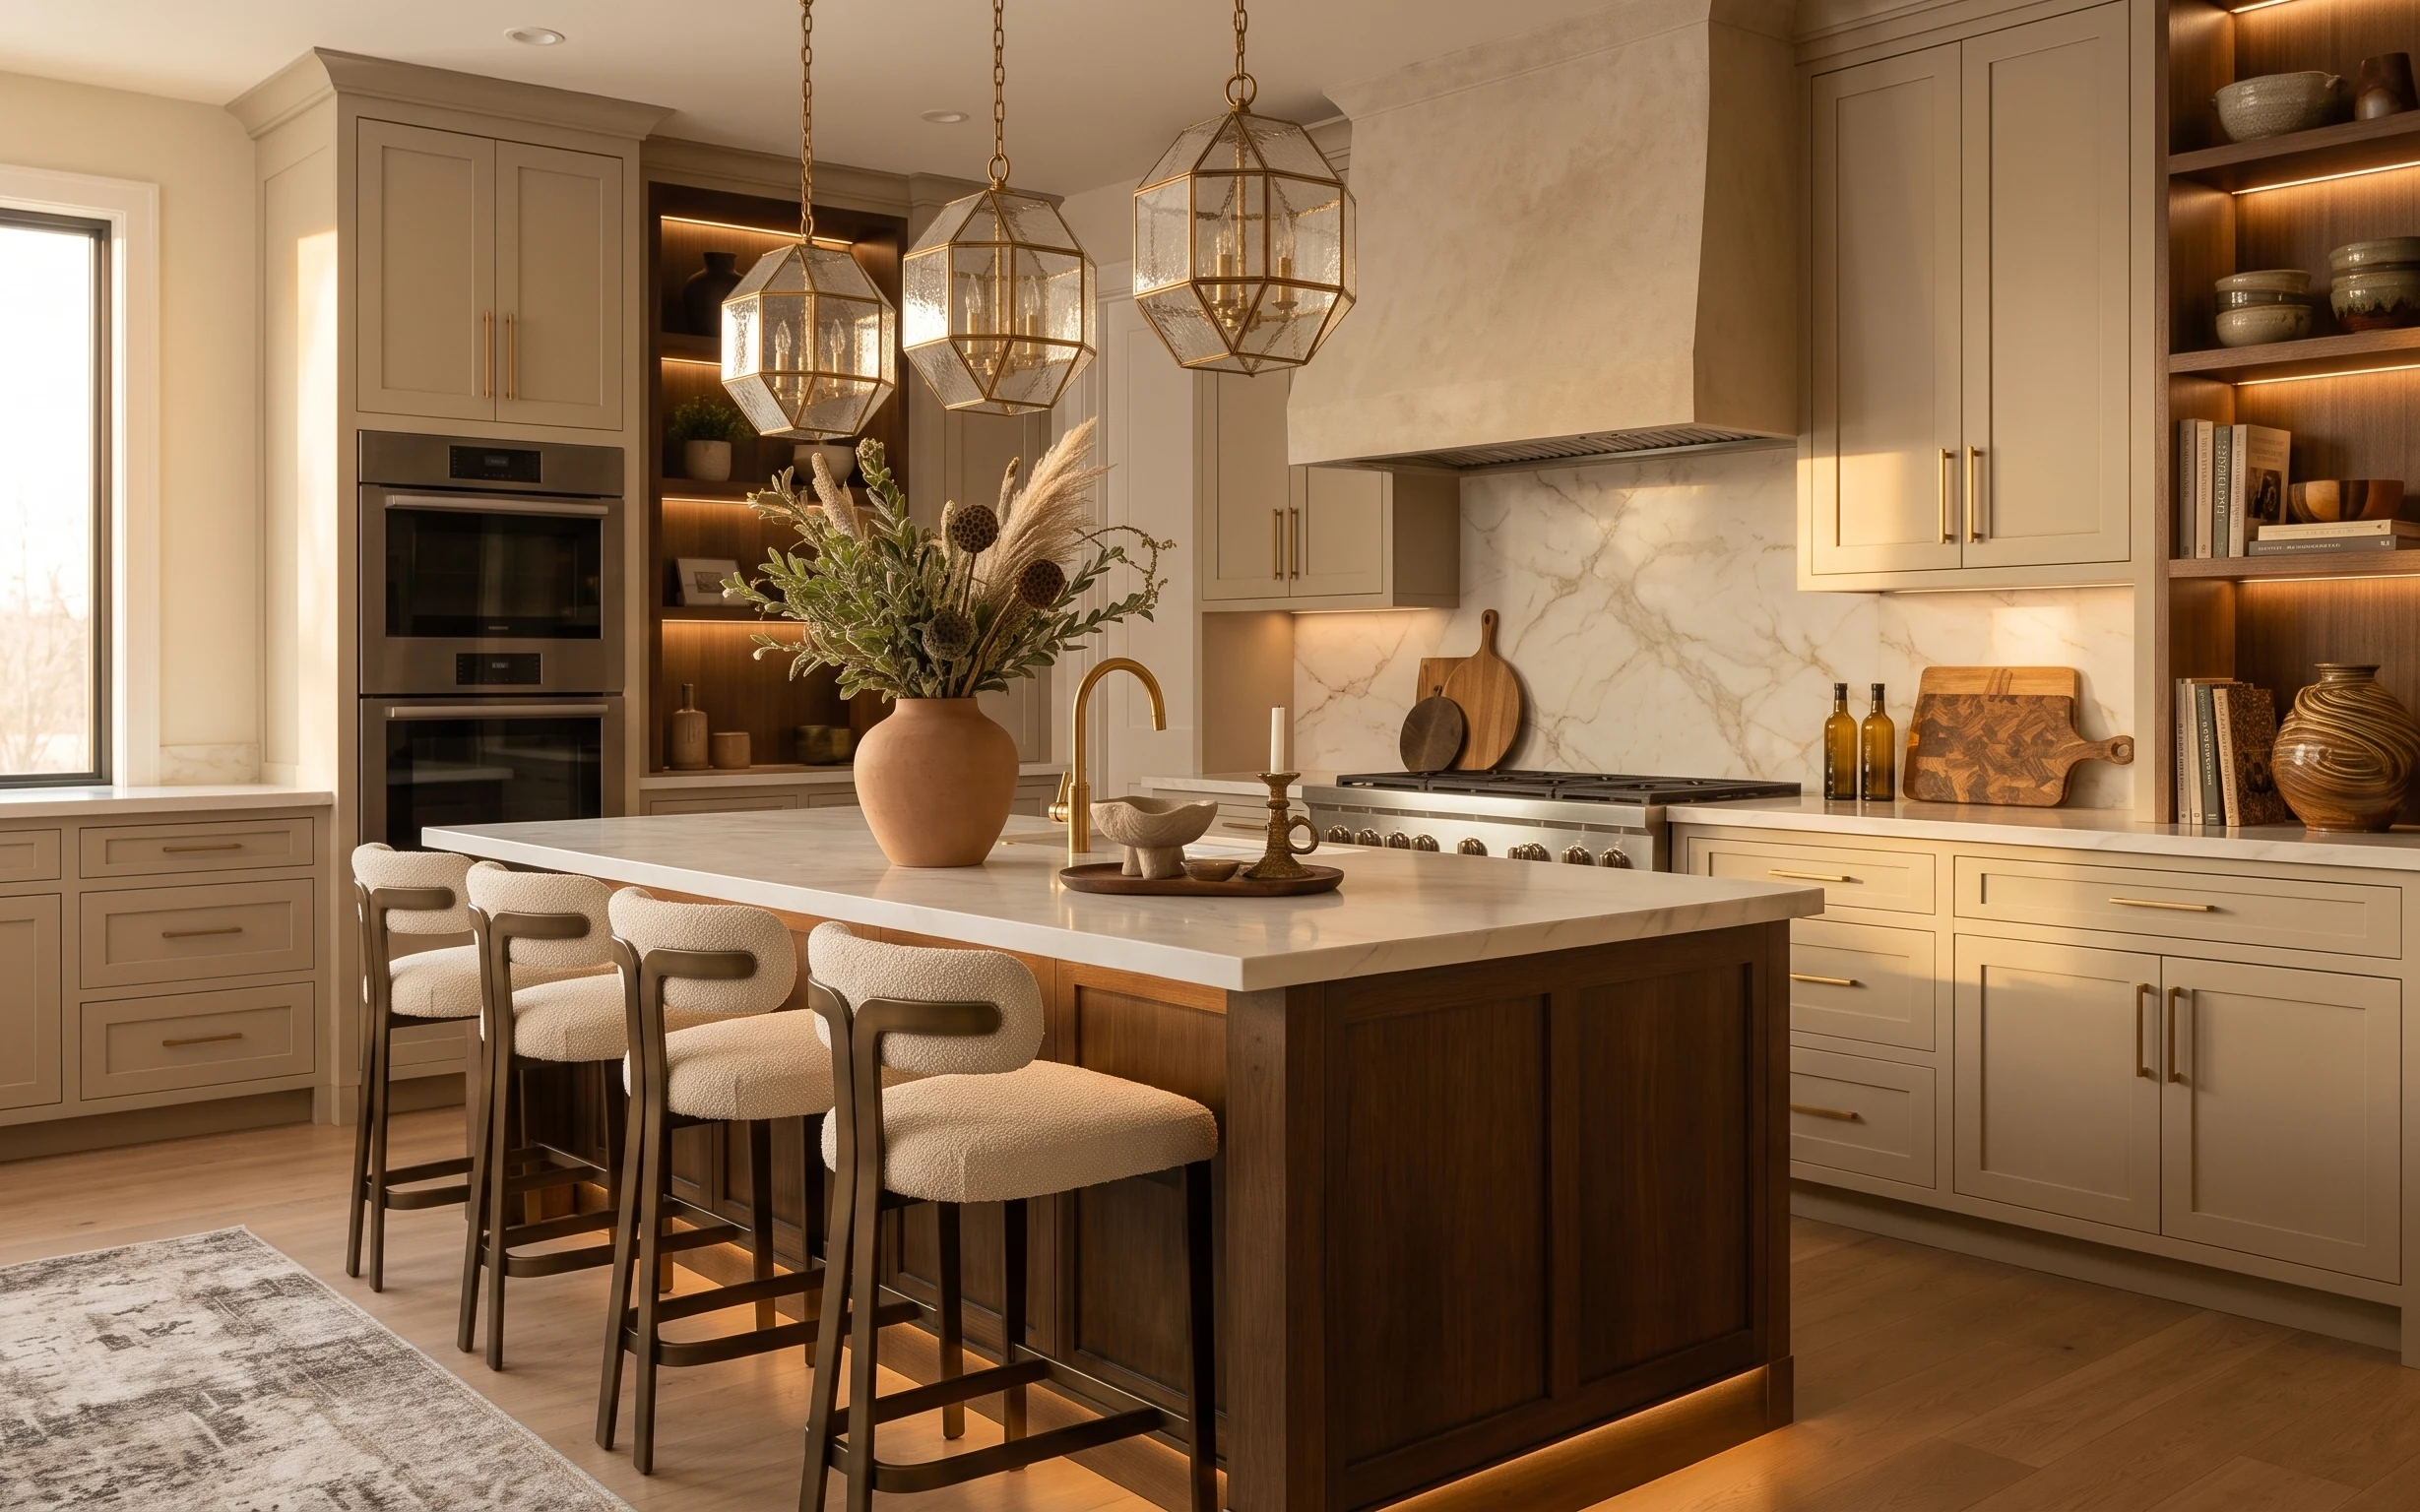
Under $400: warm brass-and-cream kitchen island refresh
A warm brass-and-cream kitchen island refresh for renters under $400. Swap in an area rug, styled countertop objects, and a DIY painted ter…
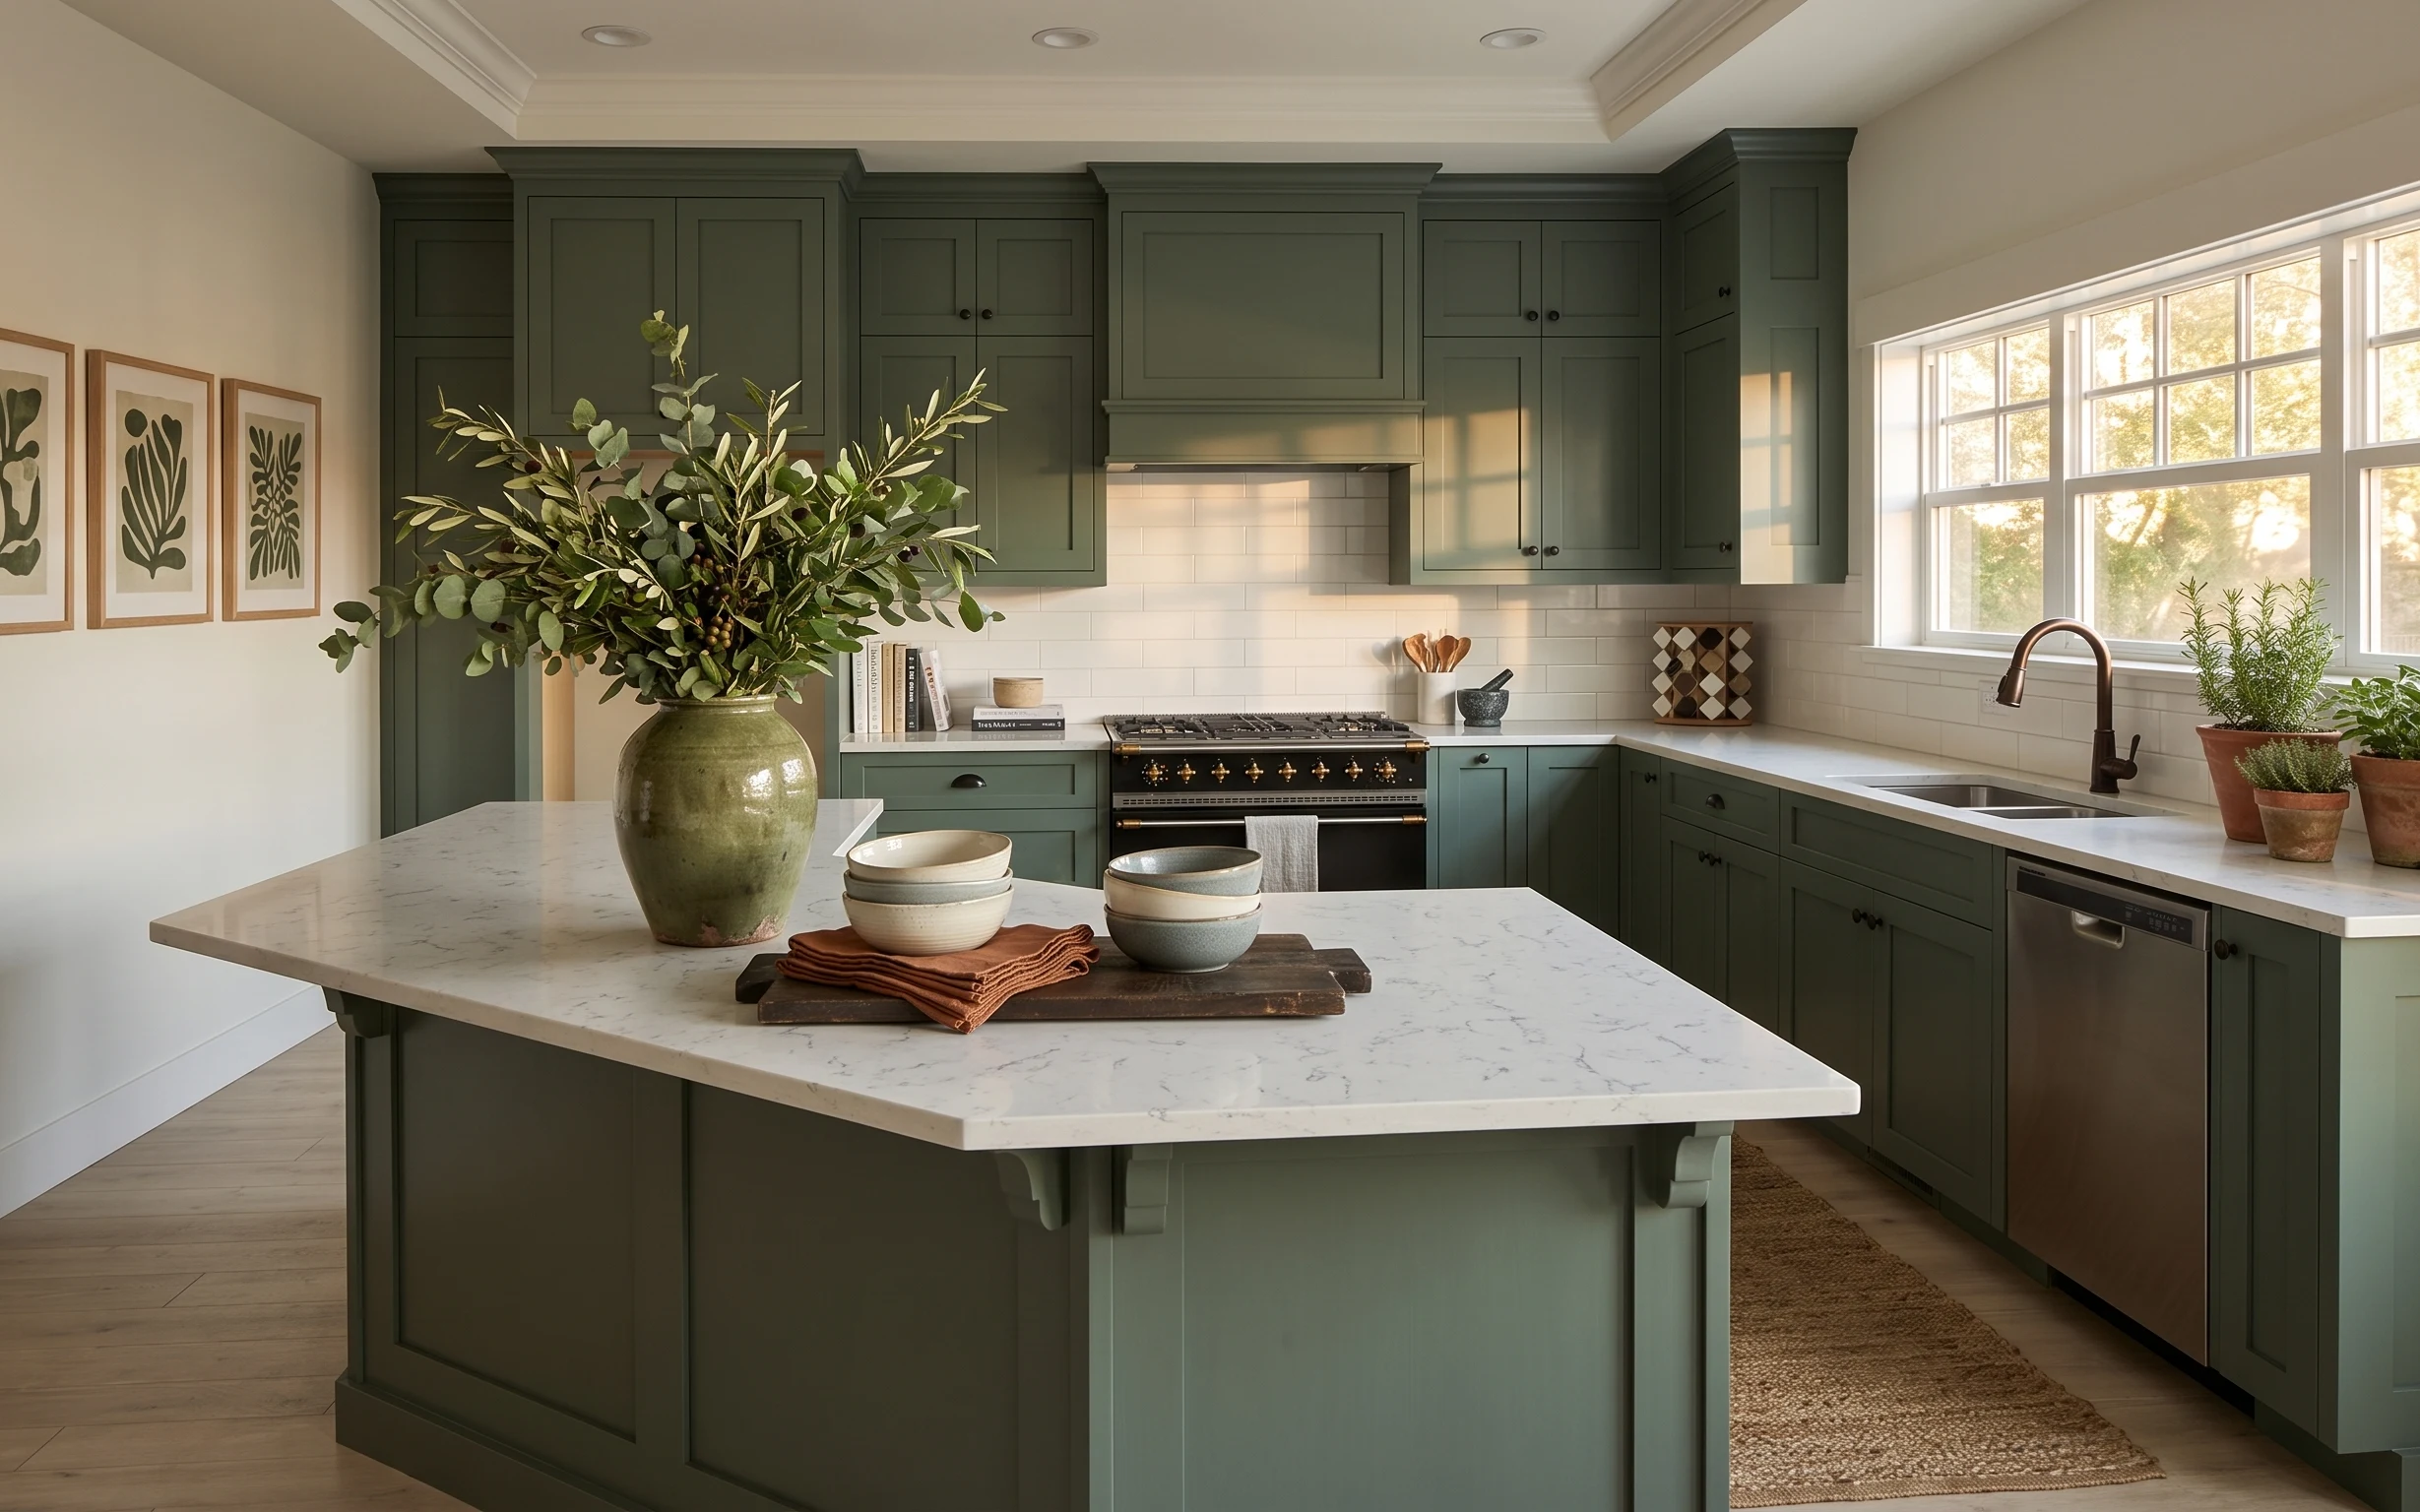
Under $350: move-ready kitchen island swaps with sage-green calm
A small, move-friendly kitchen refresh focused on the island and windowsill: rug runner, dish towels, a leafy vase, framed prints, and pain…
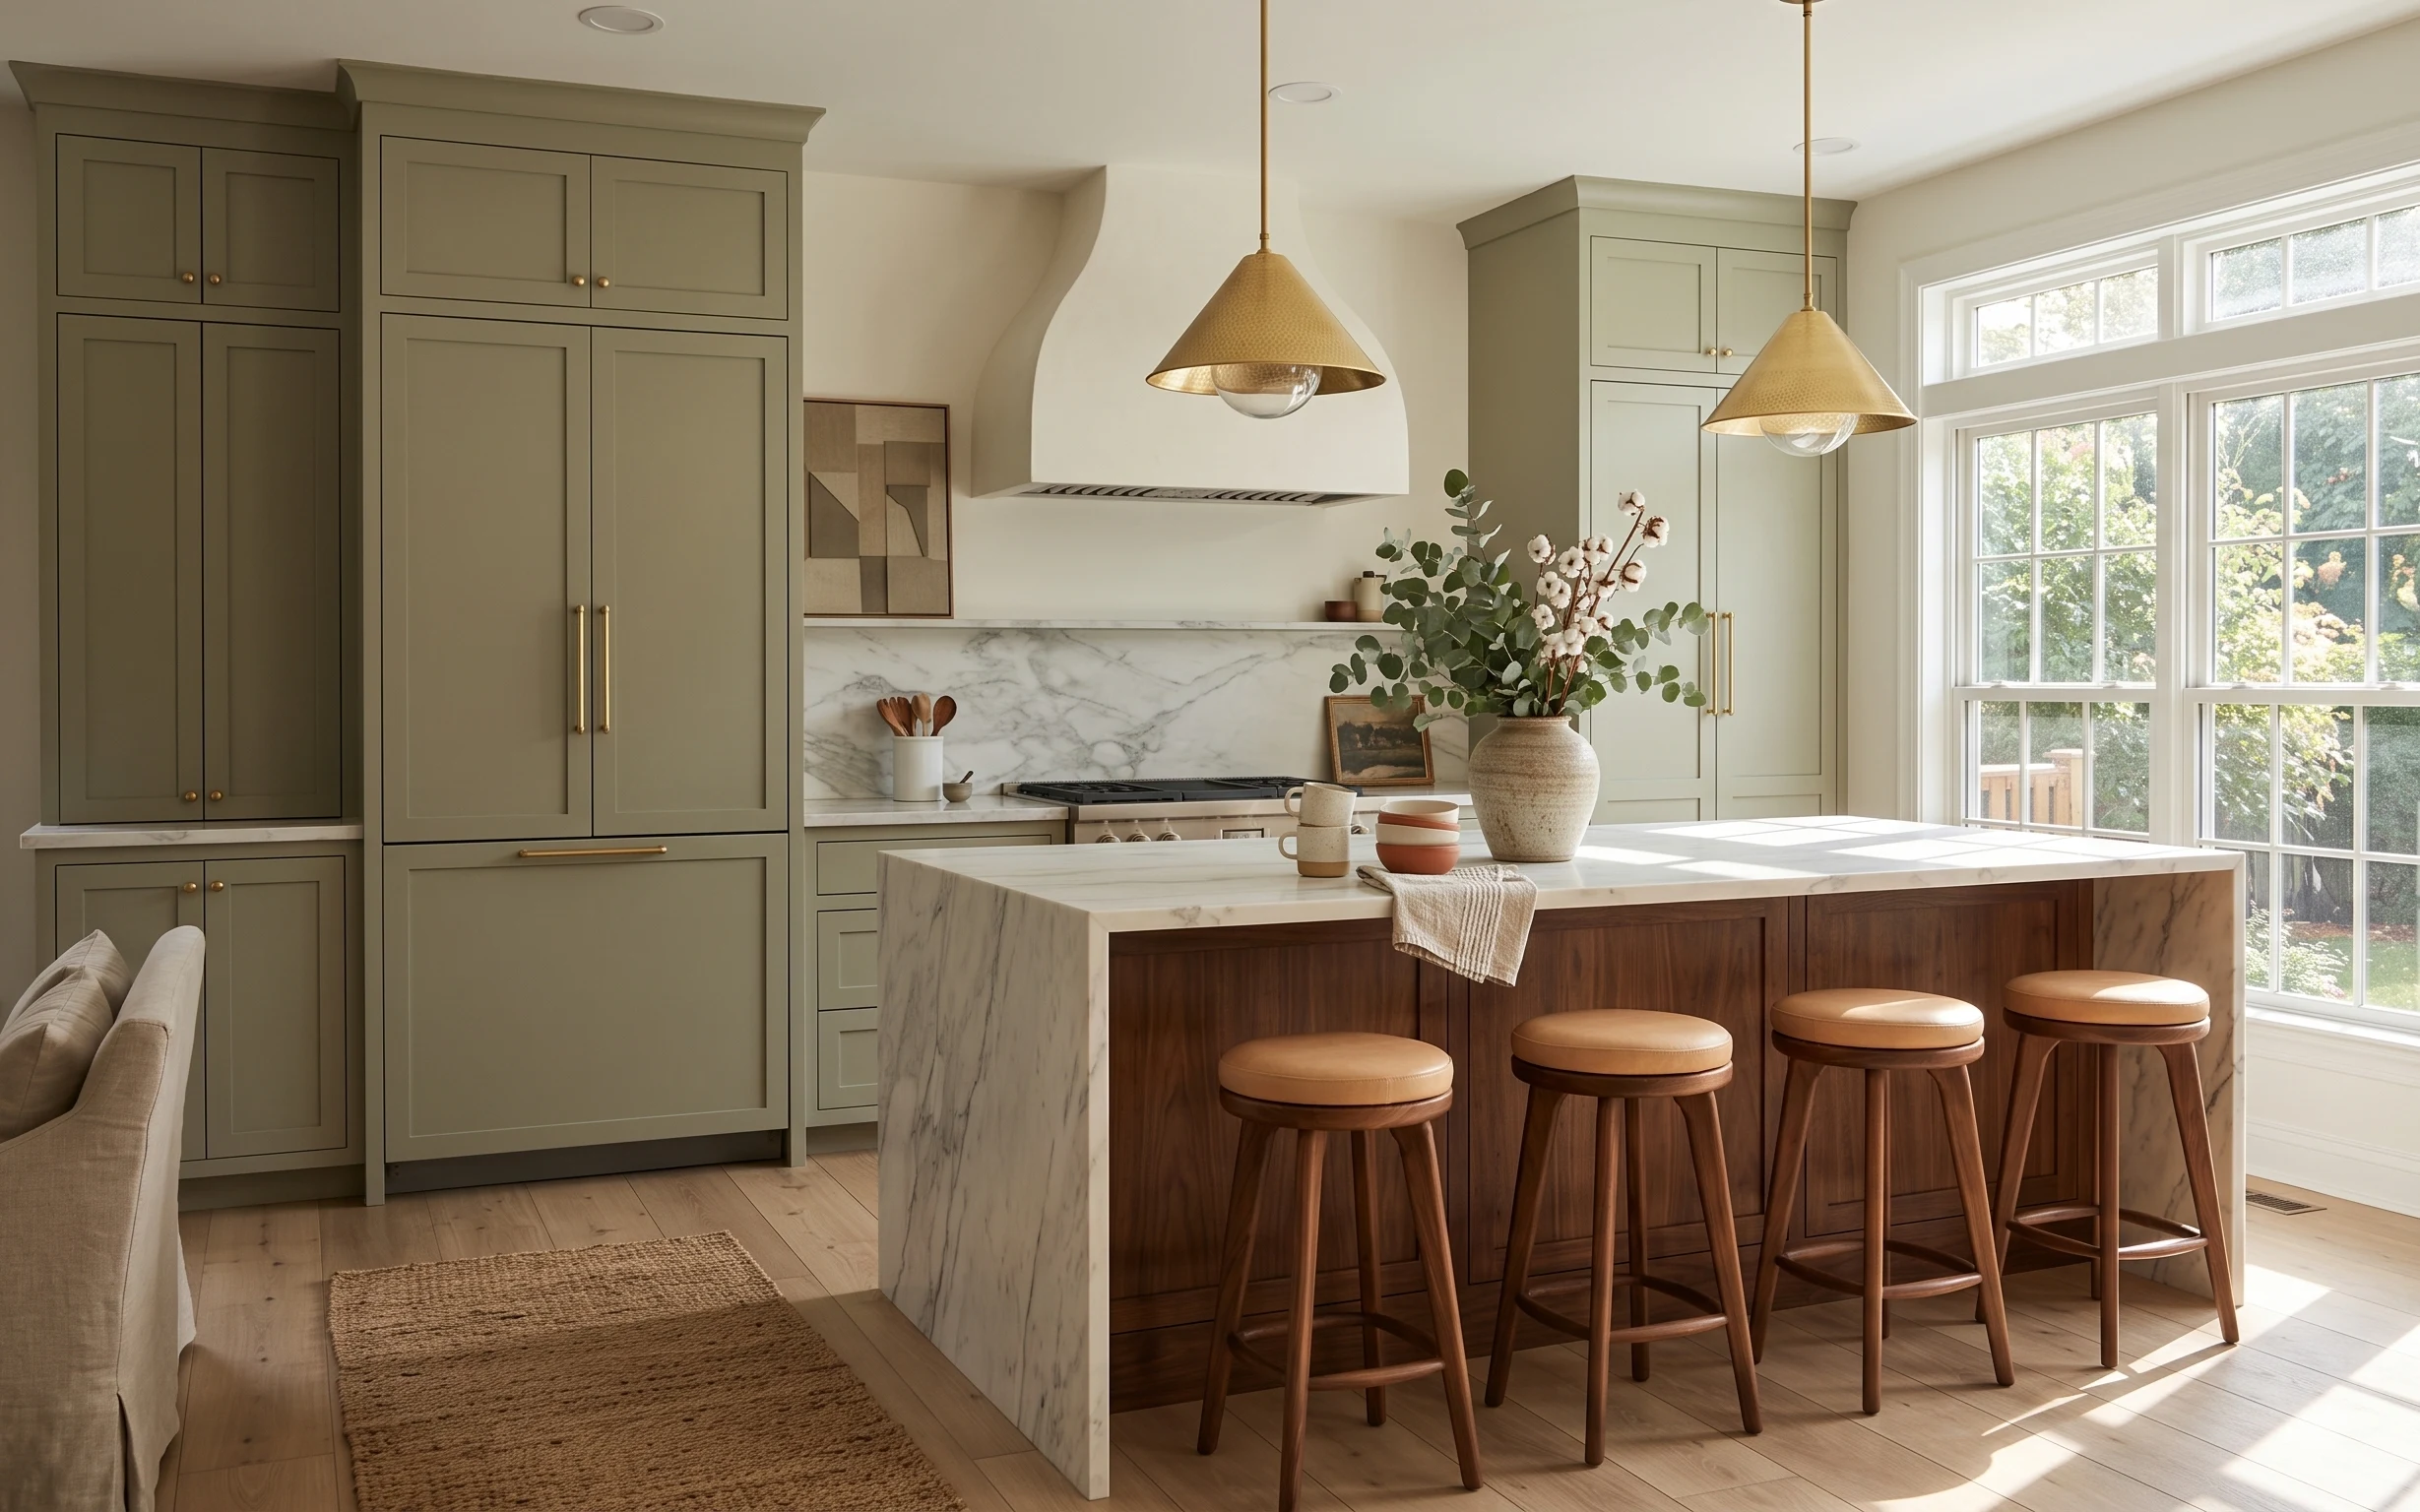
Under $350: renter-friendly kitchen island seating refresh
A bright kitchen island seating update that swaps textiles and countertop styling for a warm, modern farmhouse look. This renter-friendly r…