
- Square footage
- Best for small entryways and console corners
- Cost
- About $360 total for the 7-layer refresh
- Difficulty
- Easy—mostly plug-in lighting and textile swaps
- Renter-safe
- Yes—no drilling, no permanent installs
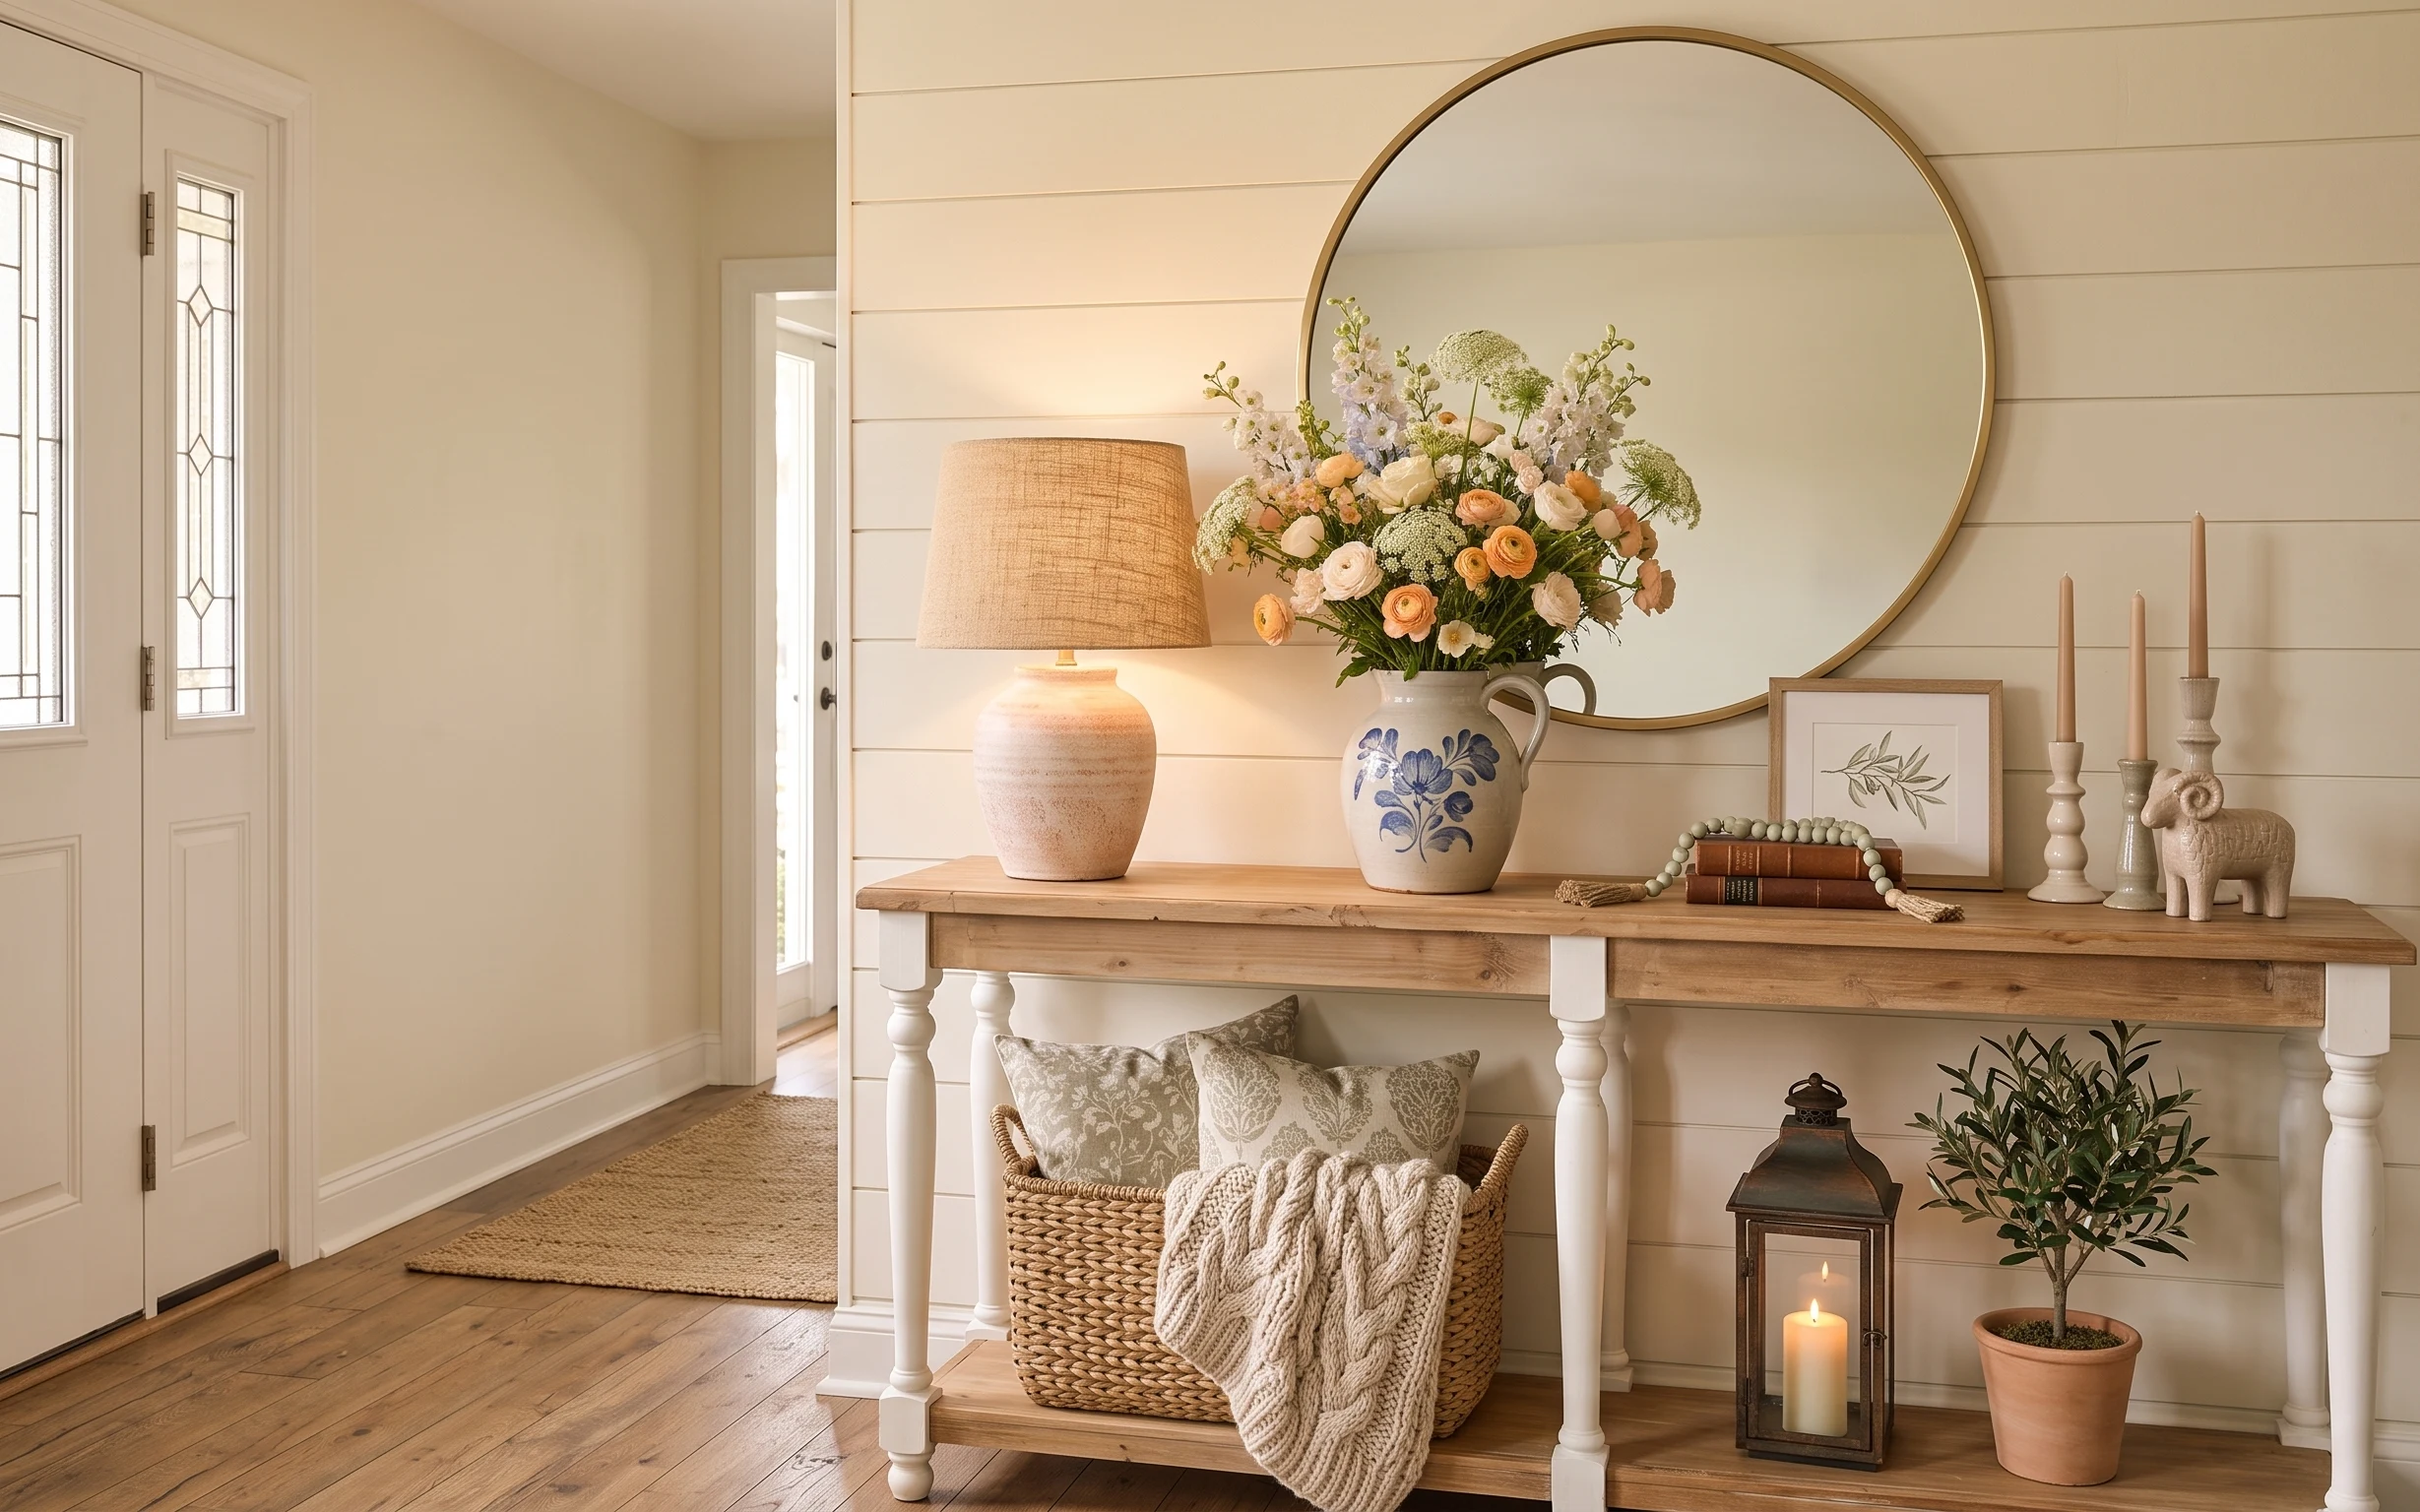
Why warm farmhouse mirror styling is the console nook of 2026
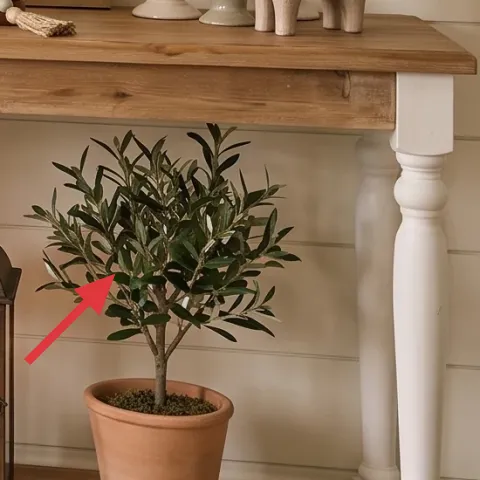
That round mirror and the cream-and-wood palette do a lot of heavy lifting here: it’s bright, reflective, and instantly “finished” without being fussy. The console top mixes smooth ceramic (the blue pitcher), textured ceramics, and soft textile layers (the knit throw and pillows), which keeps the look lived-in. In shared housing, the trick is choosing pieces that pack flat or dismantle fast, so the style survives the move. This plan leans into warm neutrals, lamps you can unplug, and wall decor that comes with you.
I used to overthink styling like it was permanent. Then I showed up to a new roommate situation with boxes full of fragile glass and realized the whole thing would be miserable to reinstall. What changed my mind was focusing on “swapable” items: textiles that wash, lighting that plugs in, and wall pieces that unhook or sit back-first. That’s the mindset behind this console nook refresh.
Layer 1 — Area rug (cream) 5×7 ($80) Hides scuffs and softens bare wood
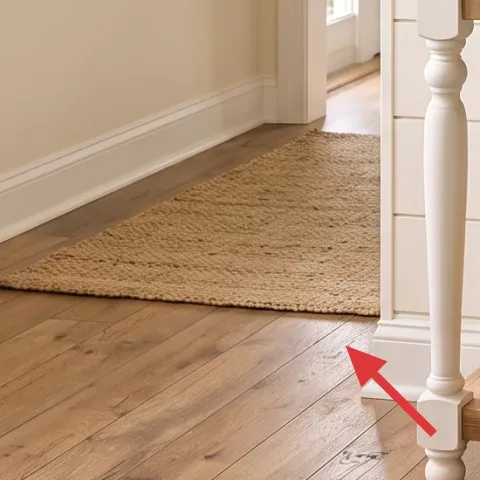
Start with the rug because it anchors every other detail on this console side. A cream 5×7 gives the eye a calm baseline against the warm wood floor and bright wall paneling, and it makes the bench area feel intentional even when the space is small. The practical trade-off: you’ll see footprints on light rugs more than on dark ones, so it’s worth choosing a washable or low-shed texture. This is also the easiest item to pack—roll it up, tape it, and move on. A runner would look nice, but this width actually supports the whole nook.
Go for low-shed fibers
For shared move-outs, low-shed rugs roll tighter and vacuum cleaner lines up faster.
Layer 2 — Plug-in table lamp with beige shade ($35) Adds warm task light without hardwiring
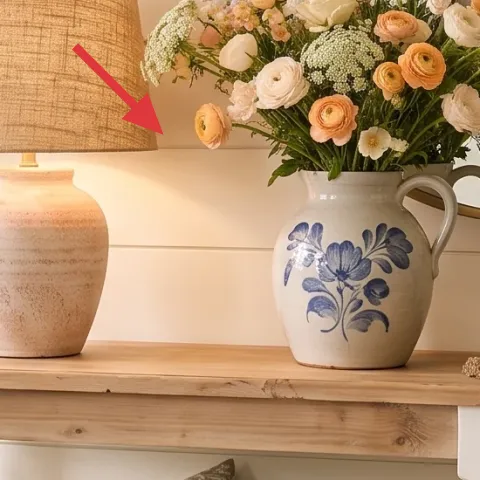
The beige drum shade works with this palette because it filters light into a soft, creamy glow rather than making everything look yellow or harsh. Choosing a plug-in table lamp keeps the refresh reversible: the lamp can come to the next place, and it avoids “fixed” lighting changes. The trade-off is height—some cheap lamps sit too low and crowd a console—so pick a model with a sturdy base and a shade tall enough to read well in photos. In this nook, the lamp’s warm color also echoes the ceramic and wood tones so the whole vignette feels cohesive.
Match the shade color, not the exact lamp
A similar oatmeal/beige shade ties in with cream textiles while still letting you swap the base later.
Layer 3 — Gold-framed round mirror ($120) Makes the console area feel bigger
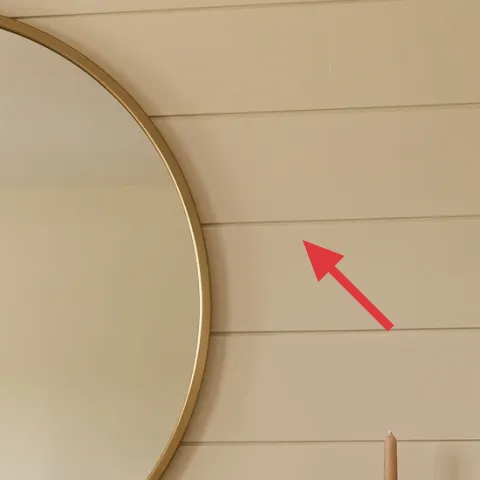
A gold-rimmed round mirror is doing two jobs at once: it brings a focal point above the console and it bounces light around the entry-side wall. In small shared spaces, that “more open” effect matters because you don’t have room for separate décor clusters. The trade-off is that gold reads warm, so you’ll want to keep the surrounding items neutral—ceramics in cream and soft blues, plus textiles in oatmeal or gray. Compared to an oval or square mirror, the round shape also softens the geometry of the horizontal wall paneling and the turned table legs.
Watch for wobble and loose backing
When you move often, choose a mirror with a solid backing so the frame doesn’t flex in a van ride.
Layer 4 — Gray-and-cream throw pillow cover ($30) Keeps the nook cozy without changing the layout
One pillow cover is enough to make a bench-and-console moment feel lived-in. The gray-and-cream palette also plays nicely with the warm mirror frame and the knit throw, so you don’t need extra colors to get depth. For renters and sharers, the best move is using covers you can wash, not pillows that depend on permanent placement. This layer also stays packable: covers fold flat, and the insert can move with you. The trade-off here is that dyed colors can look uneven on already-patterned fabric, so the better approach is dyeing a plain, neutral cover.
Make it instead of buying it
DIY-dye a plain gray pillow cover so it matches the nook’s soft gray accents without committing to a brand-new set.
Materials
- Fabric dye (gray) — 1 box — craft store — $12
- Salt — 1 small box — grocery/craft store — $4
- Freezer-safe plastic tub — 1 — dollar store — $6
- Rubber gloves — 1 pair — hardware store — $4
Steps
- Pre-wash the pillow cover to remove sizing.
- Soak the cover in warm water to fully wet the fabric.
- Mix the dye with hot water in a tub (use gloves).
- Stir in salt, then submerge the cover.
- Let it dye for the recommended time, stirring occasionally.
- Rinse until the water runs mostly clear, then air-dry.
Total DIY cost: $26 — saves about $4 over buying.
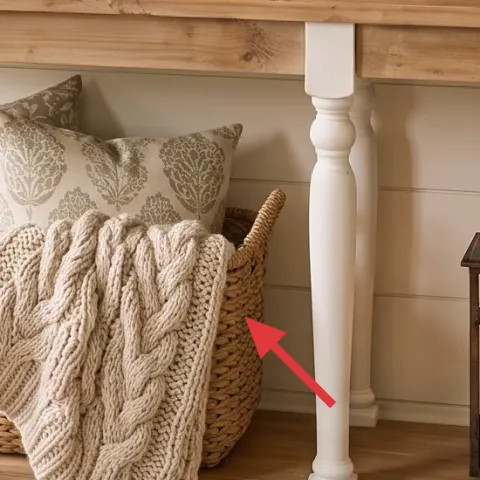
Layer 5 — Cream knit throw blanket ($25) Adds texture you can feel during the move
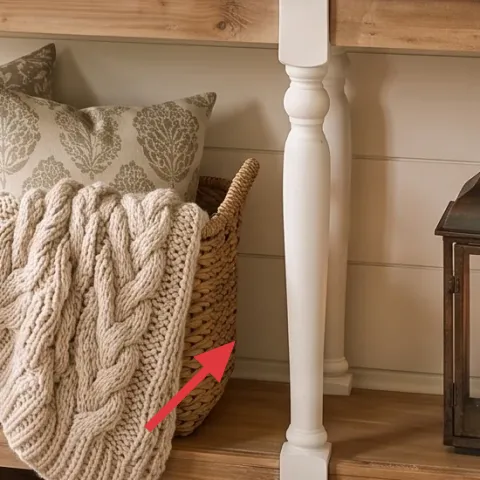
A cream knit throw is the easiest texture upgrade in a console nook because it reads “soft” even when you’re not close-up styling. The chunky, cable-like texture also echoes the cozy weight of the rug fibers, which makes the whole corner feel intentionally layered rather than decorative-only. The trade-off is shedding—knits can catch lint—so choose a throw with a tight weave and plan on a quick lint brush before packing. In shared housing, this is also a practical comfort piece: it can shift onto a couch later, while keeping the same palette. Compared to a faux-fur throw, this one packs more neatly and holds its shape.
Fold, don’t roll
Knits crease less when folded into thirds and wrapped for travel.
Layer 6 — Framed botanical print ($35) Gives color accents without new bulky pieces
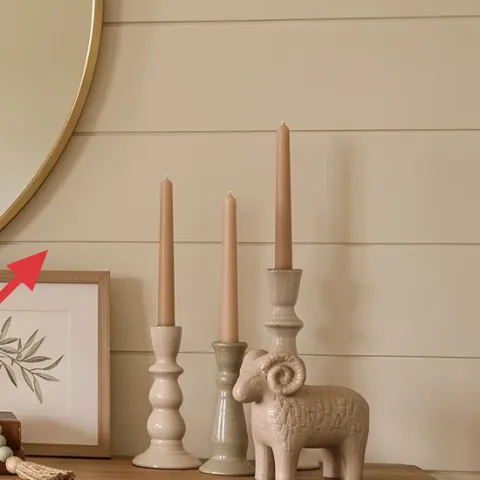
The framed botanical print adds a calm “soft garden” note that matches the floral arrangement on the console. It also helps break up the large mirror expanse so the wall feels balanced. The trade-off is frame size—too big and it crowds the mirror; too small and it disappears in the nook. A medium 8×10-ish print works best here because it stays readable but doesn’t dominate. For move-friendly styling, keep it in bubble wrap and store it flat if your frame allows it. This is an easier alternative than adding a shelf system you can’t take down.
Keep the frame wood tone consistent
A warm wood frame ties into the console legs so the wall styling looks intentional.
Layer 7 — Black lantern candle holder ($35) Creates a “finished” moment after dark
A black lantern with a lit candle is the kind of detail that makes a small nook feel special without adding more objects. The metal look also contrasts nicely with the gold mirror rim and the light wood console, so the vignette has both warmth and definition. The trade-off is safety and reuse: in shared spaces, it’s better to use a sturdy lantern and consider a flameless candle if roommates are picky about open flames. Even then, the visual effect is similar, and the lantern is easy to pack—wrap and stack. Compared to a tall candelabra set, this takes less space in a moving box.
Use LED candles when needed
It keeps the glow effect while reducing the “too risky” conversations in shared housing.
The cost, layer by layer
| Layer | Item | Cost |
|---|---|---|
| 1 | Cream area rug 5×7 | $80 |
| 2 | Plug-in table lamp with beige shade | $35 |
| 3 | Gold-framed round mirror | $120 |
| 4 | Gray-and-cream throw pillow cover (DIY equivalent) | $30 |
| 5 | Cream knit throw blanket | $25 |
| 6 | Framed botanical print | $35 |
| 7 | Black lantern candle holder | $35 |
| Total | $360 | |
If the rug budget needs to dip, swap to a narrower budget-friendly runner in the same cream family and keep the console items unchanged. You’ll lose a little softness underfoot, but the mirror and lamp still carry the “styled nook” effect.
What worked, what didn't (across the whole room)
This console nook refresh leans on three repeatable moves: anchor with one soft surface, add warm plug-in lighting, and keep wall décor removable. The palette stays coherent because it repeats cream, wood, and muted gray across rug, textiles, and frames. Where it gets tricky is when accents get too busy—more than one competing “focal” object can fight for attention.
What worked
- The cream rug softened the bare wood floor and made the console side feel more “room-like.”
- The beige-shade lamp added warm light that made ceramics and the floral arrangement read richer.
- The gold round mirror gave instant depth without changing any fixed elements.
- The knit throw added tactile contrast and still packs easily for a lease switch.
- The framed botanical print balanced the mirror so the wall didn’t feel empty on one side.
- The lantern candle detail created nighttime ambiance without installing anything permanent.
What didn't
- Too many small décor pieces on the console can look cluttered once the mirror reflection kicks in.
- Light-colored textiles show lint and pet hair faster than darker throws, especially in shared spaces.
- If the pillow cover dye is uneven, the “farmhouse” look can skew patchy instead of soft.
- A very tall lamp base can crowd the console surface and make items look stacked.
- Overly ornate frames can clash with the horizontal wall panel lines.
What we'd skip if we did it again
Skip swapping in a matching “full set” of console décor from the same retailer. It usually creates visual repetition, and in shared housing it also means replacing multiple things you’ll want to keep later.
Skip anything that requires drilling or permanent wall installation. Even when the item looks small, shared apartments turn moves into a scramble, and portable styling wins almost every time.
Skip adding a second big statement mirror. One reflective focal point is enough to make the nook feel larger; doubling up makes the wall feel busy and can shrink the visual space.
Frequently asked
How long does this console nook refresh take?
Plan for about 2–4 hours total, depending on whether the rug needs a quick vacuum and whether you’re styling the ceramics and books from scratch. Plug-in lighting and textile swaps are the fastest pieces. Wall decor takes the longest if you’re re-spacing items in front of the mirror so the reflection looks balanced.
Will these swaps work in a rental where I can’t drill into the wall?
Yes. The visual plan focuses on removable items: plug-in lighting, freestanding textiles, and wall décor that can be mounted with renter-safe methods or hung using existing hardware. The console styling itself is fully take-your-stuff friendly, and it doesn’t rely on changing fixed fixtures.
What if my console nook is smaller than this one?
Keep the same palette but reduce only one thing: either choose a narrower rug or scale down the framed botanical print. Don’t shrink everything at once—your mirror and lamp still need presence. If the console top feels crowded, remove one small décor item so the floral ceramics and books remain the main visual cluster.
What if my console nook is bigger?
Add depth by using a larger rug size and letting the lamp sit slightly farther back on the console. Consider using two pillows instead of one, but keep the colors in the same cream/gray family. The mirror and print combo should remain one focal pair, with accessories acting like supporting cast.
Where should I shop for the pieces on a shared-housing budget?
For rug and textiles, look at discount home stores, thrift-style listings, and seasonal sales. For the mirror and frame, check secondhand marketplaces for the frame shape first, then keep the wall print style cohesive. For lighting, prioritize plug-in lamps with shade colors that match oatmeal/cream.
Biggest mistake people make with console styling?
Overstuffing the surface. A console nook looks best when there’s one anchor (the mirror), one light source, and a tight cluster of 3–5 objects. When every inch gets something “cute,” the mirror reflection multiplies it and the whole corner starts to feel busy instead of styled.
More in Small Spaces
Under $400: 7 move-friendly swaps for a console nook
A console nook needs to look styled, not precious—especially in shared housing. Here are 7 affordable, packable swaps (under $400) using ru…
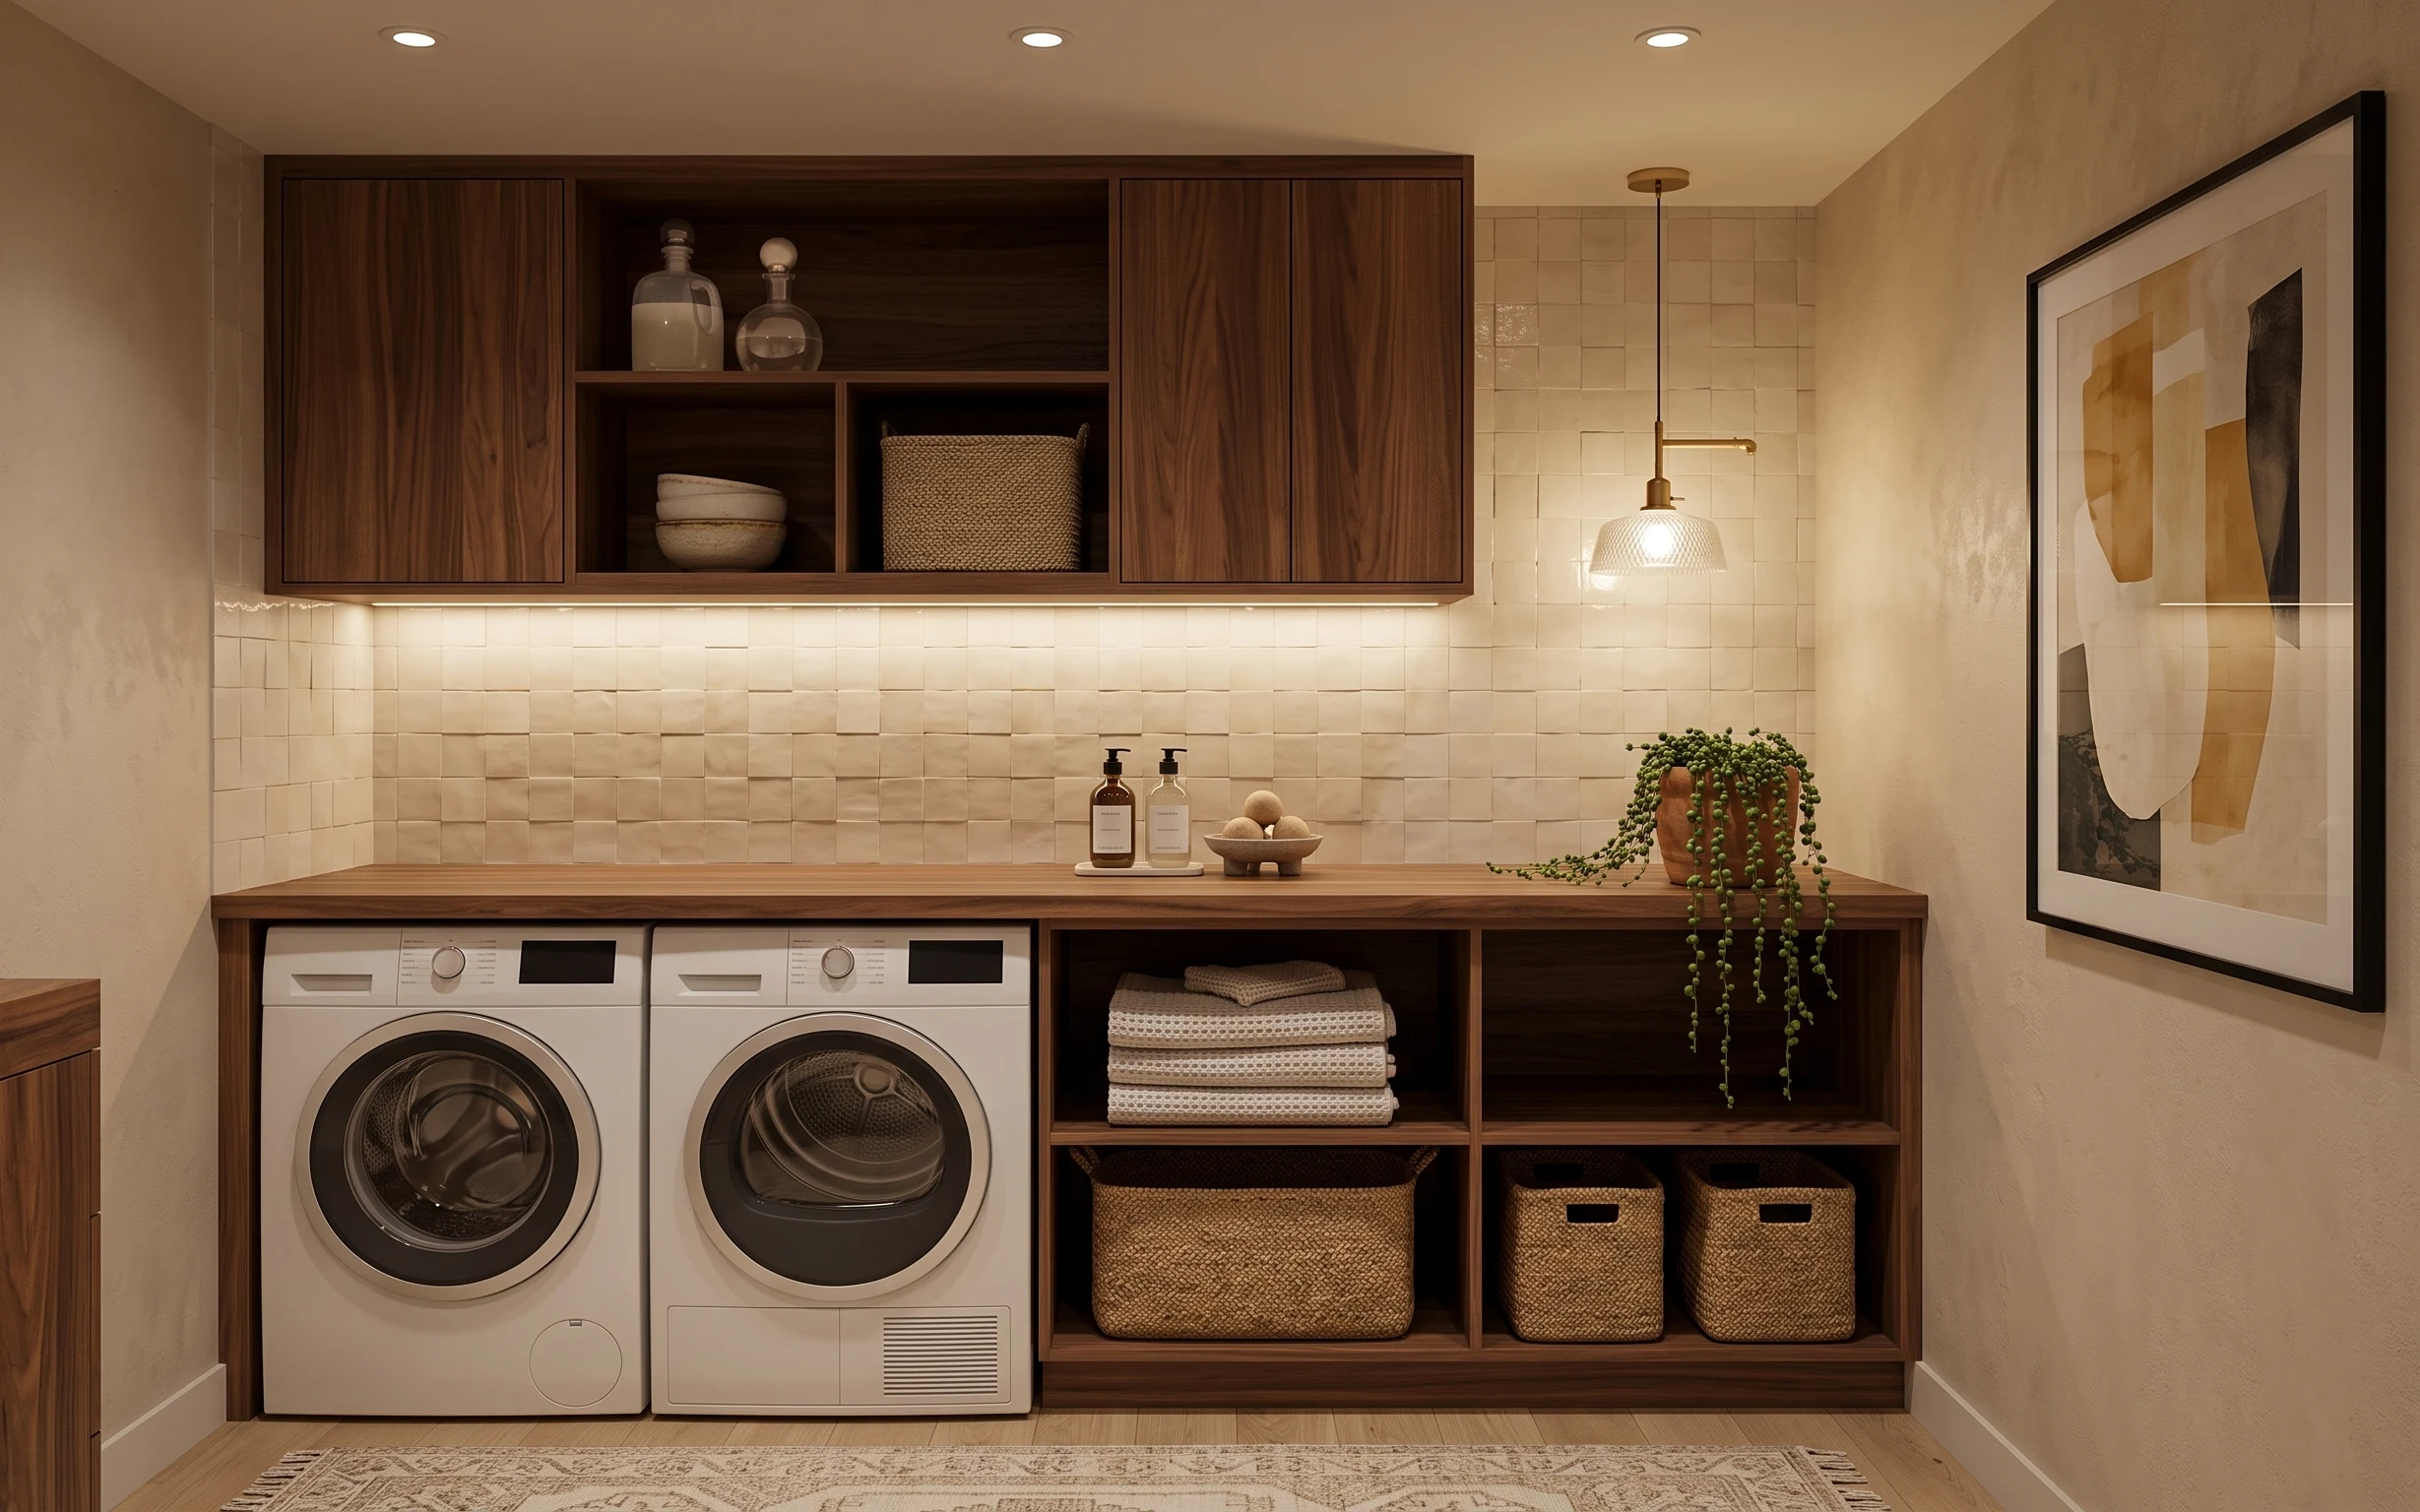
Under $500: 7 move-friendly upgrades for a laundry nook
A laundry nook already has the hard part (storage and lighting). This $500 refresh adds a warm rug, shelf styling, and one move-friendly fr…
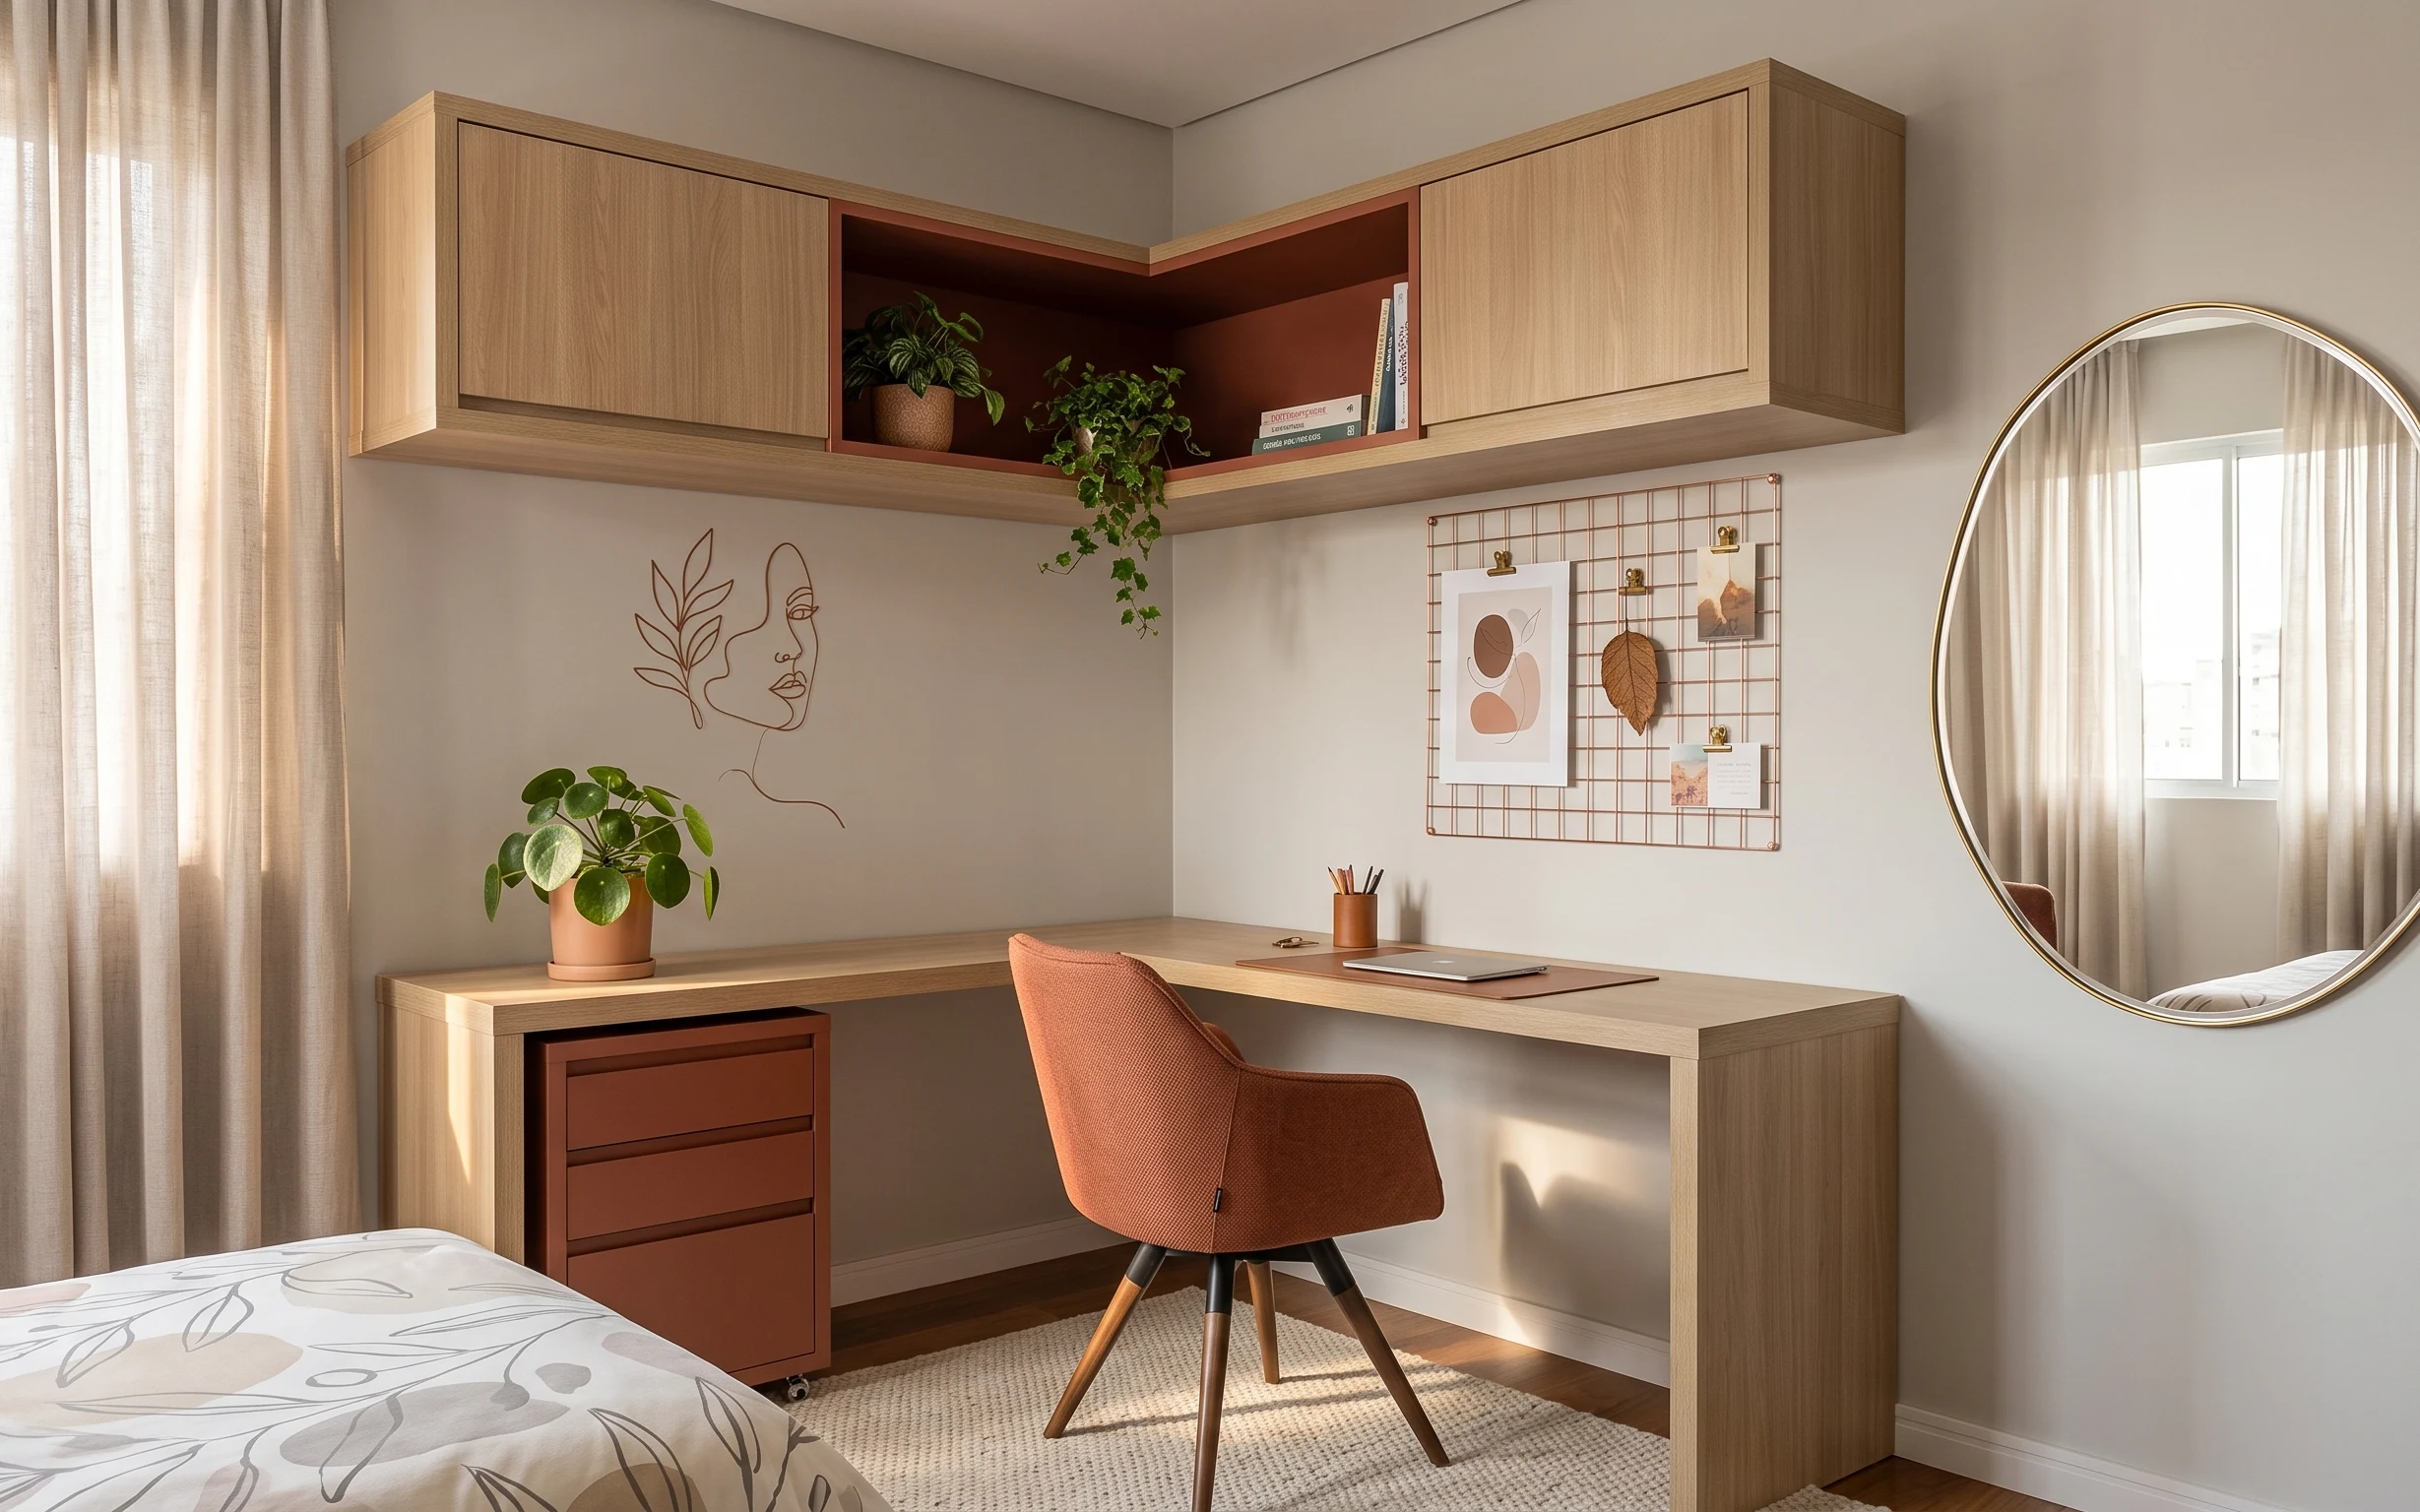
Under $500: terra-cotta desk nook refresh for renters
A renter-friendly home office nook refresh you can build for under $500. Swap in a soft beige rug and curtains, hang a brass-framed mirror,…