
- Best for
- Renter wall styling and plant layering
- Cost
- Under $400
- Difficulty
- Easy (mostly buying + styling)
- Time
- 2–4 hours plus drying for DIY paint
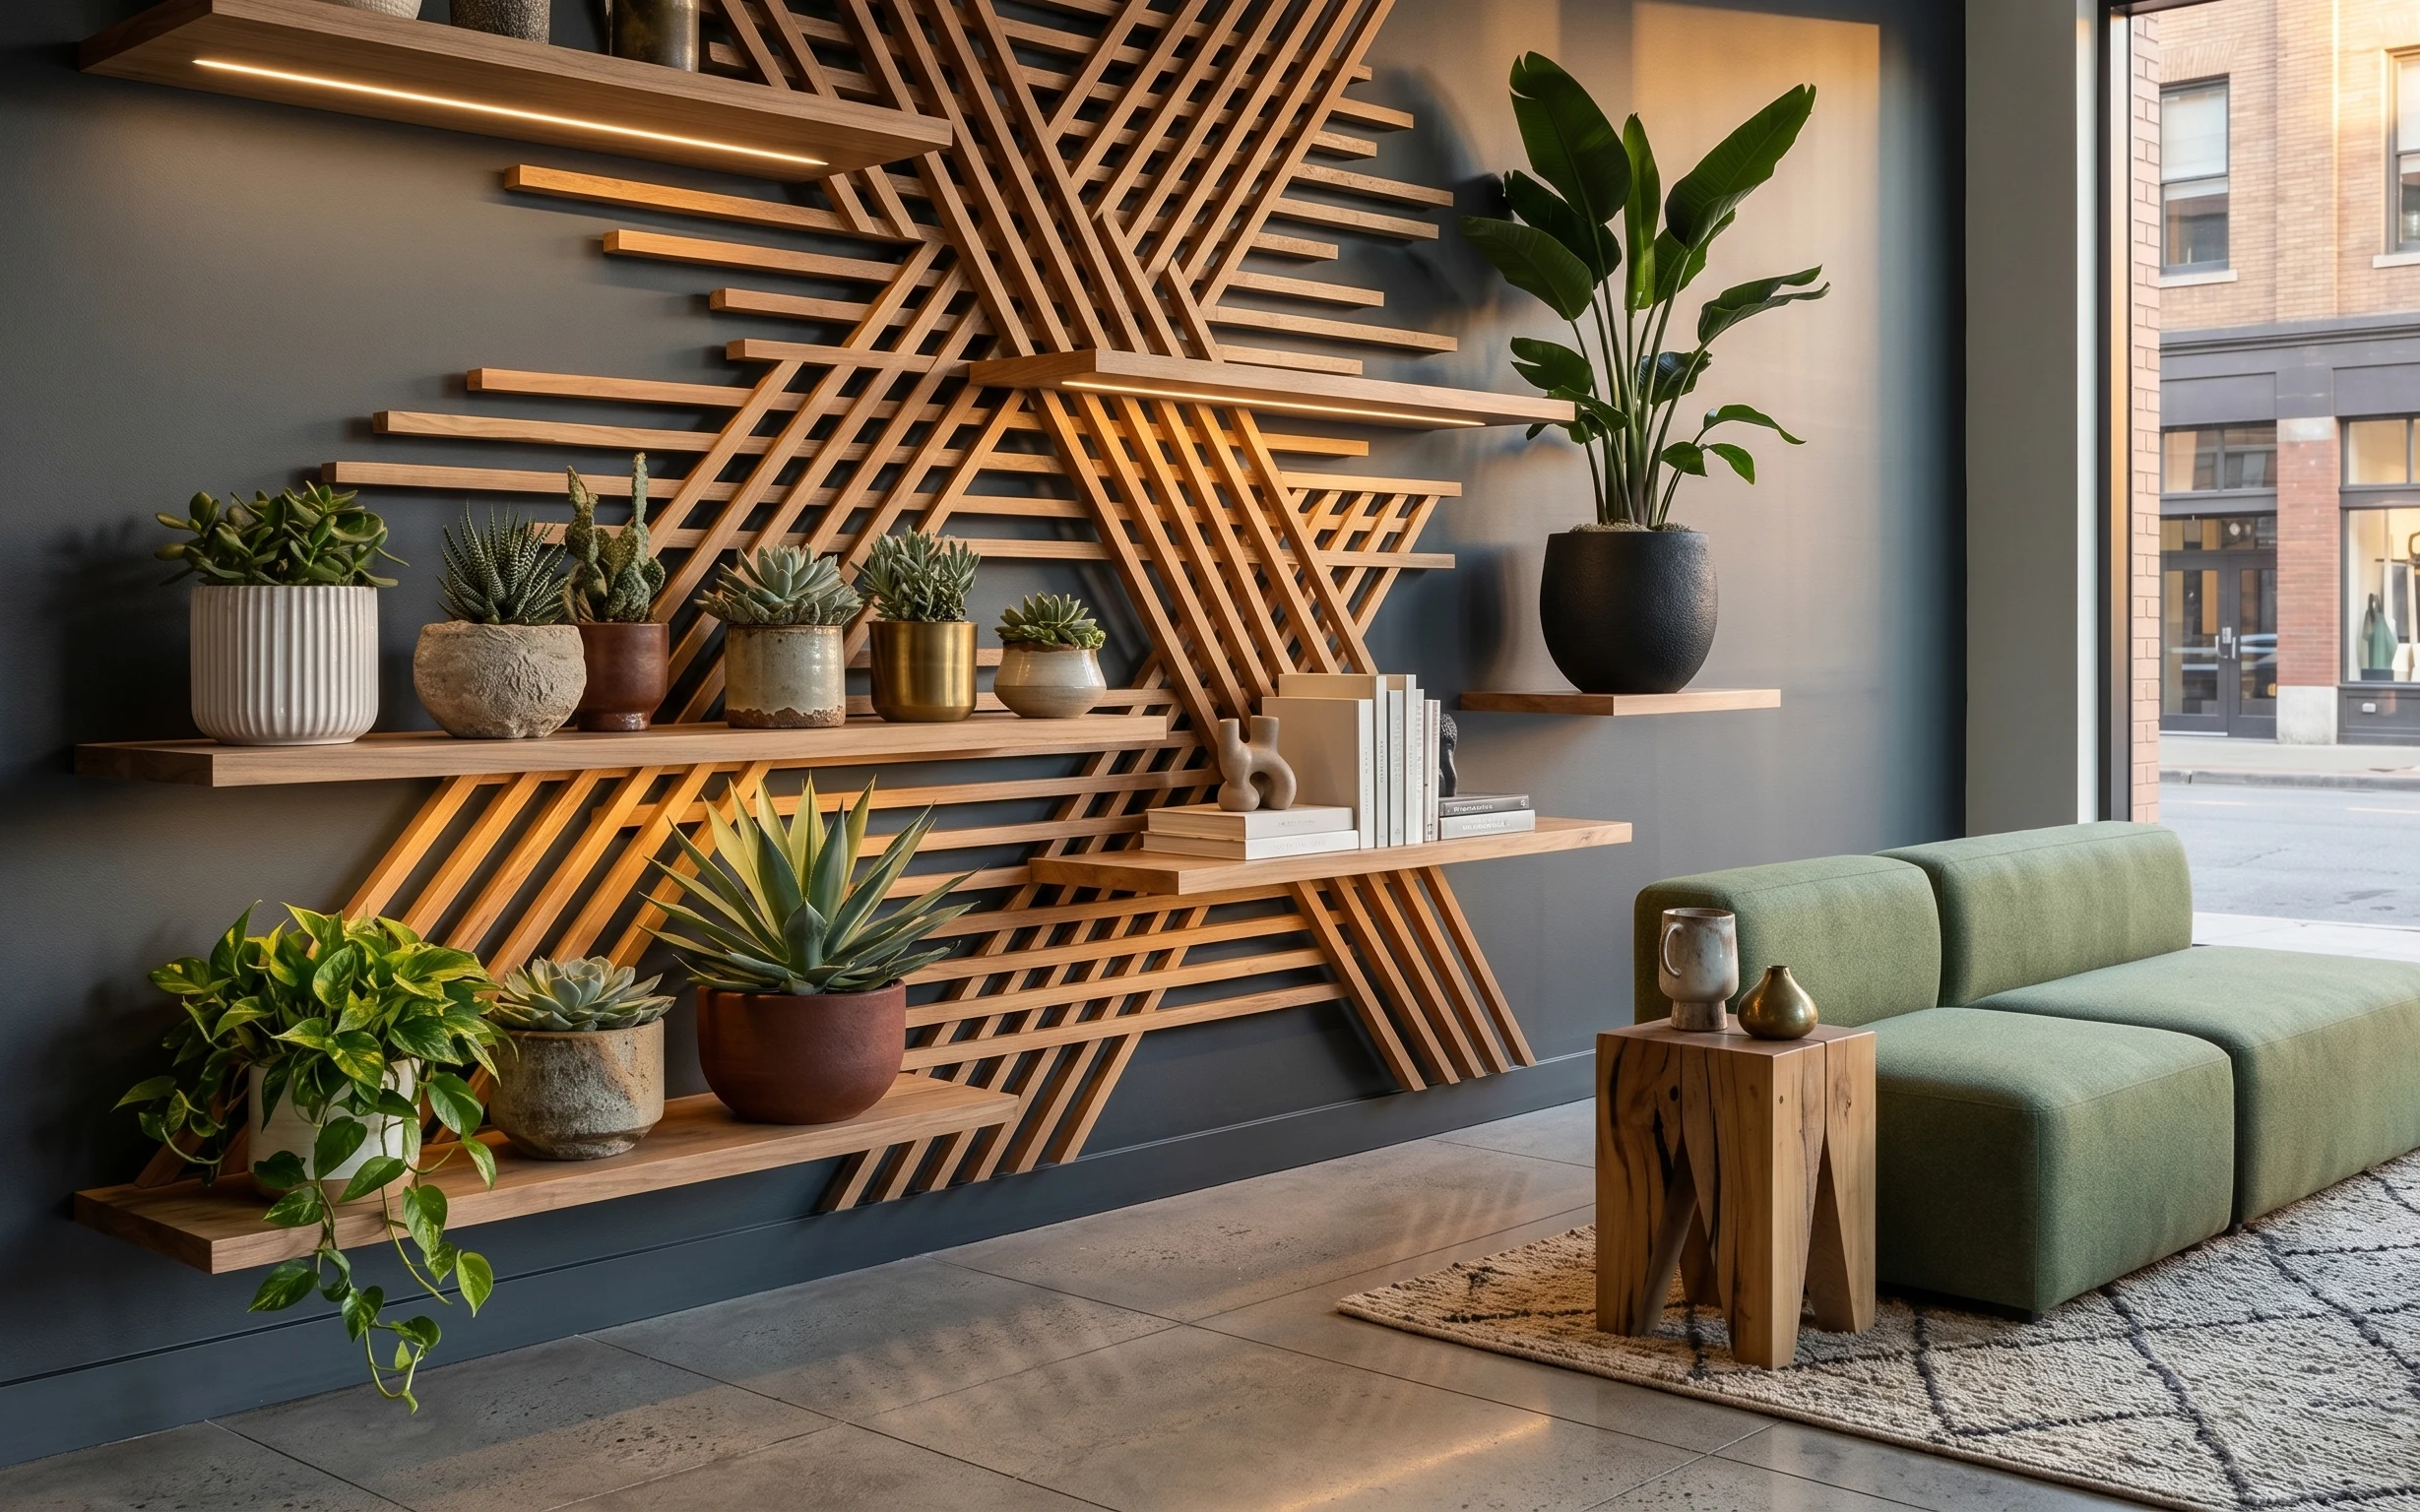
Why warm wood-and-sage styling is the sofa wall display of 2026
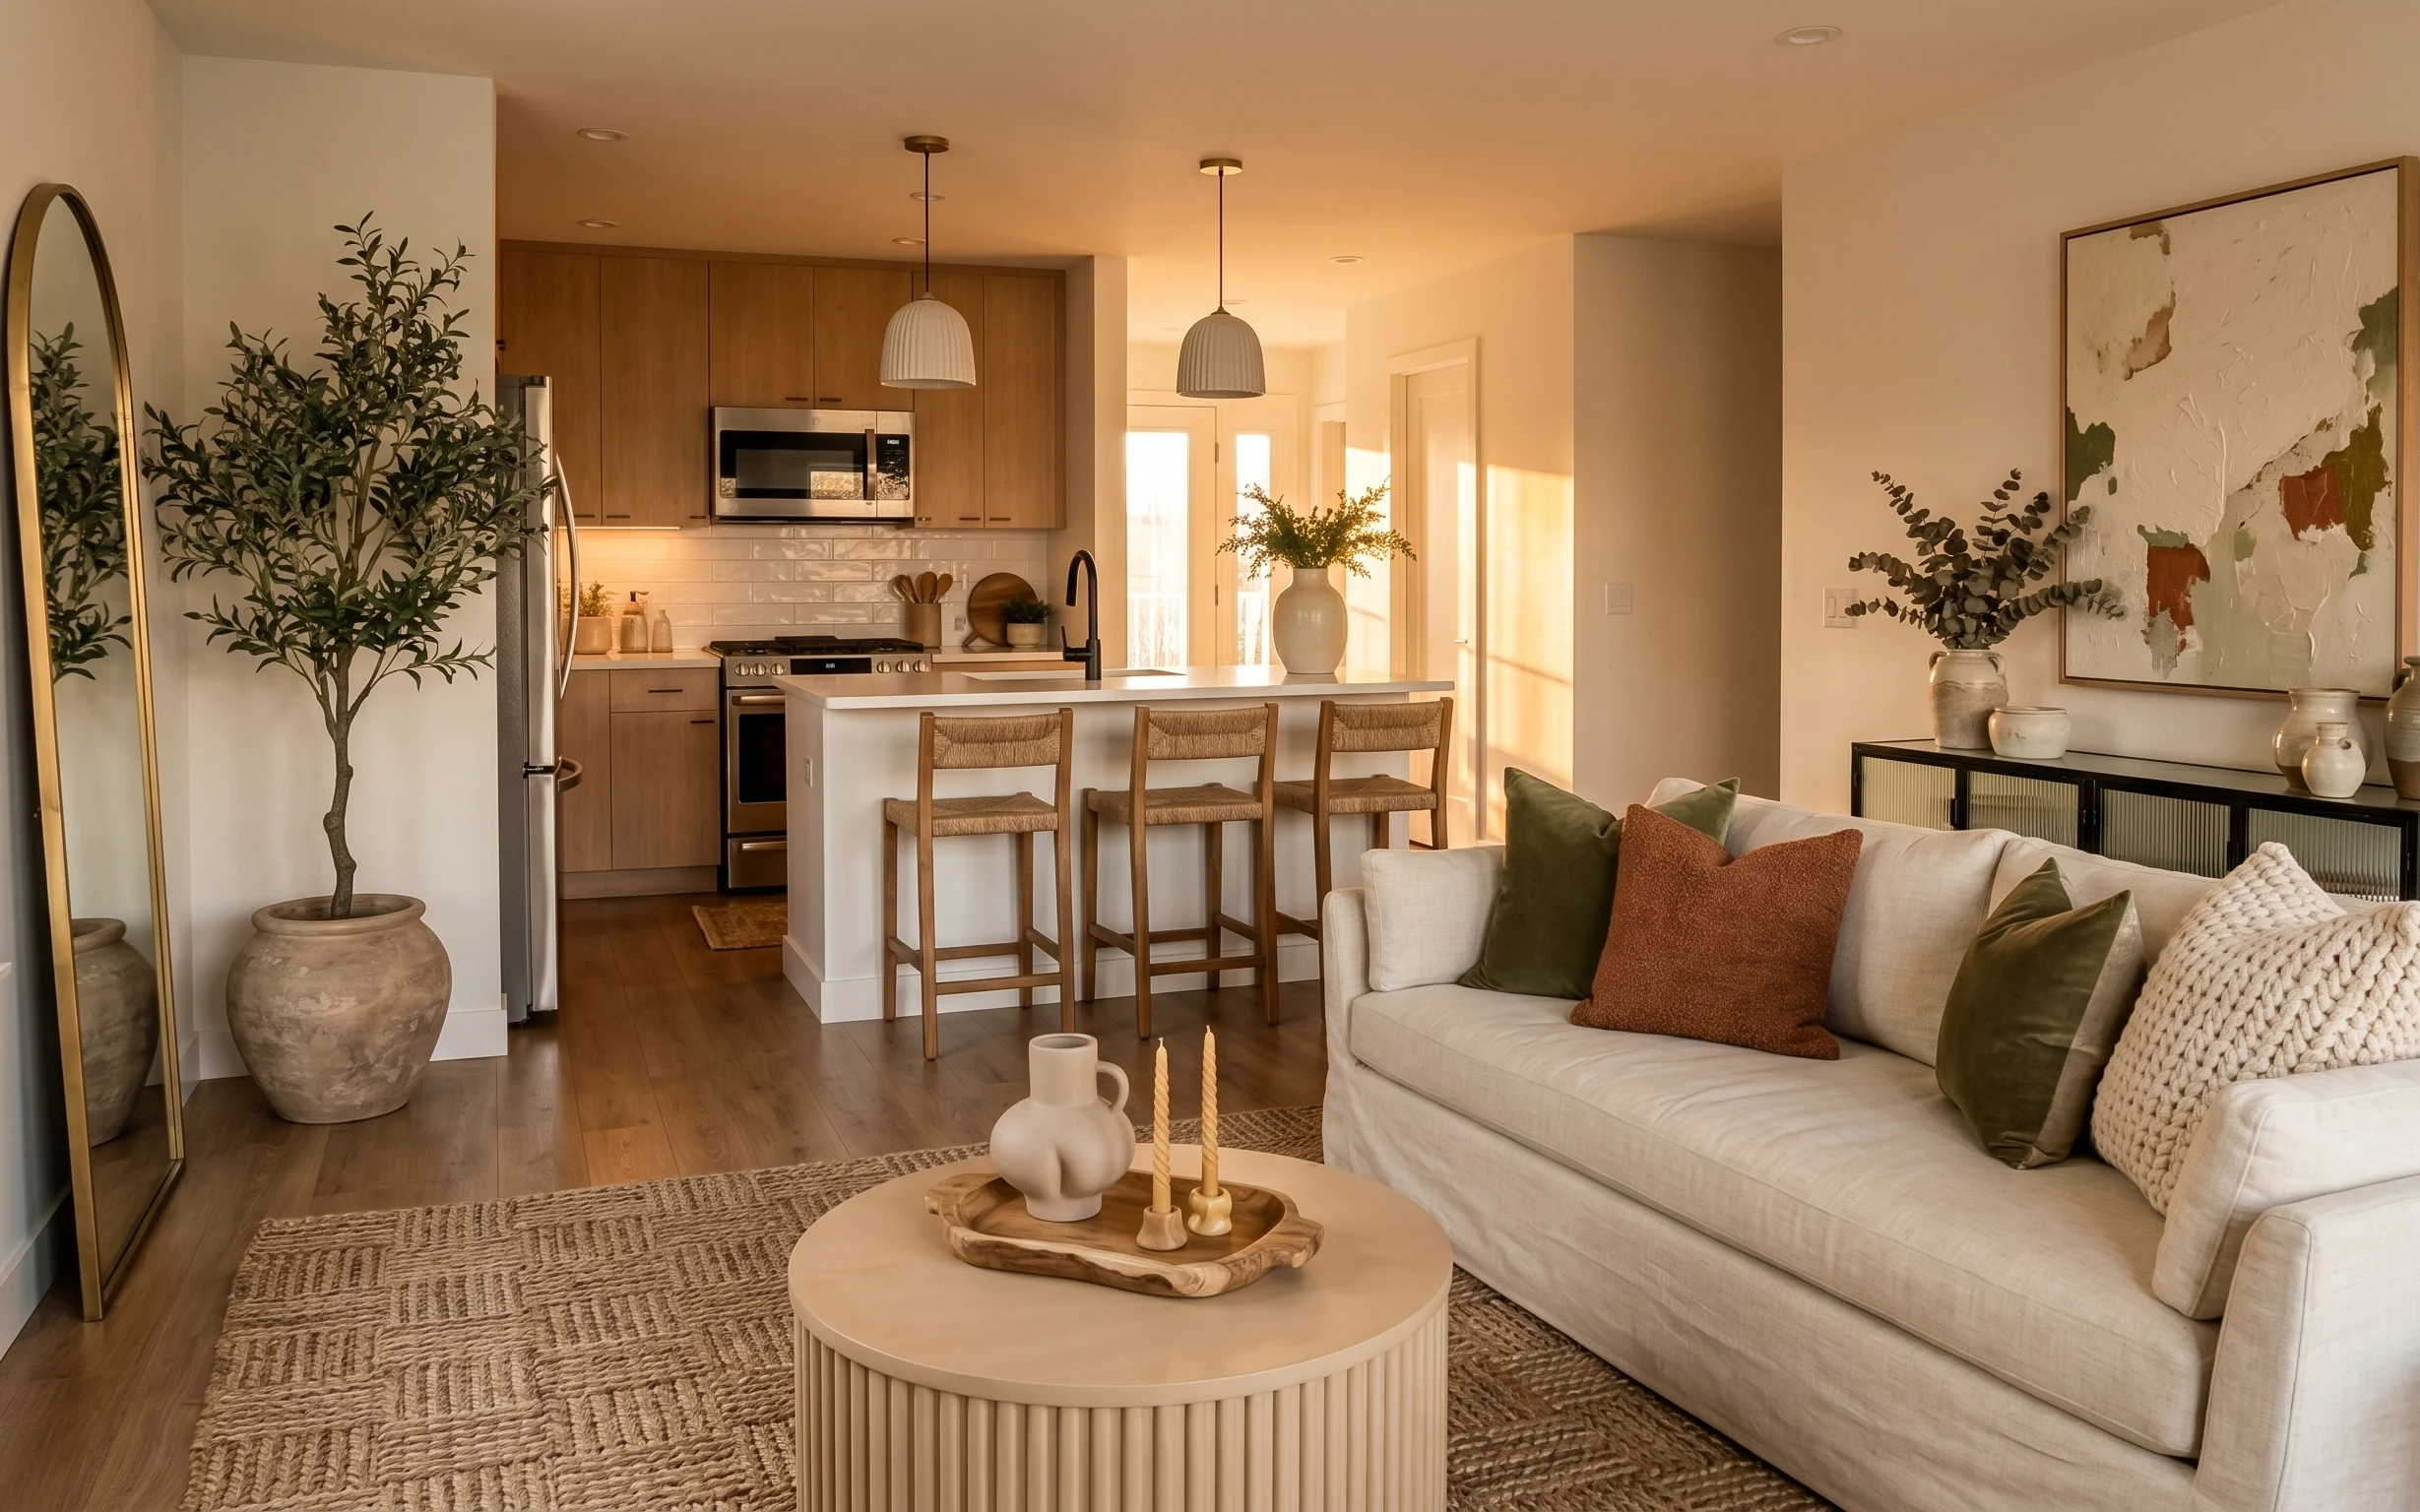
The look in this photo leans on contrast: warm light wood, deep green seating, and soft gray-blue walls. The textures are doing a lot of work—think the woven rug underfoot, the smooth upholstery on the sofa, and the matte, gritty finish of the planter pots. Even though the architectural wood feature is already there, renters can recreate the “styled wall” feeling by swapping in a cohesive plant lineup plus one or two warm accents. It’s achievable because these pieces are all freestanding or simple styling adds that pack up when the lease ends.
I used to over-style shelves and call it a day, but the clutter showed up fast once I stepped back. What clicked for me here was committing to three plant sizes (tall, medium, small) and repeating terracotta tones so everything reads intentional. I also used to chase a “perfect match” across all planters; now I keep one or two finishes consistent and let the rest vary slightly for a more lived-in look.
Layer 1 — large area rug ($150) textured pattern underfoot
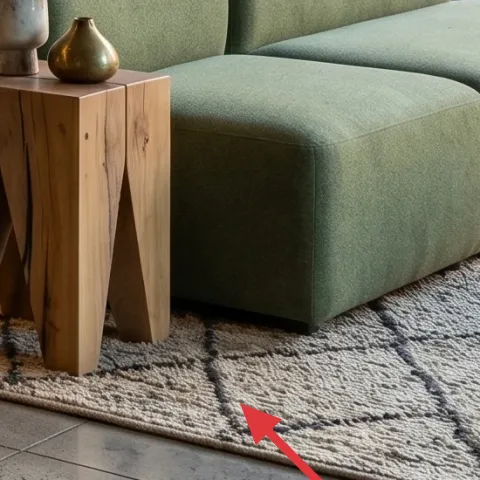
Start with the large area rug because it’s the biggest visual anchor in the room. In the hero, the rug’s light-to-mid gray tone balances the sofa’s sage color and keeps the wood feature from feeling too heavy. A textured weave also helps hide minor wear—useful in rentals where stains happen and you can’t obsess over perfect upkeep. The trade-off: you’ll likely need a thicker underlayer (a rug pad) and a bit of patience lining it up, but the payoff is a cleaner overall silhouette. Choose a size that reaches at least under the front legs of the sofa for a grounded look.
Pick a rug with movement
Subtle patterning and texture keep the room forgiving, especially in tile-heavy spaces where footsteps show more than you expect.
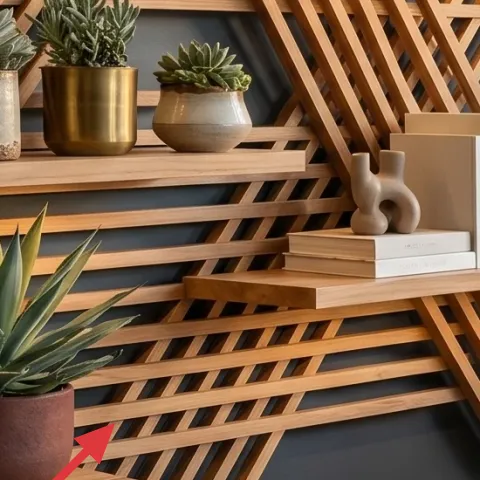
Layer 2 — light wood side table ($80) warm timber for side-height styling
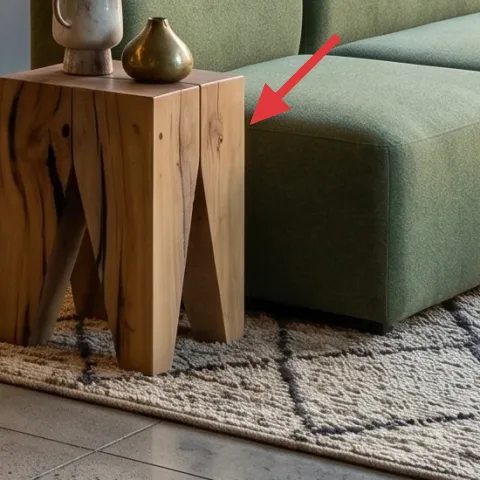
The light wood side table gives you a practical staging surface at sofa height, so decor doesn’t only live up on the wall. In the photo, the wood tone ties back to the warm slat feature and keeps everything from looking “planted” in one spot. I’d pick this over a metal table because warm wood reads more natural next to terracotta and greenery. The trade-off is that wood can show small scuffs, so use coasters or a small tray if you set drinks there. Style it with one small object (like a vase or folded napkin stack) so it looks intentional, not crowded.
Match the wood undertone, not the finish
You can vary sheen, but keep the undertone warm so it harmonizes with the shelf wood.
Layer 3 — tall leafy plant in black textured pot ($40) vertical height beside the wall feature
Add the tall leafy plant to recreate the “vertical pacing” that makes the whole display feel fuller. The black textured pot is key: it adds a darker punctuation mark against the light wood and gray-blue wall, similar to how the hero uses that pot to balance the composition. Choose a plant with broad leaves so it reads lush from across the room—skinny stems can look sparse next to a strong architectural background. The trade-off is space: a tall plant needs clearance to avoid blocking sightlines. If your room is tighter, use a slightly shorter pot with fuller foliage rather than thinning out the plant.
Size up the leaves
Broadleaf greens fill visual gaps better than tall, narrow plants in a wall-slat setting.
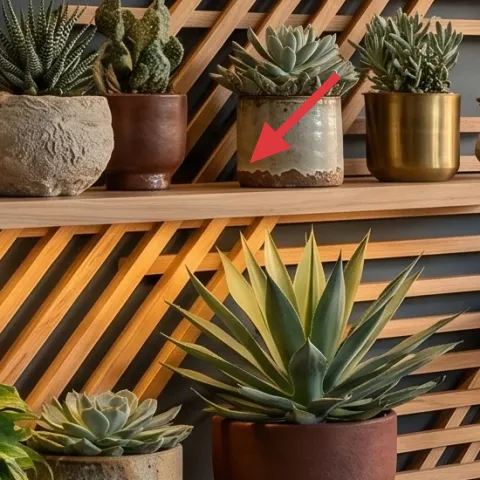
Layer 4 — large leafy plant in gray ribbed pot ($35) softens the left side in one move
This large leafy plant in a gray ribbed pot balances the darker black planter on the right. The ribbing is subtle but important—it catches light differently than a smooth pot, adding depth without needing extra decor pieces. I’d choose this over a small single-leaf plant because the hero’s vibe depends on mass. The trade-off is that big plants can feel intimidating to maintain, but even faux or semi-faux plants still deliver the same color and shape rhythm. Keep the pot finish neutral so it supports the terracotta tones rather than competing with them.
Avoid mismatched pot colors
If every planter is a different bright color, the display loses its calm, cohesive feel.
Layer 5 — small gold-colored vase ($25) warm metal accent among greens
The small gold-colored vase adds that warm “highlight” that makes the plants feel styled, not just placed. In the hero, the metal tone shows up near the succulent group and keeps the look from becoming purely earthy-green. I’d pick a metal accent over another planter because it introduces a different material texture—smooth, reflective, and visually crisp. The trade-off is that one metal piece can look too shiny if it’s oversized, so keep it small and let it sit near the plants instead of taking center stage. If you’re using stems, keep them short and clustered.
Keep it to one metal
One gold detail is enough; adding silver too can make the shelf styling feel busy.
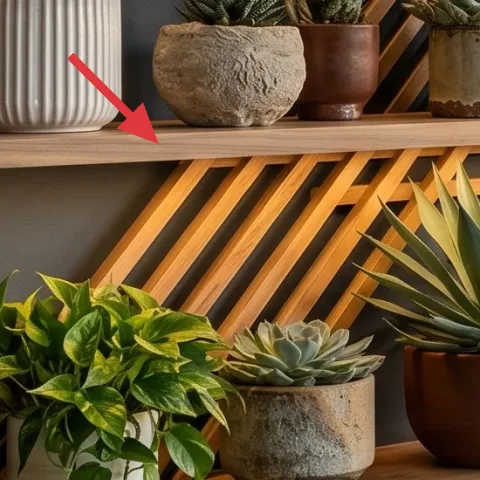
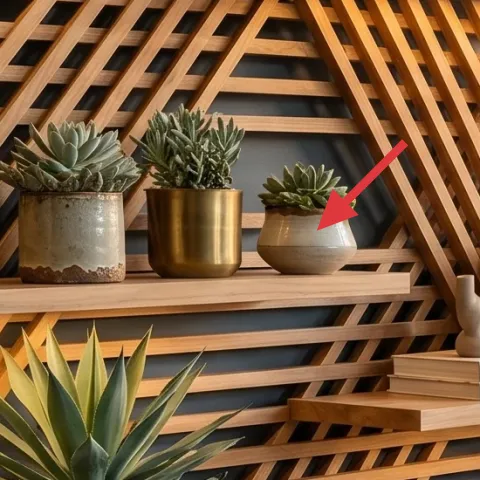
Layer 6 — round succulent plant in terracotta pot ($10) low profile for shelf rhythm
Succulents work as the “spacing tool” on shelves because they sit low and repeat naturally. The round succulent plant in a terracotta pot pulls the palette toward warm clay tones and ties into the painted DIY planters later. I’d choose a small terracotta vessel here instead of a tall plant because the hero’s wall display already has strong vertical lines; low plants prevent the composition from feeling top-heavy. The trade-off is that succulents can be fussy if you buy live ones, so pick sturdy varieties or use a hardy faux option for a rental. Either way, keep the arrangement grouped so the texture reads intentional.
Group succulents in odd numbers
An odd-number cluster looks more organic and avoids the “store shelf” symmetry.
Layer 7 — painted terracotta planter set ($45) DIY clay pots with a softer neutral finish
Make it instead of buying it
This painted terracotta planter set replaces a pre-styled planter look with custom, muted color so the shelf stays cohesive.
Materials
- Terracotta pots (2 small) — assorted sizes — craft store — $18
- Acrylic craft paint (neutral clay/stone tone) — 1 bottle — art store — $10
- Painters tape — 1 roll — hardware store — $6
- Foam brush set — 1 pack — craft store — $3
- Disposable gloves — 1 pair — pharmacy — $2
Steps
- Wash and fully dry the terracotta pots so the paint grips evenly.
- Lightly tape off any sections you want left unpainted for a natural edge.
- Brush on the first thin coat, keeping strokes even around the curves.
- Let the coat dry to the touch, then add a second thin coat for coverage.
- Peel the tape off while the paint is fully dry to prevent tearing.
- Touch up any missed spots, then keep the pots in a ventilated area until fully dry.
Total DIY cost: $39 — saves about $6 over buying.
In the hero, terracotta shows up as warm, organic color that anchors the greenery. A painted terracotta planter set is an easy way to get that same earthy rhythm without relying on matching store-bought finishes. This DIY version also lets you choose the exact undertone—slightly clay, slightly stone—so it harmonizes with the gray-blue wall and warm wood. The trade-off is time: you need a drying window between coats, and careful taping if you want clean bands. Still, it’s renter-friendly because you’re only painting the pots themselves, not any walls or fixtures.
Keep the palette muted
One soft neutral paint color is easier to style than bright colors when you’re working with greens.
The cost, layer by layer
| Layer | Item | Cost |
|---|---|---|
| 1 | Large area rug | $150 |
| 2 | Light wood side table | $80 |
| 3 | Tall leafy plant in black textured pot | $40 |
| 4 | Large leafy plant in gray ribbed pot | $35 |
| 5 | Small gold-colored vase | $25 |
| 6 | Round succulent plant in terracotta pot | $10 |
| 7 | Painted terracotta planter set (DIY) | $45 |
| Total | $385 | |
If a full rug feels like too much, scale down with a 5×7 version in the same gray family and build the rest of the look with plants and one wood accent surface. You’ll still get the warm wood + greenery styling effect; the room just reads a touch more open.
What worked, what didn't (across the whole room)
This setup works because it mixes two big anchors (a textured rug and a warm wood surface) with layered height from plants. The terracotta tones keep everything cohesive instead of randomly “decorated,” and the black pot adds contrast without making the wall feel harsh. The one area that needs restraint is metallic accents—small and warm is right, but multiple metals can pull the palette apart.
What worked
- The large gray rug adds texture and makes the sage sofa feel intentional instead of standalone.
- Warm light wood in the side table echoes the existing wood feature and keeps the palette calm.
- A tall leafy plant provides vertical balance so the wall styling looks full from across the room.
- Neutral ribbed pots add visual depth without adding new colors to the palette.
- A small gold accent makes the greens look styled, not just “put on the shelf.”
- Terracotta planters repeat the warm undertone and unify all plant sizes.
What didn't
- Too many small planters scattered at equal heights makes the display feel flat and cluttered.
- Bright pot colors fight the earthy wood and gray-blue wall, especially near the sofa.
- Oversized metal decor can read out of place against the matte textures of ceramics and leaves.
- Thin, leggy greenery next to a strong wood background looks sparse and unfinished.
- Trying to match every pot to one exact shade removes the lived-in mix that the hero has.
What we'd skip if we did it again
Skip adding lots of extra objects (tiny framed things, random knickknacks). With a strong built-in wood feature and a big sofa, the shelf needs breathing room—plants and one metal accent are enough.
Skip choosing three different pot finishes with no common undertone. It’s better to repeat terracotta or repeat a neutral like gray/black so the plants read as a set.
Skip sizing a rug purely by square footage. Pick a size that reaches under the sofa front so the sofa feels anchored; a too-small rug makes the whole display look accidental.
Frequently asked
How long does this kind of refresh take?
The bulk of the work is shopping and styling. If you already have the shelf area cleared, plan for about 2–4 hours to place the rug, set the side table, and do a first pass with the plants and vase. The only time sink is the DIY: painting terracotta pots usually takes a couple short drying windows between thin coats.
Is this renter-friendly if I’m not allowed to change the wall?
Yes. This refresh relies on freestanding pieces—rug, side table, plants, and small decor accents. It doesn’t require drilling, anchors, or swapping landlord fixtures. The “styled shelf” feeling comes from plant height variety and repeating terracotta tones, not from changing the wall itself.
What if my living room is smaller than the photo?
Go one size down on the rug, but keep the same palette and layering system. Use a slightly shorter tall plant with fuller leaves, and concentrate your styling into two clusters instead of spreading everything across multiple shelf levels. The goal is to keep negative space so the wood feature doesn’t feel busy.
What if my living room is bigger and feels empty?
Use larger plant mass and add one more repetition of terracotta (another DIY-painted pot or an additional similar planter). A wider rug can help too, but the easiest upgrade is scale: taller plant leaves and a side table that feels substantial enough to hold a small vase without looking tiny.
Where should I shop for these materials and pieces?
Look for the rug at home goods stores or online with easy returns. For plants and pots, garden centers and big-box stores are the fastest route. The vase and any terracotta pots for DIY are usually easiest at craft stores or home decor sections—choose neutral undertones first, then match the greens.
What’s the biggest mistake people make with plant styling on shelves?
Over-balancing every item at the same height. In this look, the magic is the mix of tall, medium, and low pieces, plus one warm metal accent. If everything sits evenly, it reads flat and temporary. Keep one anchor at eye level and build out from there.
More in Living Room
Under $400: renter-friendly sofa wall display refresh
A move-friendly living room refresh built around a renter-safe sofa wall display. With 7 swaps (rug, side table, plants, and styled decor) …
Under $400: olive-and-rust open-concept living area refresh
A renter-friendly, move-ready open-concept living area refresh under $400. Copy the warm beige, olive green, and terracotta look with a bra…
Under $400: olive-and-rattan living room refresh with 7 move-friendly swaps
A bright olive-and-rattan living room refresh built from 7 renter-safe, move-ready swaps. Total build cost stays under $400, with the bigge…