- Best for
- warm renter-safe entry styling
- Cost
- under $500
- Difficulty
- easy (mostly styling + hanging)
- Time
- 2–4 hours
Why warm beige-and-terracotta styling is the console entry corner of 2026
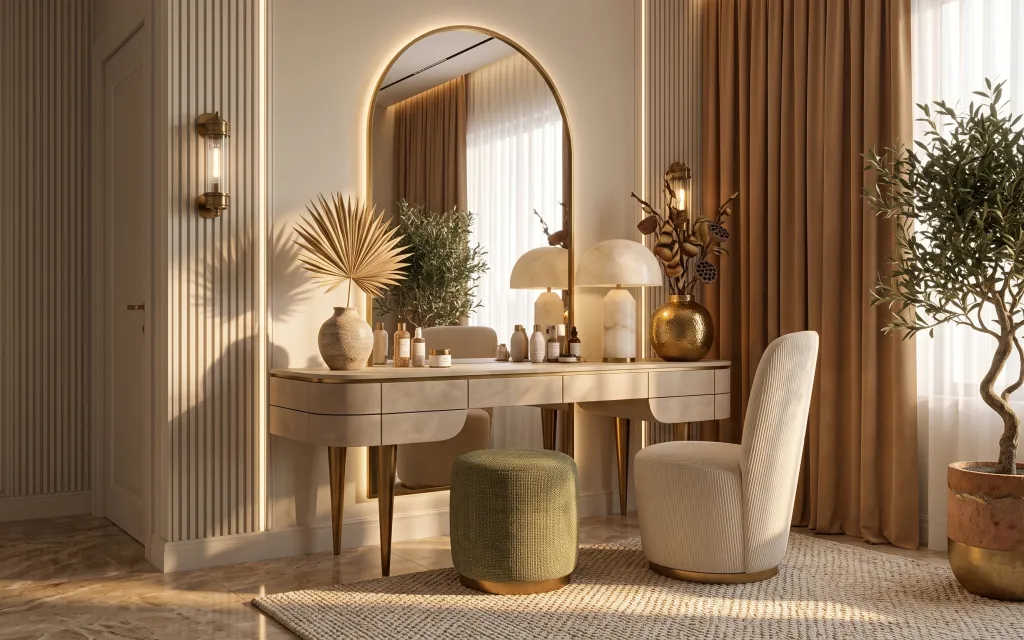
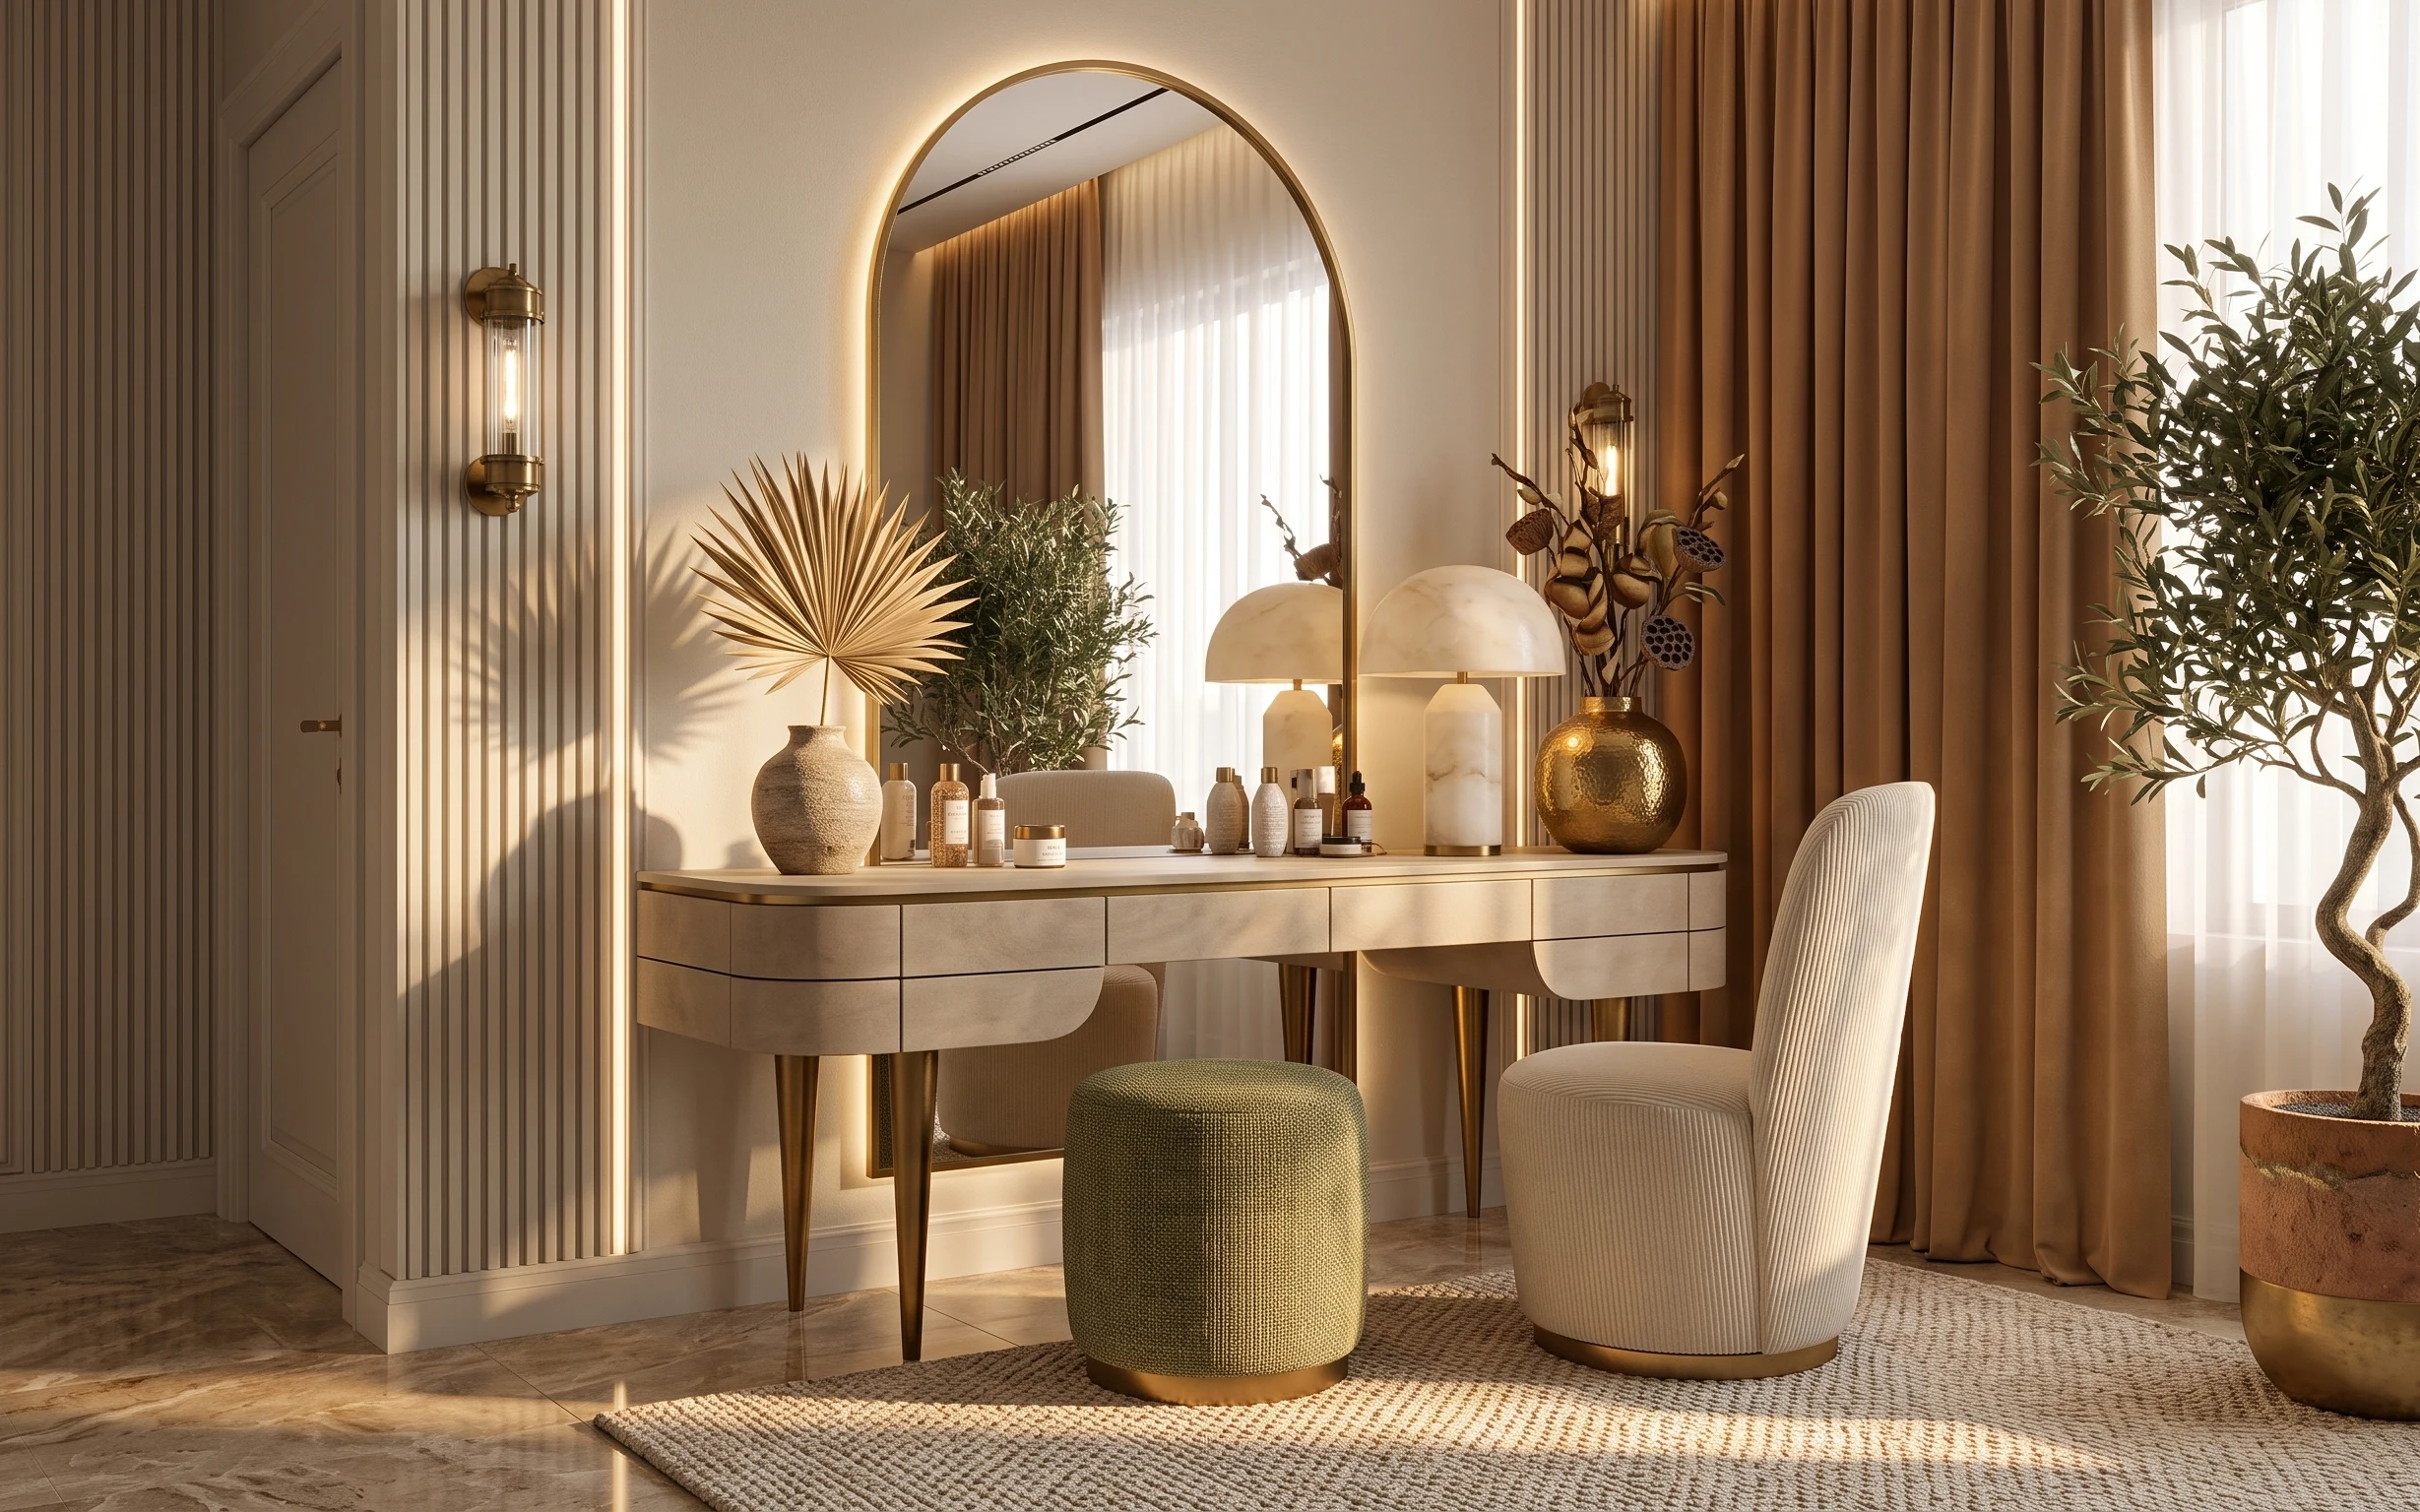
Start with the textures you can feel underfoot and at eye level: a soft area rug, then long curtains that pull the vertical lines taller. In the photo, the round mirror with its warm glow does a lot of heavy lifting, while two warm light sources make the brass details look intentional instead of accidental. You can also see how the console styling stays cohesive by repeating earthy greens and amber tones across vases and bottles. The best part: this is achievable on a renter budget with plug-in lighting and freestanding decor that’s easy to swap at move-out.
I used to overstyle consoles like they were shelves in a store—everything lined up and nothing breathing. What changed my mind was noticing how the photo leaves open space on the console surface, then concentrates “eye candy” into a tray and a single statement vase. Once I stopped stacking every object I loved, the room started to look calmer, not empty. If your console looks busy, remove one item and give the mirror a cleaner backdrop.
Layer 1 — area rug ($150) anchors the warm base underfoot
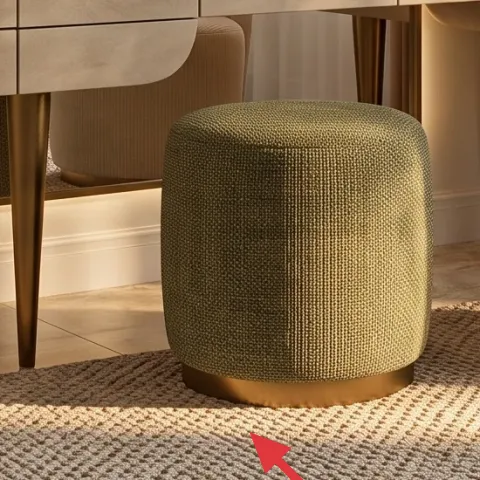
This area rug grounds the whole entry corner and keeps the flooring from looking too bare next to the console table. In the hero, the rug’s light neutral tone plays well with the warm beige curtains and lets the brass gold accents read clearly. The trade-off is that you’ll want a rug that feels substantial enough to hide wear—thin rugs look temporary. Choosing a 5×7-style rug also fits most rentals, since it won’t dominate the room the way an 8×10 can. If you’re between sizes, size up for better “landing space” in front of the ottoman.
Rug-and-chair alignment
Keep the ottoman and chair legs centered on the rug so the space feels planned, not like furniture was placed after the fact.
Layer 2 — floor-length curtains ($60) add height without wall work
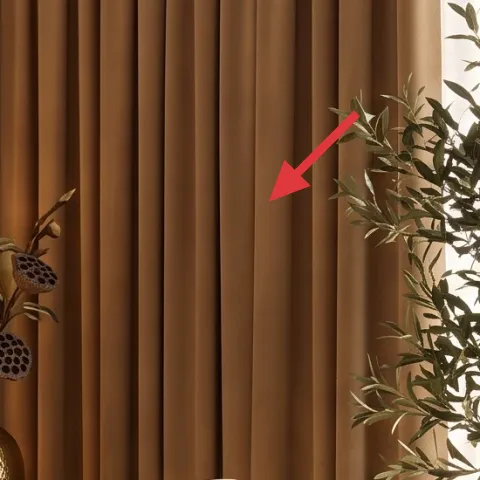
The floor-length curtains are the easiest way to make a console corner feel dressed, even in a rental. They create that tall, vertical backdrop you see in the photo, which makes the round mirror look bigger and the lighting feel softer. Because renters can’t change window hardware, the move is to use a tension-rod setup and hang curtain panels to fall close to the floor. The trade-off is light control: tension setups aren’t as “sealed” as permanent brackets, so plan for a little daylight. Still, the visual payoff is huge—your console styling looks more intentional when it has a framed background.
Choose a warm neutral, not bright white
Warm beige curtains keep the brass gold and wood tones cohesive instead of turning the corner into a high-contrast look.
Layer 3 — plug-in table lamp with beige shade ($45) makes brass feel intentional
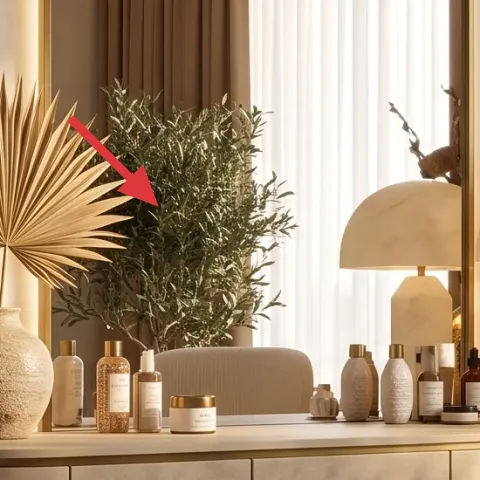
A plug-in table lamp with a beige shade gives you the same cozy glow as the hero’s warm lighting, without needing any wiring. In the photo, the lamp sits on the console surface and adds a low, warm pool of light that flatters vases, bottles, and the gold decorative vase. The trade-off is that lamp shade shape matters: choose one that diffuses light well, or the glow will feel harsh instead of soft. This is also a renter-friendly choice because you can reposition it when the console changes or when the room needs a different mood. Aim for a warm bulb color temperature to match the photo’s golden tone.
Use warm bulbs for the same mood
Warm white bulbs keep the brass gold from looking yellow-green under cooler light.
Layer 4 — round wall mirror ($100) spreads light in one move
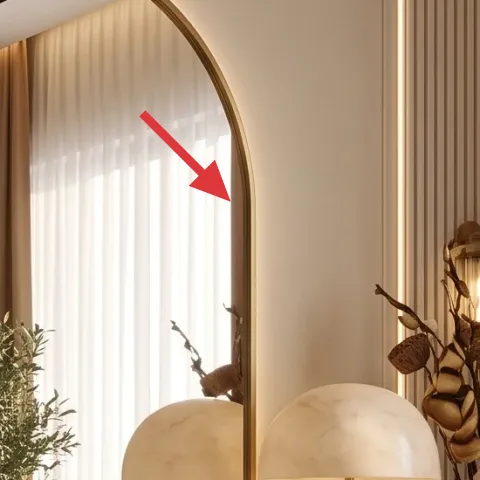
The round wall mirror is the “depth” layer here—it visually expands the console corner and reflects the warm light so the styling looks fuller. The hero’s mirror has a bright, warm backlit effect, but the important design takeaway is the round shape: it softens the straight lines from the console and the vertical curtain folds. For renters, the win is choosing an install method that doesn’t require wall anchors or drilling—use Command-style hanging solutions that match the mirror weight. The trade-off is weight: heavier mirrors need sturdier mounting, so always check the packaging before hanging. Once it’s up, you’ll feel the whole corner click into place.
Don’t pick a mirror that’s too heavy for the mount
Stay inside the weight limits for the hanging system to keep the mirror secure during everyday knocks.
Layer 5 — decorative tray on console ($20) turns random items into a vignette
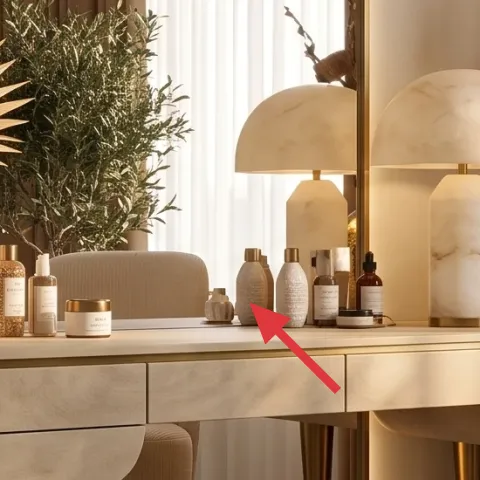
The decorative tray is what makes the console styling look curated instead of accidental. In the hero, bottles and small decor pieces are grouped together on a tray, which keeps the console surface from feeling cluttered even with multiple objects. This works because trays create invisible boundaries—everything inside reads as one “scene,” especially when you repeat warm tones like beige, amber, and gold. The trade-off is that you may need to edit what goes on the console; a tray won’t fix a crowded layout. Pick a tray with a warm finish (gold/brass-toned or natural wood) so it harmonizes with the gold decorative vase and the lamp glow.
Let the tray overlap the visual line
Position the tray so it sits near the console center, not tucked fully to one side, for a balanced look.
Layer 6 — gold round decorative vase ($20) adds one statement silhouette
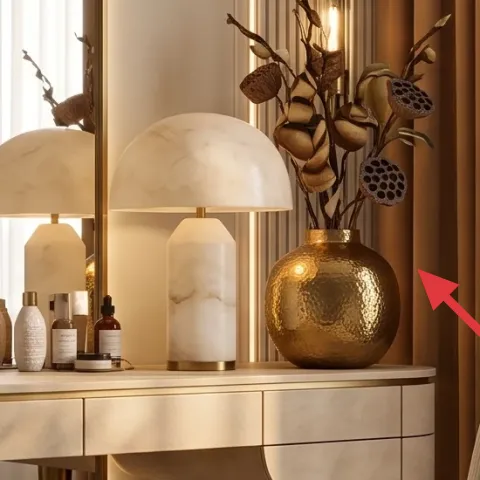
This gold round decorative vase gives the console a single, readable shape that stands out without adding extra clutter. In the photo, the vase’s metallic tone echoes the warm lighting and ties in with the brass details—so the corner looks coordinated instead of “mixed luck.” The trade-off is metallic decor shows fingerprints and dust faster than matte pieces, so it needs a quick wipe now and then. If you’re aiming for a similar look on a rental budget, keep the rest of the console simpler and let the vase carry the silhouette. Pair it with natural elements like the dried palm/fan plant and the brown branches for texture contrast.
Repeat one warm metal once
Use the gold tone in one main object (like this vase) and in small accents so it doesn’t feel scattered.
Layer 7 — painted terracotta planter set ($40) DIY to match the potted tree
Make it instead of buying it
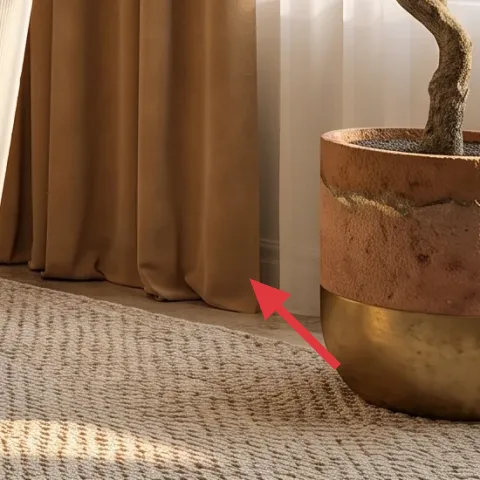
DIY a small set of painted terracotta planters to echo the warm pot color around the tall potted tree—easy to swap at lease end.
Materials
- Terracotta planter(s) — 2–3 small pots — garden supply — $10
- Craft acrylic paint (warm clay/taupe) — 1 small bottle — craft store — $8
- Gold acrylic paint — small jar — craft store — $7
- Foam brush set — 1 pack — craft store — $6
- Painter’s tape — 1 roll — hardware store — $4
Steps
- Wash and fully dry the terracotta pots so paint sticks evenly.
- Tape off any areas you want to stay plain clay for contrast.
- Brush on a base coat with the warm clay/taupe acrylic paint.
- Let the base coat dry fully to the touch, then add a second coat if needed.
- Apply gold acrylic paint in thin bands or a simple speckled pattern.
- Remove tape and let everything dry completely before styling.
Total DIY cost: $35 — saves about $5 over buying.
The cost, layer by layer
| Layer | Item | Cost |
|---|---|---|
| 1 | area rug | $150 |
| 2 | floor-length curtain panels | $60 |
| 3 | plug-in table lamp with beige shade | $45 |
| 4 | round wall mirror | $100 |
| 5 | decorative tray for console | $20 |
| 6 | gold round decorative vase | $20 |
| 7 | painted terracotta planter set (DIY retail equivalent) | $40 |
| Total | $435 | |
If you want a cheaper variant, swap the mirror for a smaller round size, choose curtain panels in a lighter weight fabric, and pick a rug that’s closer to 5×7. Those three changes keep the warm neutral look while bringing the total down.
What worked, what didn't (across the whole room)
This corner works because the layers repeat warm neutrals and keep the styling grouped: rug for anchor, curtains for backdrop, mirror for depth, then two lighting hits. The decor reads intentional because of one tray and one statement vase, not because every surface is filled.
What worked
- The area rug makes the console feel like part of a real “zone,” not a hallway add-on.
- Floor-length curtains create vertical height that makes the round mirror look more dramatic.
- Warm plug-in light near the console flatters gold decor and keeps the corner soft after dark.
- The round mirror shape breaks up straight lines from the console and curtain folds.
- A single statement vase gives the styling a clear silhouette without adding more clutter.
- A decorative tray turns bottles and small pieces into one cohesive vignette.
What didn't
- If the curtains are too short, the corner looks “cut off” and the mirror reflection feels smaller.
- Using cool-white bulbs makes the brass gold look flat instead of warm and dimensional.
- Overfilling the console breaks the calm look—edit until the tray has breathing space.
- Choosing a rug with heavy pattern can fight the warm neutrals and distract from the mirror.
- Skipping a statement object means the styled corner relies on the mirror alone for impact.
What we'd skip if we did it again
Skip patterned decor on the console if the rest of the corner already has texture (rug + curtains). A simple gold vase and warm-toned accents keep the palette cohesive.
Skip cool-white lighting choices—warm bulbs are a small cost difference that changes how gold and beige read in photos and in real evenings.
Skip hanging hardware that requires drilling just to “match” the photo. Stick with renter-safe hanging options for the round mirror and use tension methods for curtain panels.
Frequently asked
How long does it take to get a console corner like this?
For most rentals, plan for 2–4 hours. Hanging the round mirror and setting up curtain panels takes the longest, and styling the tray and decor is the second step. If you’re DIY-ing planter(s), add another 1–2 hours for paint time and a fully dry finish. The look comes together fast once the rug and lighting are in place.
Can I do this in a small entryway or narrow living room?
Yes—keep the rug from running too large and consider slightly shorter curtain panels if the room is cramped. A smaller round mirror also works, as long as it still reflects your light source. For styling, use one main vase plus a tray grouping instead of multiple separate clusters across the console.
What if my rental doesn’t allow curtain mounting near the ceiling?
Use tension-rod methods and choose panels that still reach close to the floor. Even without top mounting, long curtains can create the same vertical backdrop effect. If daylight is strong, swap to a heavier fabric blend for privacy and a steadier look throughout the day.
Where should I shop for the mirror and plug-in table lamp?
Look for renter-friendly mirrors at home decor retailers that list Command-style mounting compatibility or have lightweight sizes. For plug-in lamps, prioritize models with a warm bulb option and a shade shape that diffuses light. Thrift stores are a great place to find a lamp shade and then pair it with a basic plug-in setup.
What’s the biggest mistake renters make in console styling?
The most common miss is crowding every inch of the console surface. A console looks expensive when it has one grouping (like a tray), one statement silhouette (like a gold round vase), and enough negative space around it. If the mirror looks cluttered in the reflection, remove one item and reassess.
Is the DIY planter set sturdy enough for real plants?
It depends on the pot’s purpose. For live plants, use a liner inside the painted terracotta and avoid letting soil stay constantly saturated against paint. The DIY also works beautifully for faux stems or dried branches if you want low-maintenance styling. For live plants, prioritize drainage and clean up after watering.
More in Living Room
Under $500: console entry corner refresh with warm neutrals
Warm up a console entry corner with renter-safe swaps: a soft rug, floor-length curtains, plug-in table lamps, and a round mirror—plus styl…
Under $500: dining nook refresh with 7 move-ready swaps
A warm-neutral dining nook refresh built from 7 move-ready swaps that pack into a few boxes. Total look costs under $500, with a DIY hand-p…
Under $400: move-ready dining table nook refresh
A bright dining table nook makeover built from 7 move-friendly swaps under $400. Focus areas: a woven area rug, a framed botanical print, a…