- Best for
- Warm neutrals console styling
- Cost
- Under $500
- Difficulty
- Easy (mostly styling + decor)
- Time
- About a weekend
Why warm taupe-and-gold styling is the console living room of 2026
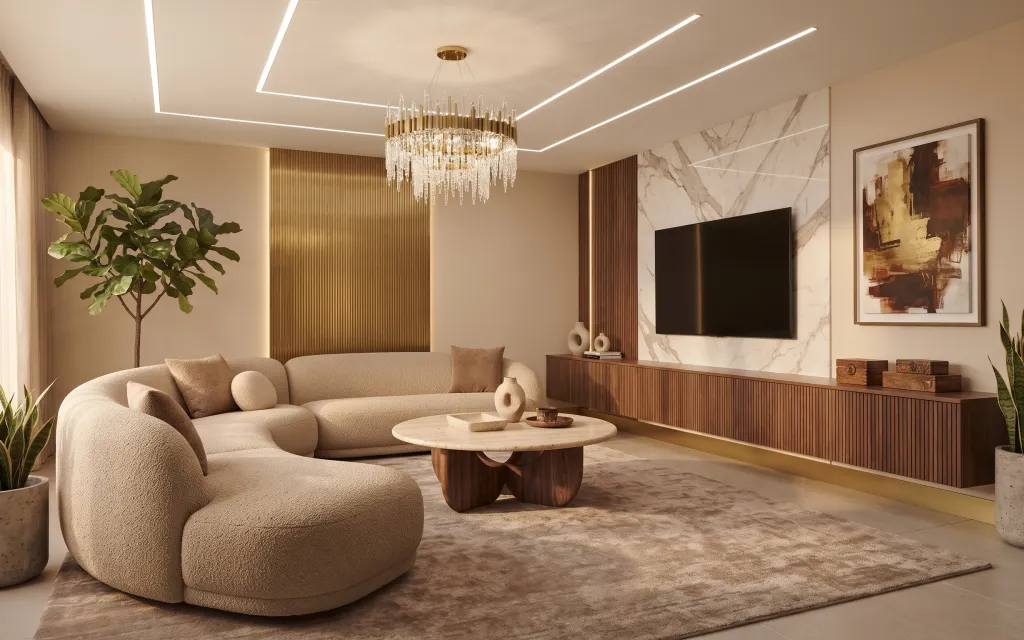
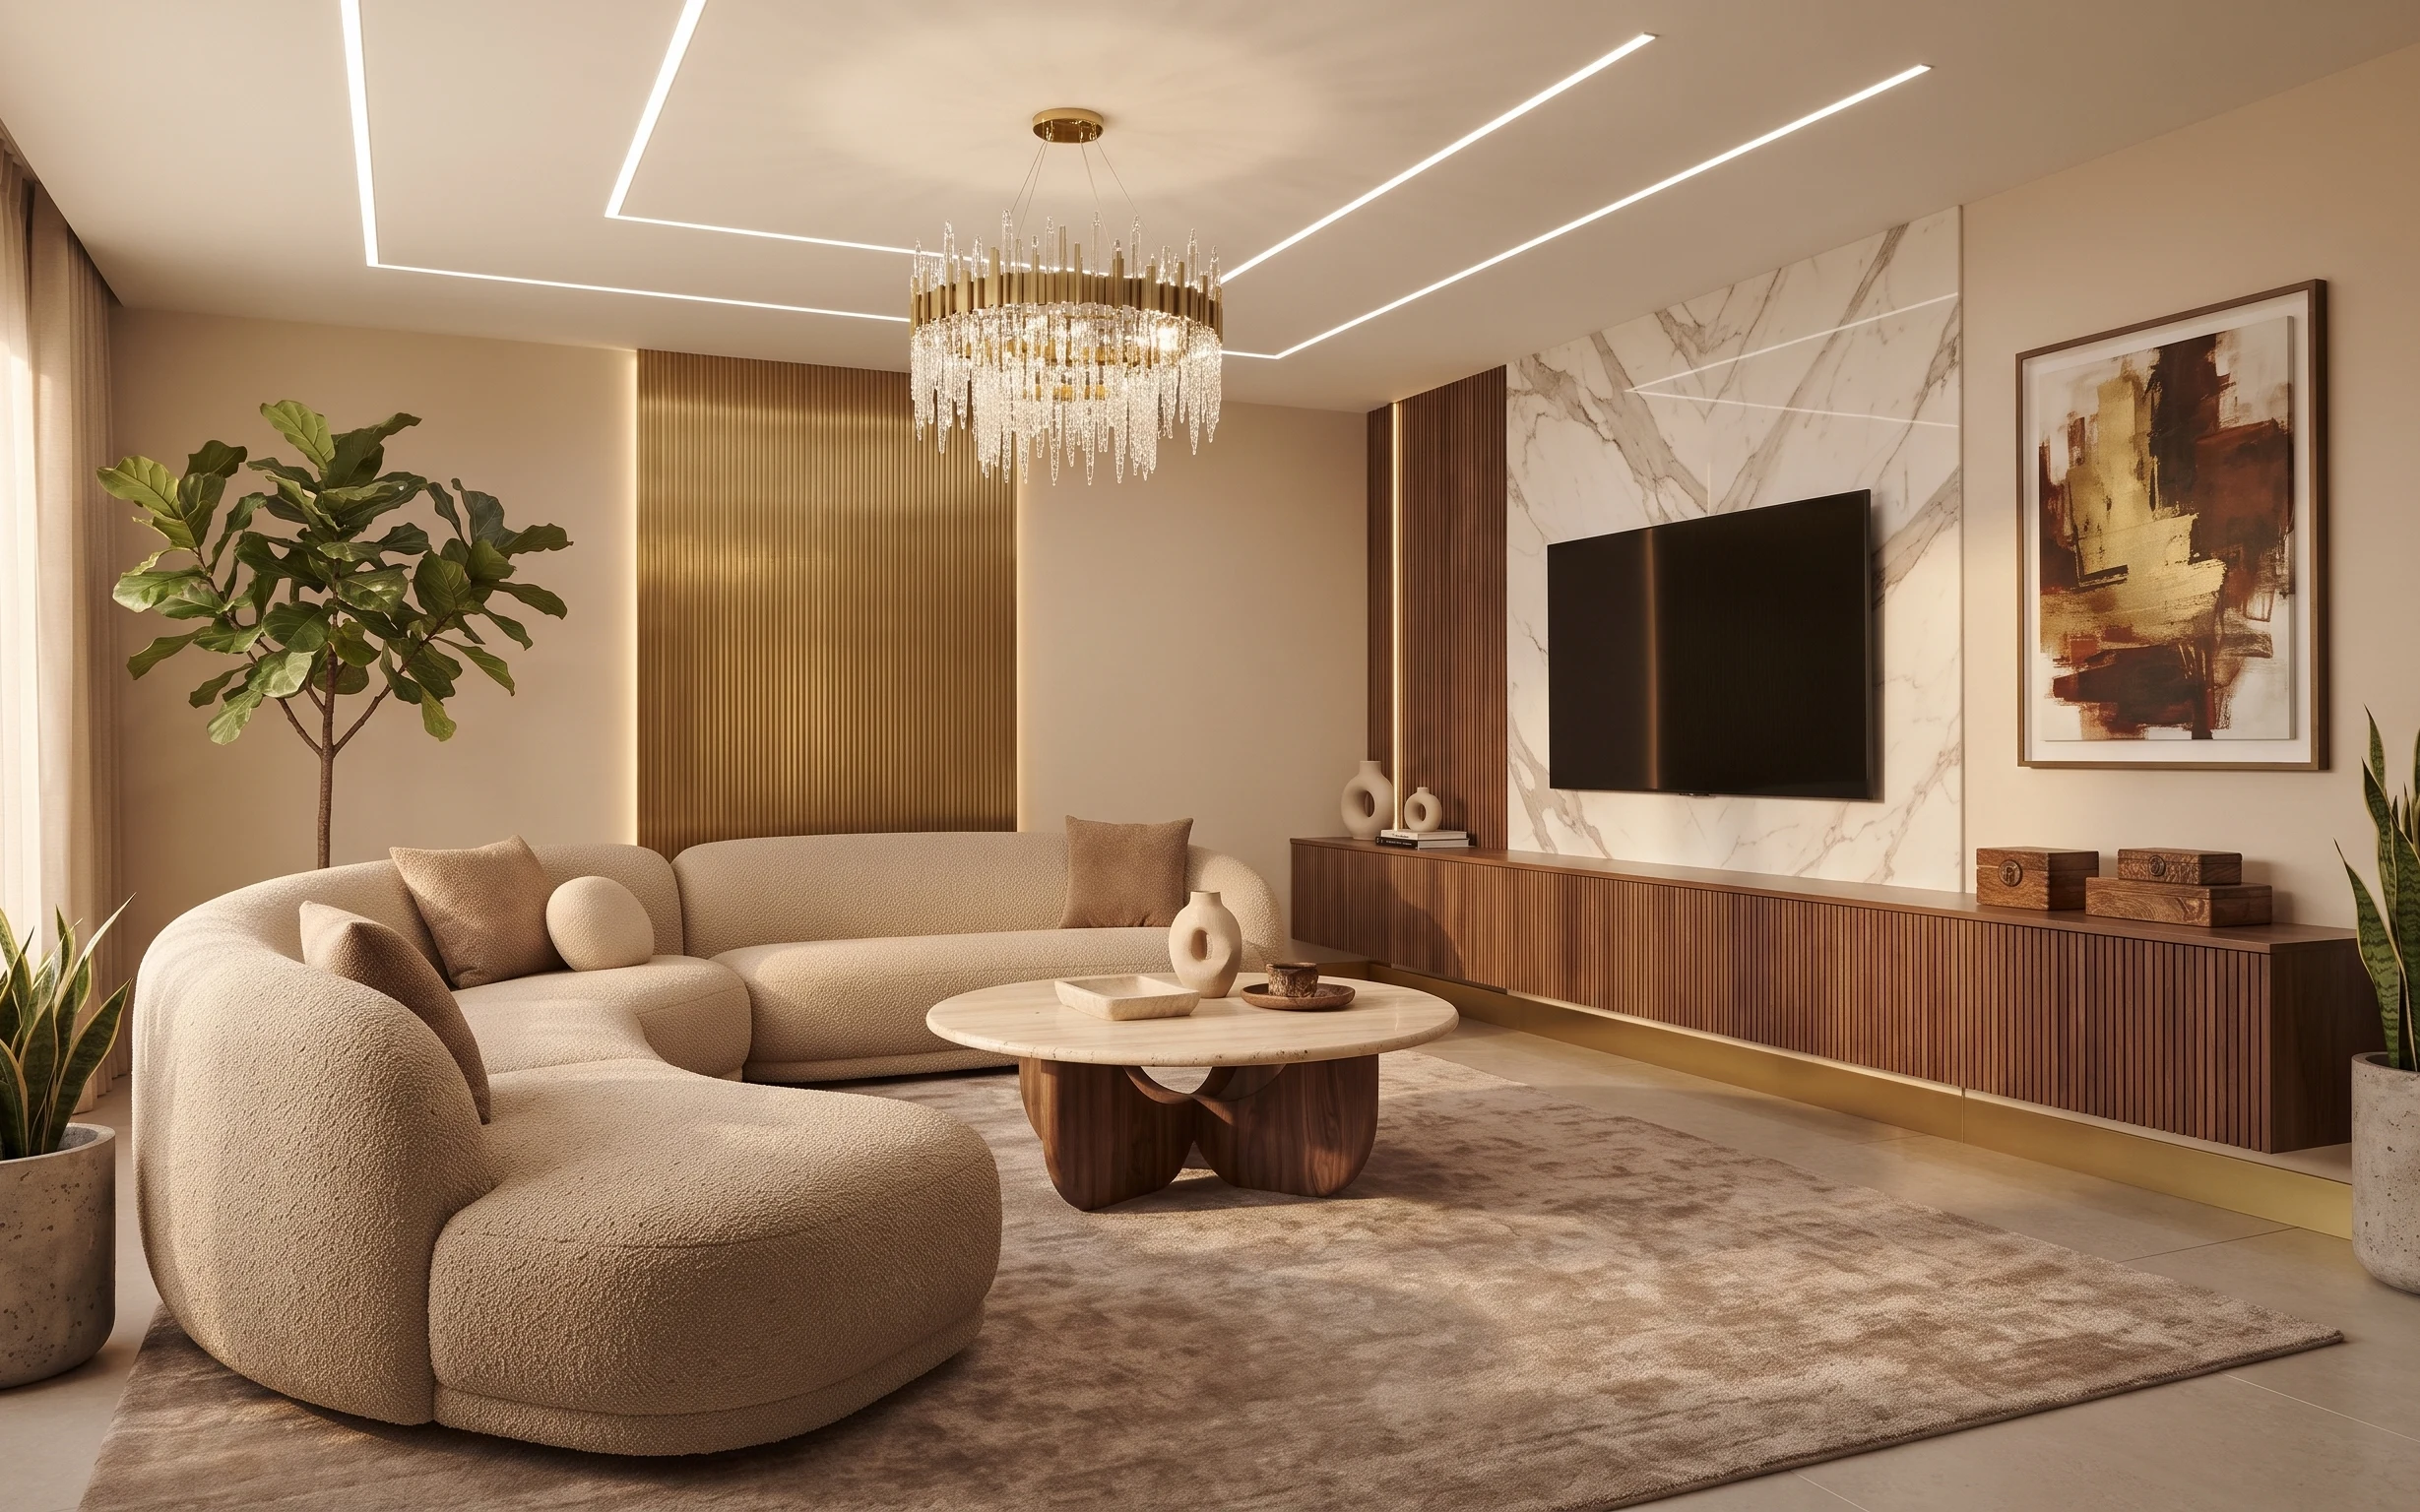
The easiest way to get this warm, modern look is to copy the material rhythm: soft textiles on the floor and sofa, then clean line + shine in the wall art and console styling. In the photo, the beige upholstery texture and the matte wall paneling create calm, while the gold tones in the abstract art add a subtle reflective note. The rug anchors everything visually, and the plants add scale so the room doesn’t feel flat. For renters, this is doable because every piece is removable at lease end, with no wall changes needed.
I used to overthink “statement” decor and end up with mismatched sizes—like one big plant but no mid-size objects to balance it. Here’s the mistake I won’t repeat: skipping the console styling tray. Once I added a tray that holds smaller ceramics together (instead of scattering items across the counter), the whole grouping looked intentional. That same idea—repeat neutrals, then group smaller accents—turns a simple console into a focal point.
Layer 1 — area rug 8×10, warm beige ($200) Softens the whole seating zone
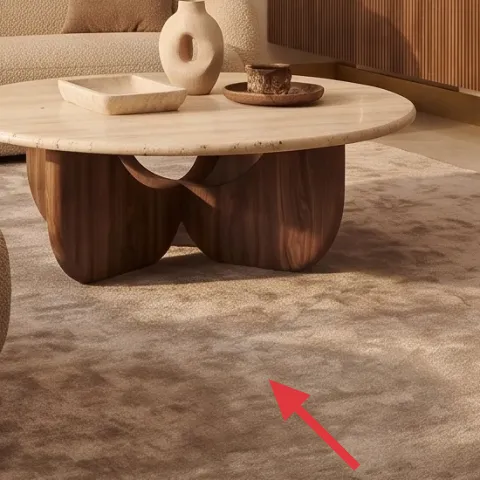
This warm beige 8×10 area rug is the foundation, because it mirrors the photo’s quiet, textured base under the rounded sofa. The plush, light tone makes the console and wall art look brighter by contrast, and it also hides everyday mess better than a pale cream. The trade-off is that you’ll want a flat, low-pile option if you have thicker foot traffic, but the payoff is a softer landing for lounging and a more “finished” edge-to-edge look. Compared with starting with pillows alone, the rug is what creates that cohesive landing zone for everything else.
Pick a rug that’s big enough for the sofa front
If even the front legs miss the rug, the room starts to look chopped up instead of grounded.
Layer 2 — beige throw pillow set ($30) Matches the sofa’s tone, not your trends
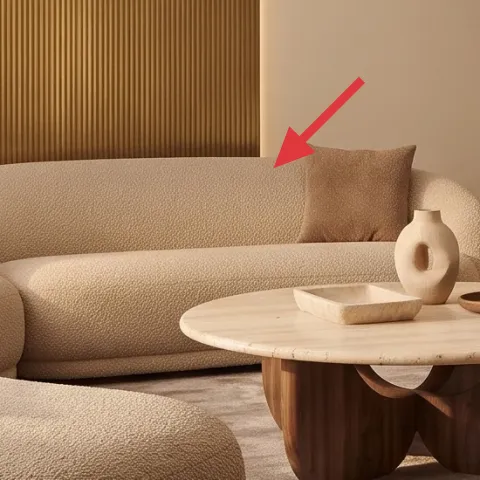
These beige throw pillows echo the rounded sofa’s upholstery color and keep the couch from looking flat against the warm wall paneling. Choose a couple of covers in the same family—one slightly textured and one more smooth—to mimic the subtle variation you see in the photo’s pillow faces. The obvious alternative is buying one “accent” pillow in a bold color, but that often clashes with a warm neutral palette unless the rest of the room has matching warmth. This set is a safer bet for renters because it’s fully removable, and it’s also the easiest way to refresh seasonal vibes later without changing your underlying furniture.
Texture reads better than color here
Even with identical beige tones, a woven or boucle-like surface makes the couch look richer.
Layer 3 — framed abstract wall art ($80) Brings the gold-and-brown note to the wall
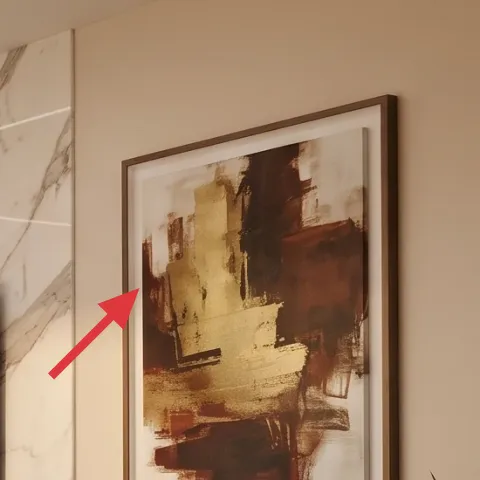
The framed abstract wall art is what gives the console wall its personality: gold + warm brown strokes against a light background. Hanging this piece where it visually lines up with the TV area keeps the wall from feeling like it’s “all electronics.” The trade-off with framed art is scale—too small looks like an afterthought, but the right size makes the whole corner feel curated. Compared with adding decorative shelves or leaning extra decor, art is the cleanest, renter-safe way to add warmth and movement while keeping the space modern and uncluttered.
Center the art at about eye level
In this setup, the goal is that your eyes meet the artwork immediately when you look toward the console.
Layer 4 — decorative tray for console styling ($35) Organizes small items into one grouping
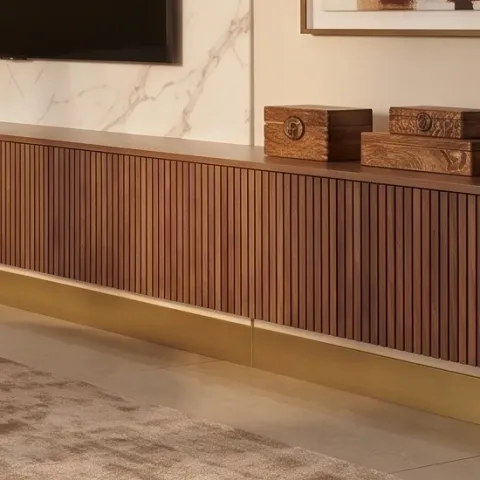
A decorative tray is the organizing trick that makes console decor look intentional. In the photo, small ceramics and sculptural pieces sit together, and the console surface looks neat instead of scattered. A tray helps you do that same “cluster” effect while keeping everything stable for cleaning and daily life. The trade-off is that you have to curate what goes on top—if you overload the tray, it starts looking busy fast. Still, compared with adding multiple standalone pieces, a tray gives you one visual unit, which makes the warm, minimal style feel more high-end without any permanent work.
Don’t place the tray so it hides the console’s lines
If the tray sits too far forward, the lower wood lines and vertical panel texture stop reading clearly.
Layer 5 — two small potted plants on console ($20) Adds height without taking over
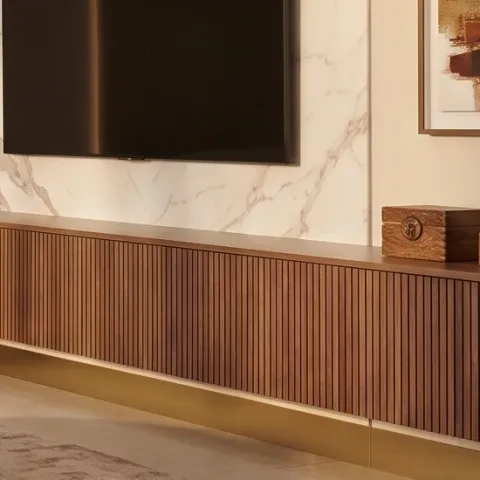
Two small potted plants on the console echo the photo’s clean, modern plant styling while keeping the greenery contained. This gives you that “alive” note near eye level, without forcing you into a single huge plant that can dominate the room. The trade-off is that small plants need a little more attention—watering schedules matter—yet it’s still easier than managing a large tree. Compared to using only dried stems or fake botanicals, fresh plants read more dimensional next to the marble-look wall and the gold accents. They also tie the wall art and rug together by repeating organic shapes.
Choose pots with a matte finish
Matte ceramics won’t fight the warm gold tones like glossy planters sometimes do.
Layer 6 — snake plant in concrete-style pot ($40) Brings a bold green silhouette to the corner
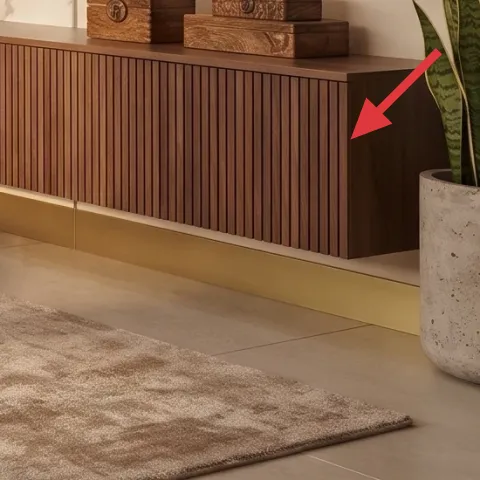
A snake plant in a concrete-style pot adds a crisp, vertical silhouette that balances the rounded sofa and the horizontal console line. In the photo, the plant on the right side acts like a visual “bookend,” giving the room structure. The trade-off is size: if the pot is too small, you’ll lose that grounding effect at the floor level. Still, this is a renter-friendly win because you can move it with you and it doesn’t require wall mounting. Compared with adding another framed print, a real plant delivers both color and volume, which helps the room feel lived-in rather than staged.
Rotate the pot every couple of weeks
Rotation helps keep the leaves growing upright instead of leaning toward the light.
Layer 7 — painted terracotta planter set (for the leafy tree) ($45) DIY color on a movable base
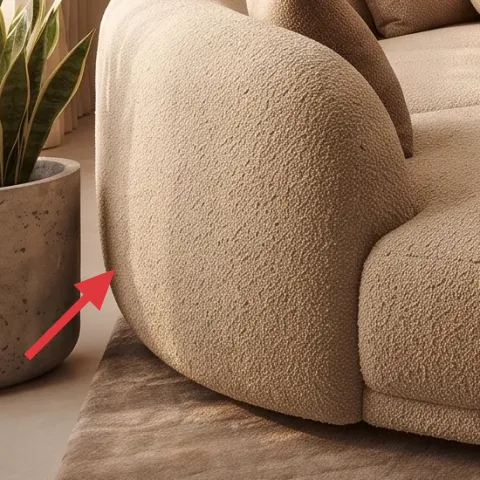
This DIY painted terracotta planter set stands in for the leafy tree pot moment, giving the same grounded “tree in a pot” look with a lighter, warmer vibe. The photo already has big plant scale, and repainting the planter keeps the focus on the plant leaves instead of the container. The trade-off with terracotta is that it looks best when the paint job is clean—thin coats and even coverage matter. Compared to buying a ready-made pot, this DIY is the most budget-friendly way to tune the planter to the room’s beige-and-gold palette, and it’s easy to remove at move-out.
Make it instead of buying it
Paint a small set of terracotta planters to match the room’s warm neutrals, so the leafy tree reads styled instead of random.
Materials
- Terracotta planters (set of 2) — medium size — craft store — $16
- Acrylic paint (warm beige) — 8 oz — craft store — $8
- Acrylic paint (warm brown) — 8 oz — craft store — $6
- Painters tape — 1 roll — hardware store — $4
- Sponge brush set — 1 pack — craft store — $6
Steps
- Clean and dry the planters, then mask any areas you want to keep unpainted.
- Apply a warm beige base coat with a sponge brush for even texture.
- Let the base coat dry to the touch, then add warm-brown accents using tape edges.
- Peel tape carefully while the paint is still slightly tacky to avoid ripping.
- Touch up thin spots with a small brush, focusing on the rim and sides.
- Allow the planters to fully dry before moving them into place.
Total DIY cost: $40 — saves about $5 over buying.
The cost, layer by layer
| Layer | Item | Cost |
|---|---|---|
| 1 | Area rug 8×10, warm beige | $200 |
| 2 | Beige throw pillow set | $30 |
| 3 | Framed abstract wall art | $80 |
| 4 | Decorative tray for console styling | $35 |
| 5 | Two small potted plants | $20 |
| 6 | Snake plant in concrete-style pot | $40 |
| 7 | Painted terracotta planter set (DIY equivalent) | $45 |
| Total | $450 | |
If the rug budget needs to dip, choose a 5×7 warm beige area rug instead and place it so the sofa front legs still sit on it. You’ll save money while keeping the same “soft anchor” effect under the seating.
What worked, what didn't (across the whole room)
The warm-neutral recipe works because it follows repeatable rules: anchor with a large rug, keep pillows in the same family, and bring gold/brown warmth through one strong wall art piece. Plants also made the difference by adding both volume and shape near eye level and at floor level. The parts that needed the most restraint were console accessories, since it’s easy to overfill a flat surface.
What worked
- The beige 8×10 rug created a grounded boundary for the sofa and made the wall feel brighter.
- Matching beige pillow covers kept the couch cohesive instead of looking like separate purchases.
- The framed abstract art added warm gold motion without needing multiple frames.
- A console tray turned small ceramics into one intentional cluster instead of scattered items.
- Two small plants on the console added height while keeping the wall styling clean.
- The snake plant brought a bold vertical silhouette that balanced the room’s long horizontal lines.
What didn't
- Starting with only decor on the console looked busy before the rug and pillow tones were set.
- Too-small framed art read like a detail, not the anchor, even with the right colors.
- Overloading the tray made the console feel cluttered against the marble-look wall.
- Mixing glossy plant pots with matte wall textures created unwanted shine differences.
What we'd skip if we did it again
Skip adding a second statement on the wall, like a matching set of framed pieces. With the photo’s warm wall paneling and marble-look backdrop already doing a lot, one strong abstract print keeps the composition clean and rental-safe.
Skip buying multiple small standalone items for the console without a tray. A tray is what gives you grouping, alignment, and an easy “reset” when you wipe the surface.
Skip going smaller than an 8×10 rug for a seating area this size. When the rug undershoots, the sofa stops feeling anchored, and the room reads more cramped even if the colors match.
Frequently asked
How long does this kind of console living room refresh take?
Most of the time goes to rug + art placement and deciding what sits on the console. If you already have basic tools for measuring, plan about 2–4 hours total for placement and styling. Expect another hour for final tweaks—straightening pillows, adjusting plant positions, and making sure the tray items look centered. With one DIY planter, add 3–4 hours of drying time spread across the day.
Can I do this in a rental without changing the walls?
Yes. This refresh relies on renter-safe items: an area rug, removable pillow covers, framed wall art hung with removable methods, and countertop styling with a decorative tray. For plants, you can use pots you can take with you at move-out. The look comes from layering texture and color, not from painting or drilling, so it’s designed to pack up easily.
What if my living room is smaller than the photo?
Go smaller on rug size only if you maintain the same rule: the sofa’s front legs should land on the rug. Use fewer pillows (two covers instead of three) and keep console styling to one tray cluster. For plants, keep one floor plant and one smaller console plant rather than two bigger moments. The warm neutrals will still read upscale because the palette stays tight.
What if my living room is bigger or the wall is farther away?
Scale up the rug until it reaches past the sofa front and tucks under the coffee table, and choose a slightly larger framed print if needed. Add one more small accent object on the tray (not a whole second tray), and let the plants occupy more volume by using slightly wider pots. The goal is consistent spacing: the console should look styled, not crowded.
Where should I shop for these pieces on a budget?
Rugs and pillow covers are often the best deals through off-price retailers and marketplaces, then you can splurge on one “anchor” like framed art if you find it at the right size. For plants, local nurseries can be cheaper than big-box stores, and you can also check plant swaps. Decorative trays are easiest to find online in neutral finishes, and a simple terra-cotta DIY planter is usually the cheapest option.
What’s the biggest mistake people make in a warm neutral living room like this?
They buy matching colors but skip variation in texture and scale. Beige looks expensive only when it has layers—rug pile, pillow fabric texture, and a framed art focal point. Another common miss is console clutter: if everything is small and loose without a tray, the surface looks messy. A tray and a couple of plants fix that quickly.
More in Living Room
Under $500: warm taupe console living room refresh
A bright, warm-neutrals console living room look is achievable on a renter budget. This makeover uses seven move-friendly swaps—rug, pillow…
Under $1000: 7 budget-friendly swaps for a japandi sofa corner
A bright japandi sofa corner refresh you can finish in a weekend, built around an olive-and-cream palette. With 7 buy-or-build upgrades tot…
Under $500: botanical neutral living room swaps for renters
Warm, sunlit living room styling you can copy without paint or drilling. This renter-friendly refresh uses 7 mix-and-match layers—rug, text…