
- Best for
- counter styling + soft floor comfort
- Cost
- about $515 total
- Difficulty
- easy swaps + one label DIY
- Time
- 1–2 weekends
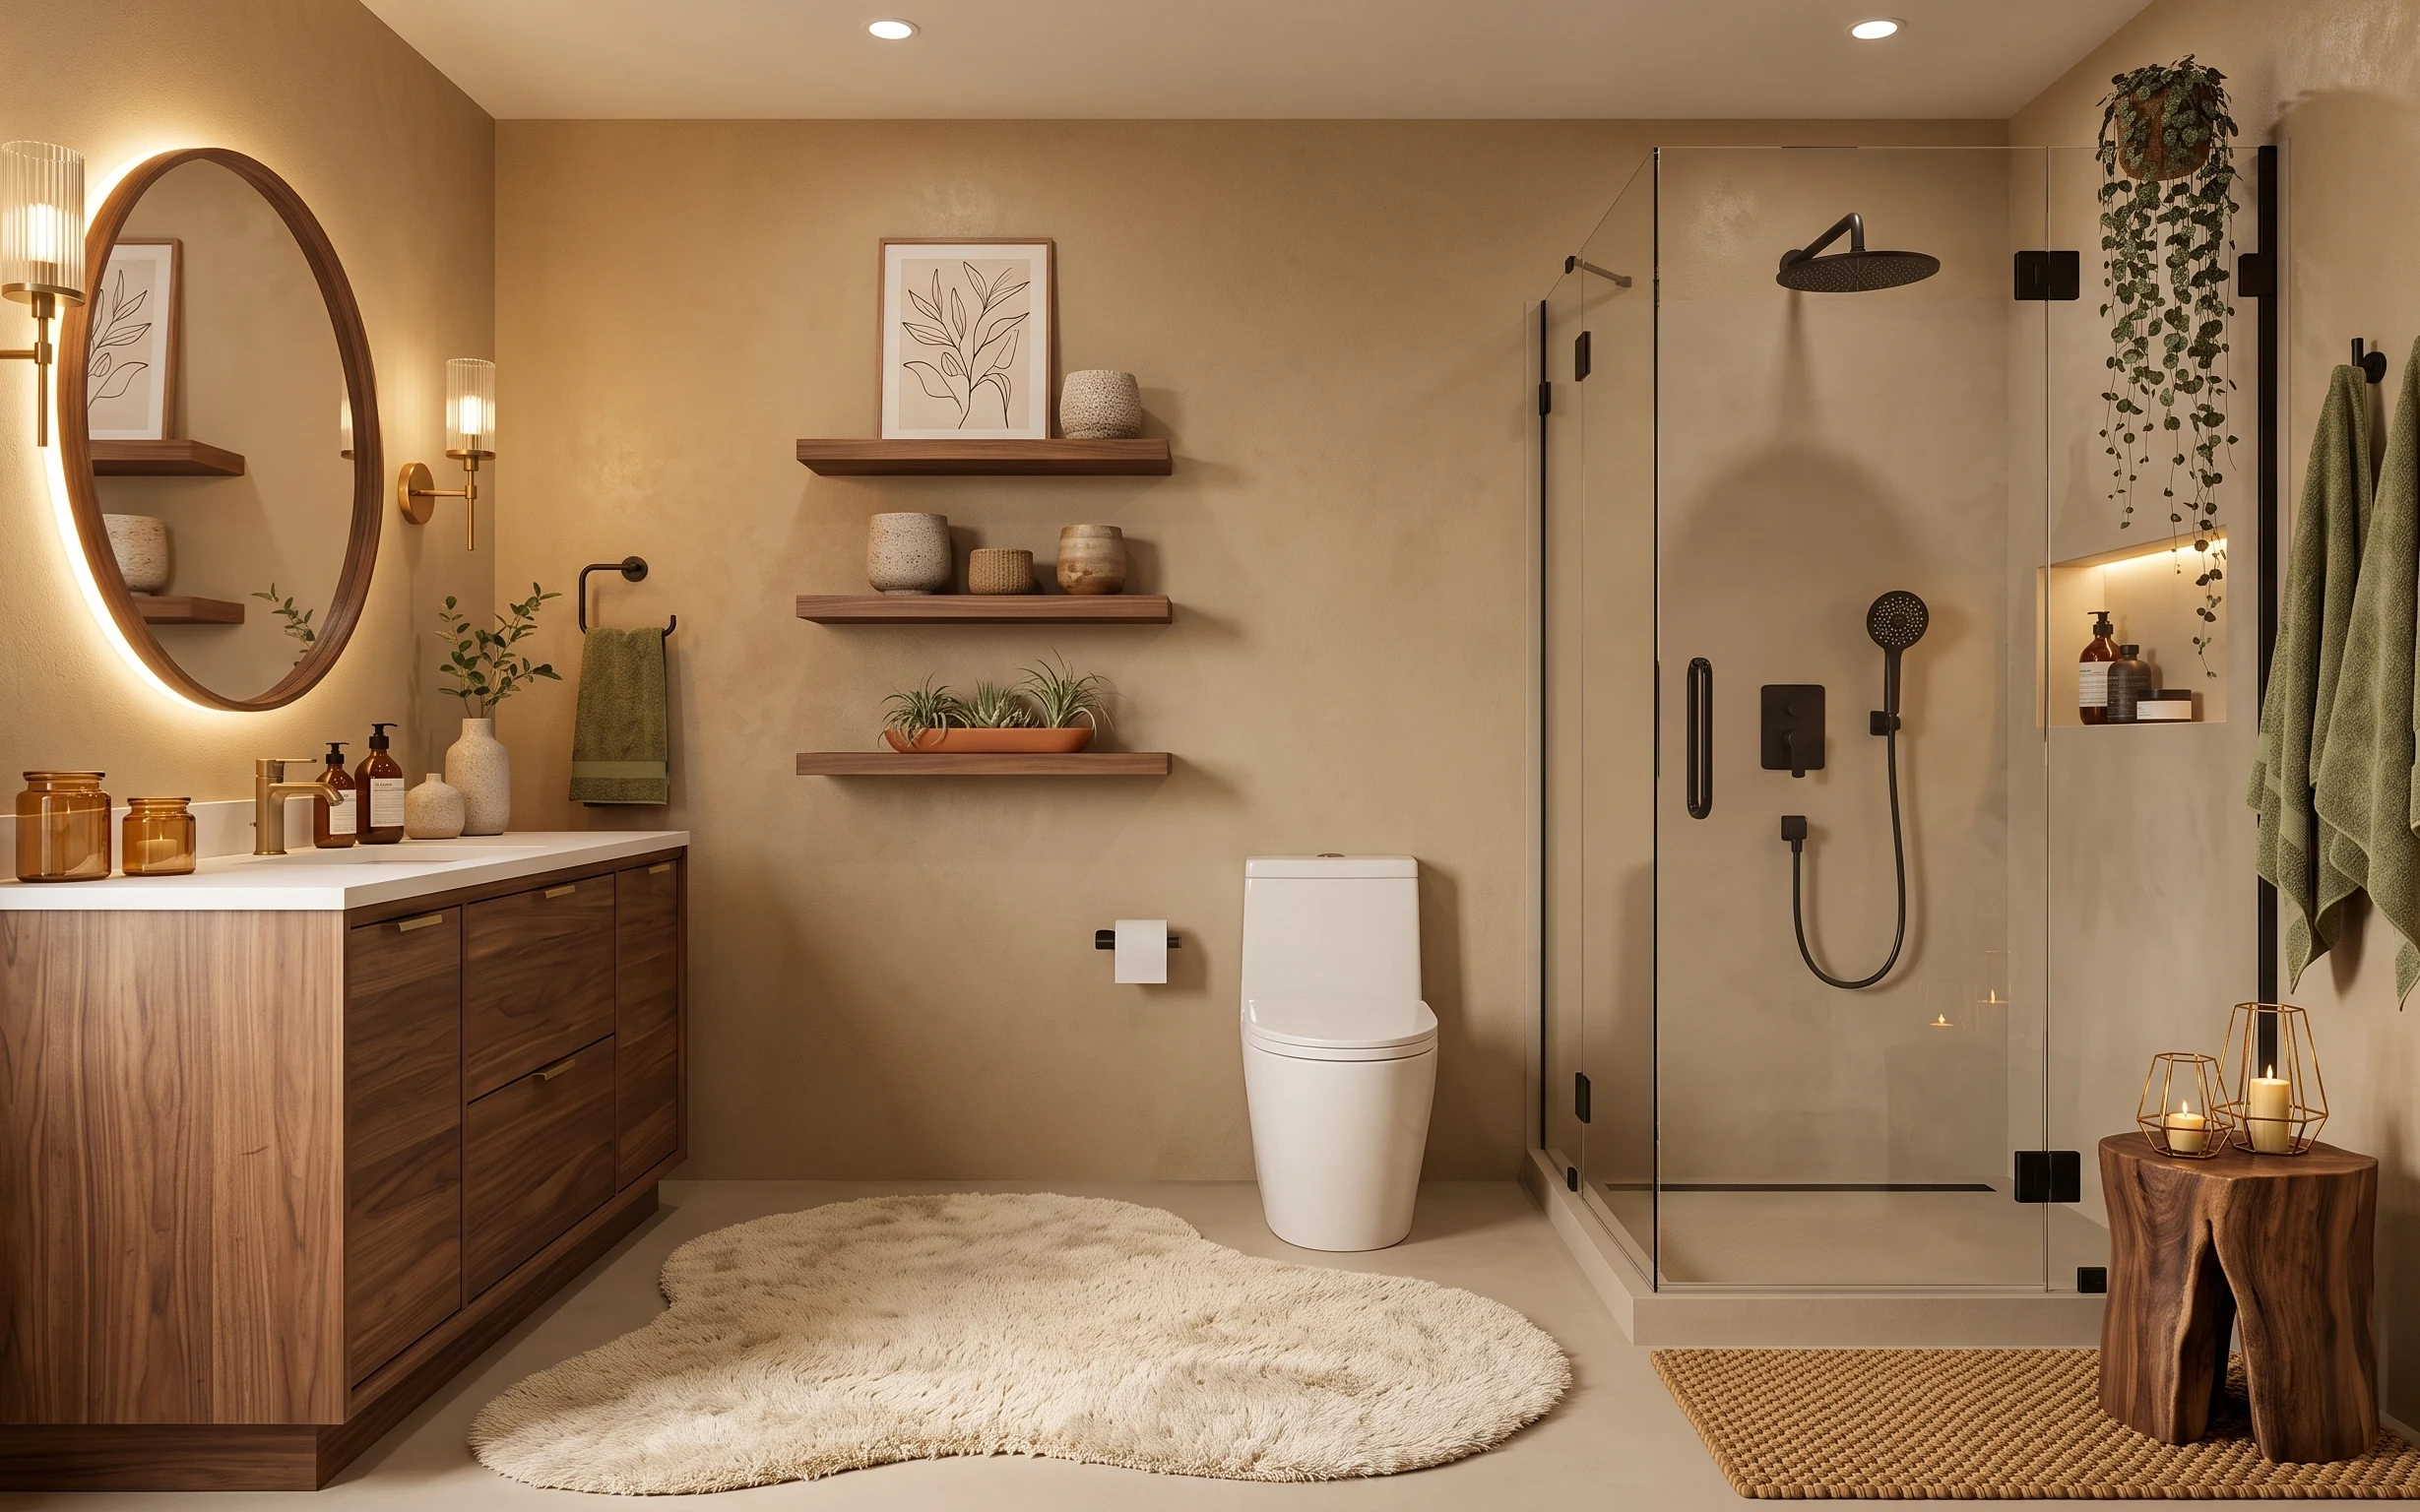
Why warm wood-and-sage details are the spa bathroom of 2026
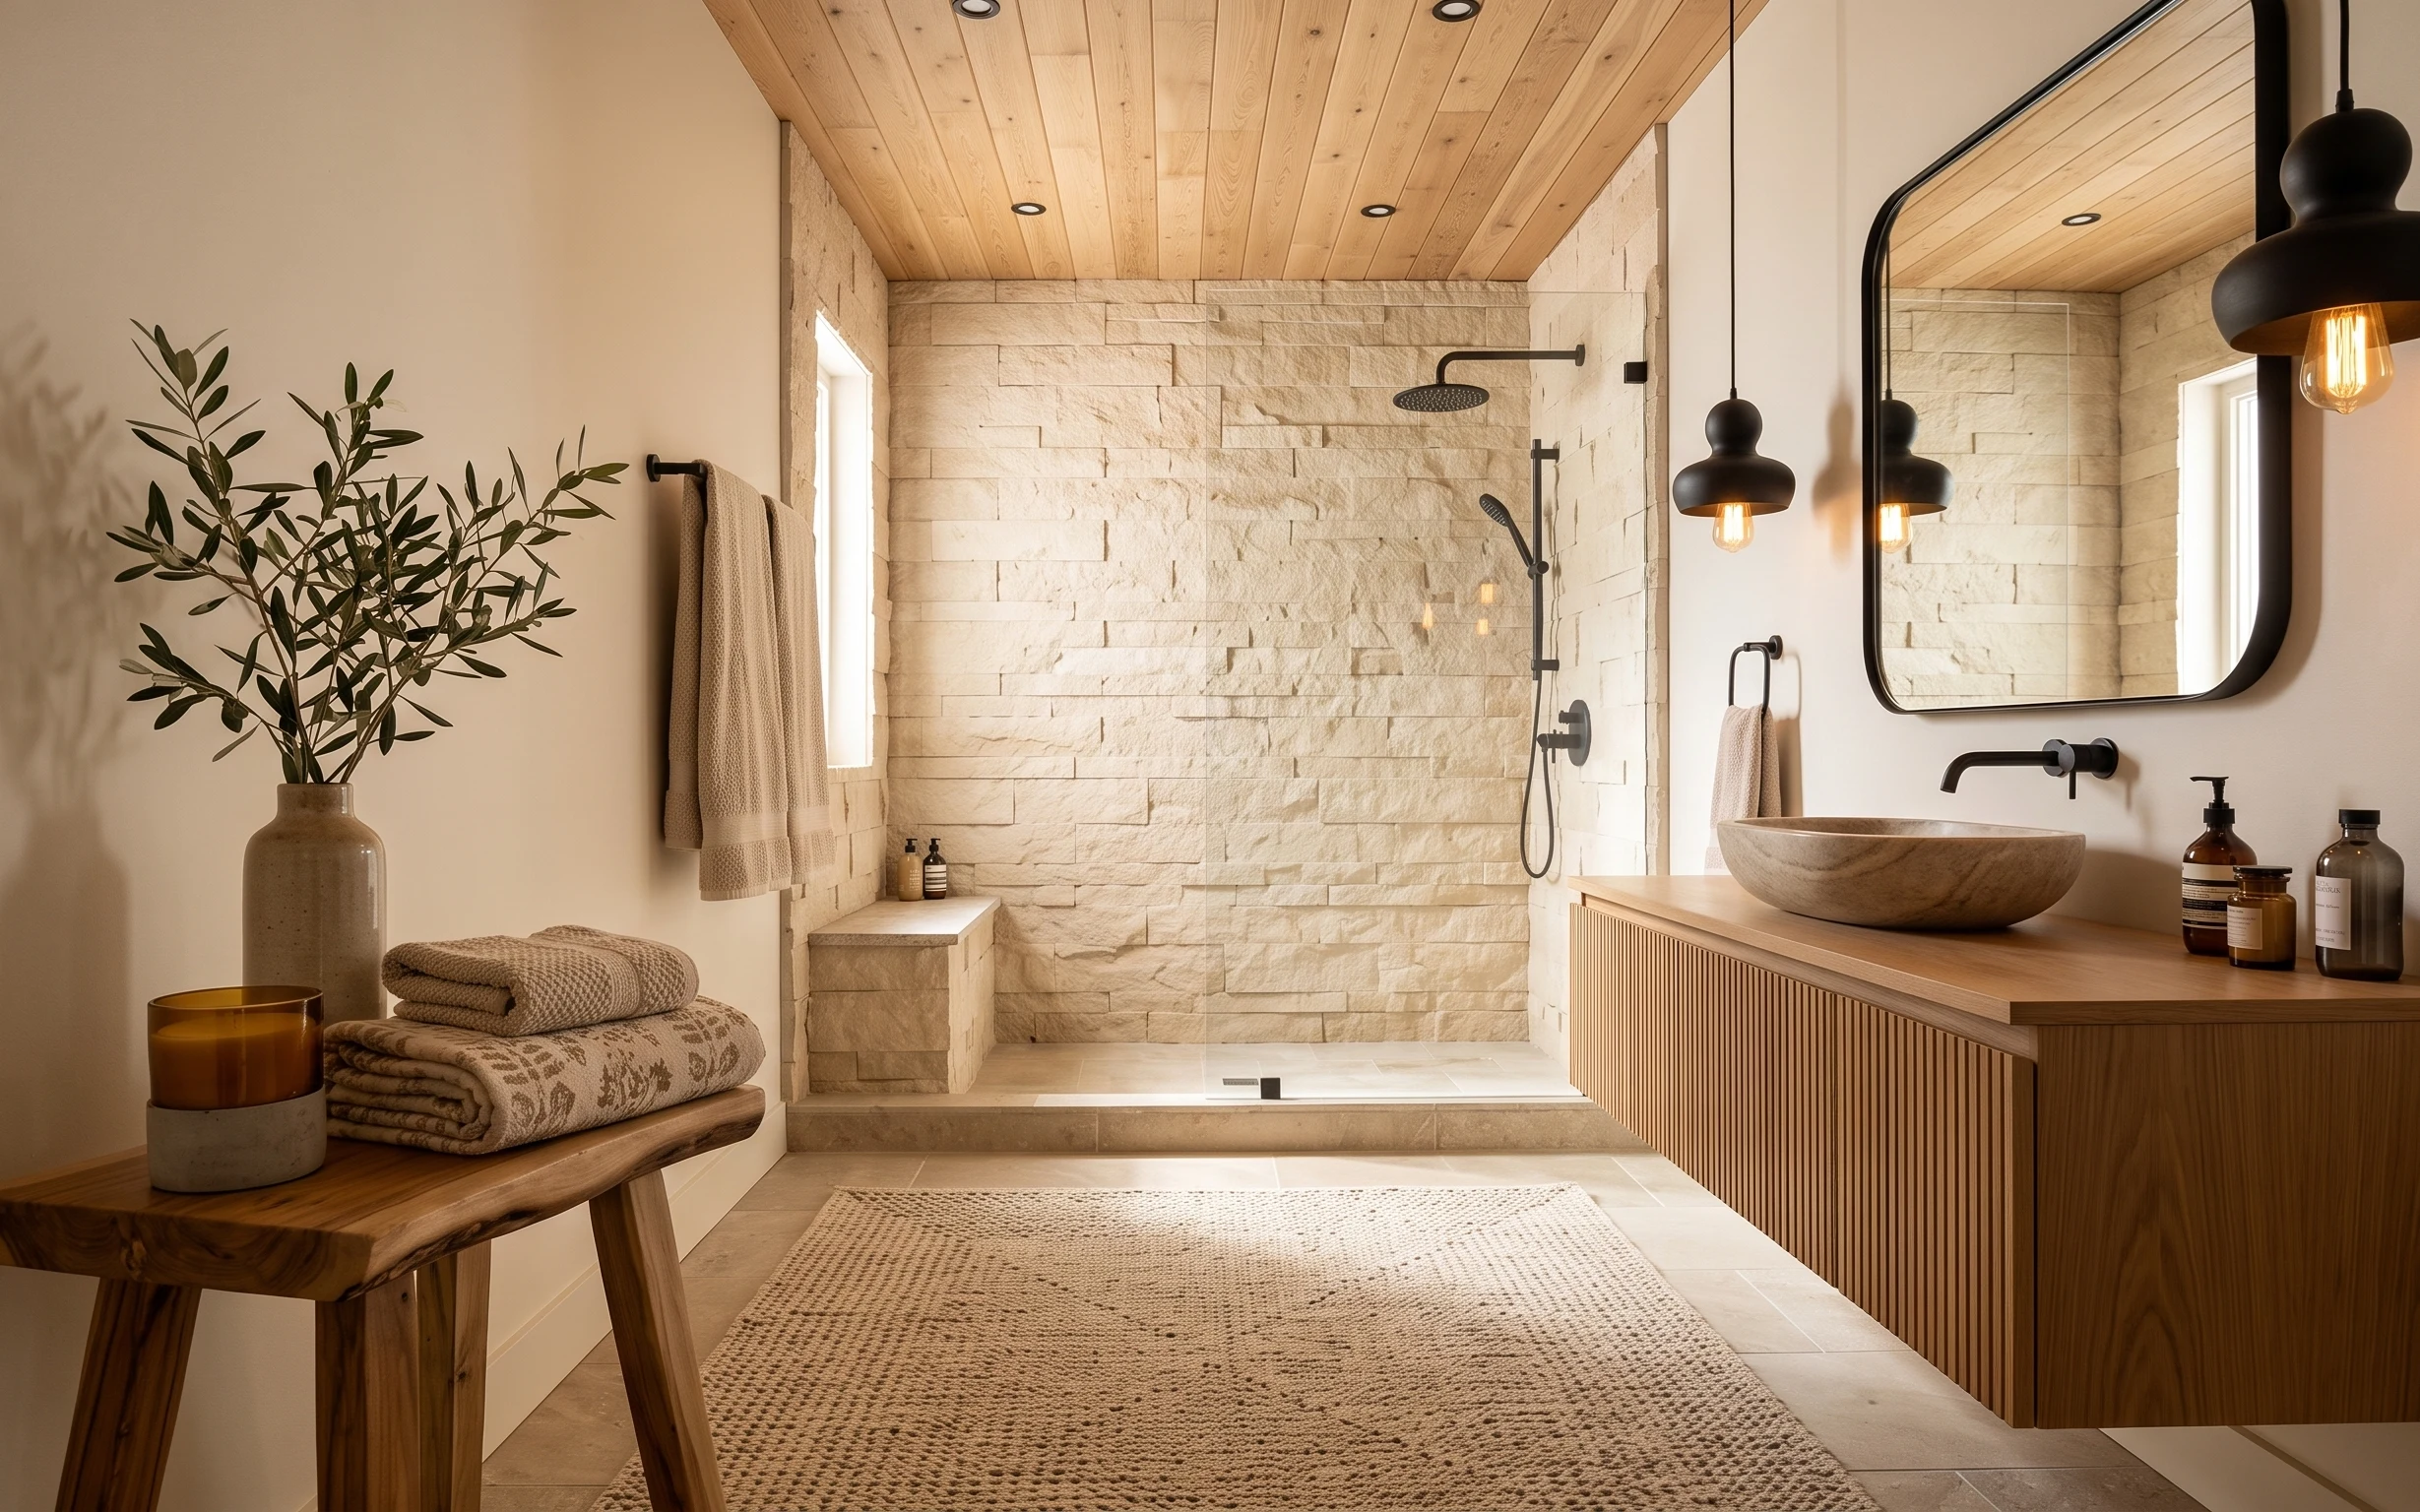
This bathroom already has the kind of warm beige walls and walnut-brown storage that reads calm on day one. The refresh in this photo leans into texture: a large shag rug, a framed botanical art print, and layered countertop objects that feel curated instead of cluttered. You also see soft, rounded shapes (like the oval mirror) and sage-green fabric bringing in a spa-like signal without changing anything permanent. For renters, the best part is that every swap here either moves with you or sits on top of surfaces.
I used to think a spa bathroom meant “fancy fixtures,” but what actually changed everything for me was styling the floor and the counter together. On one move, I only added bath textiles and skipped a simple framed print—my space looked unfinished. This time, I’d repeat the same order: rug first for comfort, then one wall focal piece, then plants and candlelight to make it feel intentional.
Layer 1 — large shag rug ($200) Soft underfoot, not slippery
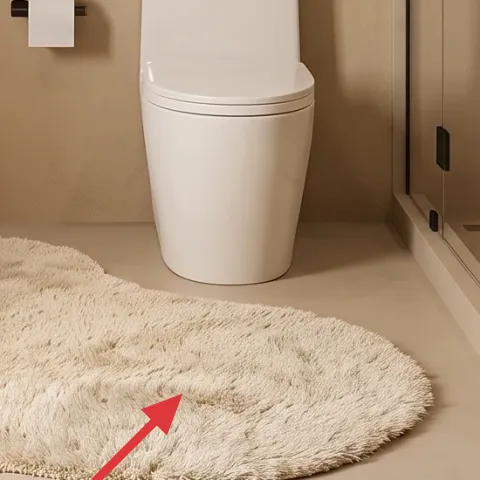
That large shag rug is the fastest way to get the soft, spa-floor feel you see here. Its pile reads cozy against the tile, and because it’s a renter-safe textile swap, it also packs up when the lease ends. The trade-off is practical: a shag surface needs a little more routine vacuuming than a flatweave, especially if you track in moisture. Still, it’s the piece that makes the space feel cushioned every time you step out of the shower. A good alternative is a washable plush bath mat set, but the look here needs one bigger statement rug to anchor the room.
Pick a rug with a grippy backing
A grippy backing helps prevent slips on tile and keeps the pile from shifting when the bathroom floor gets damp.
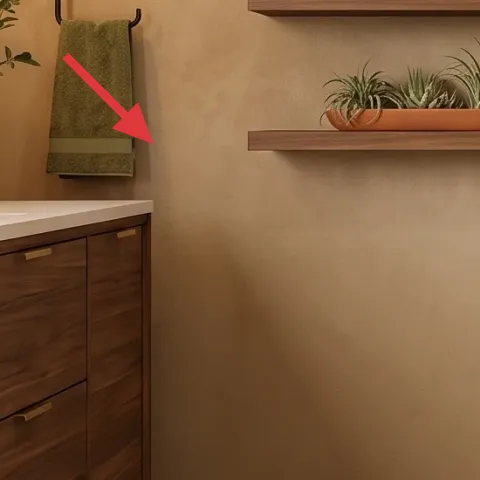
Layer 2 — framed botanical art print ($80) One vertical calm moment on the wall
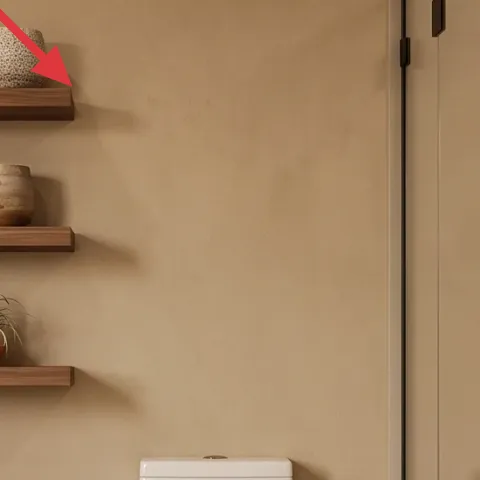
The framed botanical art print gives the room a clean focal point without adding visual noise. It also echoes the green tones in the towel and plant, so the whole scheme feels pulled from one palette. In a rented bathroom, art is one of the easiest “high impact” swaps because you can swap it quickly and remove it without trouble. The trade-off is scale: the print needs to be large enough to hold attention on a wide, quiet wall area. A smaller print would look like an afterthought. This specific botanical line drawing also keeps the mood airy instead of busy.
Match the art to one existing color
If your bathroom already has sage accents (like towels or greenery), choose an art print with green tones to keep it cohesive.
Layer 3 — indoor plant in vase ($80) Green texture that reads fresh
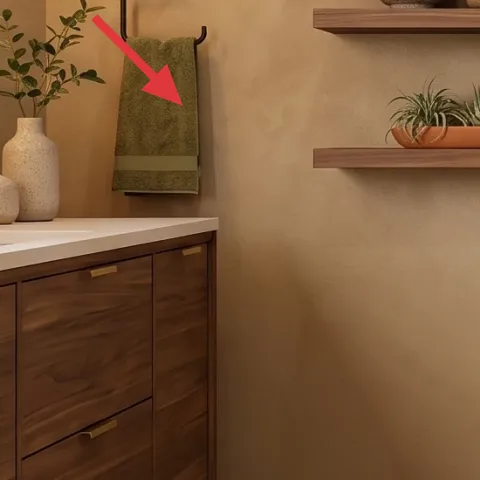
The indoor plant in a vase brings life to the countertop styling and softens all the straight lines—mirror, shelves, and shower glass included. The leaves also repeat the room’s natural theme, so it feels “grown-in” rather than decorated-for-a-photo. I like using a real plant even if it’s low-effort, because artificial greenery can look flat in warm lighting. The trade-off is upkeep: you’ll need a basic watering rhythm and occasional leaf wipe-down. Still, a plant is one of the easiest ways to make a bathroom feel less sterile without touching anything permanent.
Choose leaves that match your vibe
Look for wiry stems or gentle greenery shapes so the plant blends with the botanical art instead of competing.
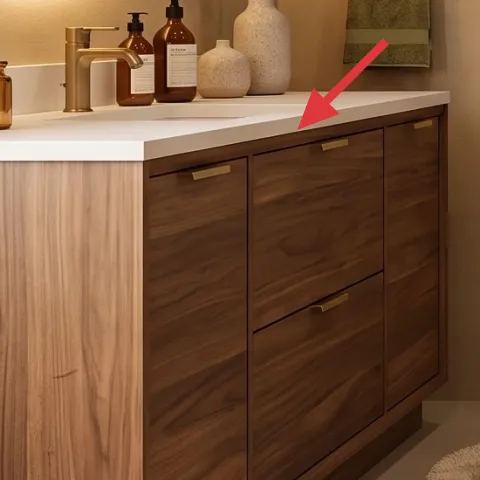
Layer 4 — decorative tray on vanity ($35) Clean lines for jar styling
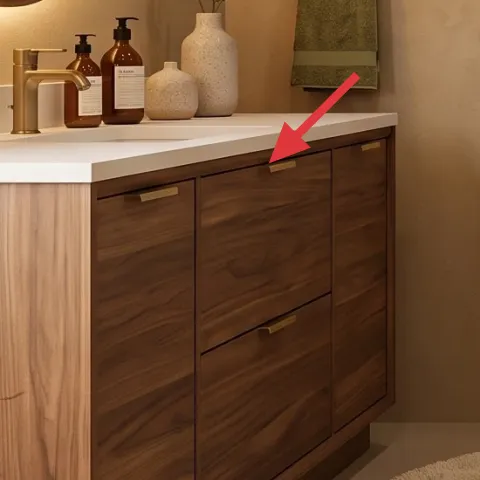
This decorative tray is what turns “a few bottles” into a styled counter moment. It keeps items grouped in one visual block, so the countertop reads intentional even if you change what’s inside later. The tray also helps the color story: warm wood tones on the tray plus glass and amber labels echo the room’s earthy palette. The trade-off is you have to limit what goes on it—overfill a tray and it stops looking designed. I’ve learned to pick a rule: one tray, three to five objects, and leave breathing space around them.
Don’t pick a tray that stains easily
Bathrooms see splashes and humidity, so choose sealed materials or something you can wipe down quickly.
Layer 5 — ceramic vase on counter ($30) Height variation for a spa-style stack
The ceramic vase on the counter adds height and a matte texture that makes glass bottles and lantern light feel warmer. In this photo, the vase sits in the same “still life” cluster as jars and the tray, so it visually organizes the whole shelf-and-counter zone. A single vase is easier to manage than multiple small items because you only need to style around one anchor. The trade-off is placement: put it too close to the edge and it feels crowded; too far and it looks disconnected. Here, the vase sits where your eye naturally drops when you glance toward the vanity area.
Keep the palette tight
Choose one neutral ceramic (cream, sand, or warm beige) so the vase supports the greenery instead of changing the color scheme.
Layer 6 — candle in lanterns ($35) Soft warm glow without fixtures
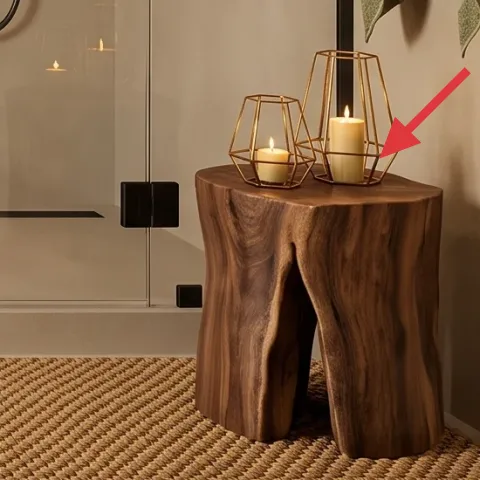
The candle in lanterns gives you the warm, low lighting mood you’d normally get from a built-in fixture—without needing any electrical work. The lantern shape also adds that spa feeling of “evening ritual,” especially in a bathroom where the rest of the lighting is ceiling-forward. The trade-off is attention: always use candles safely and keep them where they won’t be bumped by towels or steam. If the scent is strong, keep it minimal—bathrooms already smell the strongest when you run hot water. Still, for renters, swapping in a new candle and lantern look is one of the easiest budget ways to change the mood on weekends.
Set the candle inside a stable lantern
Lantern glass helps shield flame while still giving that gentle glow.
Layer 7 — apothecary jar labels ($55) Make the jar cluster look “curated”
Make it instead of buying it
This DIY replaces generic jar labels with printable apothecary-style labels on the existing jar-and-bottle cluster, so everything looks coordinated.
Materials
- Printable label sheet, 2–3 sheets — craft store — $12
- Small glass jars (if you need replacements), 2–3 — thrift/discount store — $20
- Clear label cover stickers or clear tape sheets — office/craft store — $10
- Ink cartridges or refill pack — office/craft store — $8
Steps
- Pick label sizes that match each jar’s straight area (measure height and width).
- Print the apothecary text (name + small “notes” line) using a readable serif font.
- Trim labels cleanly with scissors so the edges don’t curl.
- Apply clear cover stickers or tape to protect against bathroom humidity.
- Wipe jars with a dry cloth, then press labels down firmly and let them set.
- Style jars onto the decorative tray so the label types read as a set.
Total DIY cost: $50 — saves about $5 over buying.
The cost, layer by layer
| Layer | Item | Cost |
|---|---|---|
| 1 | Large shag rug (spa-style statement) | $200 |
| 2 | Framed botanical art print | $80 |
| 3 | Indoor plant in vase | $80 |
| 4 | Decorative tray for jar styling | $35 |
| 5 | Ceramic vase on counter | $30 |
| 6 | Candle in lanterns | $35 |
| 7 | Apothecary jar labels (DIY retail-equivalent) | $55 |
| Total | $515 | |
If you want a cheaper variant, start with the rug (swap for a smaller plush bath mat), use one framed print instead of a matching “set,” and keep candlelight to one lantern. The jar labels and tray can stay, since they do most of the visual organization for the least money.
What worked, what didn't (across the whole room)
This layout works because it repeats one palette (warm neutrals, sage accents) while adding texture in predictable places: floor, wall, and countertop. The mix of plant greenery and candle glow keeps it from feeling too “styled.” The main drawback is maintenance—soft shag surfaces and real greenery require quick upkeep in a bathroom.
What worked
- The large shag rug makes the bathroom feel softer the moment you step in.
- The framed botanical art print gives a clean focal point that doesn’t compete with shelves.
- Indoor greenery brings a fresh, natural layer that matches the warm wood tones.
- A decorative tray turns scattered bottles into one tidy countertop block.
- That ceramic vase adds matte texture next to glass and keeps the cluster from looking flat.
- Candlelight in lanterns adds evening warmth without any permanent wiring.
What didn't
- Shag pile needs more vacuuming to stay looking clean after bathroom traffic.
- Real plant leaves may need wiping if steam drifts onto the counter.
- Too many items on the tray makes the countertop look busy fast.
- Candle setups require careful placement away from towels and drafts.
- Jar labels can peel if they aren’t protected with clear covers in a humid bathroom.
What we'd skip if we did it again
Skip adding multiple small countertop accessories at once. In this layout, the tray and one tall ceramic vase do the organizing for you; extra pieces make the cluster feel crowded instead of spa-still-life.
Skip buying a “decorative” rug that isn’t grippy. Tile bathrooms are a slip risk, and a rug that shifts underfoot kills the comfort goal—grip and pile are the non-negotiables here.
Skip strong-scent candles and heavily perfumed oils. Bathrooms concentrate fragrance when hot water runs, so a light candle in lanterns works better for a calm, warm mood without overpowering the space.
Frequently asked
How long does this bathroom refresh take?
Most layers are quick: you can place the rug, art, tray, and plant in a few hours. The only slower part is the DIY jar labels—printing, trimming, and applying clear covers. Plan for 1–2 weekends depending on how much you already have on hand. If you’re shopping from scratch, allow extra time for rug pickup and frame sizing.
Is this renter-friendly if I can’t drill or add hardware?
Yes. This plan avoids permanent changes and focuses on move-ready swaps: a framed botanical print you can hang using removable methods, a large shag rug, and countertop styling items like a tray and candle lanterns. The plant and vase are freestanding, and the jar labels are a DIY you can remove at move-out.
What if my bathroom is smaller or the rug won’t fit?
Use the same logic, just scale down. Swap the large shag rug for a smaller plush bath mat and keep the center of the floor area visually “anchored.” For the wall, choose a single framed botanical print with a similar height to maintain the focal point. The tray and candle still work the same because they organize the counter at any size.
What if my bathroom is brighter or more neutral than this photo?
Lean into texture and warm materials instead of adding more color. Keep the rug pile and ceramic matte textures, and choose greenery with softer leaves rather than glossy, high-contrast plants. For the palette, repeat one accent tone (sage from towels or greenery) and let the rest stay warm beige and walnut brown.
Where should I shop differently to keep the look budget-friendly?
For the framed botanical art print, thrift shops and print marketplaces often have similar minimalist prints for less than big retailers. For the decorative tray and ceramic vase, look at kitchen and home sections or discount home stores. The jar labels DIY can be made using printable sheets instead of buying pre-made sets.
What’s the biggest styling mistake people make in spa-style bathrooms?
Overfilling the countertop and tray. When everything is “decor,” nothing feels intentional. Pick one organizing anchor (tray), limit the number of objects (typically three to five), and leave breathing space. Then bring balance with one height piece (ceramic vase) and one light-mood element (lantern candle).
More in Bathroom
Under $600: renter-friendly spa bathroom refresh
A renter-friendly spa bathroom refresh built around texture (a large shag rug), warm wood tones, and sage-green details. This look uses sev…
Under $400: warm shower nook refresh for shared bathrooms
A warm, modern shower nook can feel intentional even in a shared rental. This $400-style bathroom refresh uses 7 move-ready swaps (rugs, to…
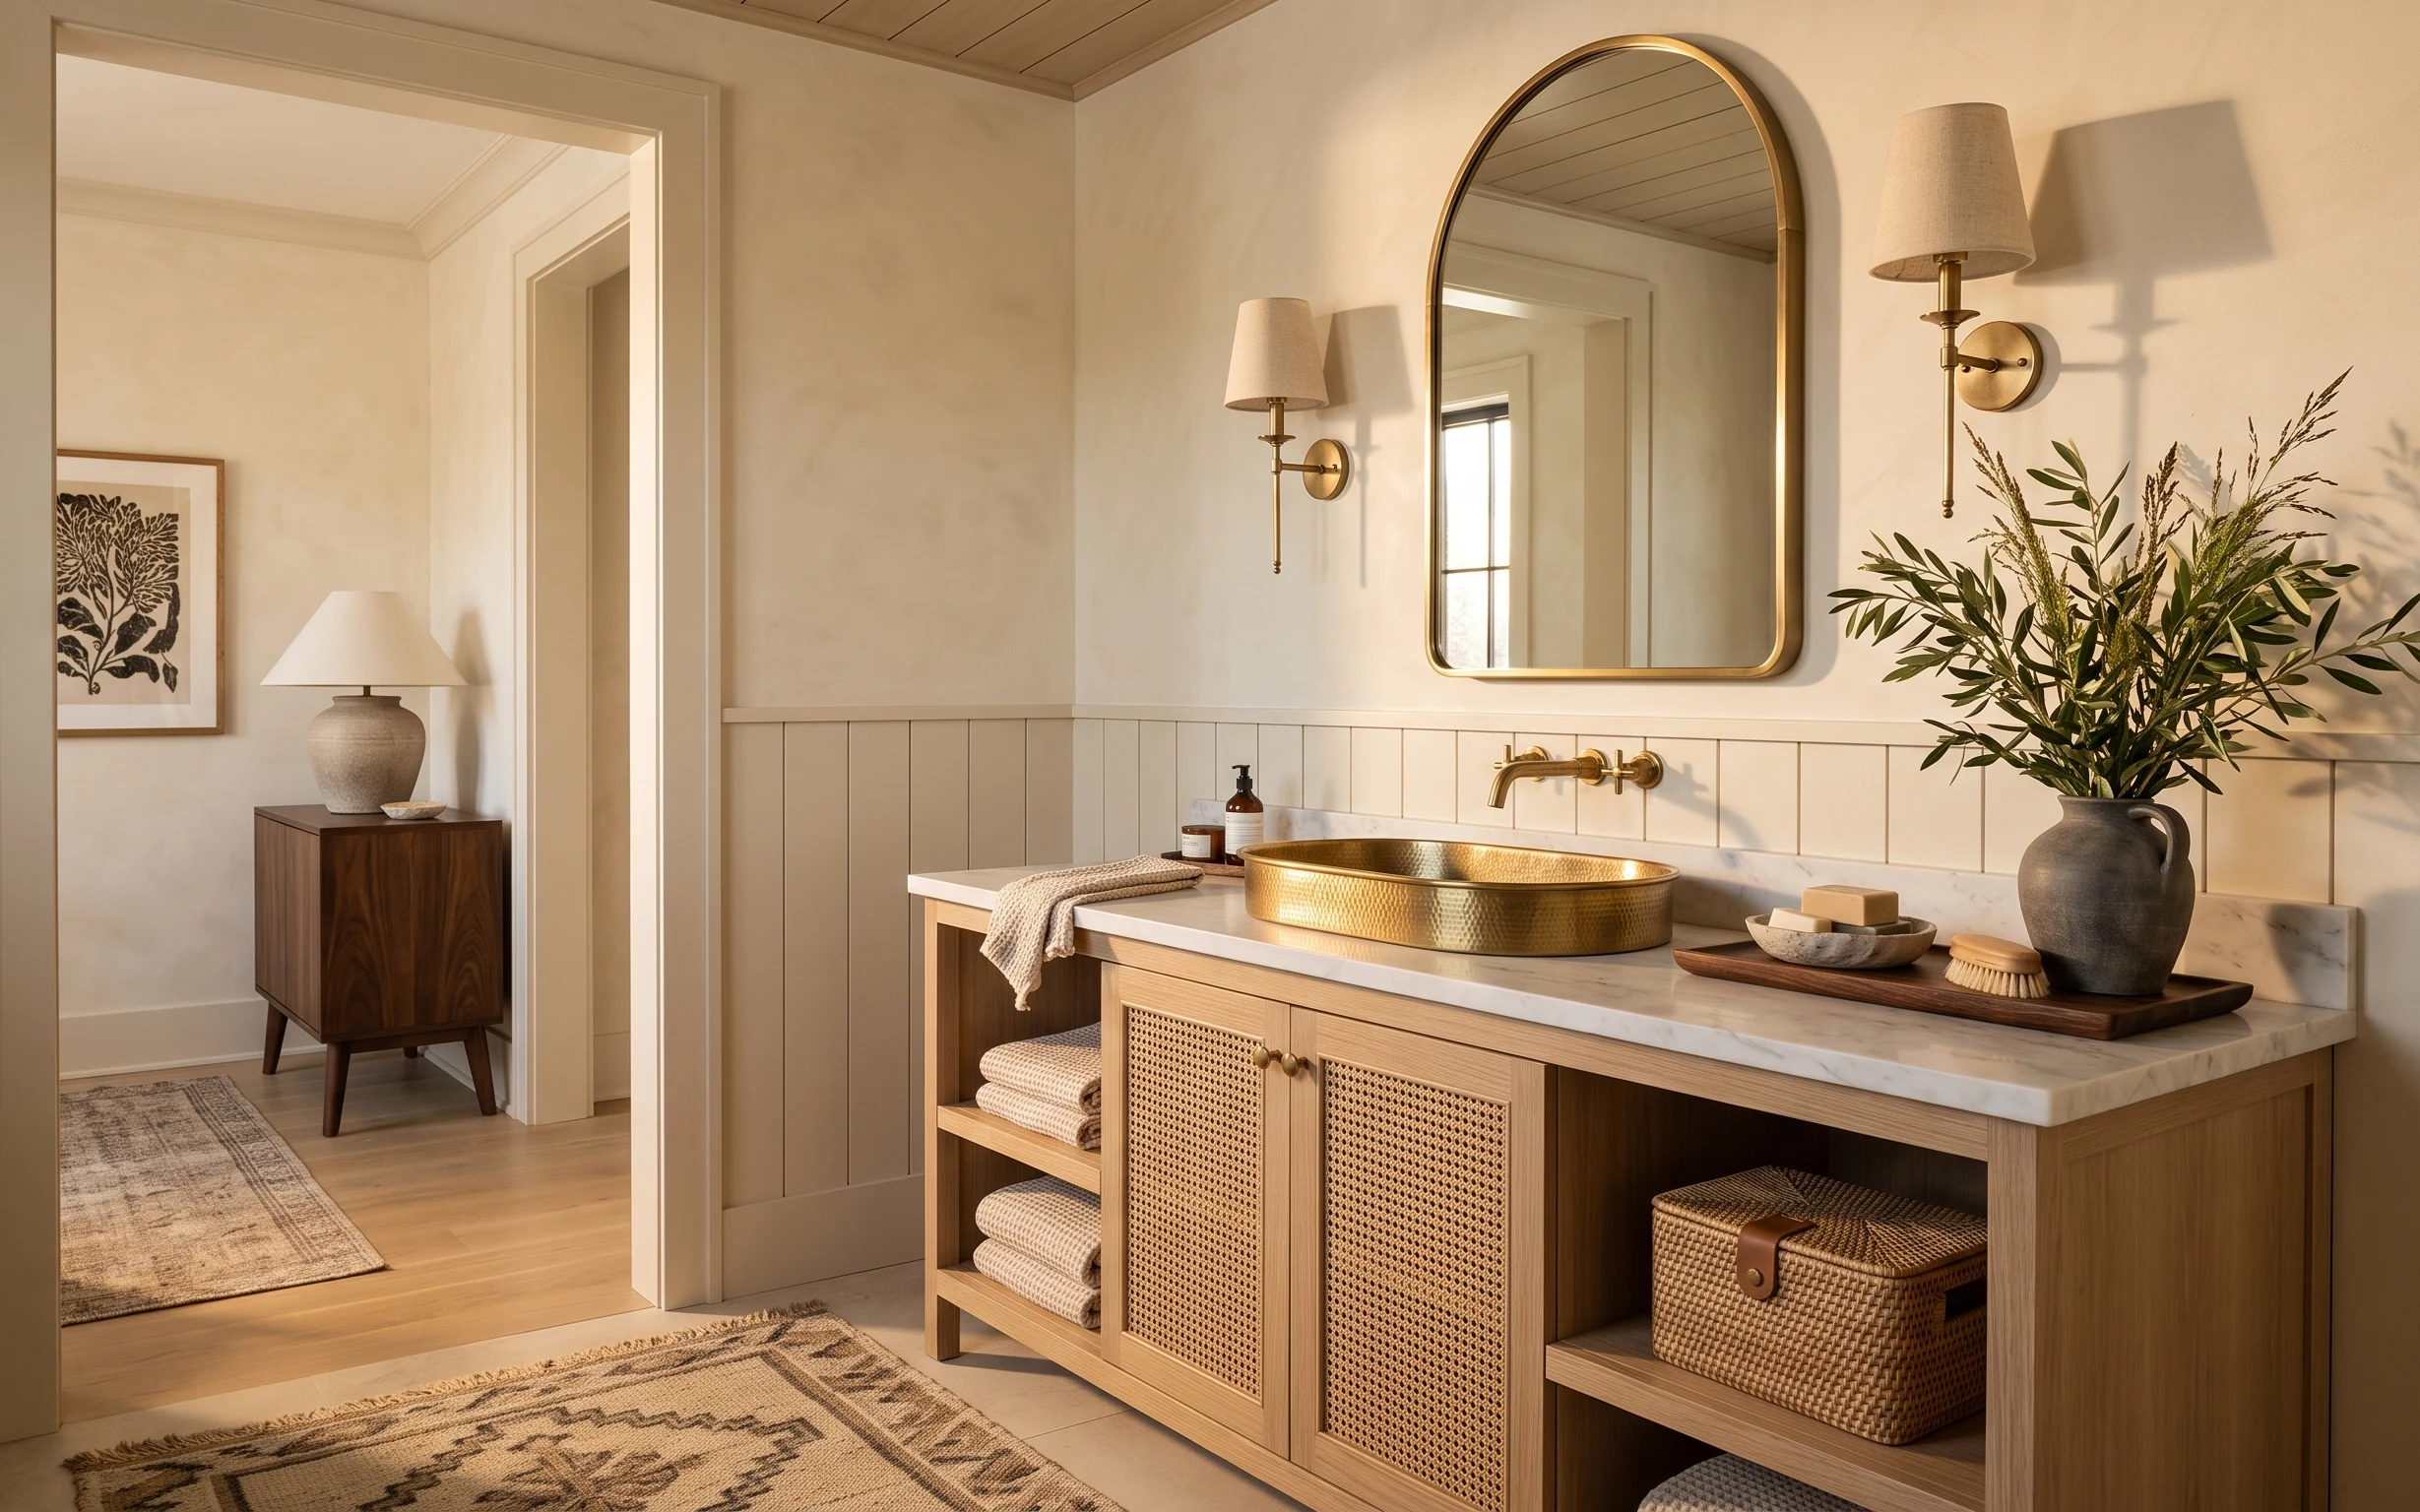
Under $600: brass-and-cream bathroom vanity refresh
A renter-friendly bathroom vanity nook refresh that leans brass-and-cream, from a patterned 5×7 rug to a tall leafy plant. This look comes …