
- Square footage
- Medium walk-in (about 60–120 sq ft)
- Cost
- Under $600
- Difficulty
- Moderate DIY
- Renter-safe
- Mostly renter-safe (curtains + styling)
Why this warm japandi walk-in closet is the storage-friendly setup of 2026
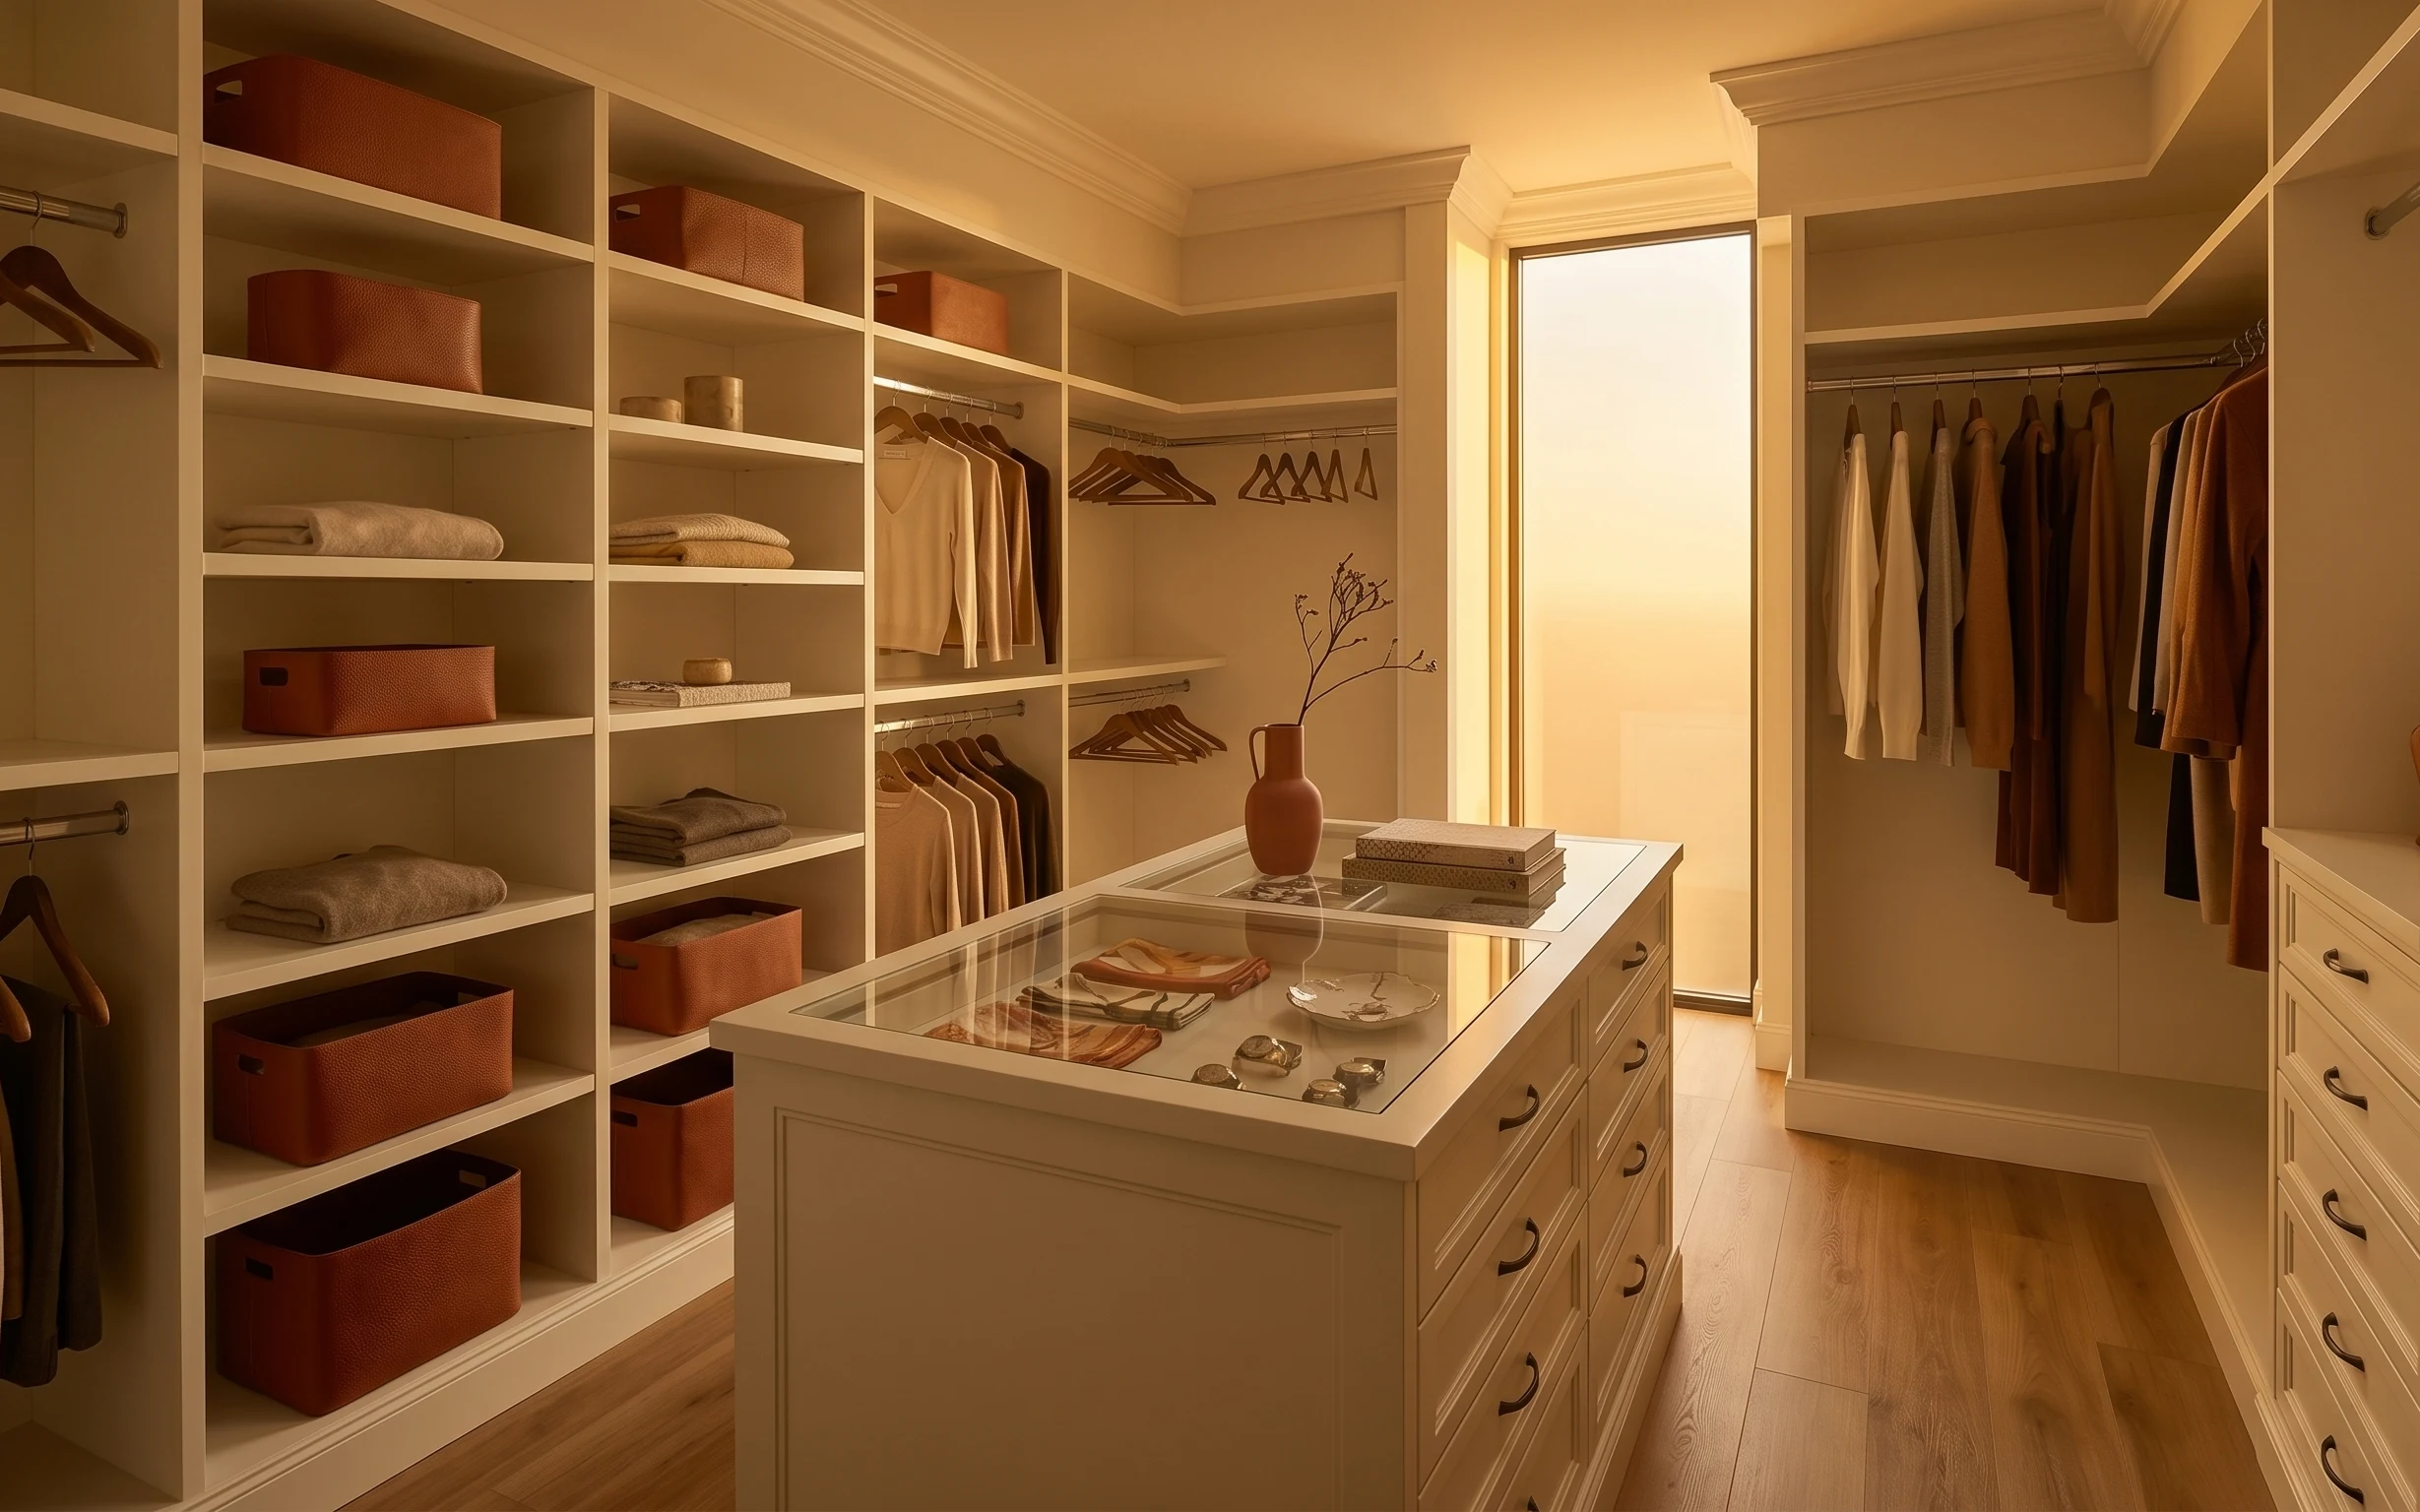
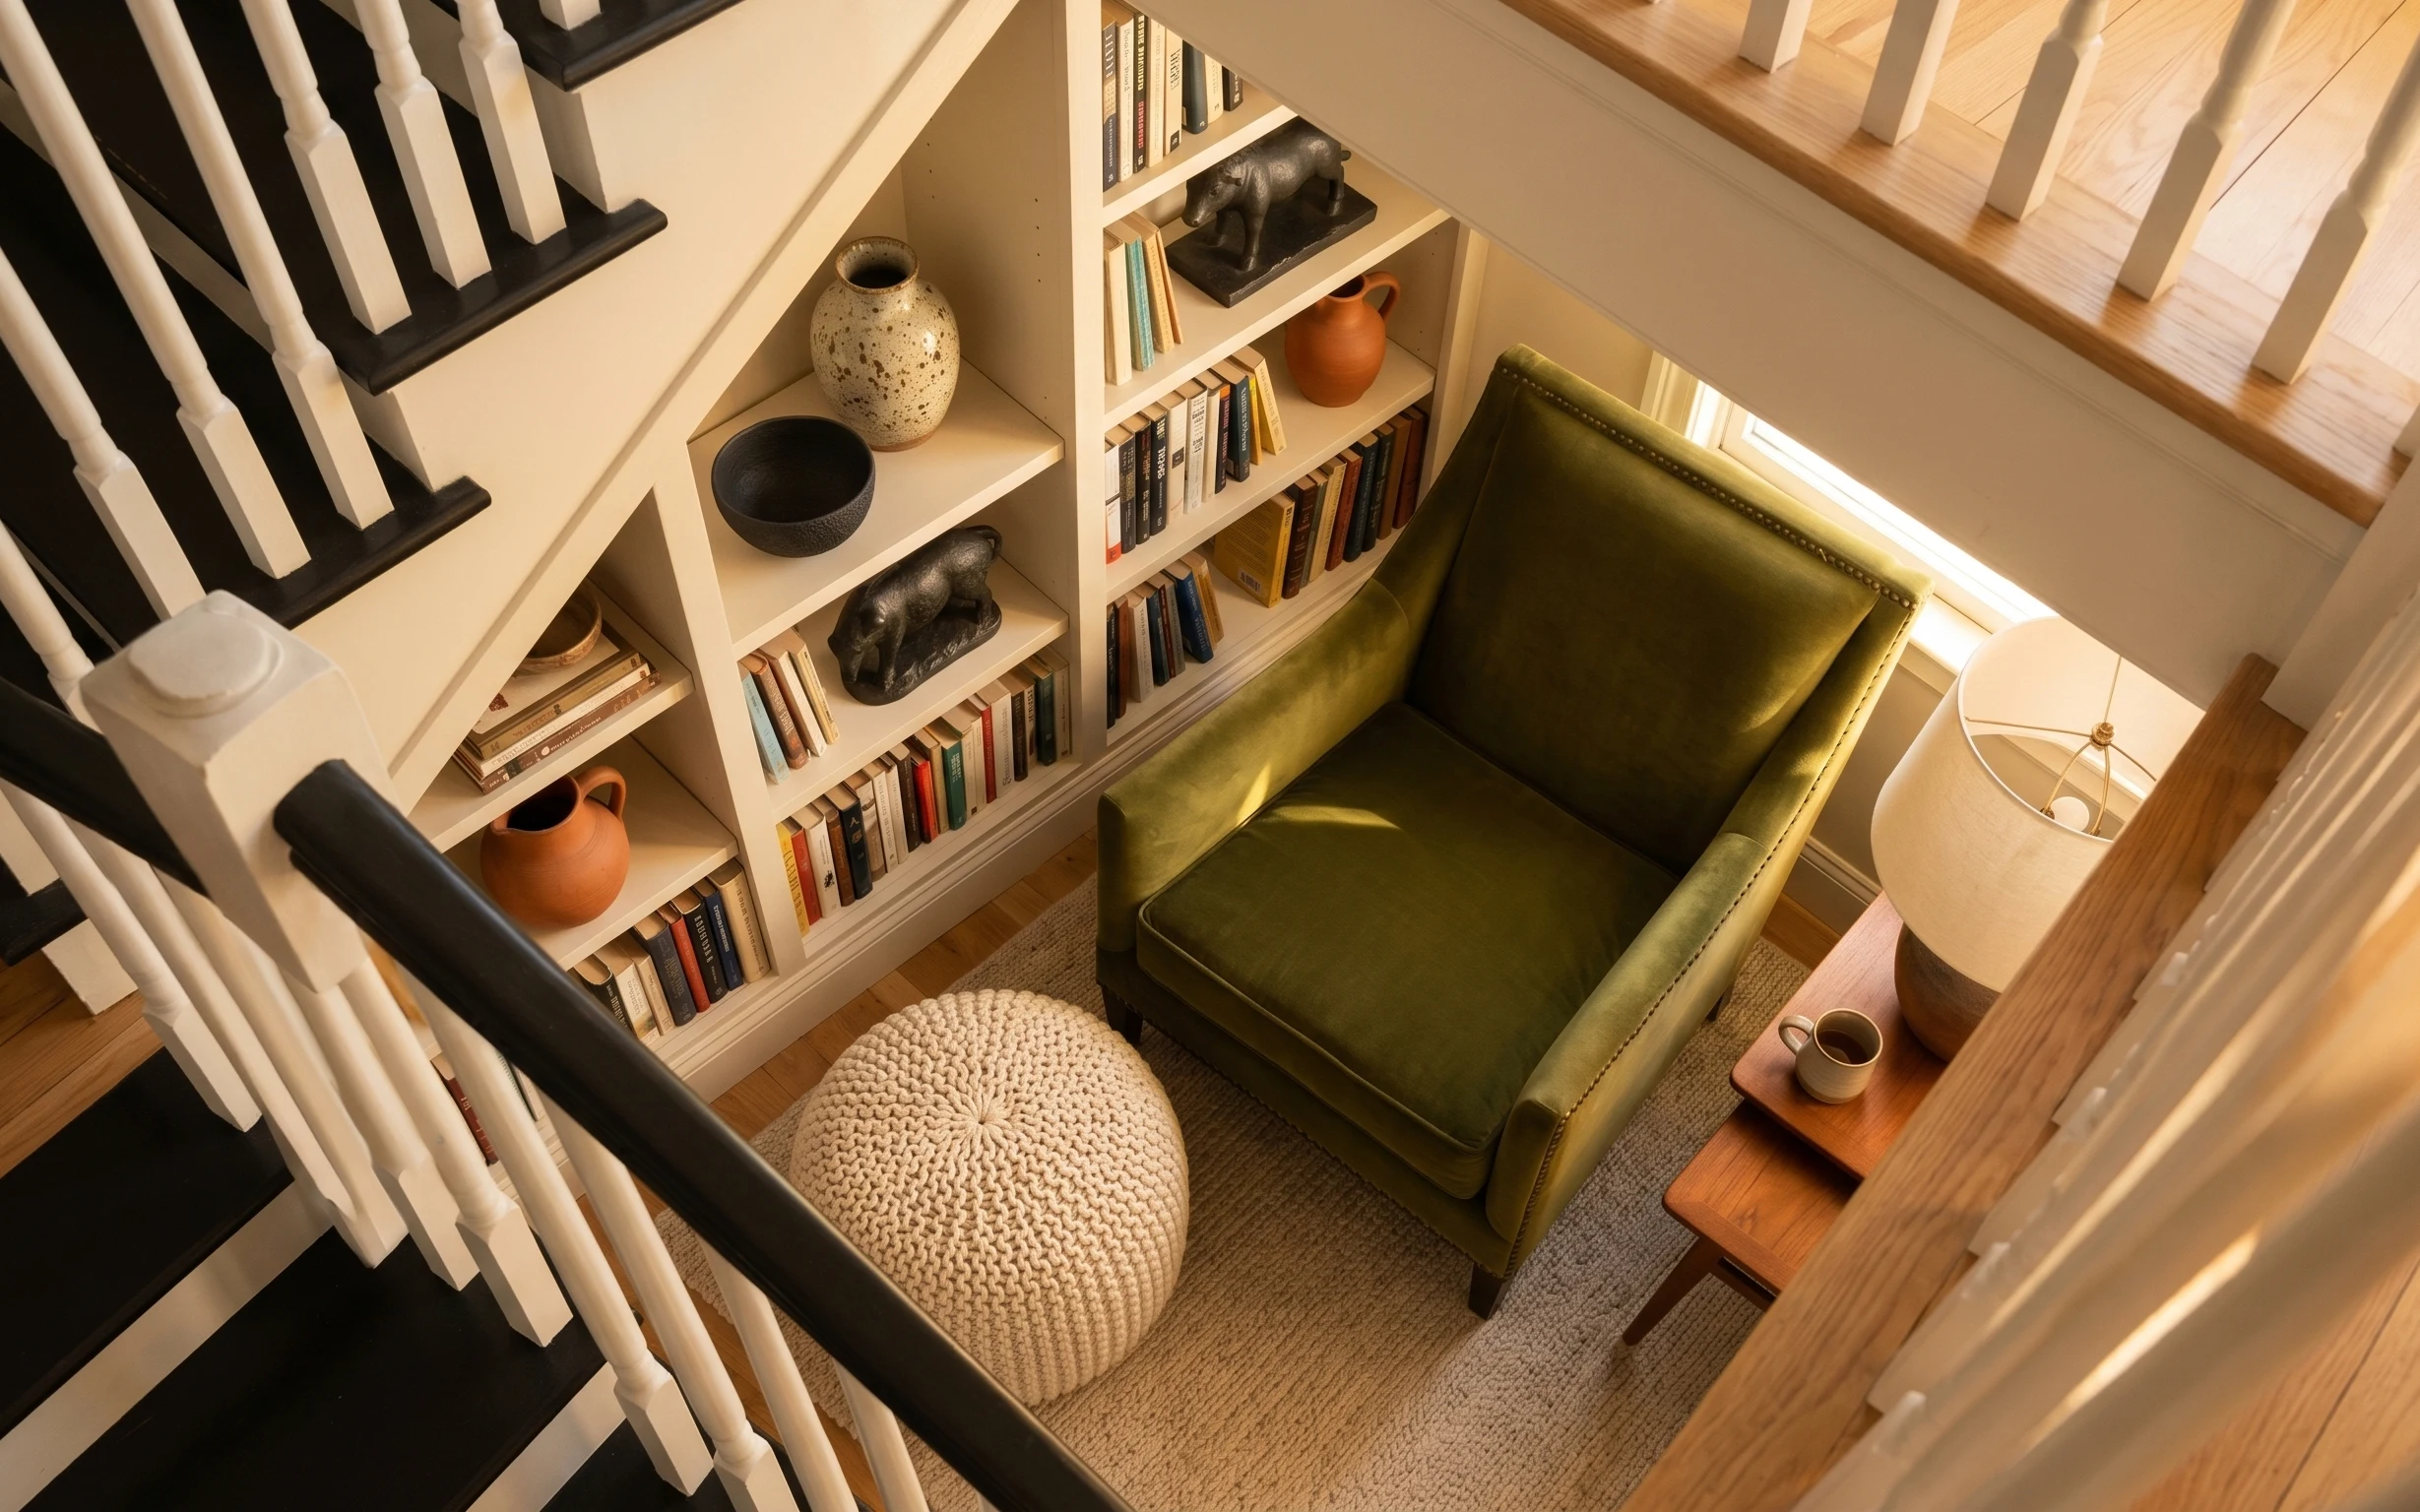
Warm white shelving, camel-brown woven baskets, and a glass-topped dresser make this closet feel planned, not chaotic. The framed botanical wall art adds a focal point where your eyes naturally land, while the curtain panels soften the lines of hanging clothes. On top of the dresser, the decorative tray plus a vase and books bring that “styled but livable” balance without cluttering every shelf. The best part for homeowners is the flexibility: you can push for the exact tones you like and still keep everything functional and easy to maintain.
I caught myself making the most common closet mistake: treating it like a storage area and skipping the visual layer. It always ends up looking smaller and messier, even when it’s technically organized. What changed my mind was adding one purposeful “surface moment” (tray + vase + books) and then letting repeatable storage pieces—like woven baskets—do the rest. Suddenly the closet didn’t just hold things; it looked calm while it did.
Layer 1 — decorative tray on glass dresser top ($35) Tray-items keep the surface from feeling messy
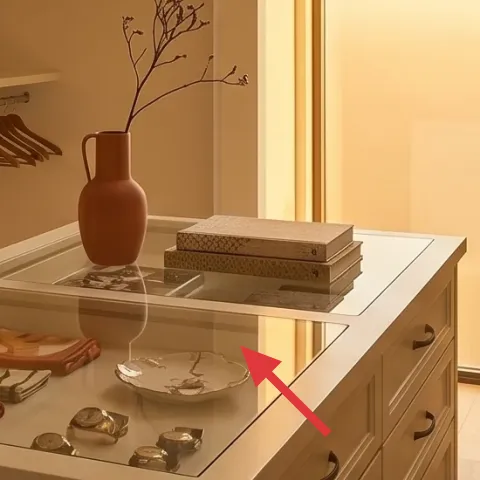
A decorative tray on the glass dresser top is the detail that makes this closet feel styled instead of temporary. Because the top is reflective, loose items read as visual noise fast—so grouping small pieces on one tray gives the surface a boundary. I like choosing something with a warm finish that echoes the camel-brown baskets in the shelving, since that keeps everything in one family of tones. The trade-off is you’ll have to lift the tray to clean underneath, but it’s a quick wipe compared to constantly re-arranging small items.
Use the tray as the “reset zone”
When things drift out of place, dump them back on the tray first—then re-style so the glass top stays intentional.
Layer 2 — stack of books ($15) A small height boost looks finished in seconds
The stack of books adds vertical rhythm on the dresser top, which matters in closets because most storage lives at eye and shoulder height. With just one grouped element, you avoid the flat, empty look that happens when there’s only a vase. Keep the stack modest in size so it doesn’t fight the curtain line or compete with the framed botanical art on the back wall. If you go too tall, the top can start looking crowded; if you go too small, it reads like a leftover. This amount of height is the sweet spot for calm.
Match the warm tone, not the exact color
Book covers can be neutral, but lean toward similar warmth so the dresser styling stays cohesive.
Layer 3 — decorative vase on dresser ($25) One sculptural shape makes the dresser feel intentional
That decorative vase is doing the “anchor” job: it’s tall enough to read as a standalone shape, but it doesn’t overwhelm the dresser top. The warm finish ties into the camel-brown baskets and keeps the whole closet from feeling sterile, especially under soft natural light. I’d rather use one statement piece than scatter multiple small decor items, because closets already have visual structure from shelving. The trade-off is you’ll want the vase spaced so it doesn’t crowd the tray—leave a little breathing room for a more curated look.
Set the vase slightly back from the tray edge
Center the vase so its widest point lands near the middle of the glass, then position the tray in front for depth.
Layer 4 — framed botanical wall art print ($80) A focal print turns the closet wall into a feature
The framed botanical wall art print breaks up the plain storage plane behind the dresser area and gives your eyes a “destination.” In a walk-in closet, that matters because the wall space can otherwise feel repetitive—shelves, hanging clothes, and baskets all in the same family of shapes. I like botanical art with thin lines because it doesn’t fight with the warm baskets or the curtain texture. If you choose heavier, darker art, the closet can feel busier under warm light. The trade-off: you’ll need to keep the surrounding surfaces relatively simple so the print stays the main focal point.
Pick art with lighter linework
Thin botanical drawings keep the room airy, even when the shelves are full.
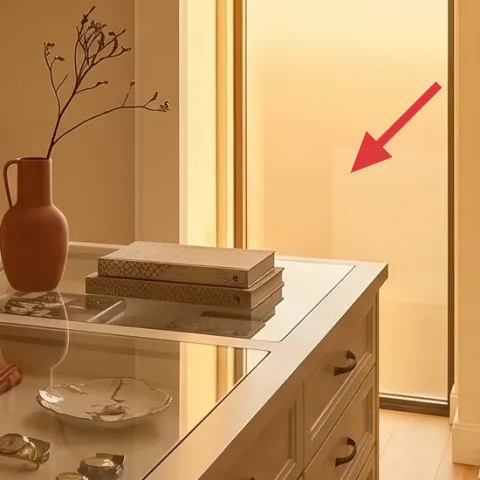
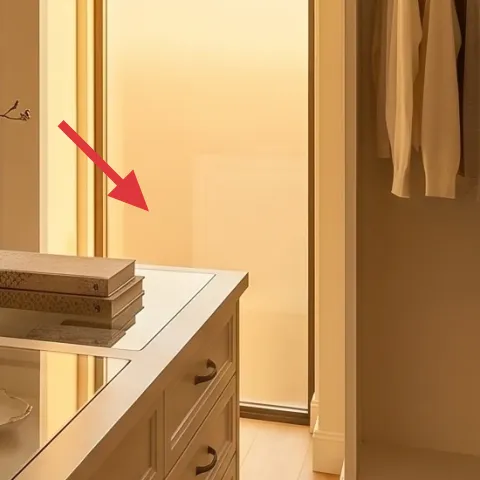
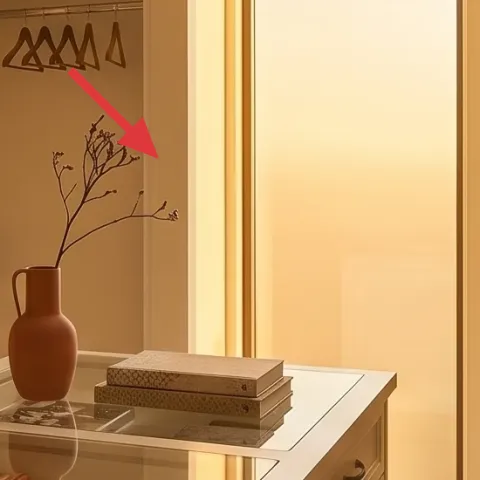
Layer 5 — curtain panels on a rod ($80) Soft fabric creates a calmer “visual curtain”
Curtain panels on a rod soften the closet’s strongest structural elements—rails, hanging lines, and shelf grid—so everything reads less busy. The fabric also adds movement texture, which is why the closet feels more relaxed even when there’s a lot stored inside. For this look, choose neutral warm tones so the curtains blend with the camel-and-warm-white palette. The trade-off is a curtain takes up a bit of visual focus, so keep hooks and baskets organized to avoid making the closet feel cluttered. When the fabric is hung high enough, it also helps the whole space feel taller.
Hang curtains high, not just “where they fit”
If the rod sits too low, the closet can visually shrink and the hanging clothes look heavier.
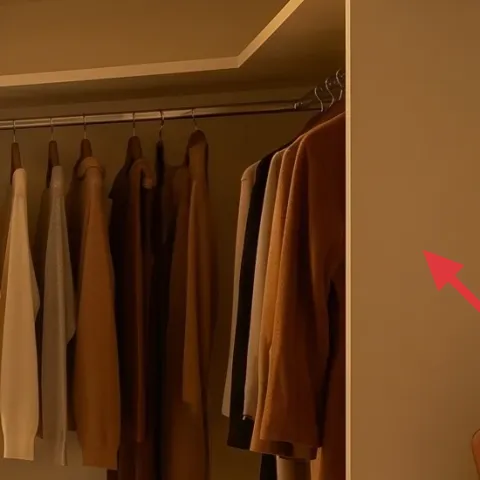
Layer 6 — woven storage baskets on shelving ($50) Baskets hide odds and ends without hiding your style
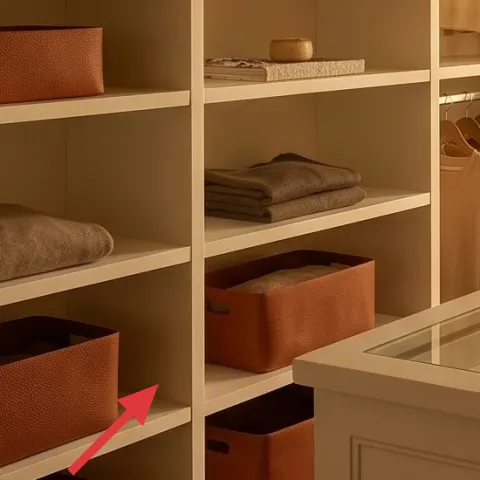
Woven storage baskets are what let the closet stay neat on a real weekday. They group smaller items—folded textiles, seasonal pieces, or accessories—so shelving doesn’t turn into a category-by-category mess. The camel-brown tone matches the rest of the warmth in the room, which is what makes the baskets feel intentional instead of purely functional. I’m also a fan of consistent basket shapes because it creates a rhythm across multiple shelves. The trade-off is you’ll want to measure shelf depth so the baskets sit flush enough to look built-in.
Label inside the basket, not on the front
Keep the exterior clean and warm; labels can live on the inside rim so the room still looks calm.
Layer 7 — white dresser with glass top ($300) DIY-paint it so the whole closet reads brighter
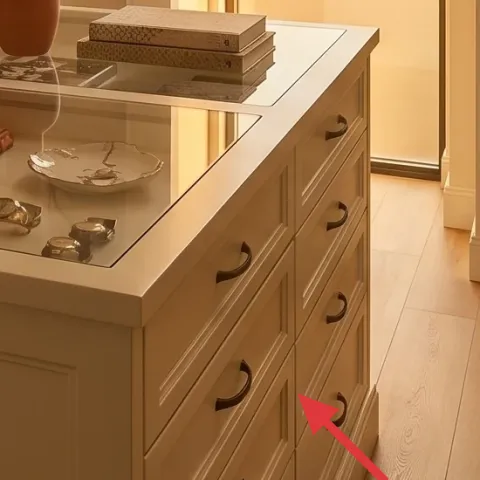
This white dresser with glass top gives you a practical surface for daily essentials, but the visual impact comes from how clean and bright it reads. If the paint finish looks even slightly dull or uneven, a closet can feel heavier—so painting it with a crisp, durable finish helps the whole space feel more polished. I’d keep the glass top simple: tray, books, and a vase, nothing more. The trade-off is time: painting means prep and cure, but it’s one of the fastest ways to pull the palette together without reworking the shelving layout.
Make it instead of buying it
DIY-paint the white dresser with glass top so it matches the warm-white closet shelving and looks crisp under natural light.
Materials
- Painter’s tape — 1 roll — hardware store — $8
- Drop cloth — 1 — hardware store — $6
- All-purpose primer (bonding) — 1 quart — paint store — $30
- Interior paint (eggshell) — 1 gallon — paint store — $40
- Foam roller + angled brush — 1 set — paint store — $18
Steps
- Clean the dresser thoroughly with a degreasing cleaner, then let it dry completely.
- Lightly sand all painted surfaces to dull the finish, then wipe away dust.
- Mask off drawer fronts, edges, and any glass areas you want to keep protected.
- Prime with even coverage, keeping a smooth coat and avoiding drips.
- Let primer cure fully per the can instructions.
- Apply the first paint coat with a foam roller for smoothness.
- Let the first coat cure per instructions, then lightly sand any rough spots.
- Apply a second paint coat, and touch up edges with the angled brush.
- Let the final coat cure fully before loading the top again.
Total DIY cost: $102 — saves about $198 over buying.
The cost, layer by layer
| Layer | Item | Cost |
|---|---|---|
| 1 | Decorative tray for glass dresser top | $35 |
| 2 | Stack of books (styling set) | $15 |
| 3 | Decorative vase (medium) | $25 |
| 4 | Framed botanical wall art print | $80 |
| 5 | Curtain panels on a rod (pair) | $80 |
| 6 | Woven storage baskets (shelf set) | $50 |
| 7 | White dresser with glass top (paint-ready) | $300 |
| Total | $585 | |
If you want a cheaper variant, skip the new dresser assumption and instead repaint the existing dresser finish, then choose thrifted books and a framed botanical print from a discount art store. You can also reduce basket count to match only the shelves that visually show from the doorway.
What worked, what didn't (across the whole room)
This closet refresh works best because every choice supports both function and a soft visual rhythm: baskets for storage, fabric for softness, and one styled surface to keep the dresser from feeling blank. The only times it looks off is when either the curtains hang too low or the glass top gets crowded.
What worked
- Woven baskets keep the shelves visually calm while still grouping folded textiles.
- Curtain panels soften the closet’s hanging lines and make the space feel less boxy.
- The decorative tray creates a clear boundary on the glass top, so small items don’t scatter.
- Book height plus one vase adds layers without crowding the dresser surface.
- Framed botanical wall art gives the closet a real focal point beyond storage.
- A brighter white dresser finish helps everything read cleaner under warm natural light.
What didn't
- Too many decor objects on the glass top makes reflections look like clutter.
- Curtains hung low visually shorten the closet and flatten the shelf-and-hanging layout.
- Mixing basket colors without a warm unifier makes shelves look mismatched.
- Choosing heavy, dark botanical art can make the back wall feel visually heavy.
- If the dresser paint finish looks uneven, the whole palette looks less cohesive.
What we'd skip if we did it again
Skip adding more small decor to the dresser top. With a glass surface, extra items create reflections that read like clutter, even if everything is technically neat. A tray, books, and a single vase give you the same styled effect with fewer moving parts to manage daily.
Skip curtain hardware that sits too low or curtains that are too heavy. The closet look here relies on softness without weight, and height is what makes the space feel taller and calmer. If the rod can be raised, do that first—then pick a fabric that drapes naturally.
Skip mismatched baskets in multiple materials. You can absolutely mix textures, but when basket tones vary too much, the shelves lose the steady rhythm that keeps a walk-in closet visually easy to live with.
Frequently asked
How long does a refresh like this take on a weekend?
For most homeowners, plan about 4–6 hours for styling changes (tray, vase, books, art placement, and curtain hanging). If you DIY-paint the dresser, add a full day for prep and multiple cure windows from the paint and primer instructions. The result is worth it because one surface finish pulls the whole palette together.
What if I rent—can I still get this closet look?
Yes, the closet “vibe” is mostly coming from textile softness (curtain panels) and repeatable organization (woven baskets), plus styling on the glass dresser top. In a rental, focus on swapping décor and art and using removable mounting methods for wall art where allowed. For the dresser, you could use a removable furniture finish instead of painting—depending on what your lease permits.
My closet is smaller—should I scale down the curtain or the art?
Scale down the visuals, not the intent. Choose shorter curtain panels if your ceiling height is limited, but keep the rod higher than you think you need. For wall art, use a slightly smaller framed botanical print centered behind the dresser area. Keep the dresser styling minimal (tray + books + one vase) so reflections don’t overwhelm a compact closet.
If my closet has darker walls, how do I keep it from feeling heavy?
Brighten the surfaces you control first: curtains in a warm neutral, and a lighter botanical print with thin linework. On the dresser, keep the tray and vase finishes warm and simple rather than glossy black or very dark ceramics. If painting is on the table, go a shade brighter than your shelves so the entire palette reads cohesive.
Where should I shop to keep costs under $600?
For this budget, the best wins are often decor and organization items. Look for framed botanical art and decorative vases at discount home stores or resale marketplaces. Woven baskets can be found in storage sections of big-box retailers. For the dresser finish, use a mid-tier primer and eggshell paint so the surface looks clean without spending like it’s a cabinet refinish.
What’s the biggest mistake people make with walk-in closet styling?
Over-styling the open surfaces. Closets already have visual structure from shelving and hanging clothes—so every extra item on the dresser top or shelf becomes another competing focal point. Instead, create one intentional surface (tray + books + vase) and use baskets to control what’s visible across shelves.
More in Small Spaces
Under $600: warm japandi walk-in closet refresh with 7 layers
A warm japandi walk-in closet refresh with 7 budget-friendly layers—curtain panels, woven storage baskets, framed botanical art, and stylin…
Under $400: 7 move-friendly swaps for a green reading corner
A small green reading corner with a warm lamp glow, knit seat, and earth-toned rug can look styled without any drilling. This $400 refresh …
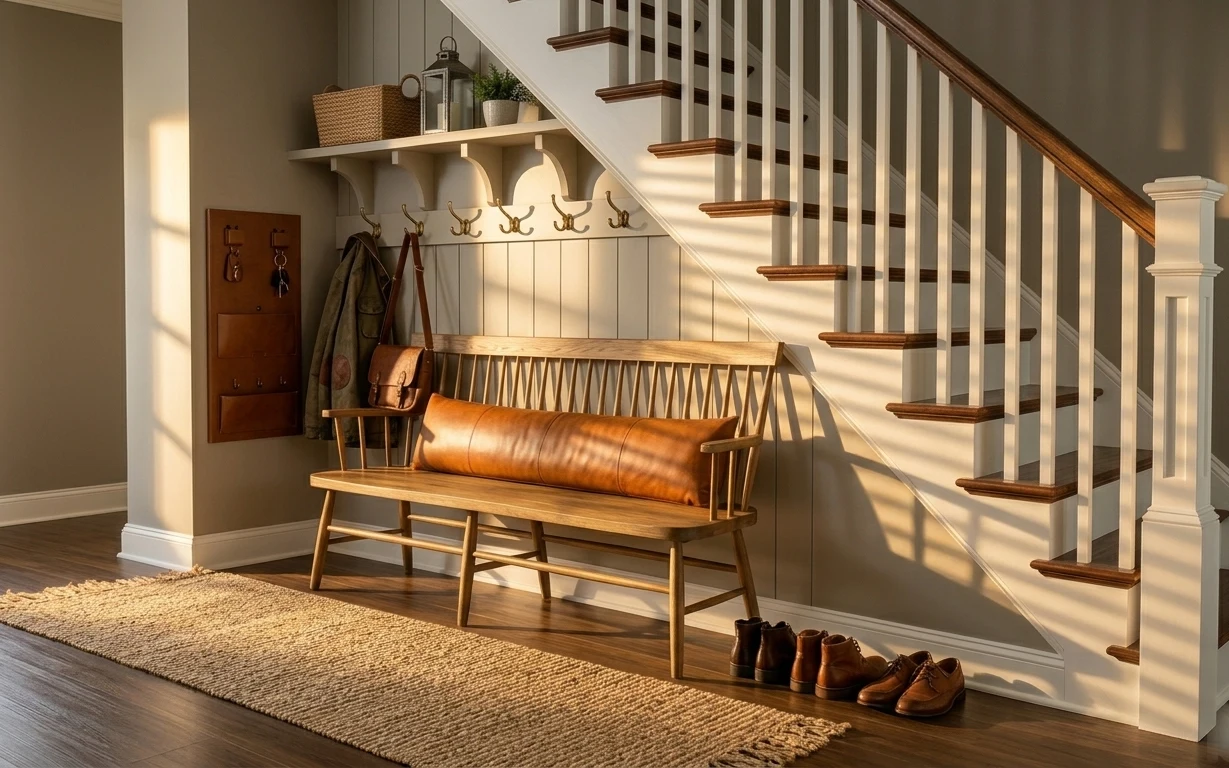
Under $500: a move-friendly under-stairs entryway makeover
A warm, rental-safe under-stairs entryway refresh that leans on texture: rug, bench cushion, and simple hardware swaps. This look comes in …