
- Best for
- a high-contrast bathroom vanity wall
- Cost
- $655 total (under $700)
- Difficulty
- Confident DIY (paint + finish)
- Time
- 1 weekend for most of it
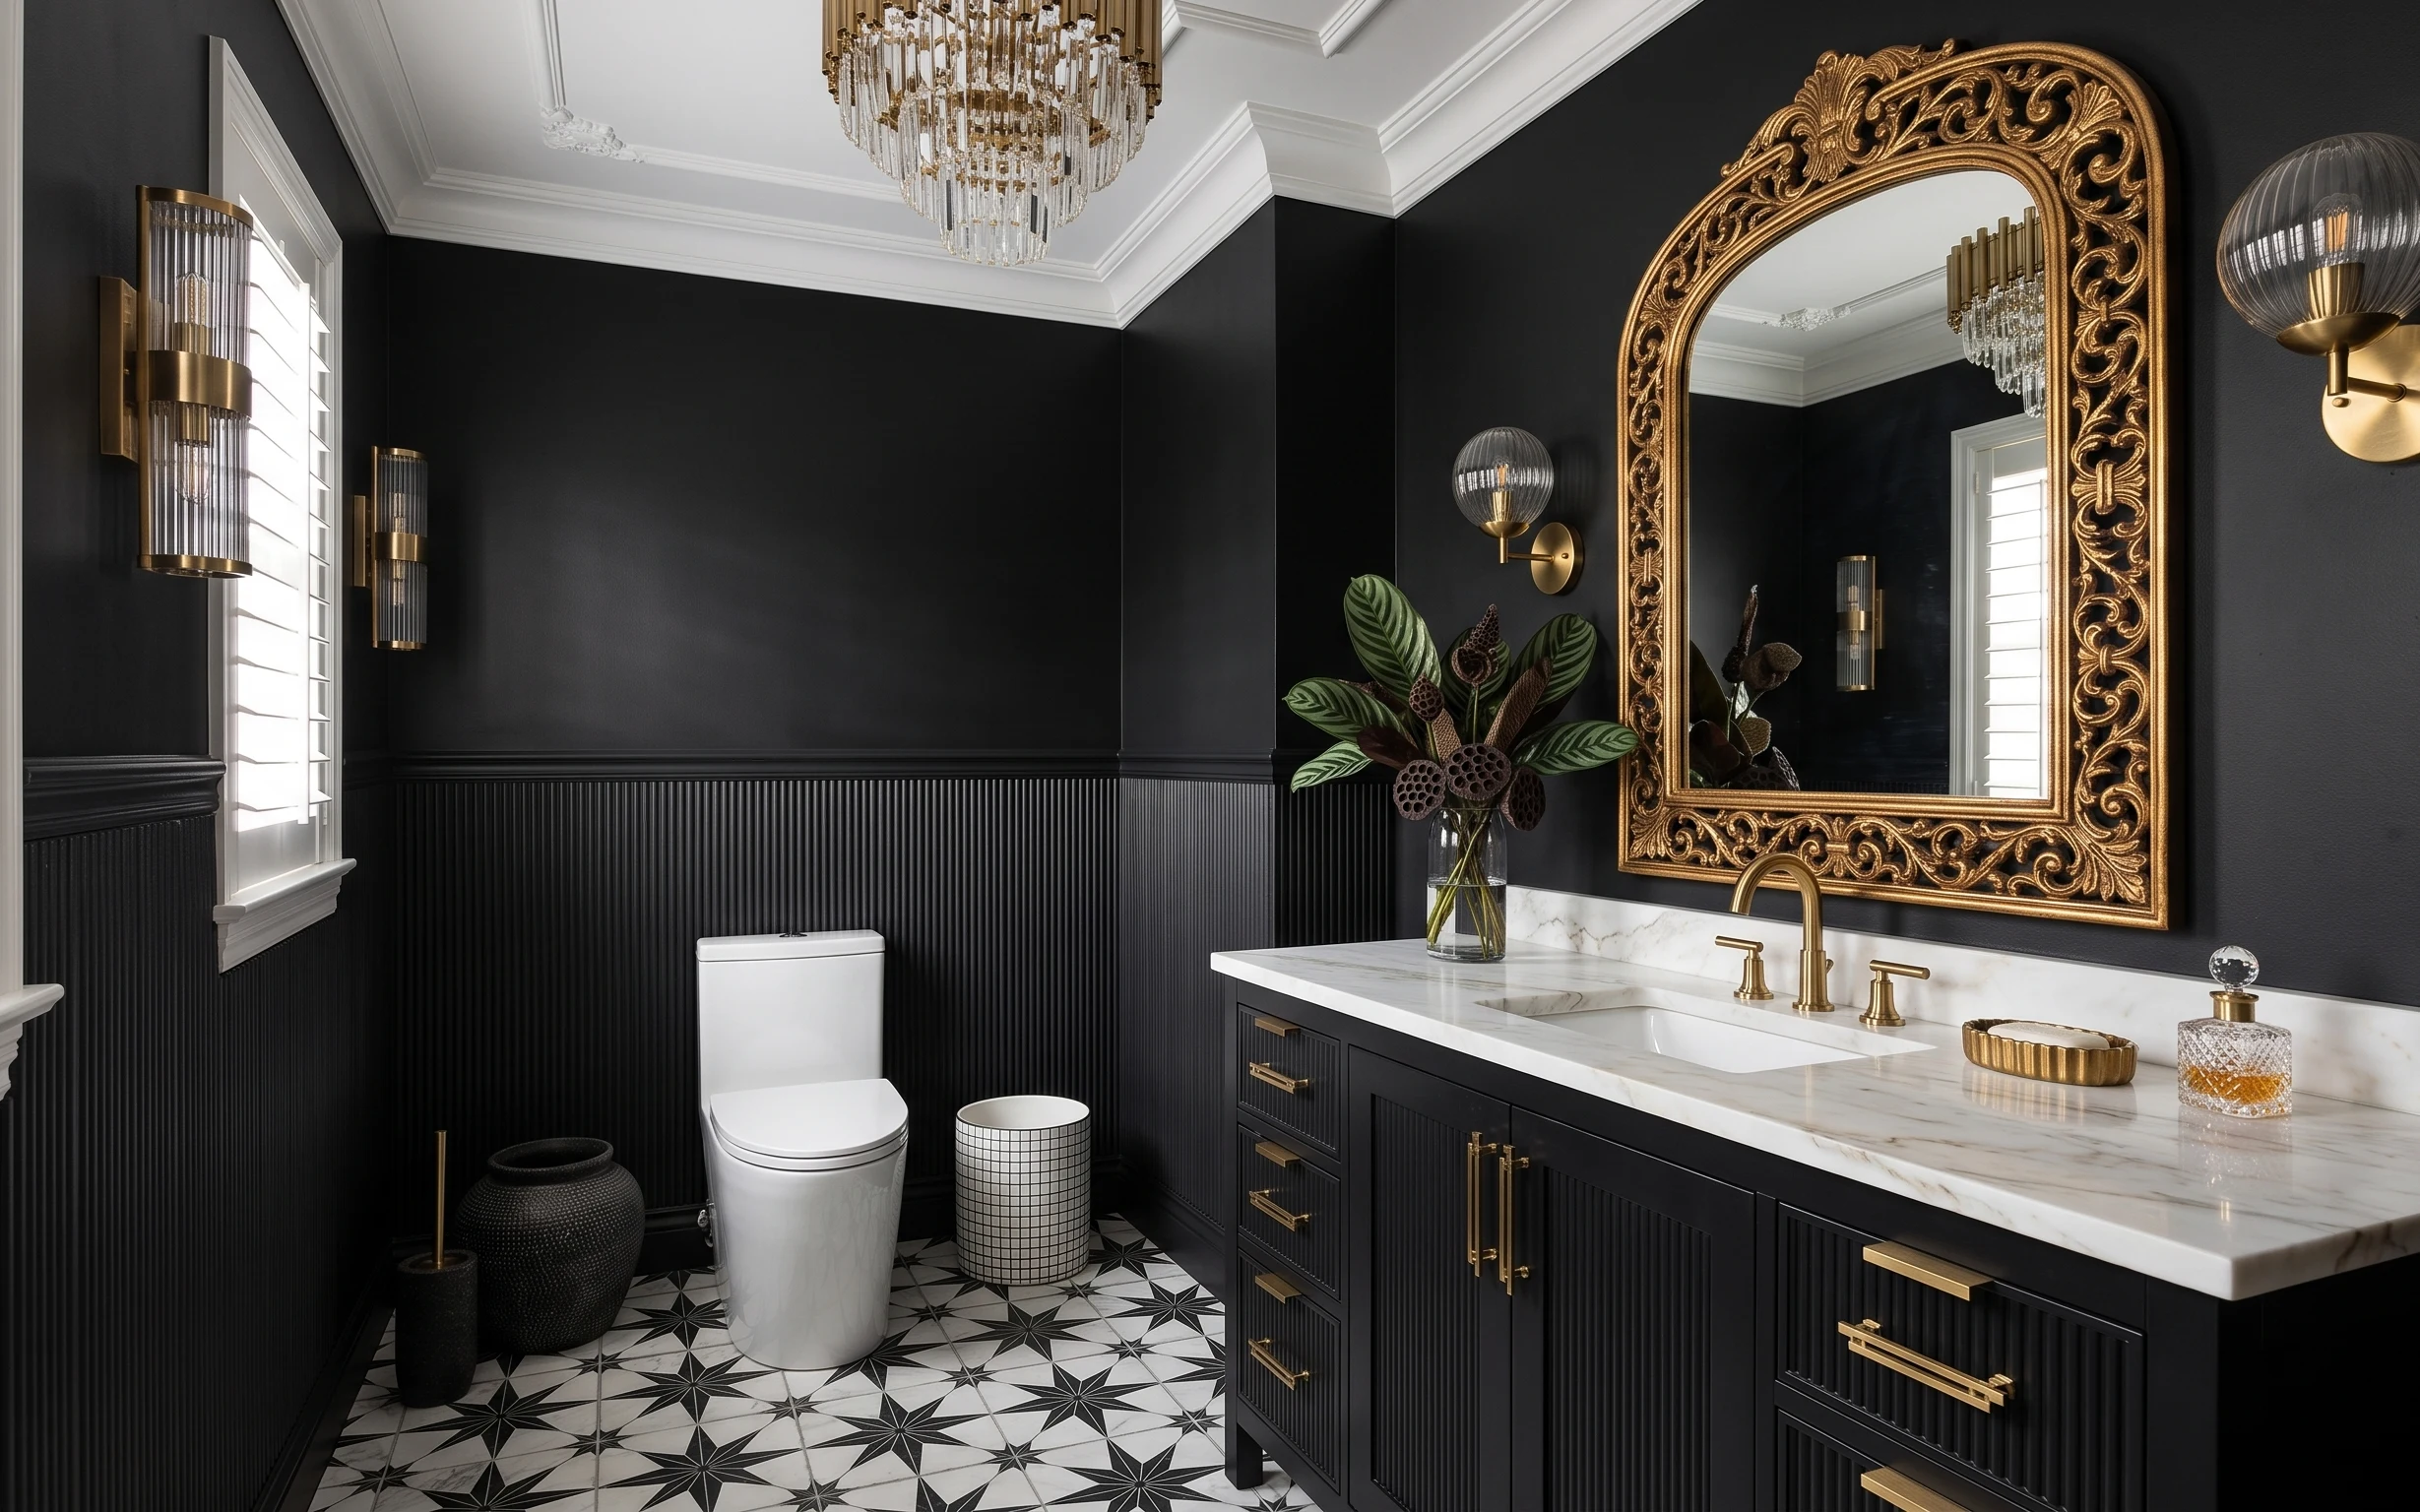
Why black-paneled elegance is the bathroom vanity wall of 2026
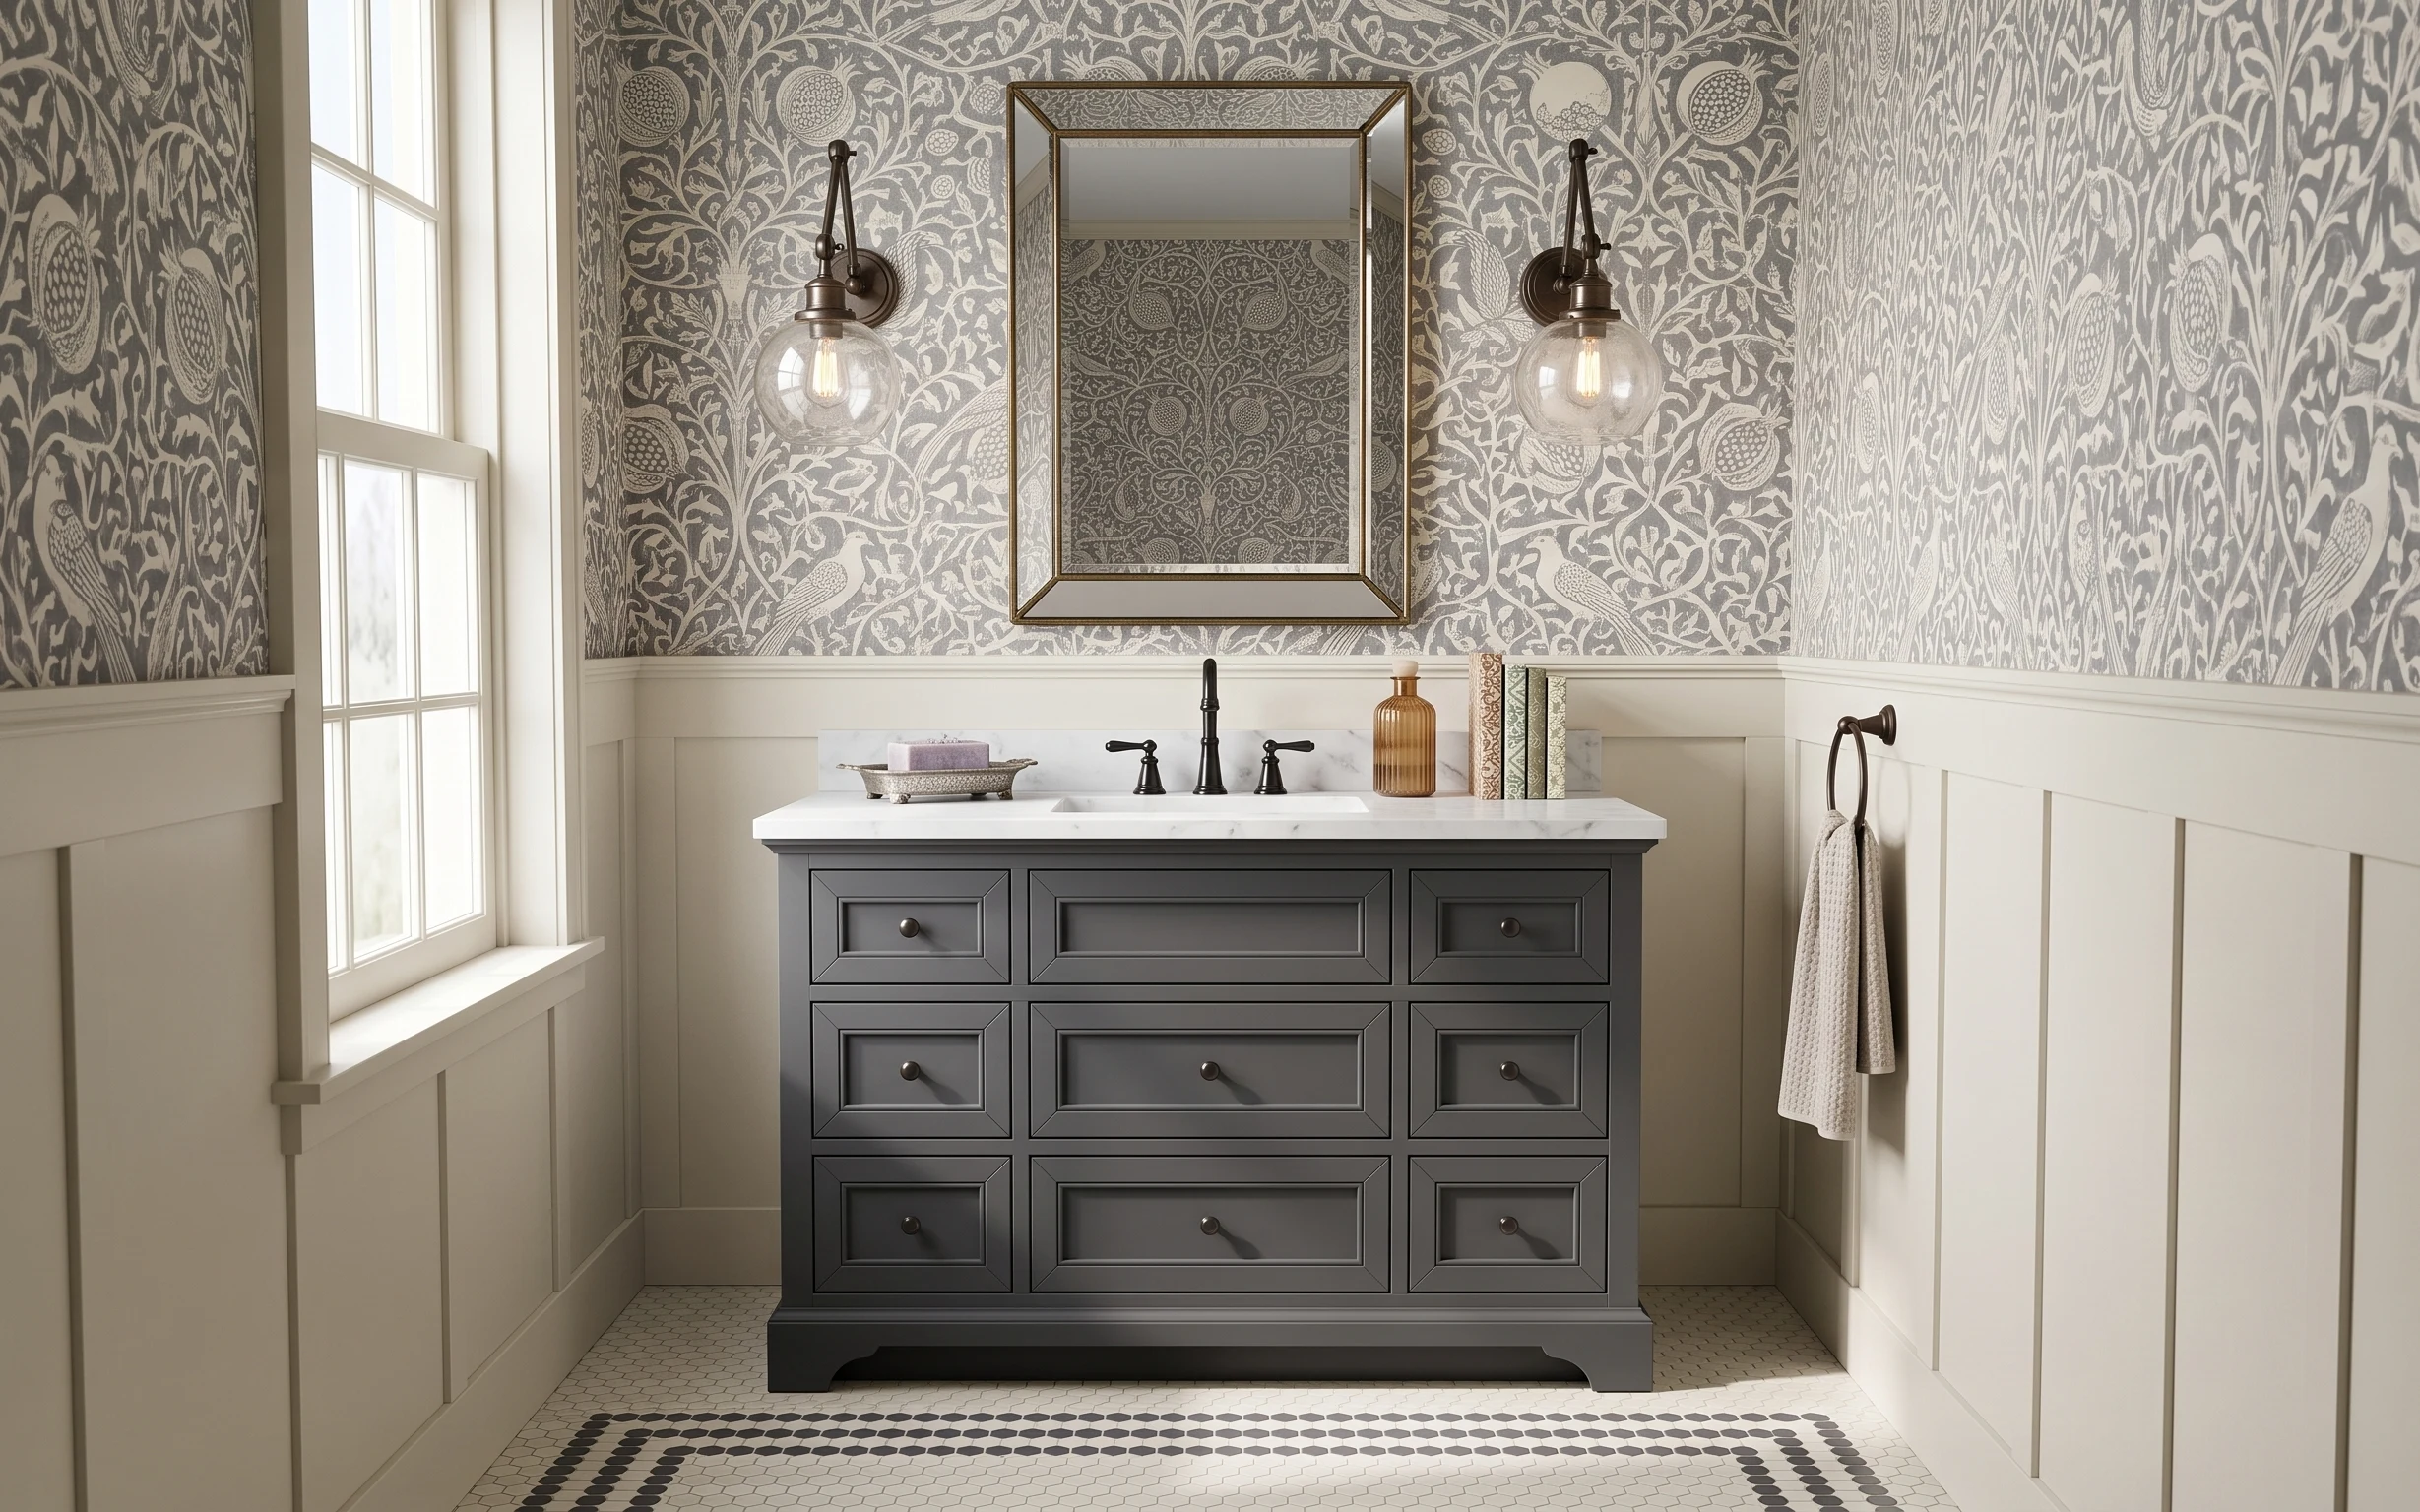
Black paneling, gold metal, and the crisp marble-and-tile contrast are what make this bathroom feel finished instead of accidental. You can see three textures doing the heavy lifting: the ridged painted wall, the glossy polished countertop, and the graphic black-and-white floor tile. When you match those surfaces with the right reflective pieces—especially a large framed mirror—the room instantly looks curated. For US homeowners on a time-and-budget weekend, paint and lighting choices are the fastest path because they change how light moves across the whole wall.
I remember repainting my first “just one wall” project and realizing I’d picked the wrong sheen—everything looked flat under the vanity lights. What fixed it was taking the paneling seriously: clean edges, consistent coats, and a finish that holds up to bathroom humidity. This version keeps that same idea, just with a more dramatic black base and gold accents that bounce light instead of absorbing it.
Layer 1 — black paneled wall paint (1 gallon) ($70) DIY-paint the depth
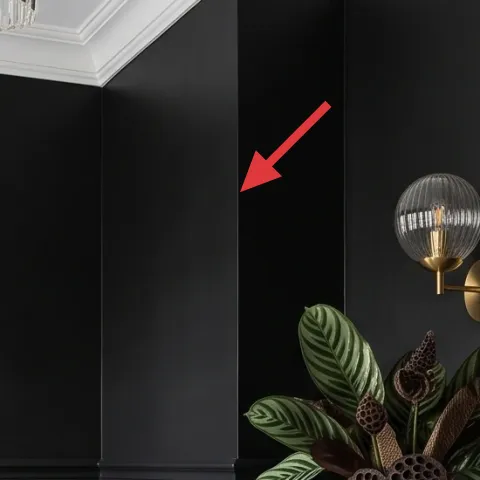
Go from “dark but flat” to “dark with dimension” by repainting the paneled wall in a true black that reads warm next to gold. In this photo, the wall has vertical grooves, so paint has to settle into the ridges or the texture won’t read. A DIY paint pass also controls how the black interacts with the white ceiling trim and the marble countertop—if it’s too cool, the whole room looks harsher. The trade-off is prep: you’ll need masking and careful cut-ins so the panel lines stay sharp.
Make it instead of buying it
This weekend, repaint the paneled wall so the ridges match the black-and-gold rhythm you already have.
Materials
- Paint (bathroom-friendly interior black, 1 gallon) — 1 — Home Depot/Lowe’s — $45
- Roller cover (3/8–1/2 in nap) — 2 — hardware store — $8
- Painters tape — 1 roll — hardware store — $5
- Plastic drop cloth — 1 — hardware store — $3
- Sanding sponge (for light scuffing) — 1 pack — hardware store — $2
Steps
- Clean the paneled wall so paint sticks: wipe, let dry, then lightly scuff with a sanding sponge.
- Mask trim and edges with painters tape, pressing tape down along the panel lines.
- Cut in around the ceiling trim and panel edges with an angled brush.
- Roll the main wall in smooth passes, pushing paint into the ridges.
- Let the first coat dry fully, then assess coverage in the grooves.
- Add a second coat for even sheen and consistent black depth.
- Remove tape while the final coat is slightly tacky for cleaner lines.
- Let cure at least overnight before the bathroom is fully steam-heavy.
Total DIY cost: $63 — saves about $7 over buying.
Cut the edges first
Do the trim and the panel grooves with a brush before rolling so the ridges don’t end up with messy roller streaks.
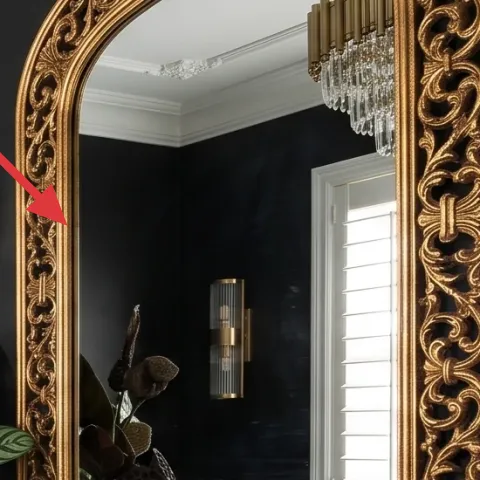
Layer 2 — large gold ornate framed mirror ($120) go big for light
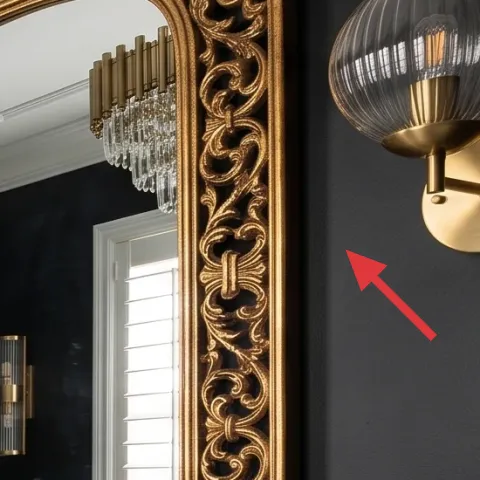
The mirror is the focal point here, and it’s earning its keep: it’s large enough to visually widen the vanity wall and reflect the gold lighting. Choose a frame with bold detailing so it reads “intentional” even when the room isn’t fully lit. If you try to go smaller, you lose the way the mirror spreads brightness across the paneled wall. The trade-off is scale—you’ll want strong wall mounting, and the mirror needs to sit high enough that it doesn’t fight the faucet line-of-sight.
Match the metal temperature
Warm brass-gold frames look best against blacks that lean slightly warm rather than icy gray.
Layer 3 — brass bathroom wall sconce ($80) add warm pools of light
Brass wall sconces change the feel of a vanity wall because they add light at eye level, not just from above. In the photo, the sconces have globe shades that diffuse brightness, which helps the black panels feel richer instead of shadowy. Swapping in a similar wall sconce style is an easy upgrade, but placement matters: center the sconce roughly at eye height relative to the mirror and keep spacing symmetrical. The trade-off is wiring or outlet planning—hard-wiring is possible for homeowners, but it’s worth calling an electrician if the existing setup doesn’t support it safely.
Check spacing to the mirror
Use a level and measure mirror width first, then space each sconce so the glow feels balanced.
Layer 4 — bathroom faucet set on the vanity ($120) crisp brass where hands are
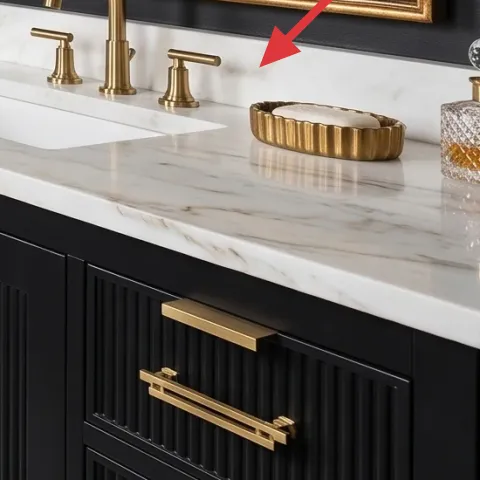
A vanity faucet might seem like the “small” part of a bathroom refresh, but it’s one of the most visible brass touches—especially in a black-and-gold room. This setup sits directly in front of the mirror, so the metal finish repeats the wall sconces and keeps everything cohesive. When the faucet finish matches the frame and hardware-like gold accents, your eye reads the room as one story instead of separate pieces. The trade-off is function: choose a faucet with a style that fits your existing plumbing layout, and make sure the deck spacing matches what the vanity top can support.
Don’t pick a finish that fights the mirror
If the brass tone is too yellow or too cool, the gold elements start looking like different collections.
Layer 5 — white toilet ($150) keep the base clean
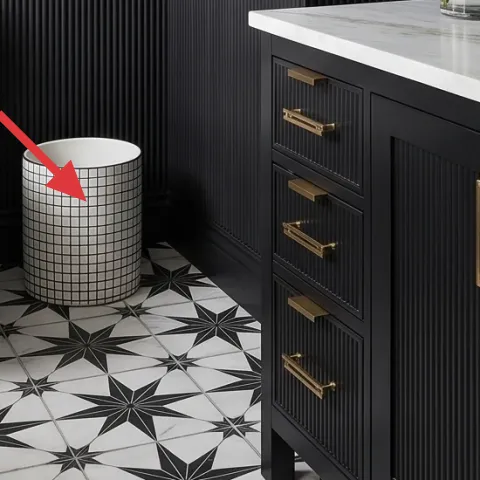
A white toilet is a big “background” object in bathrooms, and here it works because it pops against the black panel wall and the graphic floor tile. If you’re refreshing a bathroom vanity wall, it’s worth checking the toilet’s finish and seat—chips, discoloration, or a dull tank can pull focus away from the mirror and sconces. Choosing a clean, bright white fixture keeps the visual weight light, so the room doesn’t feel top-heavy or gloomy. The trade-off is practicality: a full replacement is more involved than decor swaps, so treat this as a high-impact upgrade only if yours truly needs it.
Clean edges matter more than you think
Even when the toilet is “just there,” bright white helps the black wall read intentional instead of dirty.
Layer 6 — tall glass vase with green leaves ($80) bring in the living color
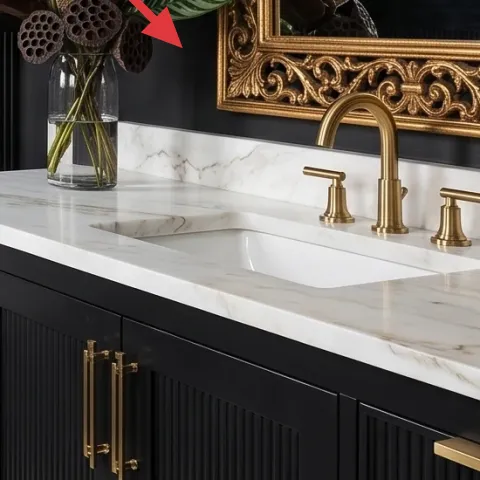
That tall glass vase with green leaves adds scale and a natural color break between black panels and gold metal. It also softens the straight lines of the vanity and floor tile—plants are how you keep glam from becoming too crisp. Place it centered on the vanity top so it visually anchors the mirror area without competing with the faucet fixtures. The trade-off is upkeep: real leaves need water changes and trimming, while arrangements that dry out look tired quickly in a humid bathroom.
Use the mirror to your advantage
If the mirror reflects the plant, keep the stems tidy so it looks composed from both angles.
Layer 7 — round decorative vanity tray ($35) contain the small stuff
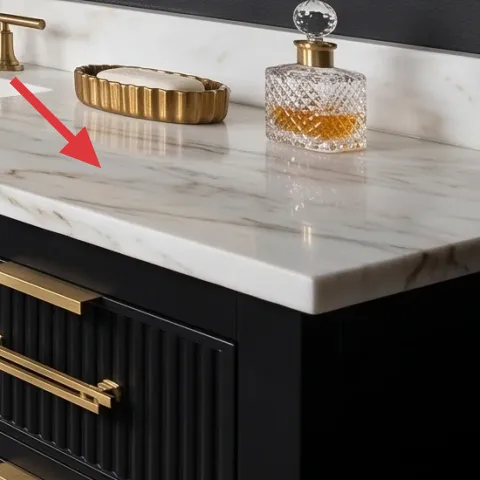
A round tray is a small but powerful way to organize the countertop while keeping the black-and-gold look styled. In this photo, the tray groups the decorative items so the marble doesn’t look cluttered, which matters more in bathrooms because everything sits in tight, visible zones. Choose a tray with a metallic or reflective finish so it echoes the gold frame and sconces. The trade-off is simplicity: don’t pack it with too many objects—one decorative jar and a simple accessory is usually enough to read “designed.”
Keep height low
Use the tray to prevent items from visually “floating” above the faucet line.
The cost, layer by layer
| Layer | Item | Cost |
|---|---|---|
| 1 | Paint, 1 gallon (bathroom black) (DIY equivalent) | $70 |
| 2 | Large gold ornate framed mirror | $120 |
| 3 | Brass wall sconce (globe shade) | $80 |
| 4 | Bathroom faucet set | $120 |
| 5 | White toilet | $150 |
| 6 | Tall indoor plant in a glass vase | $80 |
| 7 | Round decorative vanity tray | $35 |
| Total | $655 | |
If you want a cheaper version, keep the mirror and faucet as the “musts,” then swap the plant for a smaller faux arrangement and choose a simpler tray. You can also stretch your paint budget with careful masking and fewer touch-ups so the overall refresh stays under $500.
What worked, what didn't (across the whole room)
This bathroom vanity wall works because the heavy contrast elements—black panels, graphic tile, and gold metal—repeat in multiple places. The lighting and mirror scale help the wall feel bright, not cave-like. The only downside is that the look asks for precision: small mistakes in paint edges or gold tone matching are noticeable.
What worked
- Repainting the paneled wall keeps the ridges crisp and makes the whole room read intentional.
- The large gold framed mirror reflects light and visually widens the vanity wall.
- Brass sconces with globe shades soften shadows on the black paneled background.
- Matching metal finishes between mirror and faucet keeps the black-and-gold palette cohesive.
- The tall glass vase adds organic height, balancing the straight lines of the vanity and tile.
- A round tray organizes countertop pieces so the marble stays visually calm.
What didn't
- Black paint that’s too cool can make the room feel harsher and less “glam.”
- If the wall sconce placement isn’t symmetrical, the mirror area starts looking off.
- A cluttered tray makes the vanity top feel busy against the bold tile pattern.
- If the plant is sparse or drooping, it undercuts the luxe vibe the mirror creates.
- Replacing a toilet is costly and not as “weekend-friendly” as the decor swaps.
What we'd skip if we did it again
Skip replacing the toilet unless it’s truly outdated. The visual lift from a clean white fixture is real, but it’s the most disruptive and least flexible upgrade on this list. If you’re trying to stay weekend-ready, you’ll get nearly as much impact by focusing on paint, mirror scale, and countertop styling first.
Skip mismatched metals. In a black-and-gold room, the brass tone has to agree across the mirror, faucets, and sconces. If the finish lands too yellow or too brushed/silver, your eye keeps bouncing between objects instead of settling on the vanity wall as one composed look.
Skip overcrowding the tray and plant styling. A countertop that’s too busy reads chaotic against the bold black panels and graphic floor tile. Keep the tray to a small grouping and let the vase provide height—composition matters more than adding more accessories.
Frequently asked
How long does this kind of bathroom vanity wall refresh usually take?
If you’re doing the DIY paint, plan on a full weekend. Day one is masking, cut-in, and the first coat. Day two is a second coat plus cleanup, and then you can handle lighter installs like positioning a mirror and arranging the tray/vase. If wall sconces require wiring changes, that can add time—factor in electrician scheduling and dry-cure time for paint.
If I rent, can I still get this look without painting?
Yes, but you’ll need reversible moves. Focus on a framed mirror with a warm gold tone, swap or add plug-in wall sconces if allowed, and use a peel-and-stick approach only where your lease permits. For the paneled wall look, use temporary paint alternatives like removable contact paper on flat sections—then skip the full black-panel paint plan.
What if my bathroom is smaller than this one?
Scale is everything. Keep the mirror proportion strong (a wide, tall mirror still reads luxe), but reduce countertop accessories. Choose a slightly smaller plant arrangement or a thinner vase so it doesn’t block sightlines to the mirror. For lighting, aim for symmetrical placement and use bulbs that don’t create harsh shadows on the panel grooves.
What if my bathroom has lighter walls instead of black paneling?
The easiest adjustment is to paint first—because black panels change how gold reflects. If you can’t paint, you’ll need warmer lighting and more reflective gold accents to mimic the contrast. A tray in metallic finishes and a vase with deeper green leaves will still help, but the room won’t read as bold without that darker base.
Where should I shop for these pieces on a budget?
Mirrors and trays often have good deals at home goods retailers, big-box clearance sections, and local salvage shops when you’re picky about finish. For brass-toned lighting and faucets, compare big-box pricing with online home improvement marketplaces and look for open-box specials. Plants are easiest from nurseries or grocery florist sections—choose a tall vase and fresh green leaves for the same effect at a lower cost.
Biggest mistake people make with black-and-gold bathrooms?
Picking the wrong undertone for the black. A cool, gray-leaning black can make gold look dull and the panel texture look flat. Another common mistake is mismatched metal tones—if the mirror reads more yellow than the faucet or sconces, the room feels “assembled,” not cohesive.
More in Bathroom
Under $700: black-and-gold bathroom vanity wall refresh
Refresh a black-and-gold bathroom vanity wall with paint-matching panels, a framed mirror, and warm brass details. This plan keeps the look…
Under $1000: 7 weekend upgrades for a bathroom vanity nook
A gray wallpaper-and-mirror bathroom vanity nook can feel custom without a full renovation. This 7-layer weekend refresh targets the vanity…
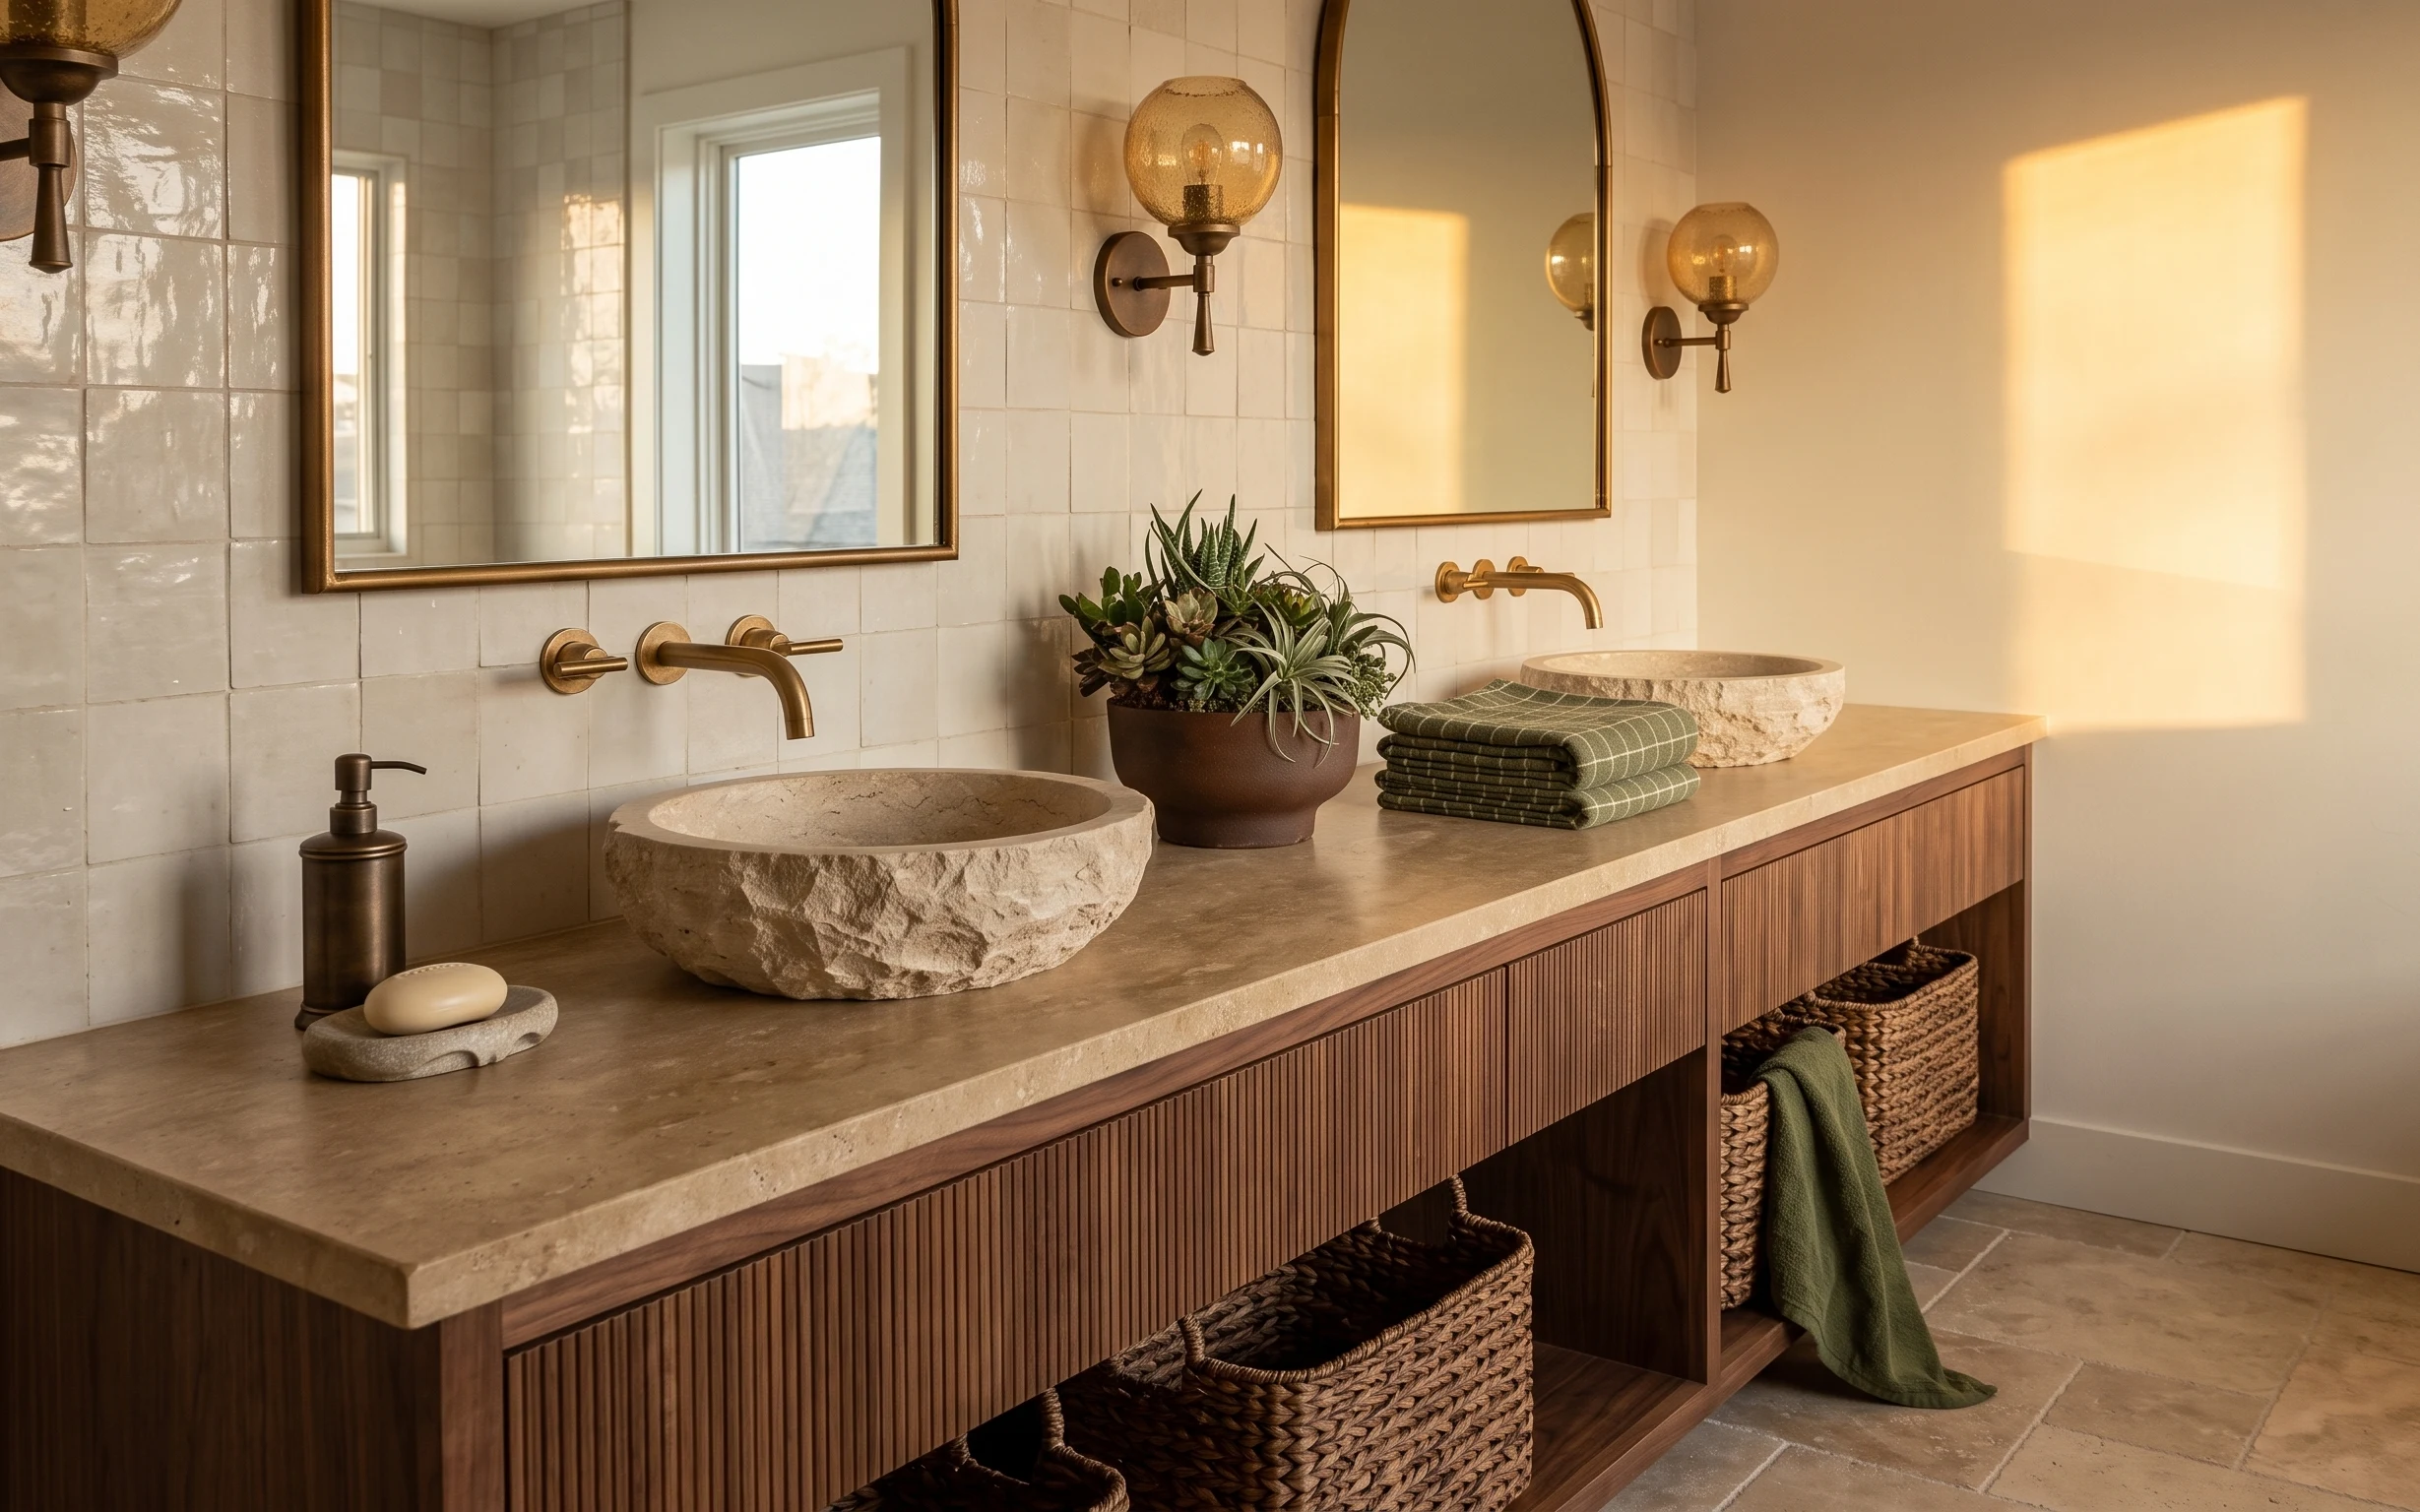
Under $300: brass-and-olive bathroom vanity nook refresh
A brass-and-olive bathroom vanity nook refresh you can do as a renter, using 7 visible swaps around the countertop and floor. The look lean…